概要
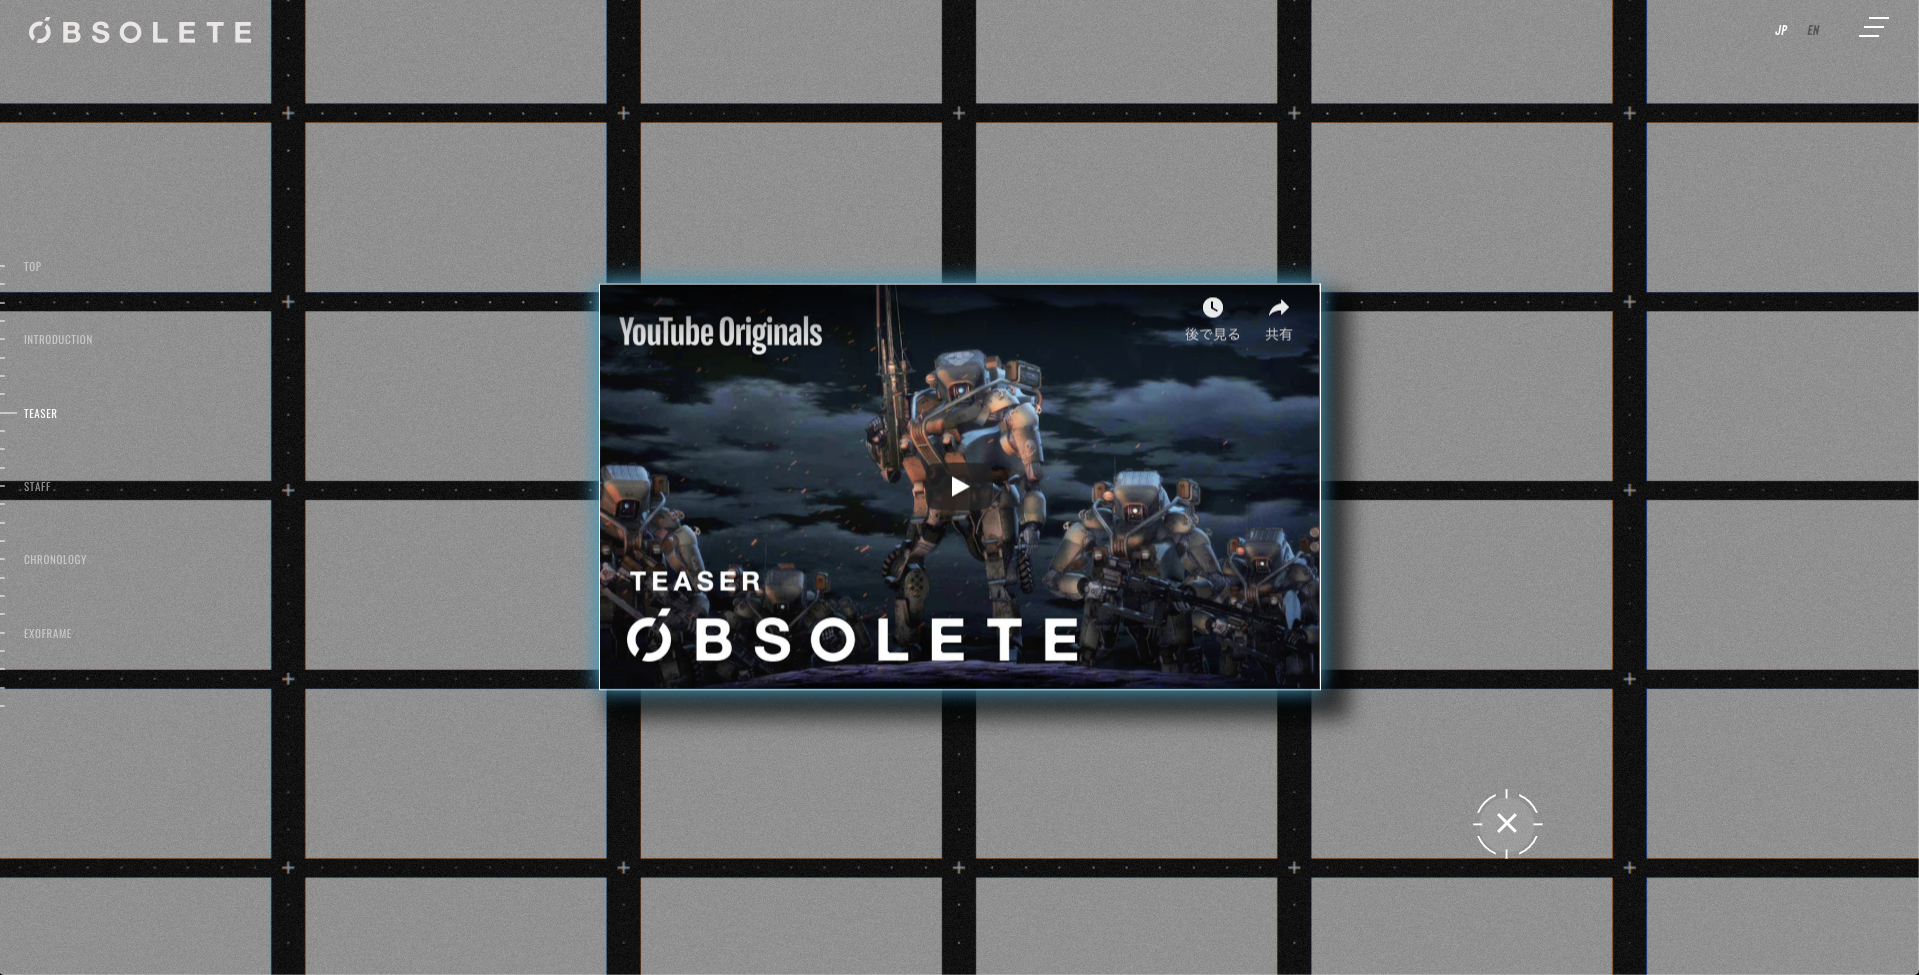
9月25日、「YouTube Originals」として、YouTubeにて2019年12月より配信を予定している、オリジナルアニメーション「オブソリート」の公式ティザーサイトを公開しました。
本サイトはWebGLでの演出が多く使われているのですが、中でもちょっとめずらしいものがYouTubeプレイヤーとWebGLの連携です。

ティザー映像に合わせて背景のタイルが切り替わるというものなのですが、今回はこの演出の実装方法と、それにあたってのTipsを紹介したいと思います。
使用ライブラリ
- Three.js (r108)
そもそもどうやって作る?
この演出を実装するにあたってまず優先したものがパフォーマンスです。
もし何も考えずに作ろうとすると、まずメッシュを6x6枚用意して、それぞれにタイミングごとの制御イベントを登録して...みたいな感じになると思うのですが、まず36枚ものメッシュを作るのはパフォーマンス的にもちょっと不安ですし、そもそもイベントそれぞれ登録するのしんどいですよね...
ということで思いついたのが、全部で一つのジオメトリにしちゃえ...です。そして演出も全部シェーダーで書いちゃえ...です。
大まかな手順
- タイルメッシュを作成
- 演出のタイムラインを作る
- 演出シェーダーを作る
いざ実装
Three.jsの基本的な使用方法などは省き、各ポイントだけ解説していきます。
タイルメッシュを作成
まずは6x6のタイルを作成します。THREE.PlaneBufferGeometryを一つ作成して、位置などを調整しながらTHREE.BufferGeometryにコピーしていきます。
シェーダーでそれぞれのタイルを区別するためにAttribute変数offsetPosを追加しています。
ソースコード
private createUniforms(){

	this.uniforms = {
		currentTime: { value: 0 },
		sectionNum: { value: 0 },
		sectionTime: { value: 0 },
		resolution: { value: this.info.resolution },
		tex: { value: null },
		visibility: { value: 0 }
	}

	let loader = new THREE.TextureLoader();
	loader.load( 'texture.jpg', ( tex ) =>{
		this.uniforms.tex.value = tex;
	})
}

private createMesh(){

	// this.info.resolution = タイルの数( THREE.Vector2 )
	// this.info.size = タイルの大きさ( THREE.Vector2 )

	let planeGeo = new THREE.PlaneBufferGeometry( this.info.size.x * 0.9, this.info.size.y * 0.9 );
	let posAttr = planeGeo.getAttribute( 'position' );
	let uvAttr = planeGeo.getAttribute( 'uv' );
	let indexAttr = planeGeo.getIndex();

	let geo = new THREE.BufferGeometry();

	let posArray = [];
	let offsetPosArray = [];
	let uvArray = [];
	let indexArray = [];

	for ( let i = 0; i < this.info.resolution.y; i++ ) {

		for ( let j = 0; j < this.info.resolution.x; j++ ) {

			let x = j * this.info.size.x - this.info.resolution.x / 2 * this.info.size.x + this.info.size.x / 2.0;
			let y = -i * this.info.size.y - this.info.size.y / 2;

			for ( let k = 0; k < posAttr.array.length; k += 3 ) {

				//positionをコピー
				posArray.push(
					posAttr.array[k + 0] + x,
					posAttr.array[k + 1] + y,
					posAttr.array[k + 2] + 0,
				);

				//シェーダーでタイルを区別するための変数offsetPosを作成
				offsetPosArray.push(
					j / ( this.info.resolution.x - 1 ),
					1.0 - i / ( this.info.resolution.y - 1 )
				)

			}

			for ( let k = 0; k < uvAttr.array.length; k += 2 ) {

				//uvをコピー
				uvArray.push(
					uvAttr.array[k + 0],
					uvAttr.array[k + 1],
				);

			}

			for ( let k = 0; k < indexAttr.array.length; k++ ) {

				//indexをコピー
				indexArray.push(
					indexAttr.array[k] + ( i * this.info.resolution.x + j ) * ( posAttr.array.length / 3 ),
				);

			}

		}

	}

	geo.addAttribute( 'position', new THREE.BufferAttribute( new Float32Array( posArray ), 3 ) );
	geo.addAttribute( 'offsetPos', new THREE.BufferAttribute( new Float32Array( offsetPosArray ), 2 ) );
	geo.addAttribute( 'uv', new THREE.BufferAttribute( new Float32Array( uvArray ), 2 ) );
	geo.setIndex( new THREE.BufferAttribute( new Uint16Array( indexArray ), 1 ) );

	let mat = new THREE.ShaderMaterial({
		fragmentShader: frag,
		vertexShader: vert,
		uniforms: this.uniforms,
		side: THREE.DoubleSide,
		transparent: true
	});

	let p = new THREE.Mesh( geo, mat );

	this.add( p );

}
演出のタイムラインを作成
映像の、どのタイミングにどの演出をするかという情報を作成します。
今回は一つの演出の単位として以下のようなオブジェクトを作成しました。(以下はTypeScriptでの型定義です。)
declare interface EffectSection{
	n: number; //演出の識別番号
	s: number; //開始時刻
	e: number; //終了時刻
	duration?: number; //セクションの時間
}
で、これをドカーンといっぱい作ります。
とても恥ずかしい実装ですね!
private initEffects(){

	this.sections.push(
		{
			n: 1,
			s: 10.13,
			e: 12,
		},
		{
			n: 2,
			s: 11.63,
			e: 23.52,
		},
		{
			n: 3,
			s: 23.53,
			e: 26.44,
		},
		{
			n: 4,
			s: 27.48,
			e: 28.57
		},
		{
			n: 5,
			s: 33.78,
			e: 36.7
		},
		{
			n: 6,
			s: 40.0,
			e: 42.4
		}
		.... まだまだいっぱいあります


	)

	for ( let i = 0; i < this.sections.length; i++ ) {

		//セクションの時間を計算
		this.sections[i].duration = this.sections[i].e - this.sections[i].s;

	}

}
自分はタイムライン作る際に、動画編集ソフトにマーカーを置いたりしてました。
(これ、プラグイン作ってjsonとかで書き出せたら良いよな...とか思ったり...)

そして、このセクションの情報とYouTube APIからの再生時間をもとに、演出番号と、正規化された各セクションの再生時間をシェーダーに渡します。
public updateEffect(){

	//動画の再生時刻を取得
	this.currentTime = this.ytPlayer.getCurrentTime();

	//uniform変数に時刻をセット
	this.uniforms.currentTime.value = this.currentTime;

	let set = false;

	//再生時刻に対応した演出の識別番号、開始時刻、終了時刻、時間をuniform変数にセット
	for( let i = 0; i < this.sections.length; i++ ){

		if( this.sections[i].s < this.currentTime && this.currentTime < this.sections[i].e ){

			this.uniforms.sectionNum.value = this.sections[i].n;
			this.uniforms.sectionTime.value = ( this.currentTime - this.sections[i].s ) / this.sections[i].duration;

			set = true;

			break;

		}

	}

	if( !set ){

		this.uniforms.sectionNum.value = 0;
		this.uniforms.sectionTime.value = 0;

	}

}
演出シェーダーを作る
いよいよ演出の実装です。
YouTube Originalsロゴの演出だけソースコードをお見せします。
attribute vec2 offsetPos;
varying vec2 vUv;

uniform vec2 resolution;
uniform float currentTime;
uniform float sectionNum;
uniform	float sectionTime;

varying vec2 texPos;
varying float vAlpha;
varying vec2 vOffsetPos;
varying vec3 vColor;

vec2 calcTexPos( float num ){

	float n = num - 1.0;
	return vec2( mod( n, 8.0 ) * 0.125, ( 1.0 - ( floor( n / 8.0 ) ) * 0.125 ) - 0.125 );

}

//shader-loaderで変数やrandom関数を読み込ませてます
$constants

void main(void){

	vec3 pos = position;
	vec4 mvPosition = modelViewMatrix * vec4(pos, 1.0);
	gl_Position = projectionMatrix * mvPosition;
	gl_PointSize = 5.0;
	vUv = uv;
	vOffsetPos = offsetPos;
	vColor = vec3( 0.0 );

	if( sectionNum == 1.0 ){

		vAlpha = smoothstep( 0.0, 0.5, max( 0.0, cos( length( offsetPos - 0.5 ) * 4.0 - sectionTime * TPI * 0.9) ));
		texPos = calcTexPos( 1.0 );

	}
}
varying vec2 vUv;
varying float vAlpha;
varying vec2 vOffsetPos;

uniform float time;

uniform sampler2D tex;
varying vec2 texPos;
varying vec3 vColor;
uniform float visibility; //フェードアウト用の変数

uniform float currentTime;
uniform float sectionNum;
uniform float sectionTime;

$random

void main( void ){

	vec4 c = vec4( 0.0 );

	if( sectionNum == 1.0 ){

		c = texture2D( tex, texPos + vUv * 0.125 );

	}

	gl_FragColor = vec4( c.xyz, c.w * vAlpha * visibility );

}
波紋のようなエフェクトはvertex shaderの
vAlpha = smoothstep( 0.0, 0.5, max( 0.0, cos( length( offsetPos - 0.5 ) * 4.0 - sectionTime * TPI * 0.9) ));
で、タイルのアルファ値を計算しています。
メッシュを作るときに定義したAttribute変数offsetPosと三角関数をうまい具合に使って波紋を作りました。
vertex shaderにcalcTexPosという関数があり、何やらvec2の値を返していますが、これはuvのオフセット位置を返しています。
なぜそんなことをするかというと、実は演出用に使っているテクスチャが以下のようになっているからです。

(かなり無駄がありますが...)
WebGLでは一度に使えるテクスチャの数が限られているので読み込む画像の枚数は極力減らします。そのため演出で使用している画像は全部まとめて一枚の画像にしてしまっているのです。
で、このテクスチャのうち、どの画像を使うかというのをcalcTexPosで計算しているわけです。
演出シェーダーを作るときに気をつけたのはなるべく計算はVertex shaderでやるということです。もしfragment shaderでアルファの計算などもやってしまうと、タイルが描画されるピクセル全てでシェーダーが実行されてしまうので、パフォーマンスがあまり良くありません。 vertex shader上でやれば頂点の数だけ計算すればよいのでコスパが良いです!
終わりに
今回はYouTubeプレイヤーと連携したWebGLでの演出を解説しました。
時間経過による演出の変化という意味ではシェーダーというのは結構相性が良いと思うので、他にも3Dチックなパーティクルなどの演出を使ってみたりしても面白いかもしれません!
他にもオブソリートのティザーサイトの制作についてはWantedlyで記事を書きました。
そちらもぜひ御覧ください!
