node.jsがインストールされている前提で進めます。
@angular/cliをインストールしていない方はこちらのコマンドから。
(詳細については省略します。)
npm install -g @angular/cli
Angularのプロジェクトを作成する
ng new angular-with-electron
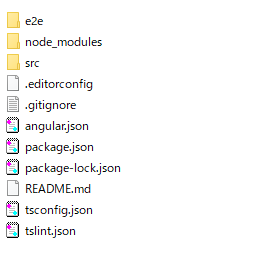
大体こんなのができあがると思います。
下記ファイルを編集します。
angular-with-electron/src/index.html
<base href="/">
から
angular-with-electron/src/index.html
<base href="./">
に修正します。
(こうしないとうまく立ち上がらないっぽい)
Electronをインストールする
cd angular-with-electron
npm install electron --save-dev
インストールが完了したらmain.jsを作成します。
以下、おまじないです。(よくわからん)
angular-with-electron/main.js
const { app, BrowserWindow } = require('electron')

let win;

function createWindow () {
  // 新規ウインドウ生成
  win = new BrowserWindow({
    width: 800,
    height: 700
  })


  win.loadURL(`file://${__dirname}/dist/angular-with-electron/index.html`)

  //// 起動時に開発者ツールを開く (コメントアウトしてます)
  // win.webContents.openDevTools()

  // ウインドウが閉じたときのイベント
  win.on('closed', function () {
    win = null
  })
}

// Electron初期化時にウィンドウ生成
app.on('ready', createWindow)

// すべてのウインドウが閉じたときにElectronを終了する。
app.on('window-all-closed', function () {

  // macOSの場合
  if (process.platform !== 'darwin') {
    app.quit()
  }
})

app.on('activate', function () {
  // macOSの場合
  if (win === null) {
    createWindow()
  }
})
起動コマンドを入力しておきます。
package.json
{
// 中略
  "main": "main.js", // 追加
  "scripts": {
// 中略
    "electron": "electron .", // Electronを起動
    "electron-build": "ng build --prod && electron ." // ビルドしてからElectronを起動
  },
//  略
}
ここまで出来たら
npm run electron-build
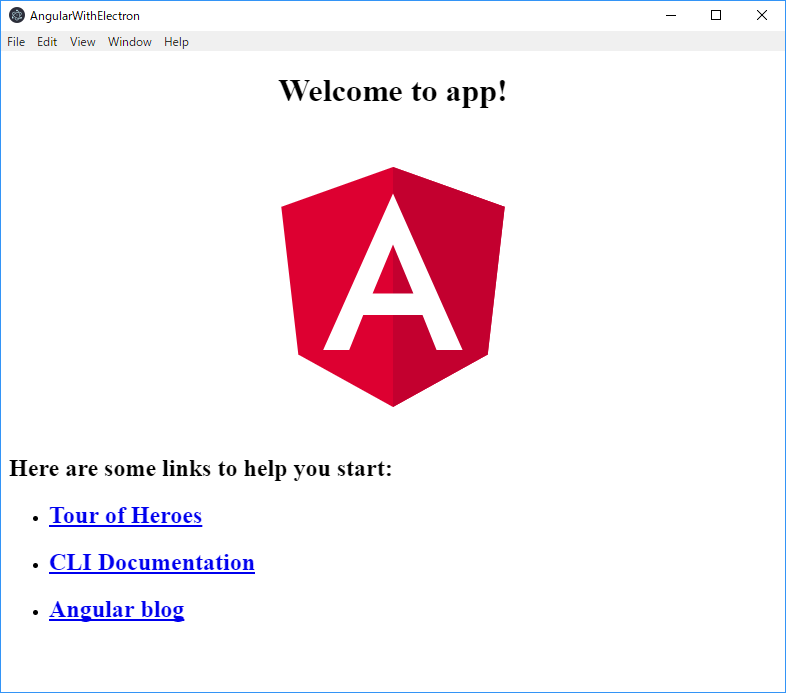
無事起動できました。
あとは通常通りAngularを利用できると思います。
以上、初投稿でした。

