VUIとは
Vim上でテキストベースのUIを構築するためのライブラリです。
確認環境
- Neovim v0.3.1
インストール
dein.vim
[[plugins]]
repo = 'waldson/vui'
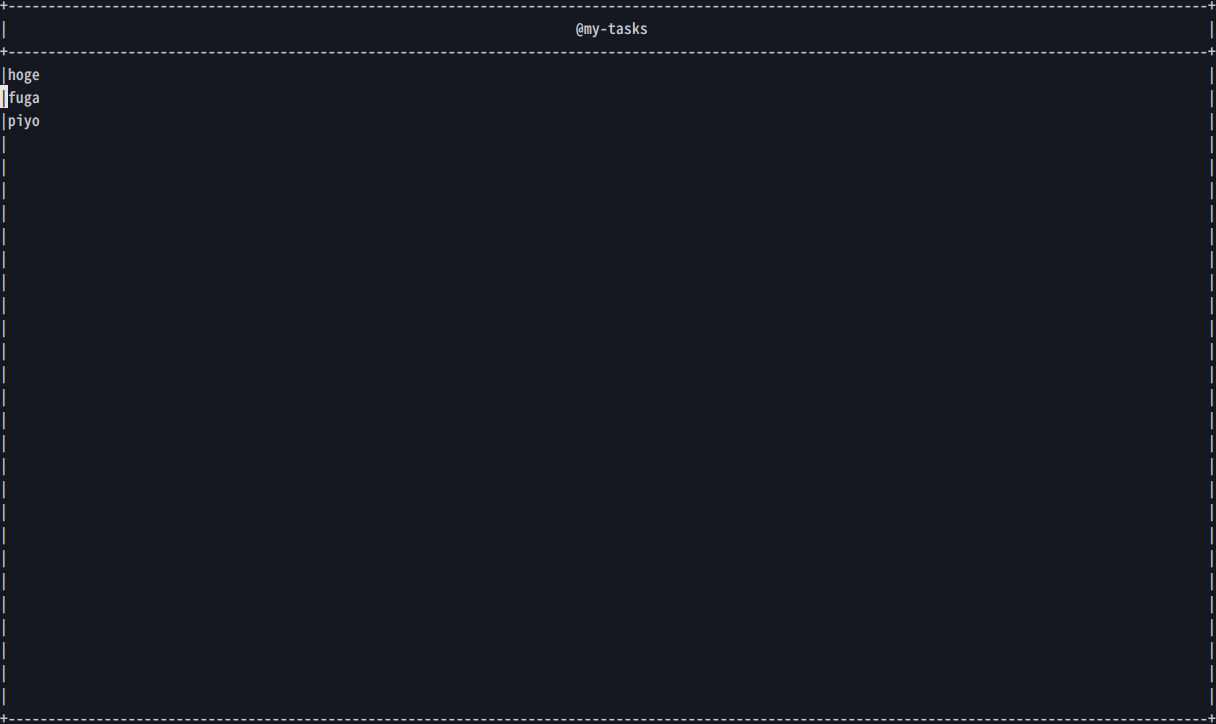
使い方
let screen = vui#screen#new()

function! screen.on_before_render(screen) abort
  let panel = vui#component#panel#new('@my-tasks', winwidth(0), winheight(0))
  let vcontainer = vui#component#vcontainer#new()

  for item in ['hoge', 'fuga', 'piyo']
    let text = vui#component#text#new(item)
    call vcontainer.add_child(text)
  endfor

  call panel.get_content_component().add_child(vcontainer)
  call a:screen.set_root_component(panel)
endfunction

call screen.show()
Screenを作成する
Screenは入力イベントの処理やコンポーネントの表示等を行います。
let screen = vui#screen#new()
Screenにコンポーネントを登録する
on_before_renderを設定しておくと、描画前に実行されるので、この中でコンポーネントを登録します。
function! screen.on_before_render(screen) abort
  let panel = vui#component#panel#new('Title', winwidth(0), winheight(0))
  let vcontainer = vui#component#vcontainer#new()

  for item in ['hoge', 'fuga', 'piyo']
    let text = vui#component#text#new(item)
    call vcontainer.add_child(text)
  endfor

  call panel.get_content_component().add_child(vcontainer)
  call a:screen.set_root_component(panel)
endfunction
コンポーネントを描画する
call screen.show()
コンポーネント
panel
let panel = vui#component#panel#new('Title', width, height)
let container = panel.get_content_component()

call container.add_child(child1)
call container.add_child(child2)
タイトルを持つボックス
子コンポーネントを登録する際は、get_content_componentでコンテナを取得する必要があります。
vcontainer
let vcontainer = vui#component#vcontainer#new()

let child1 = vui#component#text#new('a')
let child2 = vui#component#text#new('b')
call vcontainer.add_child(child1)
call vcontainer.add_child(child2)
子要素に合わせて、動的に高さが調節されます。
toggle
let screen = vui#screen#new()
let screen.state = { 'checked': 1 }

function! screen.on_before_render(screen) abort
  let state = a:screen.state
  let toggle = vui#component#toggle#new('text')
  call toggle.set_checked(state.checked)

  function! toggle.on_change(toggle) abort
    let b:screen.state.checked = !b:screen.state.checked
  endfunction

  call a:screen.set_root_component(toggle)
endfunction

call screen.show()

チェックボックスです。
チェックボックス上でEnterを押すと、on_change関数が実行されます。
on_changeの実行後に再描画が行われているようなので、この中で状態を更新しておく必要があります。
button
let screen = vui#screen#new()
let screen.state = 0

function! screen.on_before_render(screen) abort
  let container = vui#component#vcontainer#new()
  let button = vui#component#button#new('+')
  let count = vui#component#text#new(string(a:screen.state))

  function! button.on_action(button) abort
    let b:screen.state += 1
  endfunction

  call container.add_child(button)
  call container.add_child(count)
  call a:screen.set_root_component(container)
endfunction

call screen.show()
キーマッピング
function! screen.add_task() abort
  call s:do_something()
endfunction

function! screen.delete_item() abort
  let element = self.get_focused_element()
  call s:do_something_with_element(element)
endfunction


call screen.map('t', 'add_task') " `t`が入力されたら、`screen.add_task`を実行する。
call screen.map('dd', 'delete_item') " `dd`が入力されたら、`screen.delete_item`を実行する。
call screen.show()
screen.mapでキーマッピングをカスタマイズできます。
screen.mapで登録したハンドラが実行される際は自動的に再描画が行われるようなので、
ハンドラ内でscreen.showを実行する必要はありません。
taskbook-vim
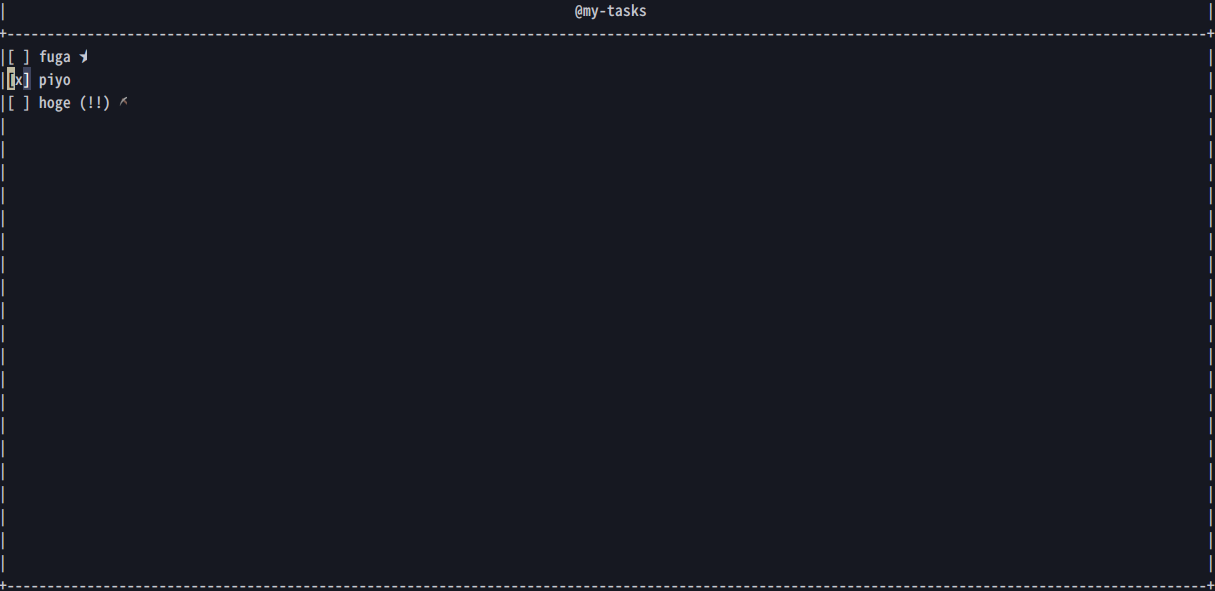
実際にVUIを使ってTaskbookをインタラクティブに操作するためのプラグインを作ってみました。
参考