はじめに
Vimのステータスラインに Font Awesome などのアイコンフォントを表示したいのですが、一般的なフォントにはアイコンフォントが埋め込まれていないため、表示できません。
フォントに Nerd Fonts が提供しているパッチを当てることで表示できるようになるとのことなので、その方法を紹介します。
注意
フォントはライセンスや利用規約をよく読んだ上で正しく使用しましょう。
よくわからない場合、個人でのみ使用するのがいいと思います。
環境
- OS:macOS Ventura 13.3.1 (a)
- Python:3.11.3
- FontForge:20230101
- Ricty Diminished:4.1.1
- Nerd Fonts:3.0.0
合成方法
今回はRicty Diminishedにパッチを当てますが、他のフォントでも当てられると思います。
パッチ適用済フォントの確認
代表的なフォントにはすでにパッチが当たったものが用意されているため、もし自分が使いたいフォントがあれば、そこからダウンロードするだけでOKです。
Ricty Diminished+Nerd Fontsは用意されていないので、 Option 8. を参考に自分でパッチを当てます。
Nerd Fontsリポジトリのクローン
Nerd Fontsのリポジトリをクローンし、関連フォントとパッチをダウンロードします。
$ git clone --depth 1 https://github.com/ryanoasis/nerd-fonts.git
Nerd Fontsのリポジトリは 10GB以上あるため、通信環境によっては非常に時間がかかります 。
Ricty Diminishedのダウンロード
以下のページからRicty Diminishedのフォントをダウンロードします。
FontForgeのインストール
FontForgeとは、OSSのフォント作成ツールです。
Homebrewからインストールします。
$ brew install fontforge
フォントの合成
Nerd Fontsのリポジトリ内にあるfont-patcherを使い、フォントを合成します。
使い方は以下に記載されています。
Ricty Diminishedの各フォントを font-patcher と同じフォルダ(nerd-fontsのルート)にコピーします。
ターミナルでそのフォルダに移動し、以下を実行します。
$ cd nerd-fonts/

# python3 ./font-patcher {オプション} {パッチを当てるフォントファイル}
$ python3 ./font-patcher --complete RictyDiminished-Regular.ttf
$ python3 ./font-patcher --complete RictyDiminished-Bold.ttf
$ python3 ./font-patcher --complete RictyDiminished-Oblique.ttf
$ python3 ./font-patcher --complete RictyDiminished-BoldOblique.ttf
私の環境はPython 2がインストールされていないため、明示的にPython 3を使うようにしています。
主なオプションは以下の通りです。
| オプション | 説明 |
|---|---|
--windows |
Windowsではフォント名が32文字以上だと使えず、それを除外してWindowsでも使えるようにする |
--complete |
利用可能な全グリフを追加する |
全オプション
$ python3 ./font-patcher -h
Nerd Fonts Patcher v3.0.0 (4.3.1) (ff 20230101)
usage: font-patcher [-h] [-v] [-s] [-l] [-q] [-c] [--careful] [--removeligs]
                    [--postprocess [POSTPROCESS]]
                    [--configfile [CONFIGFILE]] [--custom [CUSTOM]]
                    [-ext [EXTENSION]] [-out [OUTPUTDIR]]
                    [--glyphdir [GLYPHDIR]] [--makegroups [{0,1,2,3,4,5,6}]]
                    [--variable-width-glyphs] [--has-no-italic]
                    [--progressbars | --no-progressbars]
                    [--debug [{0,1,2,3}]] [--dry]
                    [--xavgcharwidth [XAVGWIDTH]] [--fontawesome]
                    [--fontawesomeextension] [--fontlogos] [--octicons]
                    [--codicons] [--powersymbols] [--pomicons] [--powerline]
                    [--powerlineextra] [--material] [--weather]
                    font

Nerd Fonts Font Patcher: patches a given font with programming and development related glyphs

* Website: https://www.nerdfonts.com
* Version: 3.0.0
* Development Website: https://github.com/ryanoasis/nerd-fonts
* Changelog: https://github.com/ryanoasis/nerd-fonts/blob/-/changelog.md

positional arguments:
  font                  The path to the font to patch (e.g., Inconsolata.otf)

options:
  -h, --help            show this help message and exit
  -v, --version         show program's version number and exit
  -s, --mono, --use-single-width-glyphs
                        Whether to generate the glyphs as single-width not double-width (default is double-width)
  -l, --adjust-line-height
                        Whether to adjust line heights (attempt to center powerline separators more evenly)
  -q, --quiet, --shutup
                        Do not generate verbose output
  -c, --complete        Add all available Glyphs
  --careful             Do not overwrite existing glyphs if detected
  --removeligs, --removeligatures
                        Removes ligatures specificed in JSON configuration file
  --postprocess [POSTPROCESS]
                        Specify a Script for Post Processing
  --configfile [CONFIGFILE]
                        Specify a file path for JSON configuration file (see sample: src/config.sample.json)
  --custom [CUSTOM]     Specify a custom symbol font, all glyphs will be copied; absolute path suggested
  -ext [EXTENSION], --extension [EXTENSION]
                        Change font file type to create (e.g., ttf, otf)
  -out [OUTPUTDIR], --outputdir [OUTPUTDIR]
                        The directory to output the patched font file to
  --glyphdir [GLYPHDIR]
                        Path to glyphs to be used for patching
  --makegroups [{0,1,2,3,4,5,6}]
                        Use alternative method to name patched fonts (recommended)
  --variable-width-glyphs
                        Do not adjust advance width (no "overhang")
  --has-no-italic       Font family does not have Italic (but Oblique)
  --progressbars        Show percentage completion progress bars per Glyph Set (default)
  --no-progressbars     Don't show percentage completion progress bars per Glyph Set
  --debug [{0,1,2,3}]   Verbose mode (optional: 1=just to file; 2*=just to terminal; 3=display and file)
  --dry                 Do neither patch nor store the font, to check naming
  --xavgcharwidth [XAVGWIDTH]
                        Adjust xAvgCharWidth (optional: concrete value)

Symbol Fonts:
  --fontawesome         Add Font Awesome Glyphs (http://fontawesome.io/)
  --fontawesomeextension
                        Add Font Awesome Extension Glyphs (https://andrelzgava.github.io/font-awesome-extension/)
  --fontlogos, --fontlinux
                        Add Font Logos Glyphs (https://github.com/Lukas-W/font-logos)
  --octicons            Add Octicons Glyphs (https://octicons.github.com)
  --codicons            Add Codicons Glyphs (https://github.com/microsoft/vscode-codicons)
  --powersymbols        Add IEC Power Symbols (https://unicodepowersymbol.com/)
  --pomicons            Add Pomicon Glyphs (https://github.com/gabrielelana/pomicons)
  --powerline           Add Powerline Glyphs
  --powerlineextra      Add Powerline Glyphs (https://github.com/ryanoasis/powerline-extra-symbols)
  --material, --materialdesignicons, --mdi
                        Add Material Design Icons (https://github.com/templarian/MaterialDesign)
  --weather, --weathericons
                        Add Weather Icons (https://github.com/erikflowers/weather-icons)
合成したフォントの確認
以下の4ファイルが生成されていたらOKです。
| ファイル名 | サイズ |
|---|---|
RictyDiminishedNerdFont-Regular.ttf |
3,548,984 byte |
RictyDiminishedNerdFont-Bold.ttf |
3,573,376 byte |
RictyDiminishedNerdFont-Oblique.ttf |
3,660,092 byte |
RictyDiminishedNerdFont-BoldOblique.ttf |
3,685,176 byte |
合成したフォントのインストール
Macの場合、 ~/Library/Fonts フォルダに移動するだけでOKです。
$ mv RictyDiminishedNerdFont-Regular.ttf ~/Library/Fonts/
$ mv RictyDiminishedNerdFont-Bold.ttf ~/Library/Fonts/
$ mv RictyDiminishedNerdFont-Oblique.ttf ~/Library/Fonts/
$ mv RictyDiminishedNerdFont-BoldOblique.ttf ~/Library/Fonts/
設定
iTerm2
iTerm2 > Preferences... > Profiles > [Text]タブ > Font >
「RictyDiminished Nerd Font」を選択する

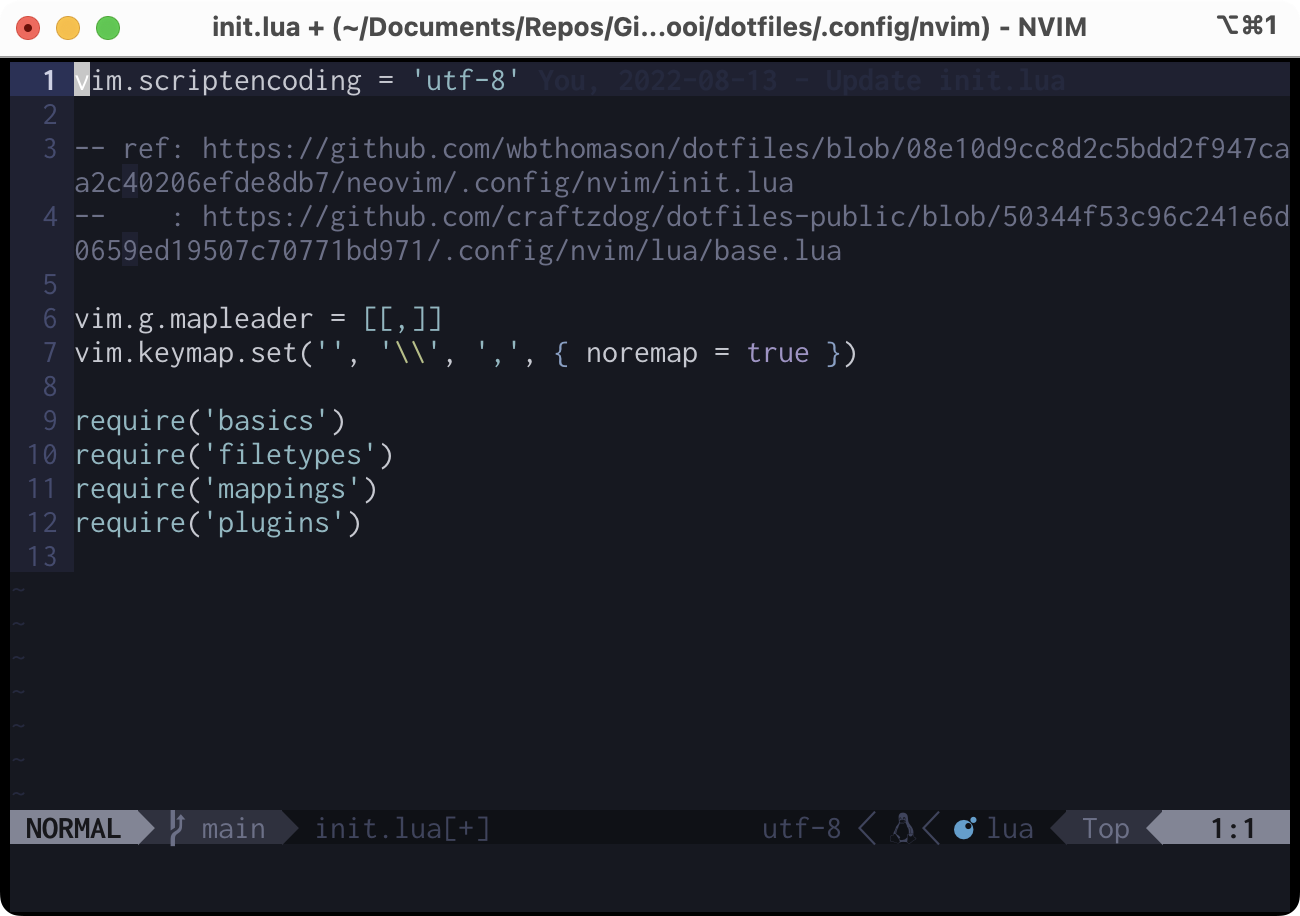
ブランチのアイコンなどが表示されていたらOKです。
Hyper
.hyper.js の fontFamily に RictyDiminished Nerd Font を追加します。
- fontFamily: 'Menlo, "DejaVu Sans Mono", Consolas, "Lucida Console", monospace',
+ fontFamily: '"RictyDiminished Nerd Font", Menlo, "DejaVu Sans Mono", Consolas, "Lucida Console", monospace',
MacVim
.gvimrc に以下を記述します。
私はサイズを18にしていますが、こちらはお好みで設定してください。
if has('mac')
  set guifont=RictyDiminished\ Nerd\ Font:h18 " 半角
  set guifontwide=RictyDiminished\ Nerd\ Font:h18 " 全角
endif