はじめに
本記事は SwiftWednesday Advent Calendar 2023 の8日目の記事です。
昨日は @startaiyo さんでした。
SwiftUIのブラーでぼかすけど膨らませない方法を紹介します。
環境
- OS:macOS Sonoma 14.0(23A344)
- Swift:5.9
問題
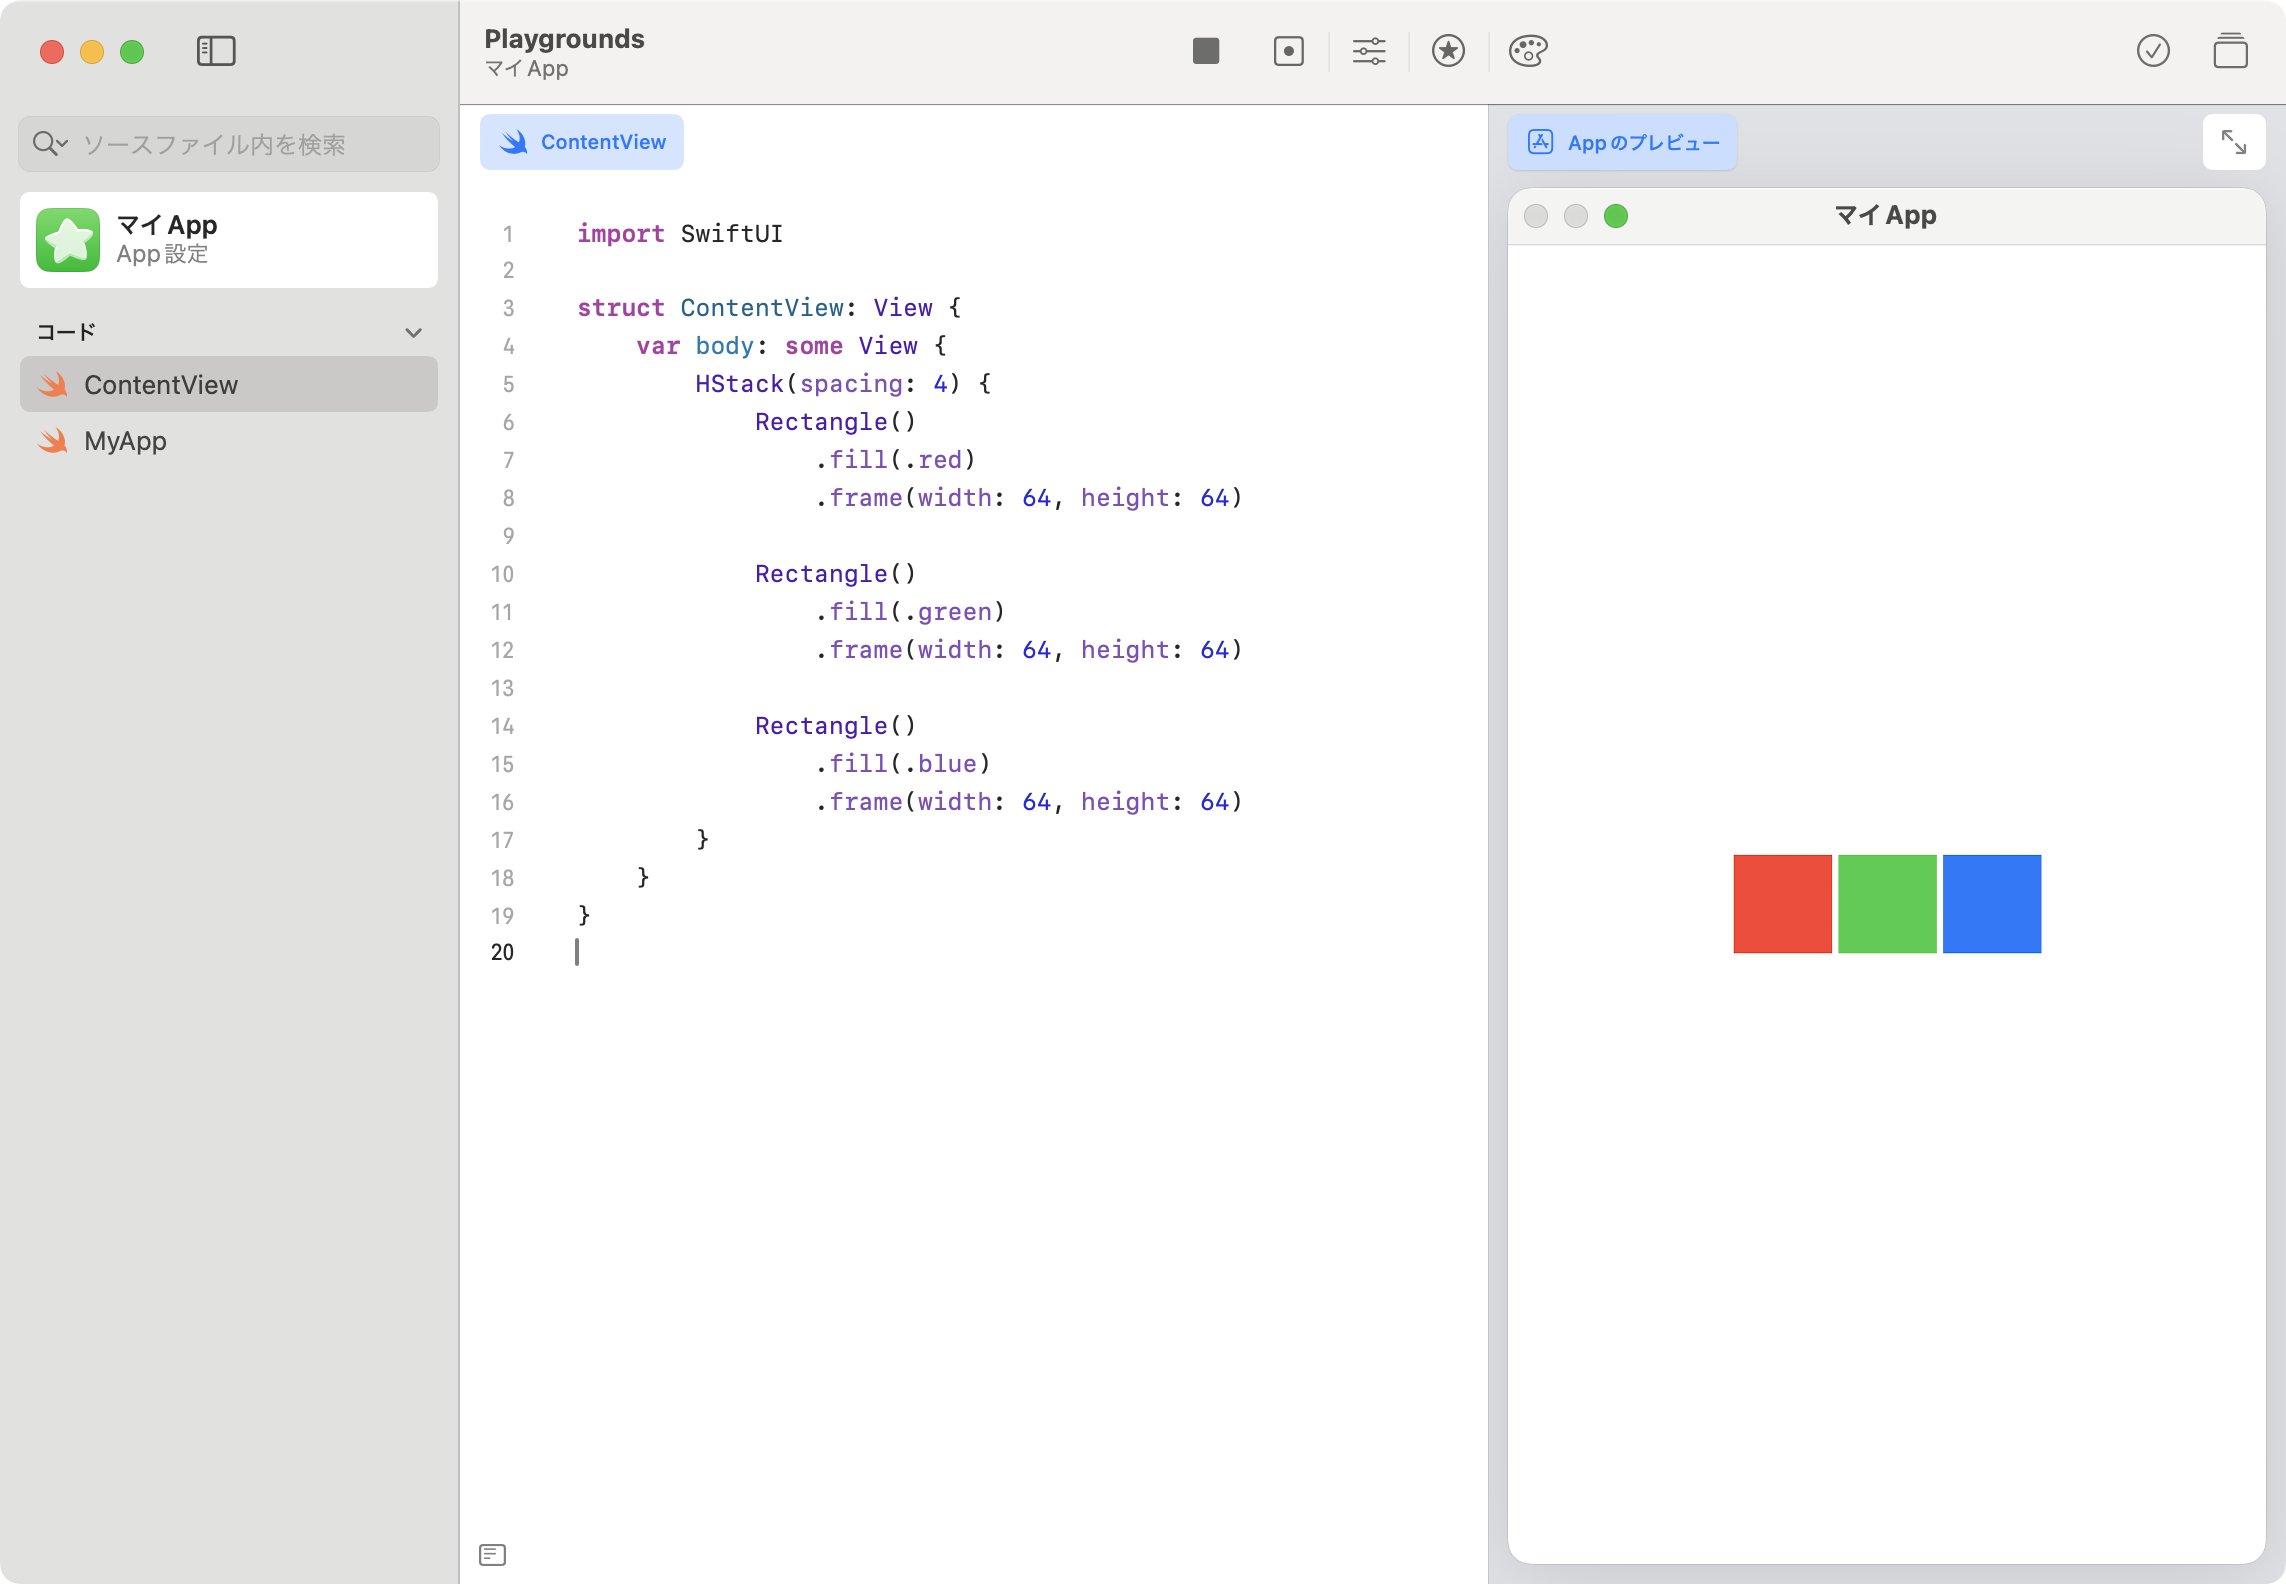
64×64の正方形を横に3つ並べます。
ContentView.swift
import SwiftUI

struct ContentView: View {
    var body: some View {
        HStack(spacing: 4) {
            Rectangle()
                .fill(.red)
                .frame(width: 64, height: 64)

            Rectangle()
                .fill(.green)
                .frame(width: 64, height: 64)

            Rectangle()
                .fill(.blue)
                .frame(width: 64, height: 64)
        }
    }
}
これらの正方形に半径16のブラー( blur(radius:opaque:) )をかけます。
ContentView.swift
import SwiftUI

struct ContentView: View {
    var body: some View {
        HStack(spacing: 4) {
            Rectangle()
                .fill(.red)
                .frame(width: 64, height: 64)
+               .blur(radius: 16)

            Rectangle()
                .fill(.green)
                .frame(width: 64, height: 64)
+               .blur(radius: 16)

            Rectangle()
                .fill(.blue)
                .frame(width: 64, height: 64)
+               .blur(radius: 16)
        }
    }
}

正方形全体がぼけましたが、64×64の領域を越えて描画されています。
領域内に収めてぼかす方法はないでしょうか?
解決策
当たり前かもしれませんが、 clipShape(_:style:) を使って元の図形と同じ形に切り抜きます。
ContentView.swift
import SwiftUI

struct ContentView: View {
    var body: some View {
        HStack(spacing: 4) {
            Rectangle()
                .fill(.red)
                .frame(width: 64, height: 64)
                .blur(radius: 16)
+               .clipShape(Rectangle())

            Rectangle()
                .fill(.green)
                .frame(width: 64, height: 64)
                .blur(radius: 16)
+              .clipShape(Rectangle())

            Rectangle()
                .fill(.blue)
                .frame(width: 64, height: 64)
                .blur(radius: 16)
+               .clipShape(Rectangle())
        }
    }
}

これで元の図形のままブラーをかけることができました。
おまけ: ブラーで縁を薄くしない方法
今回紹介した方法だと、正方形の縁が円状に薄くなってしまいます。
縁を薄くせずにぼかす方法はないでしょうか?
SwiftUI単体ではできなさそうですが、 Core Image を使うと縁を薄くせずにぼかすことができるようです。
おわりに
今回はただの正方形で試しましたが、画像をぼかす際に有用となるテクニックだと思います ![]()
以上 SwiftWednesday Advent Calendar 2023 の8日目の記事でした。
明日も @uhooi です。