Visual Studio Codeの拡張機能Markdown PDFは非常に便利ですが、そのままでは表紙が作れなかったり、画像や表にキャプションを付けられないなどレポートを書くのには適していません。しかし、TEXやWordを使うのは面倒なのでMarkdownで書けるならMarkdownで書きたいところです。そこで、この拡張機能を改造して足りない機能を追加することにしました。
サンプルはこちら
1. 画像・表にキャプションを付け、番号を自動で振るようにする
.vscode/extensions/yzane.markdown-pdf-1.4.4/node_modules/markdown-it/lib/renderer.js
の
Renderer.prototype.renderTokenを以下のように書き換えます。
Renderer.prototype.renderToken = function renderToken(tokens, idx, options) {
  var nextToken,
      result = '',
      needLf = false,
      token = tokens[idx];

  // Tight list paragraphs
  if (token.hidden) {
    return '';
  }

  // Insert a newline between hidden paragraph and subsequent opening
  // block-level tag.
  //
  // For example, here we should insert a newline before blockquote:
  //  - a
  //    >
  //
  if (token.block && token.nesting !== -1 && idx && tokens[idx - 1].hidden) {
    result += '\n';
  }

  if (token.tag === 'img') {
    result += '<figure class=image>\n';
  }

  // Add token name, e.g. `<img`
  result += (token.nesting === -1 ? '</' : '<') + token.tag;
  if (token.nesting === -1 && token.tag === 'table') {
    TableCaption = true;
  }

  if (TableCaption) {
    result += ' class=caption';
  }

  // Encode attributes, e.g. `<img src="foo"`
  result += this.renderAttrs(token);

  // Add a slash for self-closing tags, e.g. `<img src="foo" /`
  if (token.nesting === 0 && options.xhtmlOut) {
    result += ' /';
  }

  // Check if we need to add a newline after this tag
  if (token.block) {
    needLf = true;

    if (token.nesting === 1) {
      if (idx + 1 < tokens.length) {
        nextToken = tokens[idx + 1];

        if (nextToken.type === 'inline' || nextToken.hidden) {
          // Block-level tag containing an inline tag.
          //
          needLf = false;

        } else if (nextToken.nesting === -1 && nextToken.tag === token.tag) {
          // Opening tag + closing tag of the same type. E.g. `<li></li>`.
          //
          needLf = false;
        }
      }
    }
  }

  result += needLf ? '>\n' : '>';

  if (token.tag === 'img') {
    result += '\n<figcaption>' + '図' + (++imageCount) + '. ' + token.attrs[token.attrIndex('alt')][1] + '</figcaption>\n'
    result += '</figure>';
  }

  if (result === '<p class=caption>') {
    result += '表' + (++tableCount) + '. ';
    TableCaption = false;
  }

  return result;
};
番号を自動で振るため、グローバルにこれらの変数を定義し、
var imageCount   = 0;
var tableCount   = 0;
var TableCaption = false;
function Renderer()内に
  imageCount = 0;
  tableCount = 0;
を追記します。
また、.vscode/extensions/yzane.markdown-pdf-1.4.4/styles/markdown.cssに
.image {
	margin-left: auto;
	margin-right: auto;
	text-align: center;
}

.caption {
	text-align: center;
}
と追記します。
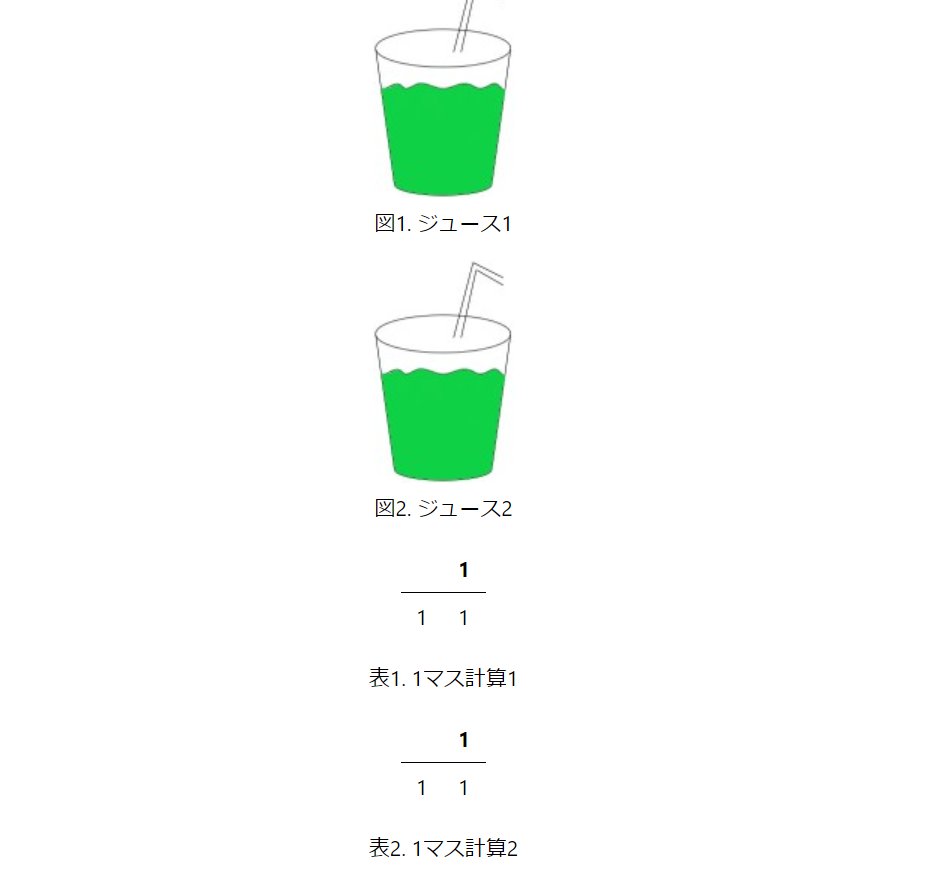
これで、画像のalt要素と</table>直後の<p>要素がキャプション文字列として扱われるようになります。
例として、このコードが


||1|
|-|-|
|1|1|
1マス計算1
||1|
|-|-|
|1|1||
1マス計算2
このように出力されるようになります。
2. 数式を書けるようにする
Mathjaxを導入します。
.vscode/extensions/yzane.markdown-pdf-1.4.4/template/template.htmlに
<script type="text/javascript" src="http://cdn.mathjax.org/mathjax/latest/MathJax.js?config=TeX-AMS-MML_HTMLorMML"></script>
<script type="text/x-mathjax-config">
    MathJax.Hub.Config({
      tex2jax: {
        inlineMath: [['$', '$']],
      },
      messageStyle: "none",
      TeX: {
        equationNumbers: {
          autoNumber: "AMS"
        }
      }
    });
</script>
を追記します。
すると、以下のコードが
$O(\log n)$

$$
\begin{equation}
\int(\log x)dx = \frac{1}{x} + C
\end{equation}
$$
$O(\log n)$
$$
\begin{equation}
\int(\log x)dx = \frac{1}{x} + C
\end{equation}
$$
と出力されるようになります。(下の式には式番号が付きます)
3. 表紙をつくる
#をメインタイトルとして扱うようにします。その他表紙に必要そうな要素もいい感じに出力されるようにします。
.vscode/extensions/yzane.markdown-pdf-1.4.4/styles/markdown.cssに
h1{
  text-align: center;
  font-size: 4em;
}

.subtitle {
	margin-top: 3em;
	font-size: 3em;
	text-align: center;
}

.cover {
	margin-top: 3em;
	margin-left: auto;
	margin-right: auto;
	text-align: center;
	font-size: 2em;
	page-break-after: always;
}
を追記すると、以下のコードが
# Main Title

<div class=subtitle>Sub Title</div>
<div class=cover>
<p> 日付: 1970/1/1 </p>
<p> 報告者氏名: ugis </p>
</div>

このように出力されるようになります。coverクラスを持ったdiv要素で改ページが入るのでこれがそのまま表紙になります。1
-
これに関してはもっといい方法がありそうなので、知っている方は教えていただけると嬉しいです。 ↩