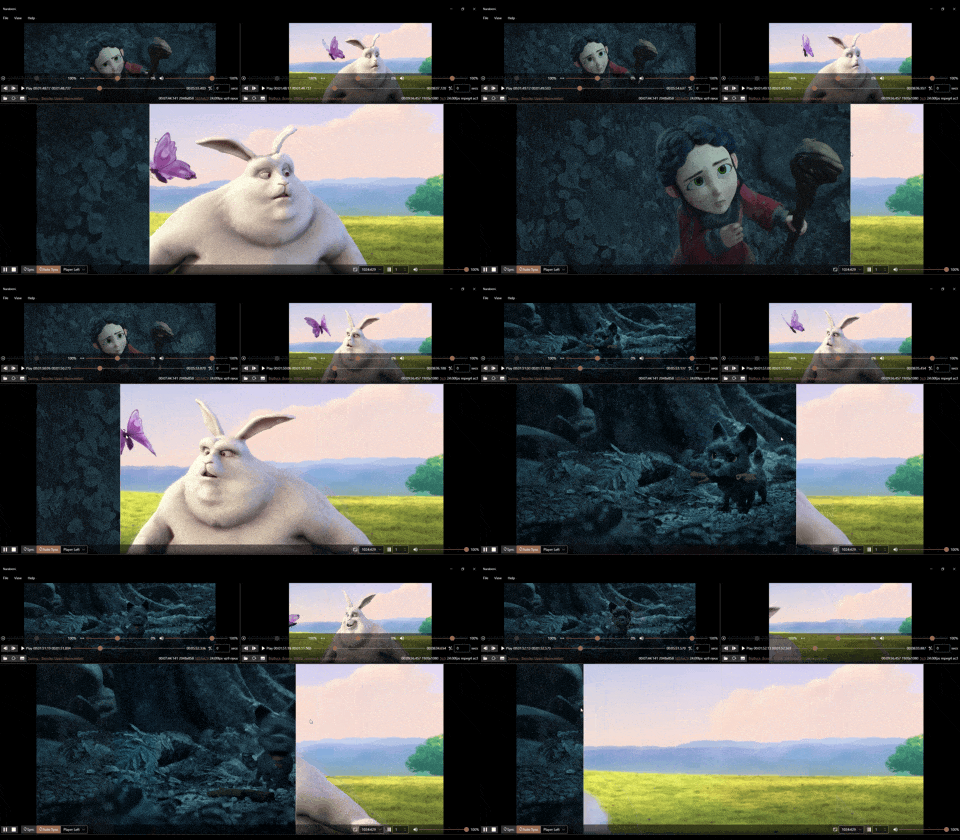
2つの映像ファイルを同時に再生して簡単な比較ができるツールを作りました。
映像変換やコンピュータビジョン系の処理結果をサクッと見比べるのに便利だと思います。
世の中に似たようなツールはいろいろありますがあまりお手軽ではないため自作しました。
Windows用です。
できること
- 映像の再生位置を同期させる
- 画を見比べる
- 左右に並べて見比べる
- スライダーを動かして見比べる
- 映像のブレンド方法をカスタマイズする(HLSLシェーダ)
- 字幕表示(.srt)
できないこと
ガチ比較用ではないため、
- フレームアキュレート、ピクセルパーフェクトな比較
- 正確な色の再現
はできません。
また、下記には対応できていません。
- タイムコードなどメタデータの比較
- ループ再生
- プレイリスト
- 3つ以上の映像の比較
あと結構不安定です。
技術的なこと
利用ライブラリ
C#とXAMLで書かれたWPFアプリケーションで、以下のようなライブラリを利用しています。
- MVVMフレームワーク: MVVM Toolkit
- XAMLコンバーター: Epoxyの ValueConverter
- UI: ModernWPF
- 設定ファイルやロガー: .NETの汎用ホスト、ZLogger
- 映像プレイヤー: FFMediaElement
- 映像のブレンド: WPFの ShaderEffect
- WPF で ShaderEffect - Qiita を参考にさせていただきました
映像のブレンドのしくみ
WPFの機能を使ってピクセルシェーダでブレンドしています。
以下のようなシェーダを用意し、input0 と input1 の2つのテクスチャを水平スライダーの割合 ratio に基づいてブレンドしています。
// Shaders/blend.hlsl
sampler2D input0 : register(s0);
sampler2D input1 : register(s1);
float widthPx : register(c0);
float heightPx : register(c1);
float ratio : register(c2);
float borderWidth : register(c3);
float4 borderColor : register(c4);

float4 main(float2 uv : TEXCOORD) : COLOR
{
    float4 color0 = tex2D(input0, uv);
    float4 color1 = tex2D(input1, uv);
    float4 color = lerp(color0, color1, step(ratio, uv.x));
    return lerp(color, borderColor,
        step(uv.x - (borderWidth / widthPx / 2.0f), ratio) *
        step(ratio, uv.x + borderWidth / widthPx / 2.0f));
}
シェーダに映像を入力するために ShaderEffect クラスの派生クラスを定義し、DependencyProperty で入力テクスチャを2つ定義しています。下記の Input0、Input1 プロパティです。
// BlendEffect.cs
public class BlendEffect : ShaderEffect
{
    // 一部抜粋
    public Brush Input0
    {
        get => (Brush)GetValue(Input0Property);
        set => SetValue(Input0Property, value);
    }
    public static DependencyProperty Input0Property =
        RegisterPixelShaderSamplerProperty(nameof(Input0), typeof(BlendEffect), 0, DefaultSamplingMode);

    public Brush Input1
    {
        get => (Brush)GetValue(Input1Property);
        set => SetValue(Input1Property, value);
    }
    public static DependencyProperty Input1Property =
        RegisterPixelShaderSamplerProperty(nameof(Input1), typeof(BlendEffect), 1, DefaultSamplingMode);
}
この2つのプロパティに映像プレイヤーの描画要素を割り当てています。下記のようにXAML上でバインドしています。
<!-- UI/Windows/MainWindow.xaml -->
<Grid.Effect>
    <narabemi:BlendEffect ShaderPath="{Binding ShaderFilePath}"
                          Width="{Binding ElementName=VideoViewbox, Path=ActualWidth}"
                          Height="{Binding ElementName=VideoViewbox, Path=ActualHeight}"
                          Ratio="{Binding BlendHorizontal}"
                          BorderWidth="{Binding BlendBorderWidth}"
                          BorderColor="{Binding BlendBorderColor}">
        <narabemi:BlendEffect.Input0>
            <VisualBrush Visual="{Binding ElementName=VideoPlayerA, Path=Grid}" />
        </narabemi:BlendEffect.Input0>
        <narabemi:BlendEffect.Input1>
            <VisualBrush Visual="{Binding ElementName=VideoPlayerB, Path=Grid}" />
        </narabemi:BlendEffect.Input1>
    </narabemi:BlendEffect>
</Grid.Effect>
再生位置の同期
既存の映像プレイヤーをそのまま乗っけて利用しているため、同期は完全にとれないものとして再生位置をアバウトに合わせる方式をとっています。映像プレイヤーをメインとサブに分けて、サブの再生位置がずれていたらそのずれに応じてプレイヤーの再生速度を調整し、大きくずれていたらシークします。単純です。
ほか
最初は.NET MAUIで作ろうとしましたが映像プレイヤーのコンポーネントがなかったため諦めました。
なので、WPFなのにライブラリだけ最近のものを使っています😅
