前提
OS X用のパッケージ管理ツール Homebrew がインストールされている必要があります。
インストール方法はこちらを参照。
インストール
デフォルトのHomebrewリポジトリにJuliusは含まれていないので homebrew-nlp をtapします。
$ brew tap uetchy/nlp
Tapし終わったら、juliusとjulius-dictation-kitをインストールします。
$ brew install julius julius-dictation-kit
これで Julius と Juliusディクテーションキットがインストールされました。
ディクテーションキットの場所は brew --prefix julius-dictation-kit コマンドで調べられます。
後は、上記の brew --prefix コマンドでディクテーションキット内の main.jconf と am-gmm.jconf のパスを調べて julius に渡すことで音声認識が出来るようになります。
$ julius \
  -C `brew --prefix julius-dictation-kit`/share/main.jconf \
  -C `brew --prefix julius-dictation-kit`/share/am-gmm.jconf
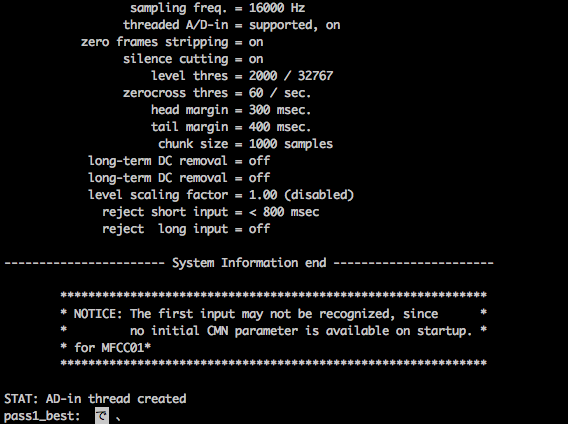
上記のコマンドでJuliusはGMMモードで待機状態に入り、マイクに喋り始めるとリアルタイムで音声認識してくれます。
Juliusをより精密なDNNモードで起動したい場合は以下のように、am-gmm.jconf を am-dnn.jconf に変更するだけです。
$ julius \
  -C `brew --prefix julius-dictation-kit`/share/main.jconf \
  -C `brew --prefix julius-dictation-kit`/share/am-dnn.jconf
ディクテーションキットに関するドキュメントは下記のコマンドから参照可能です。
$ open `brew --prefix julius-dictation-kit`/share/doc
実行中の様子
homebrew-nlp
homebrew-nlpへの自然言語処理系のformulaのPull-Requestお待ちしております。
