What is sounddevice?
sounddeviceは、PortAudioライブラリのバインディングと、NumPy配列で生成した信号を再生したり、NumPy配列として録音するためのライブラリです。
Setting audio output for Raspberry Pi
-
sudo raspi-configを実行します。

-
System Optionsを選択します。

-
Audioを選択します。

- 出力先を
HDMIかHeadphonesかを選べます。 -
alsamixerを実行することで、音量やディバイスの情報を確認することができます。

Check devices on Raspberry Pi
python3を実行しsounddeviceをインポートします。
import sounddevice as sd
次に、利用可能なデバイスの情報を確認します。
import sounddevice as sd
sd.query_devices()

| Numeric device ID | information about the device | |
|---|---|---|
| 0 | bcm2835 Headphones: - (hw:0,0), ALSA (0 in, 8 out) | |
| 1 | sysdefault, ALSA (0 in, 128 out) | |
| 2 | lavrate, ALSA (0 in, 128 out) | |
| 3 | samplerate, ALSA (0 in, 128 out) | |
| 4 | speexrate, ALSA (0 in, 128 out) | |
| 5 | pulse, ALSA (32 in, 32 out) | |
| 6 | upmix, ALSA (0 in, 8 out) | |
| 7 | vdownmix, ALSA (0 in, 6 out) | |
| 8 | dmix, ALSA (0 in, 2 out) | |
| * | 9 | default, ALSA (32 in, 32 out) |
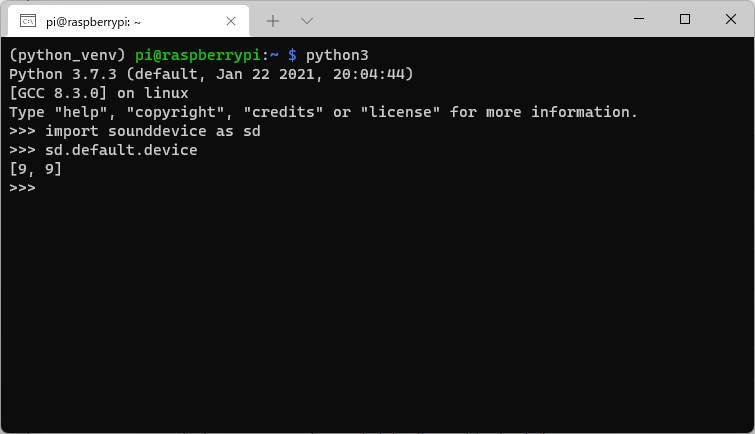
ここで、Numeric device IDが9であるディバイスがデフォルトであることがわかりました。実際、以下の通りデフォルトのディバイスが確認できます。 |
import sounddevice as sd
sd.default.device
Numeric device IDが9であるディバイスの詳細な情報を確認してみましょう。
import sounddevice as sd
sd.query_devices(device=9, kind='output')
sd.query_hostapis(index=0)

Numeric device IDが9であるディバイスのサンプリングレートが44.1kHzであることがわかりました。それぞれのオプションの意味についてはquery_devices()を確認してみてください。
Python3 on Raspberry Pi
source ~/python_venv/bin/activateによって設定した仮想環境に入ってから、python3のソースコードを実行します。
Play sound
音を再生をする場合は大きく分けて二つの方法があります。
- play()関数を利用する。
- OutputStream()関数を利用する。
play()関数は便利ですが、小さなスクリプトや対話型使用 (Jupyter notebook 内など) を想定していて、使用例はかなり限定されています。よって、リアルタイム処理などを行う場合はOutputStream()関数を利用したほうがよいです。なので、今回はOutputStream()関数を利用して音の再生を行います。
import sounddevice as sd
import numpy as np

output_device = sd.default.device[1]
output_device_info = sd.query_devices(device=output_device)

volume = 2
freq = 1e3
offset = 0
fs = int(output_device_info['default_samplerate'])

def out_stream_callback(outdata, frames, time, status):
    global freq, fs, offset

    n_samples, n_channels = outdata.shape

    t = np.arange(offset, offset+n_samples) / fs
    offset += n_samples

    for c in range(n_channels):
        outdata[:, c] = volume*np.sin(2*np.pi*freq*t)

with sd.OutputStream(
    samplerate=fs,
    blocksize=2**10,
    device=output_device,
    channels=2,
    dtype='float32',
    # latency=None,
    # extra_settings=None,
    callback=out_stream_callback,
    # finished_callback=None,
    # clip_off=None,
    # dither_off=None,
    # never_drop_input=None,
    # prime_output_buffers_using_stream_callback=None
    ):
    try:
        while True:
            sd.sleep(10)
    except KeyboardInterrupt:
        print('interrupted!')
        pass