仮想マシンの作成〜OSのインストールまで行います。
シリーズ記事
- Linux基礎編
- VirtualBoxハンズオン
- Vagrantハンズオン
- Dockerハンズオン
- Docker Composeハンズオン
目的
今回の目的は、VirtualBoxにLinuxディストリビューションのUbuntu OSをインストールします。
(この章はめっちゃ時間かかるので、時間に余裕のある方は試して苦労を味わってみてください😈時間ない方は流し読みでいいですよ😉)
※スクリーンショットはUbuntu18.04になっていますが、動画ではUbuntu20.04でハンズオンします。
※Linuxのバージョンはリリース年の数字とリリース月の数字をバージョン番号としてます。
YouTube版 【ペチオブ】仮想環境ハンズオン 第2回 VirtualBox編
動画を高評価、チャンネル登録いただけるとより多くの方へオススメ表示されるので良いと思った方はご協力いただけるとありがたいです🙏
目次
- VirtualBoxとは
- Ubuntu Server をダウンロードする
- 仮想マシンの作成
- 仮想マシンの起動
VirtualBox のインストール
公式サイトからインストーラをダウンロードできます。
VirtualBox とは

- Oracle VM VirtualBox(オラクル ブイエム バーチャルボックス)
- 仮想化ソフトウェアの一つ
- 複数のゲストOSを管理・起動することができ、同時に起動できる
- エミュレートされる環境
- ハードディスク
- 光学ドライブ
- グラフィック機能
- ネットワーク機能
- オーディオ機能
Ubuntu Server をダウンロードする
Ubuntu Server 18.04.4 LTS をダウンロードしてみます。
仮想マシンの作成
VirualBox を起動します。
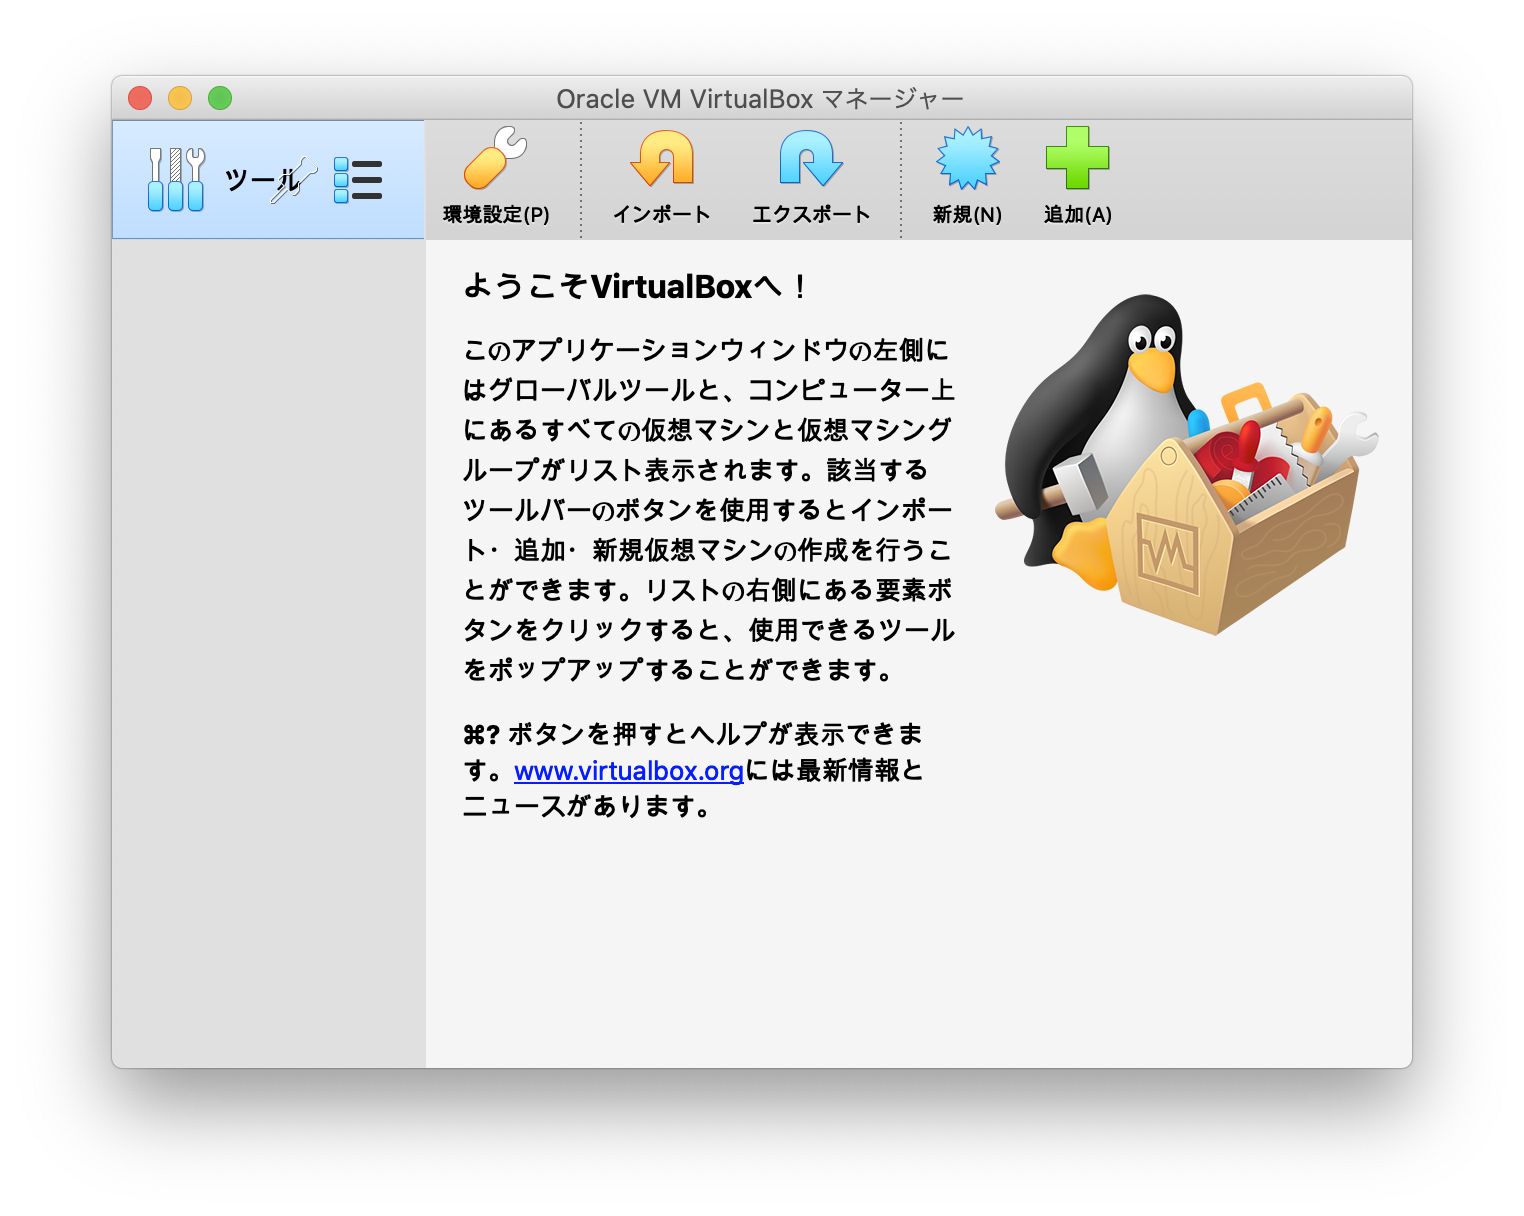
メニュー > 仮想マシン > 新規(N)
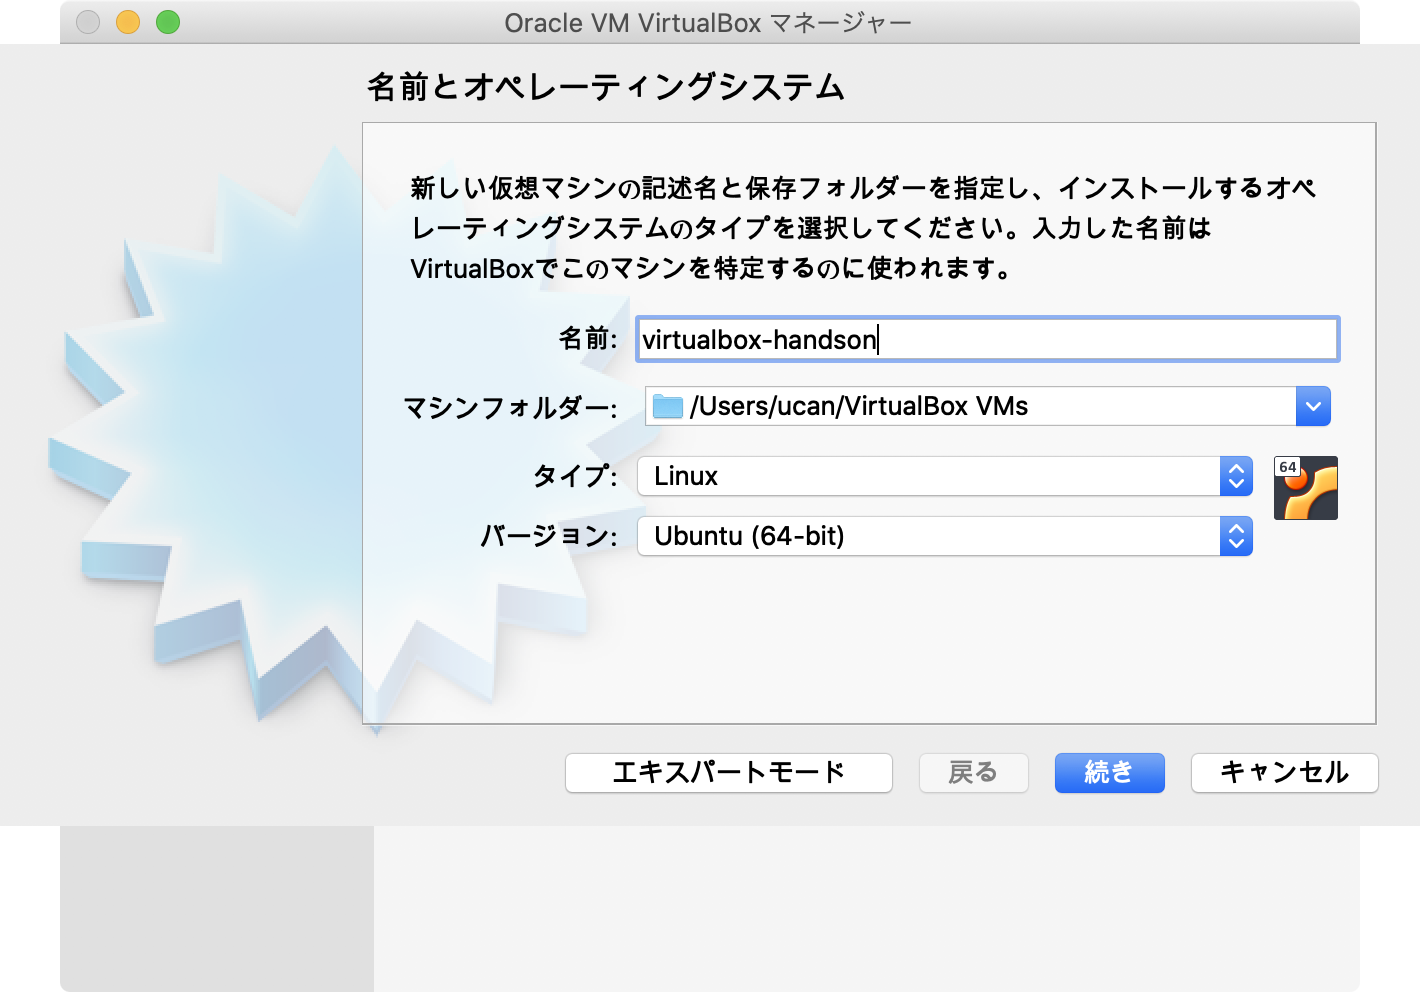
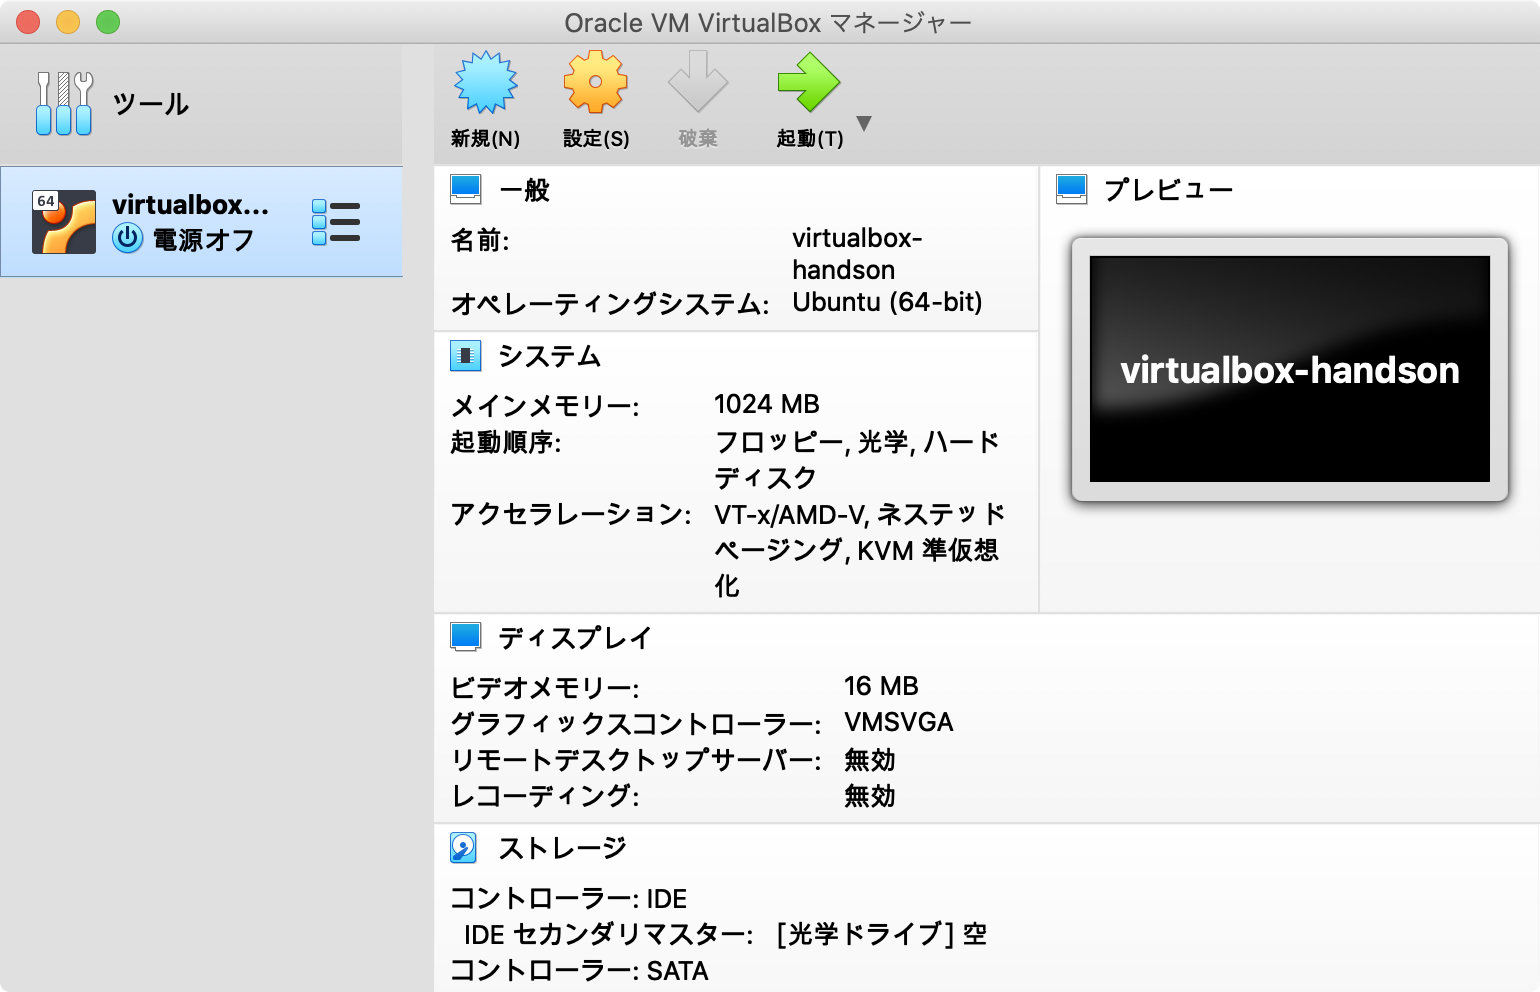
名前: virtualbox-handson
マシンフォルダー: ~/VirtualBox VMs (デフォルトのまま)
タイプ: Linux
バージョン: Ubuntu (64-bit)
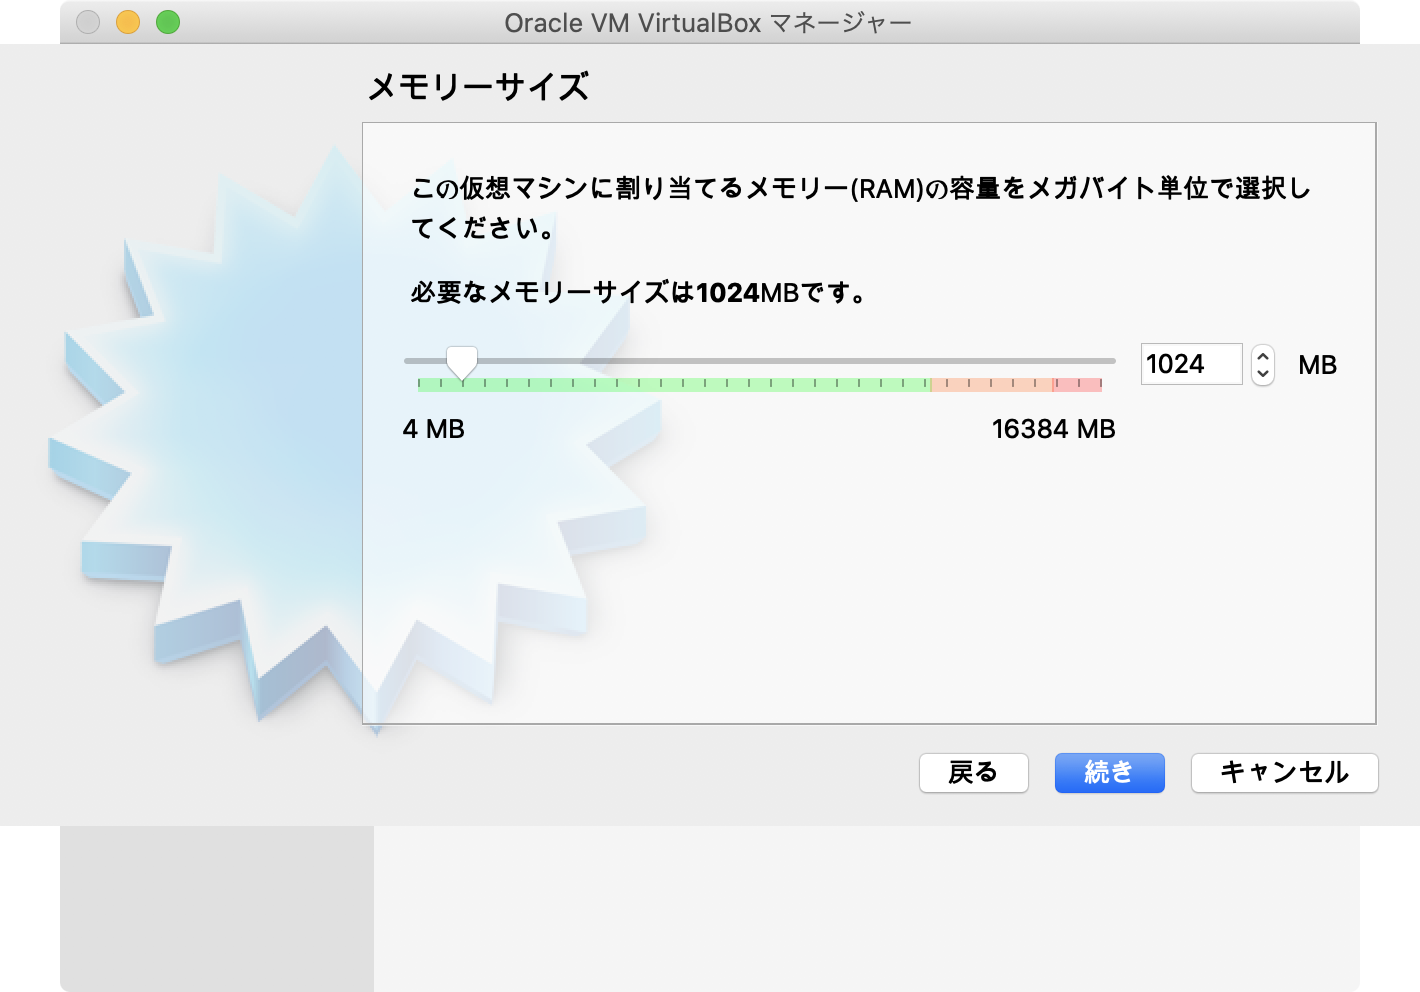
メモリーサイズ: 1024MB
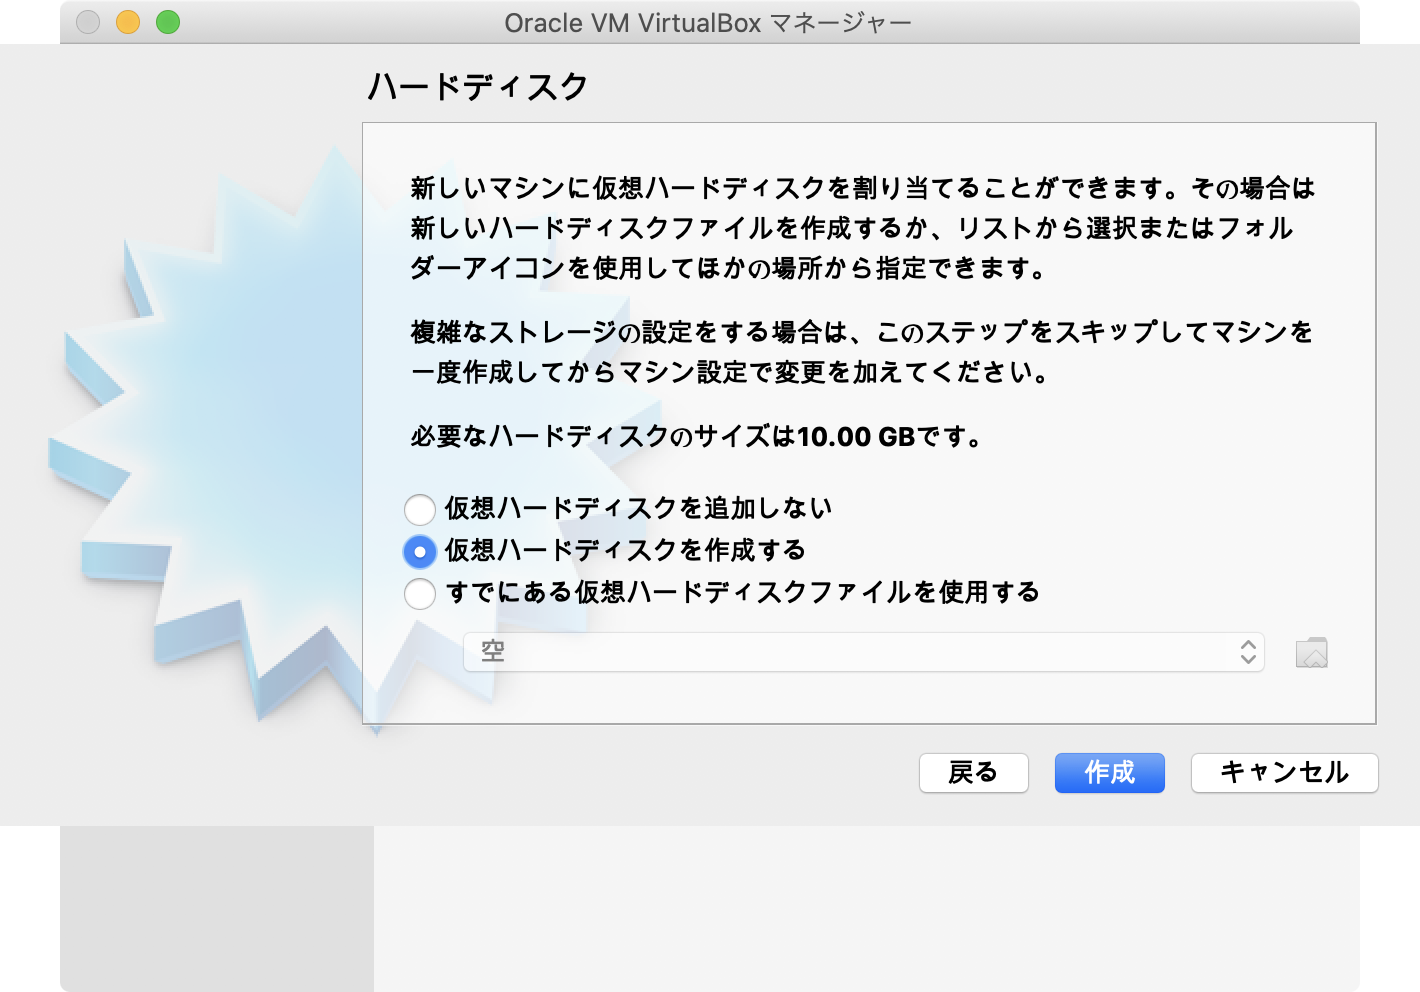
ハードディスク: 仮想ハードディスクを作成する

ハードディスクのファイルタイプ: VDI (VirtualBox Disk Image)
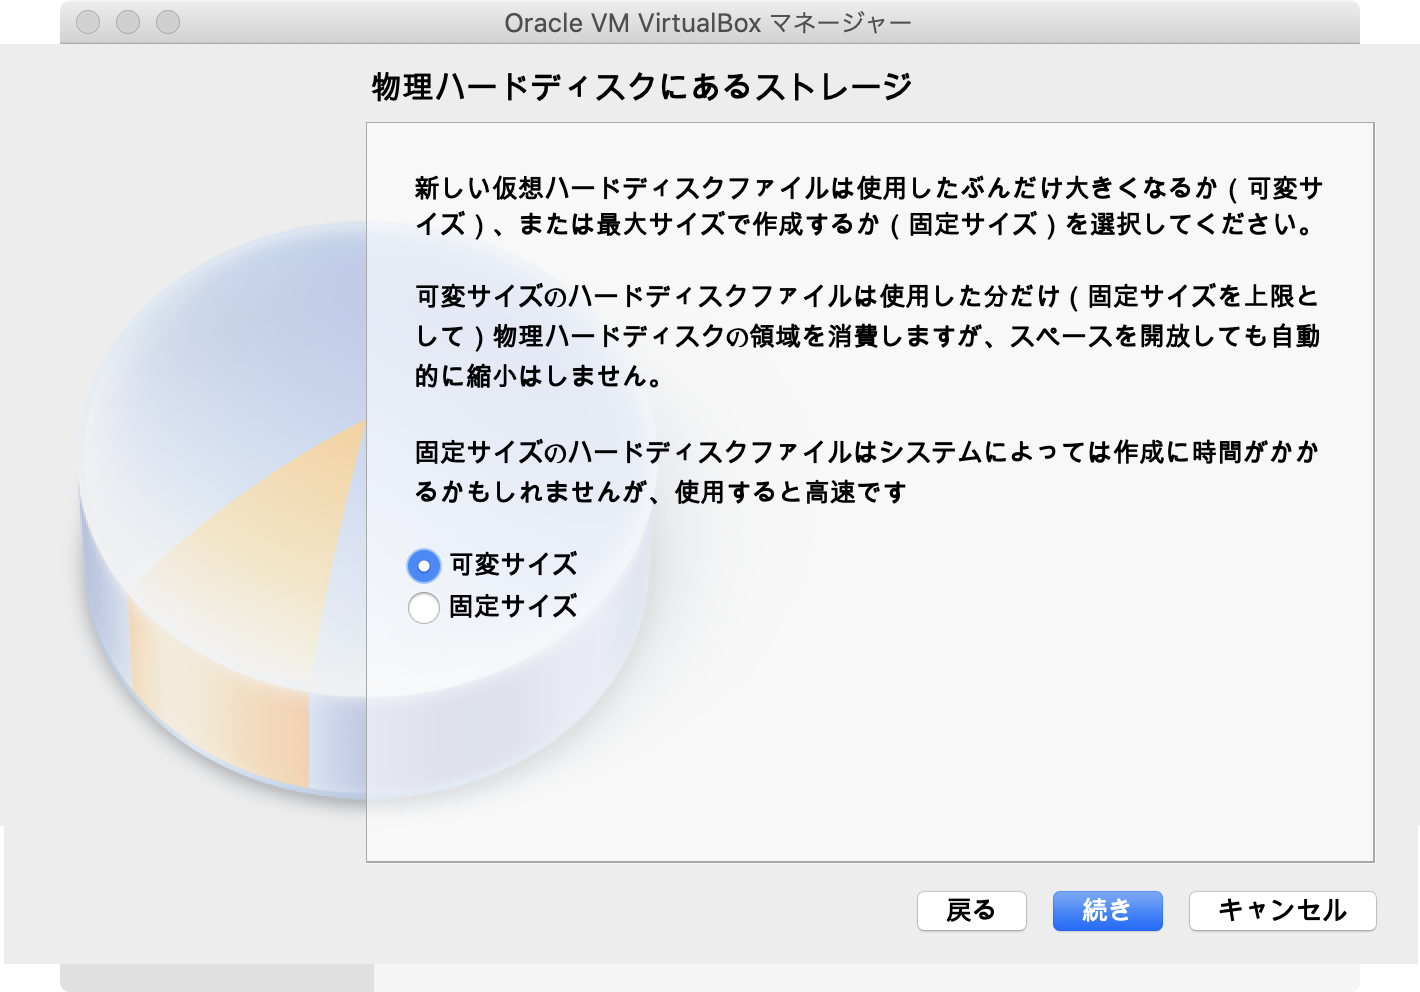
物理ハードディスクにあるストレージ: 可変サイズ
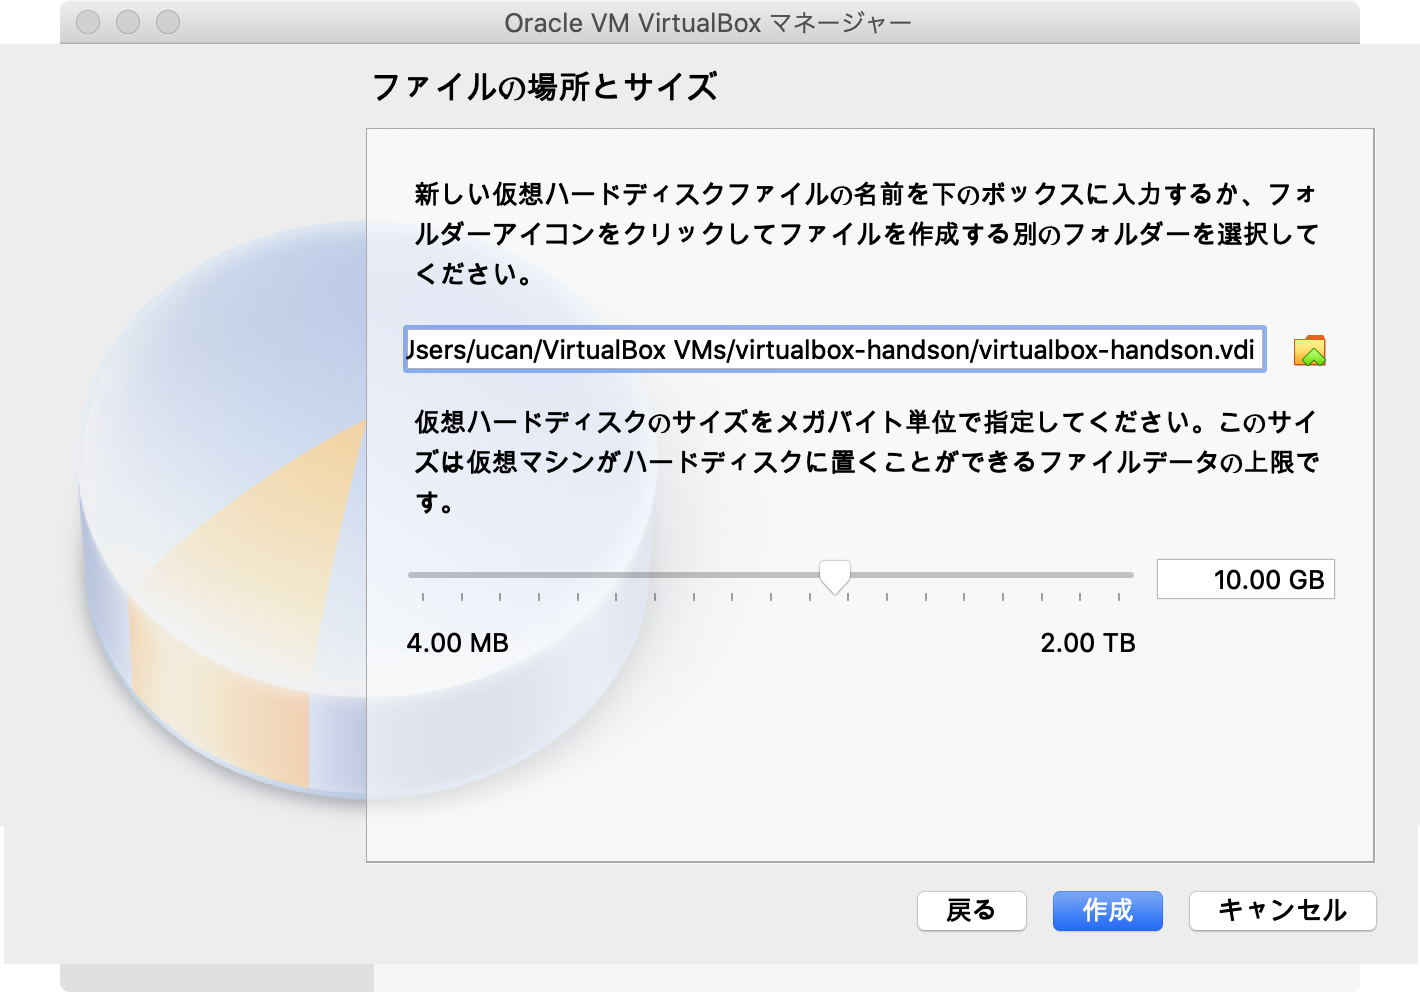
ファイルの場所とサイズ:
~/VirtualBox VMs/virtualbox-handson/virtualbox-handson.vdi- 10.00GB
仮想マシンの起動
メニュー > 仮想マシン > 起動 > 通常起動

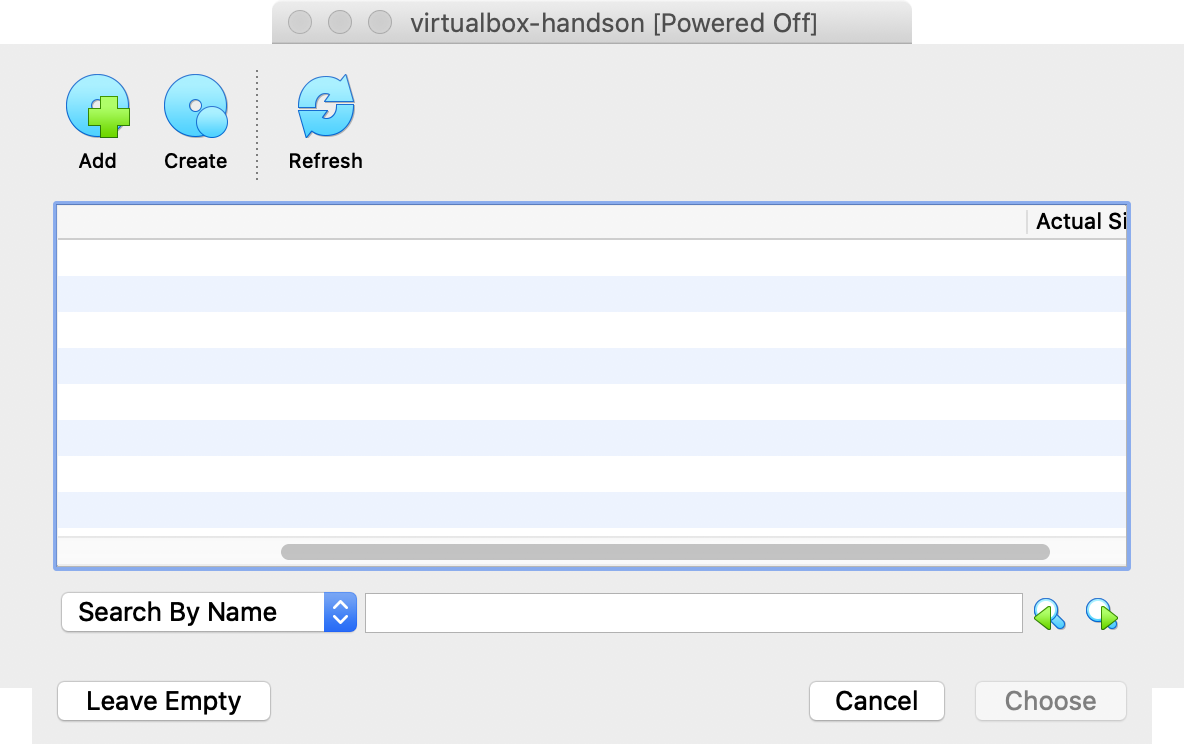

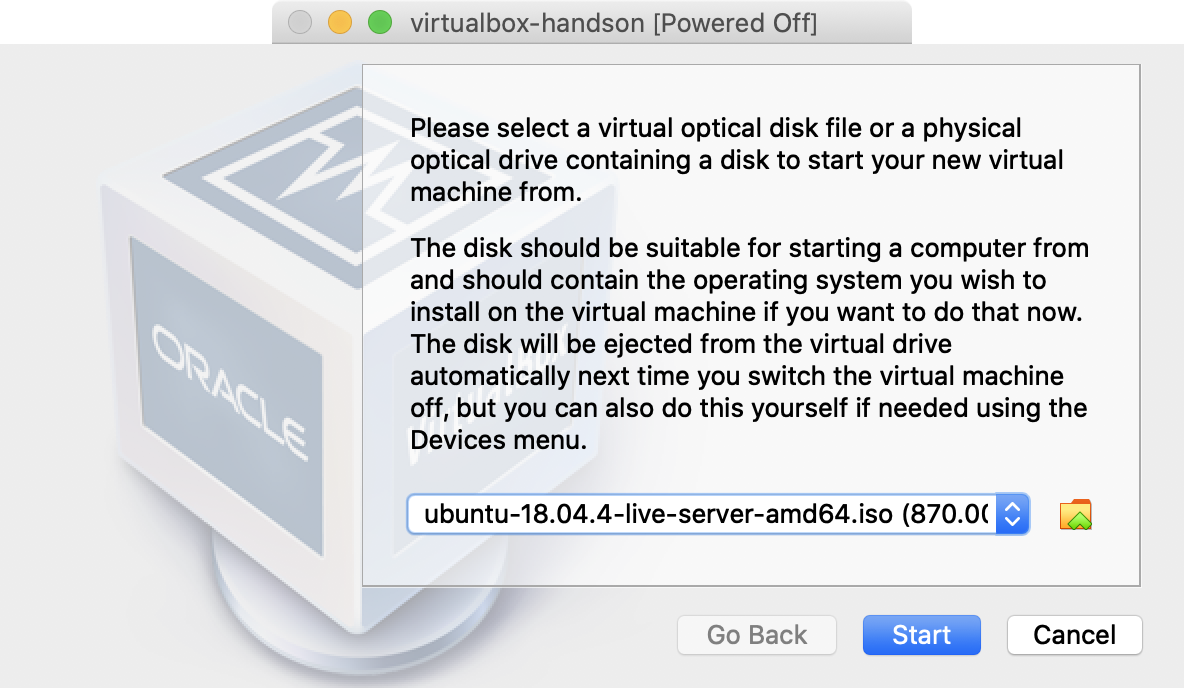
補足: 表示されるメッセージ1

Please select a virtual optical disk file r a physical optical drive containing a disk to start your new virtual machine from.

The disk should be suitable for starting a computer from and should contain the operating system you wish to install on the virtual machine if you want too do that now.

The disk will be ejected from the virtual drive automatically next time you switch the virtual machine off, but you can also do this yourself if needed using theee Devices menu.
要約すると、
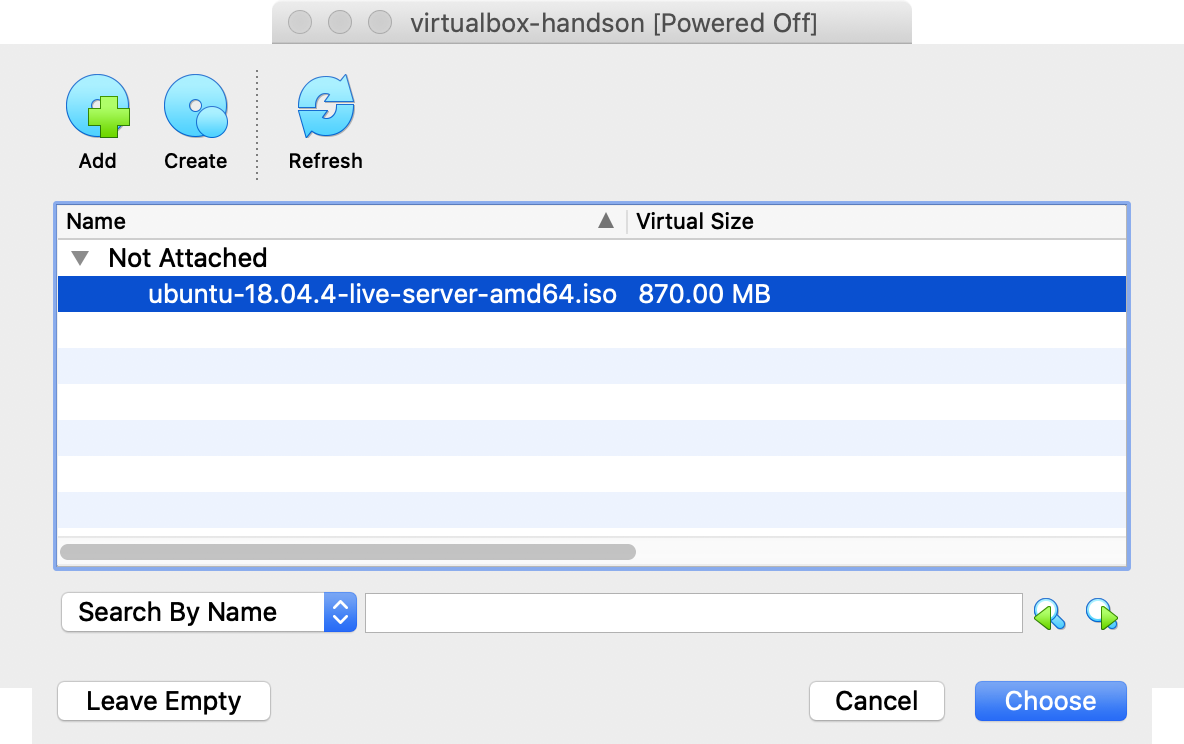
- 仮想光学ディスクファイル(.iso)を選択してください。
- ディスクはコンピュータの起動に適している必要があり、OSシステムが含まれてる必要があります。
- 仮想マシンをオフにしたときに、ディスクは仮想ドライブから自動的に取り出されます。
- 必要に応じてデバイスメニューから手動で取り出しも可能です。
補足: 表示されるメッセージ2

You have the Auto capture keyboard option turned on.
This will cause the Virtual Machine to automatically capture the keyboard every time the VM window is activated and make it unavailable to other applications running on your host machine: when the keyboard is captured, all keystrokes (including system ones like Alt-Tab) will be directed to the VM.

You can press the host key at any time to uncapture the keyboard and mouse (if it is captured) and return them to normal operation.
The currently assigned host key is shown on the status bar at the bottom of the Virtual Machine window, nextt to the ⬇️ icon.
This icon, together with the mouse icon placed nearbyy, indicate the current keyboard and mouse capture statte.

The host key is currently defined as Left ⌘.
要約すると、
- キーボードの自動キャプチャオプションが有効です。
- VMウィンドウがアクティブ化されるたびにキーボードをキャプチャします。
- Alt, Tab等を含むすべてのキーがVMに転送されます。
- 通常操作に戻す場合は⬇️アイコンの隣に表示されてるキーを押します。
- デフォルトは 左の⌘ キー
Ubuntu Server のインストール
Select your language
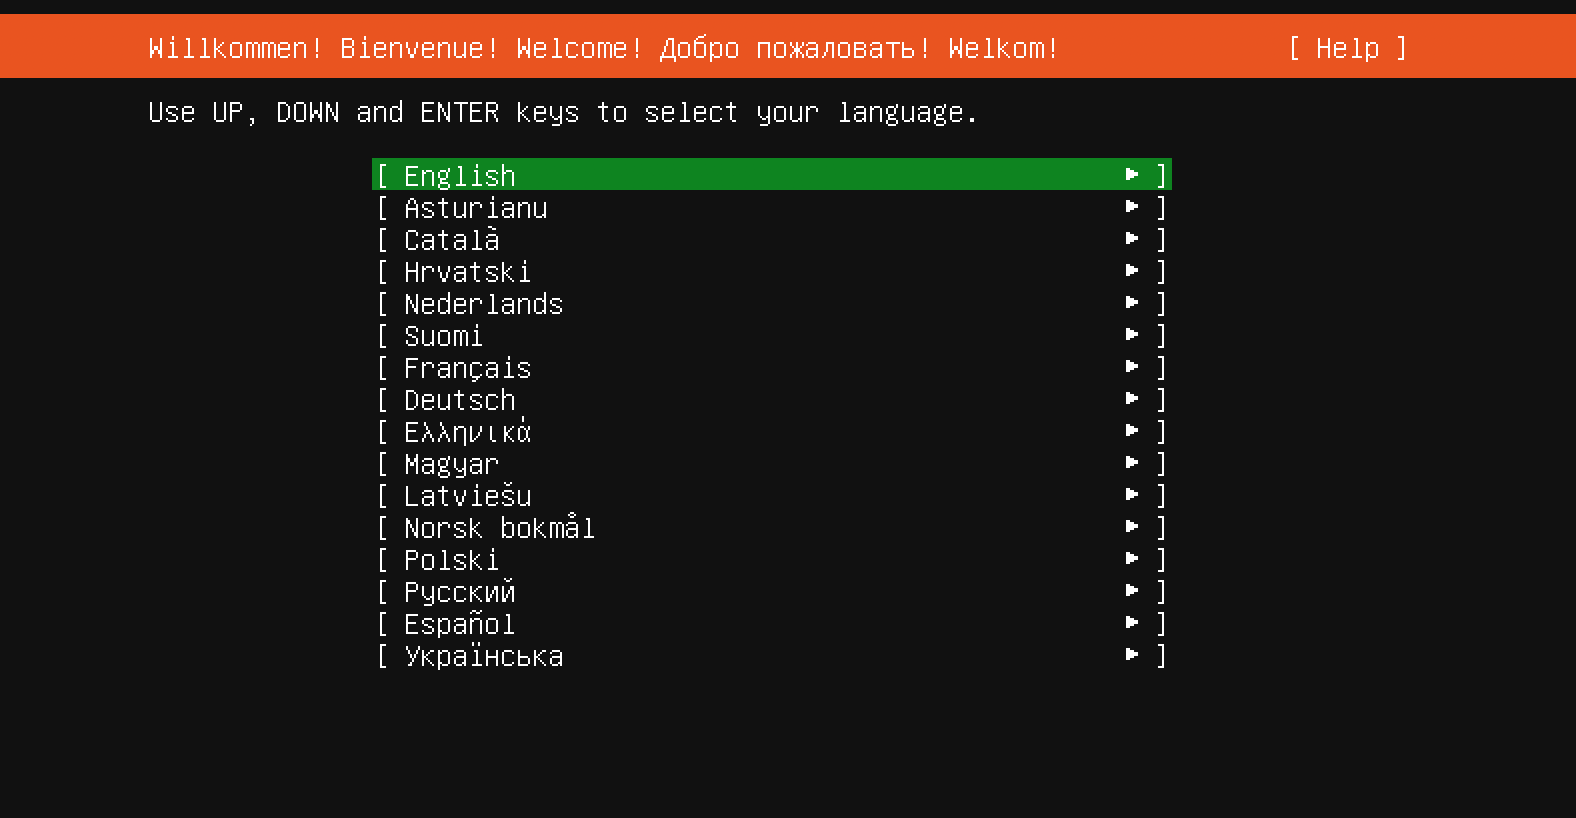
得意な言語を選びます。
今回は English を選択します。
Installer update available

- Update to the new installer (インストーラを更新する)
- Continue without updating (そのまま続行する)
- 今回はこちらを選択
Keyboard configration

- English (US) を選択
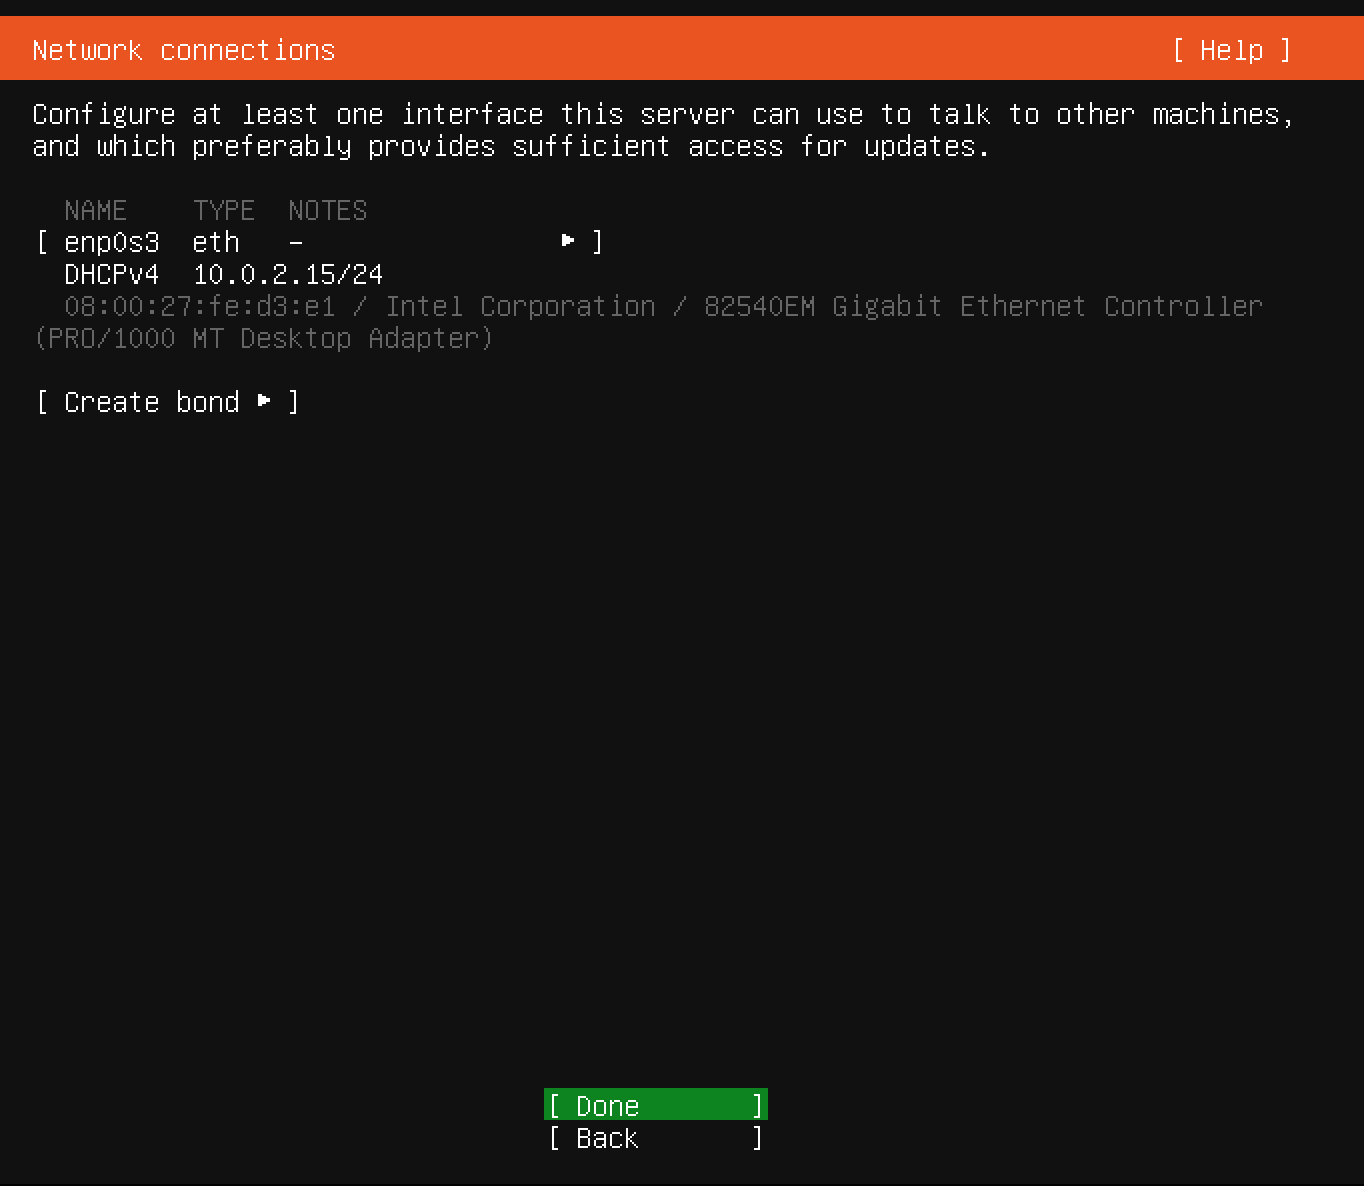
Network connections
Configure proxy

Configure Ubuntu archive mirror

Filesystem setup 1
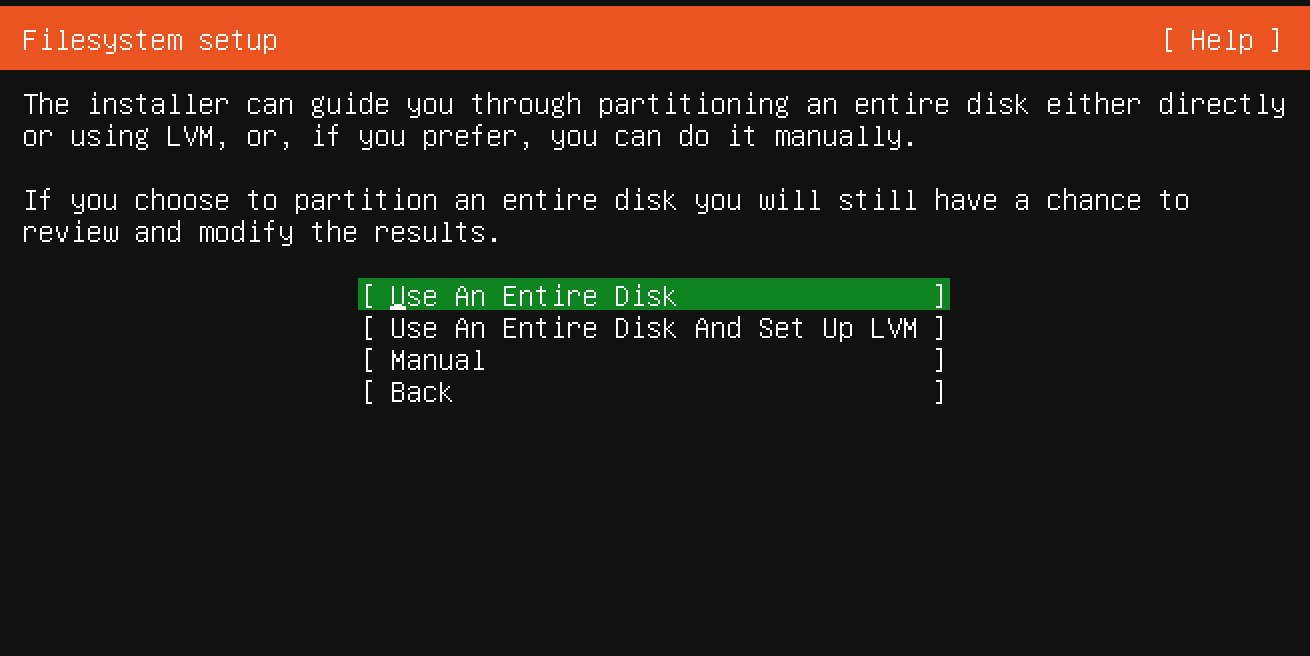
ファイルシステムのパーティション設定
Use An Entire Disk(ディスク全体を使用する)を選択
Filesystem setup 2
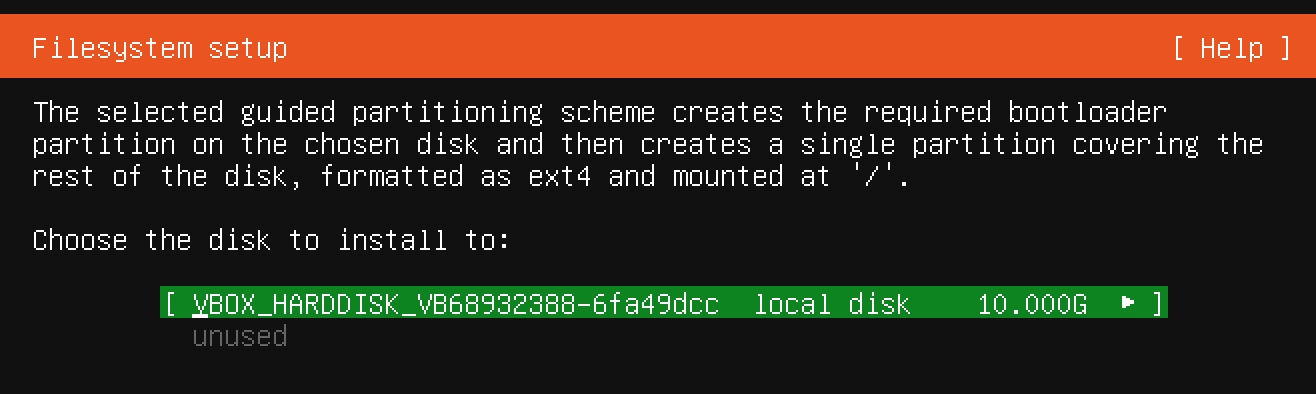
OSのインストール先をパーティション設定されたディスクに選択します。
Filesystem setup 3
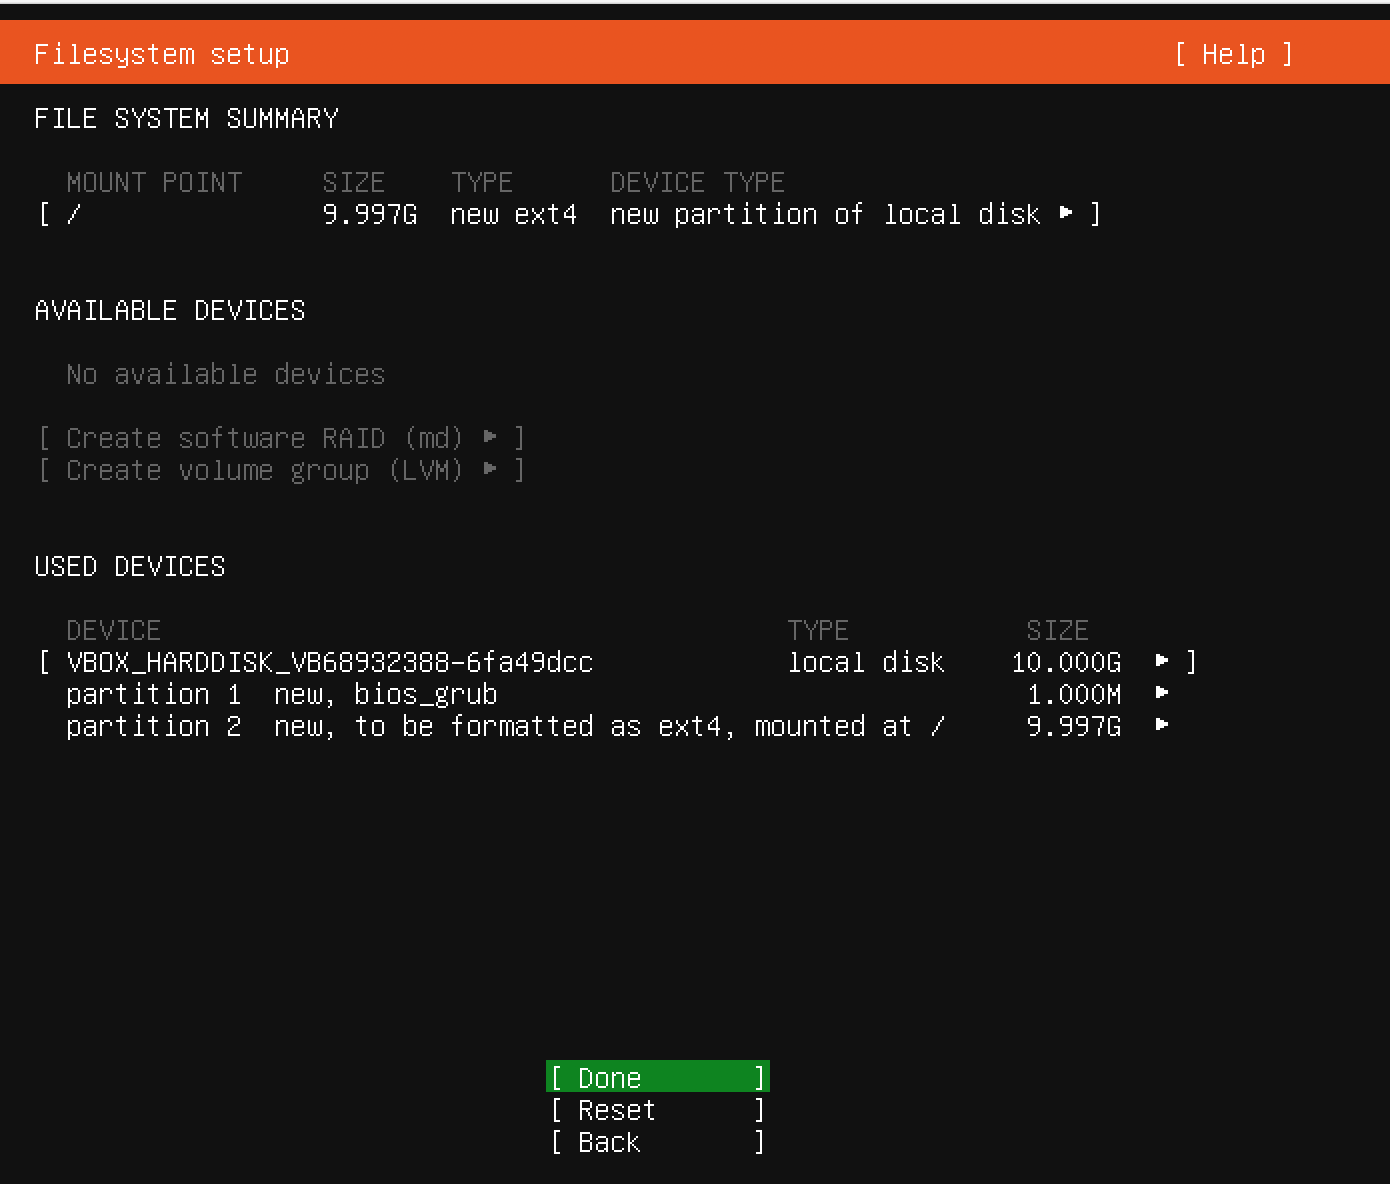
設定の概要が表示されるので、 DONE する
Filesystem setup 4
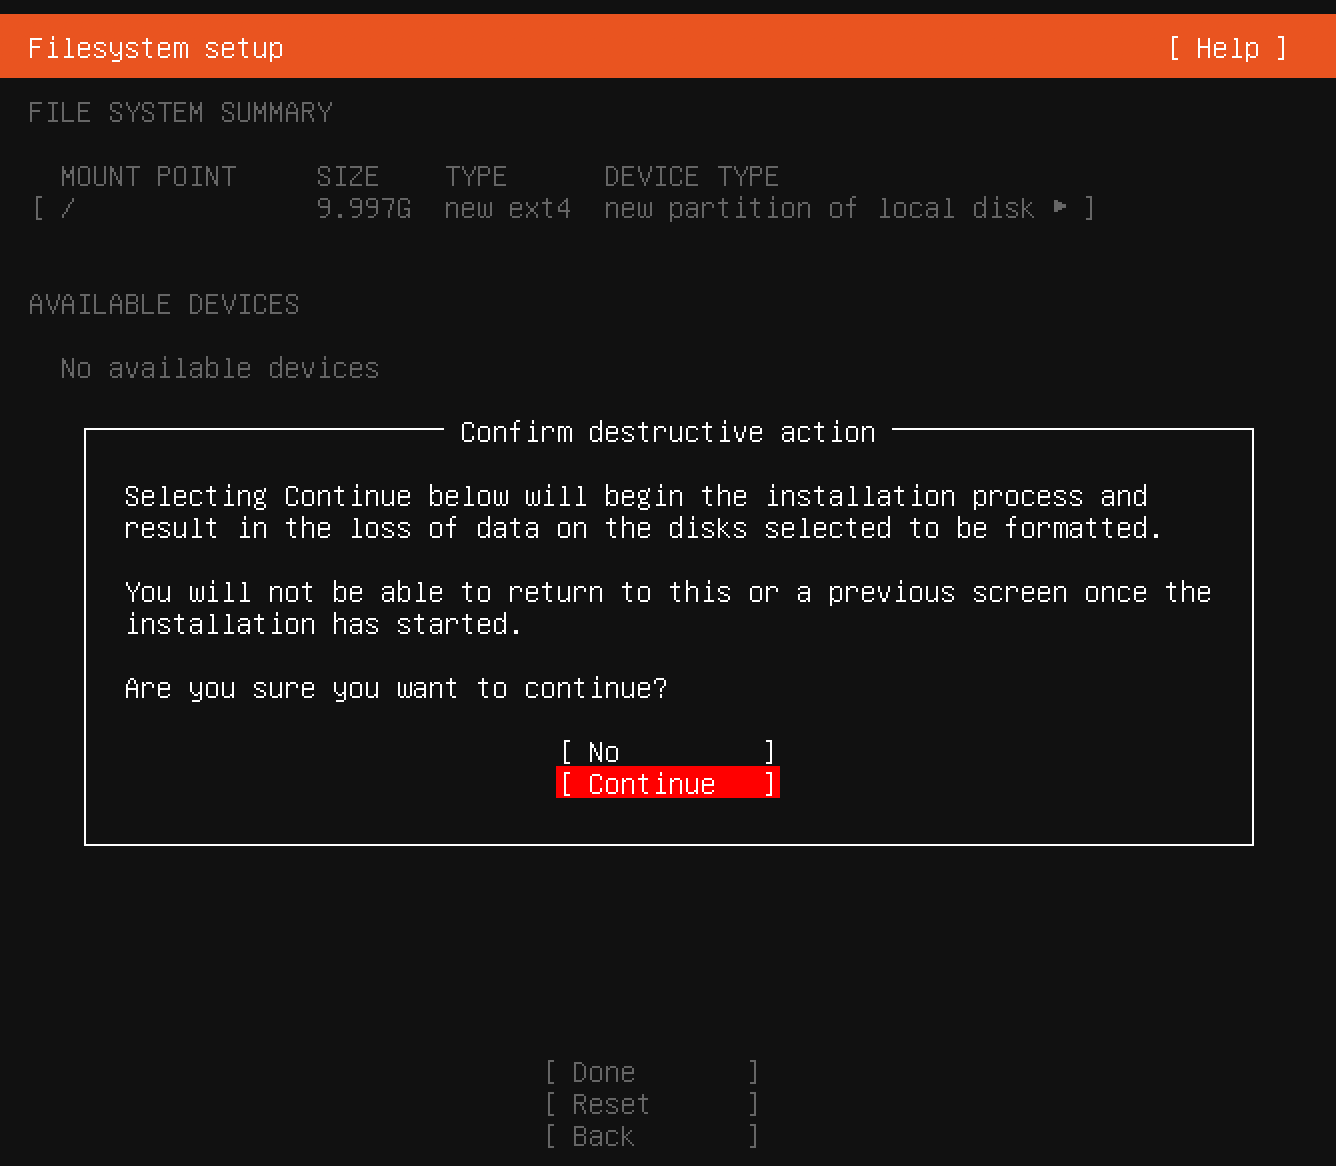
確認画面が表示されるので、 Continue する
Profile setup
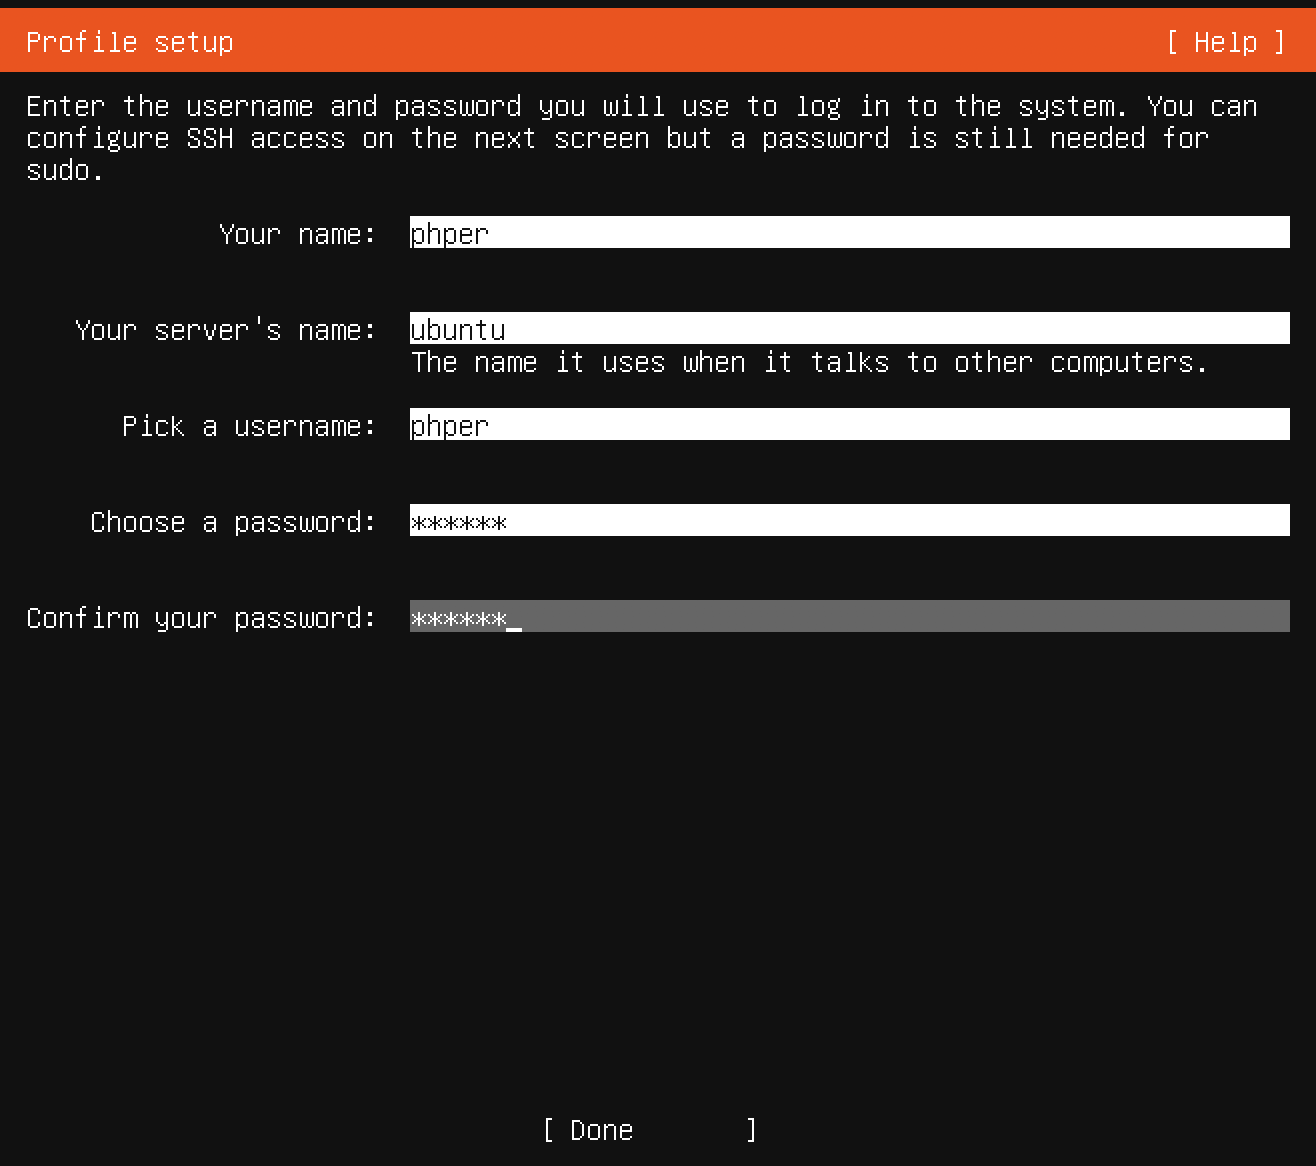
- Your name:
phper - Your server's naame:
ubuntu - Pick a username:
phper - Choose a password:
secret
SSH Setup

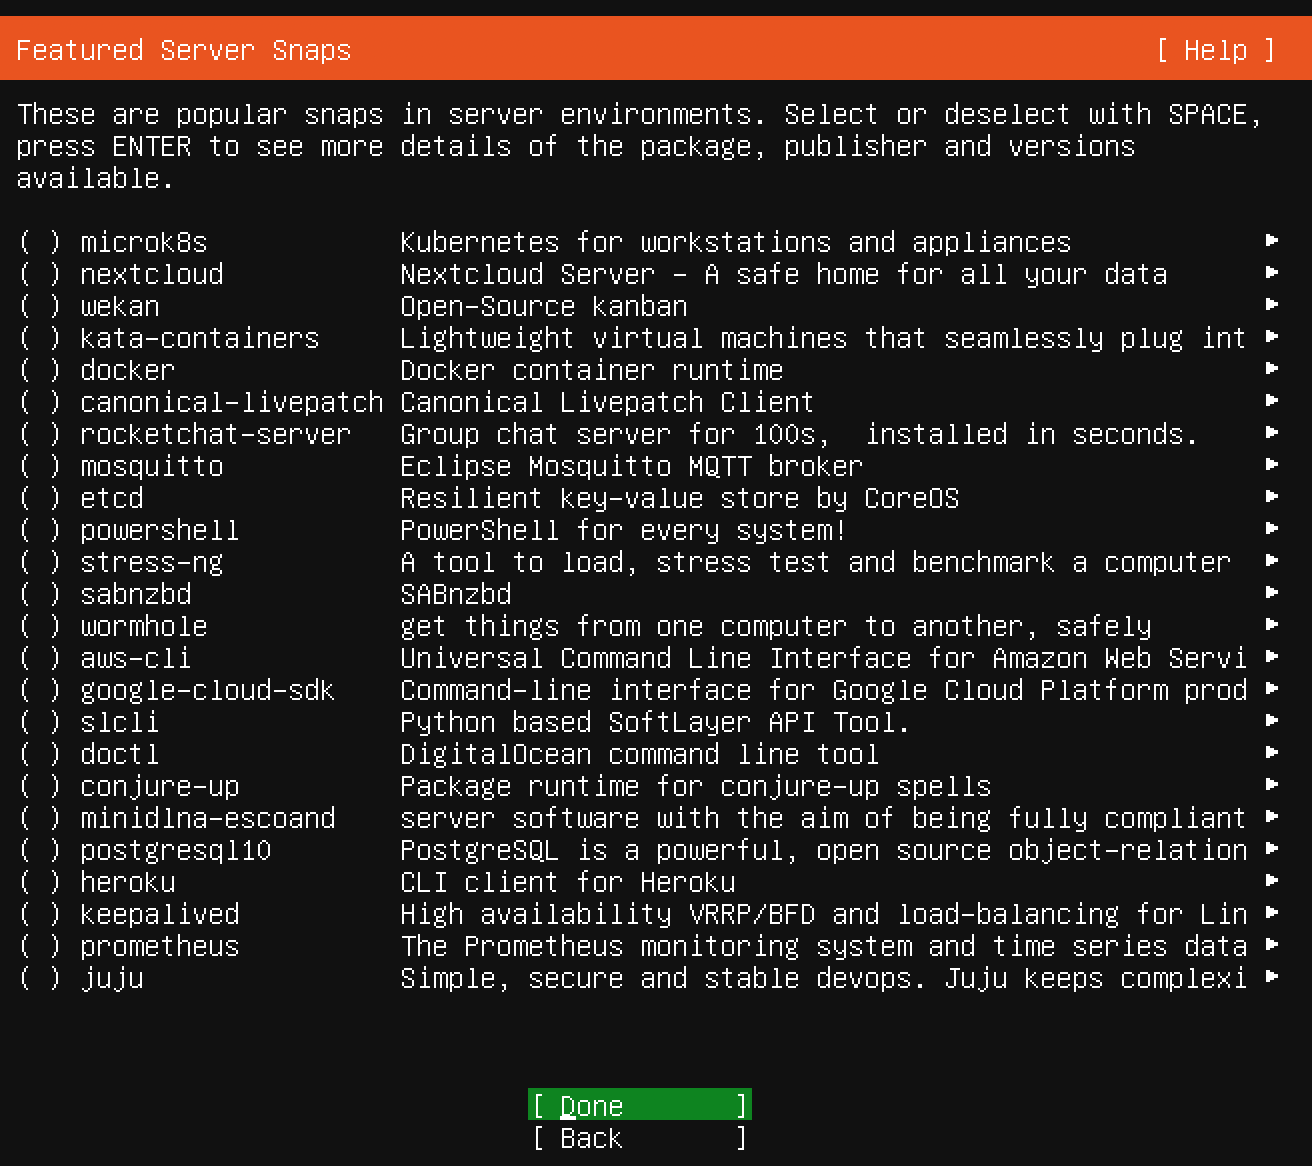
Featured Server Snaps
Installation complete!
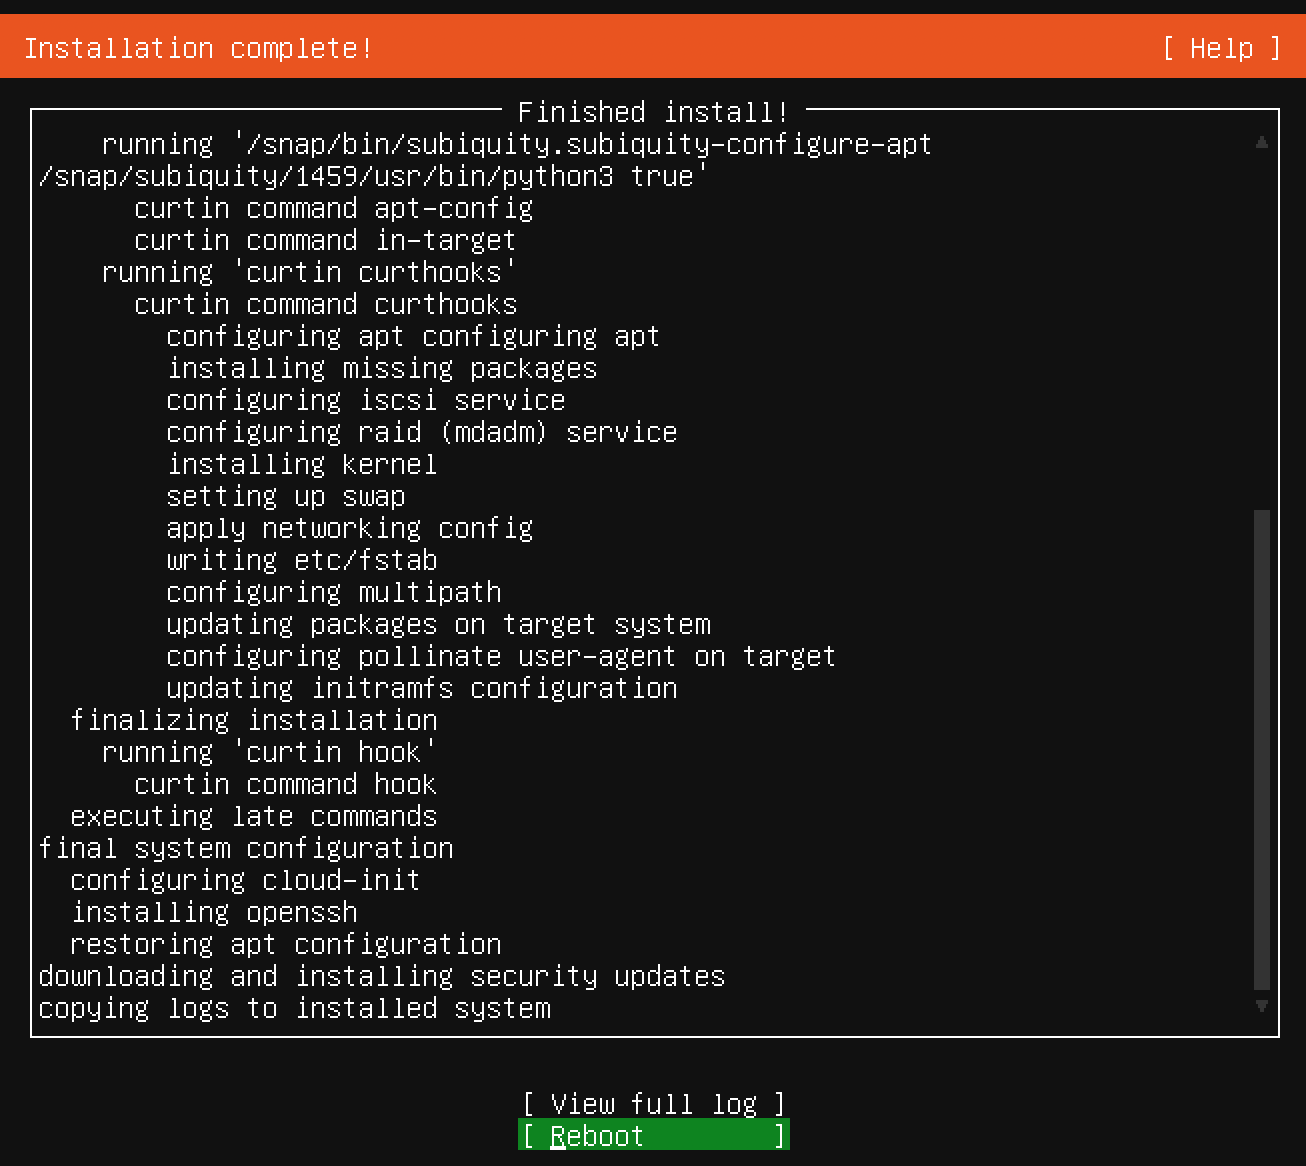
インストール完了したらReboot(OS再起動)します。

Enter を押して続行する。

ubuntu login: ユーザー名
先ほど作成した phper を入力する
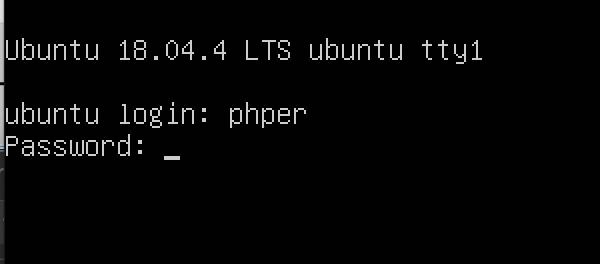
Password: パスワード
先ほど作成した secret を入力する
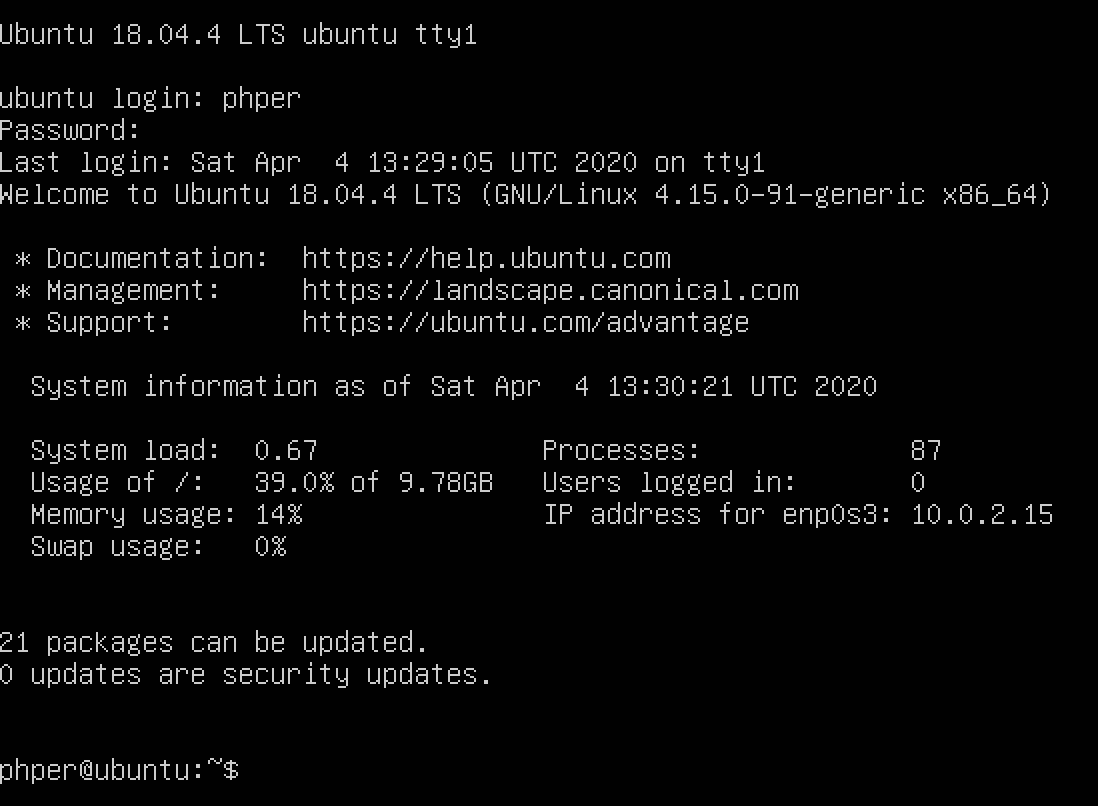
ログイン成功しました。
さいごに
VirtualBox ハンズオンいかがでしたでしょうか。
仮想マシンの作成〜OSのインストールまででしたが、手順が多く大変でしたね。
インストールしたいOSのisoファイルを公式サイトへ探しに行ったり、GUIの画面をポチポチ進めて行くのも大変です。
Vagrant ハンズオンへ続く...