Pythonソースコードからドキュメントを自動生成するツールに Sphinx というツールがあります。ソースコードにコメントを記述しておくと、このコメントの情報から美しいドキュメントを生成してくれます。
慣れが必要なので簡単に使い方を書きます。
サンプル環境構築
- 仮想環境構築
$ python3 -m venv samplevenv
$ source samplevenv/bin/activate
$ git clone https://github.com/shunsvineyard/python-sample-code.git
$ cd python-sample-code
$ python3 -m pip install -r requirements.txt
$ rm -r docs
- ディレクトリ構成
├── LICENSE
├── README.rst
├── requirements.txt
├── setup.py
├── tests
└── trees
    ├── __init__.py
    ├── __main__.py
    ├── bin
    │   ├── __init__.py
    │   └── tree_cli.py
    ├── binary_trees
    │   ├── __init__.py
    │   ├── avl_tree.py
    │   ├── binary_search_tree.py
    │   ├── binary_tree.py
    │   ├── red_black_tree.py
    │   ├── threaded_binary_tree.py
    │   └── traversal.py
    └── tree_exceptions.py
- Sphinxソースディレクトリ作成
$ mkdir docs
$ cd docs
$ sphinx-quickstart
下記のようにいくつか問合せがくるので回答します。
Sphinx 4.5.0 クイックスタートユーティリティへようこそ。

以下の設定値を入力してください(Enter キーのみ押した場合、
かっこで囲まれた値をデフォルト値として受け入れます)。

選択されたルートパス: .

Sphinx 出力用のビルドディレクトリを配置する方法は2つあります。
ルートパス内にある "_build" ディレクトリを使うか、
ルートパス内に "source" と "build" ディレクトリを分ける方法です。
> ソースディレクトリとビルドディレクトリを分ける(y / n) [n]: y

プロジェクト名は、ビルドされたドキュメントのいくつかの場所にあります。
> プロジェクト名: AakelTechnologies
> 著者名(複数可): AakelTechnologies
> プロジェクトのリリース []: 0.0.1

ドキュメントを英語以外の言語で書く場合は、
 言語コードで言語を選択できます。Sphinx は生成したテキストをその言語に翻訳します。

サポートされているコードのリストについては、
https://www.sphinx-doc.org/en/master/usage/configuration.html#confval-language を参照してください。
> プロジェクトの言語 [en]:
デフォルトのドキュメント作成(html形式)
$ make html
ドキュメントが
build/html/index.html
に出力されます。表示してみます。
$ open build/html/index.html

sphinx-quickstartで生成されるディレクトリ構成
docs
├── Makefile
├── build
├── make.bat
└── source
    ├── _static
    ├── _templates
    ├── conf.py
    └── index.rst
サンプルプロジェクトディレクトリへのパスを設定する。
config.py内の下図をコメントアウトを外して編集する。
# import os
# import sys
# sys.path.insert(0, os.path.abspath('.'))
config.pyファイル自体のディレクトリ階層を基準に2つ上の階層(サンプルプロジェクトのトップ階層)を設定する。
import os
import sys
sys.path.insert(0, os.path.abspath('../..'))
同じくconfig.pyファイルに下図のコードが書かれているので、ここでエクステンションを設定する。NumpyやGoogleスタイルのdocstringsに対応させることができる。
extensions = [
]
編集後
extensions = [
    'sphinx.ext.napoleon'
]
PythonソースコードからreStructuredTextファイルを生成する。
sphinx-apidoc -f -o source/ ../trees/
sphinx-apidoc実行後のディレクトリ構成
docs
├── Makefile
├── build
│   └── doctrees
│       ├── environment.pickle
│       └── index.doctree
├── make.bat
└── source
    ├── _static
    ├── _templates
    ├── conf.py
    ├── index.rst
    ├── modules.rst
    ├── trees.bin.rst
    ├── trees.binary_trees.rst
    └── trees.rst
sphinx-apidoc実行で生成されたmodules.rstをindex.rstに追加してみる。
index.rstの下図の行を編集する。
.. toctree::
   :maxdepth: 2
   :caption: Contents:
編集後(.rstは書かない)
.. toctree::
   :maxdepth: 2
   :caption: Contents:

   modules
ドキュメントを生成
$ make html
build/html/index.htmlが生成されるので表示してみる。
$ open build/html/index.html
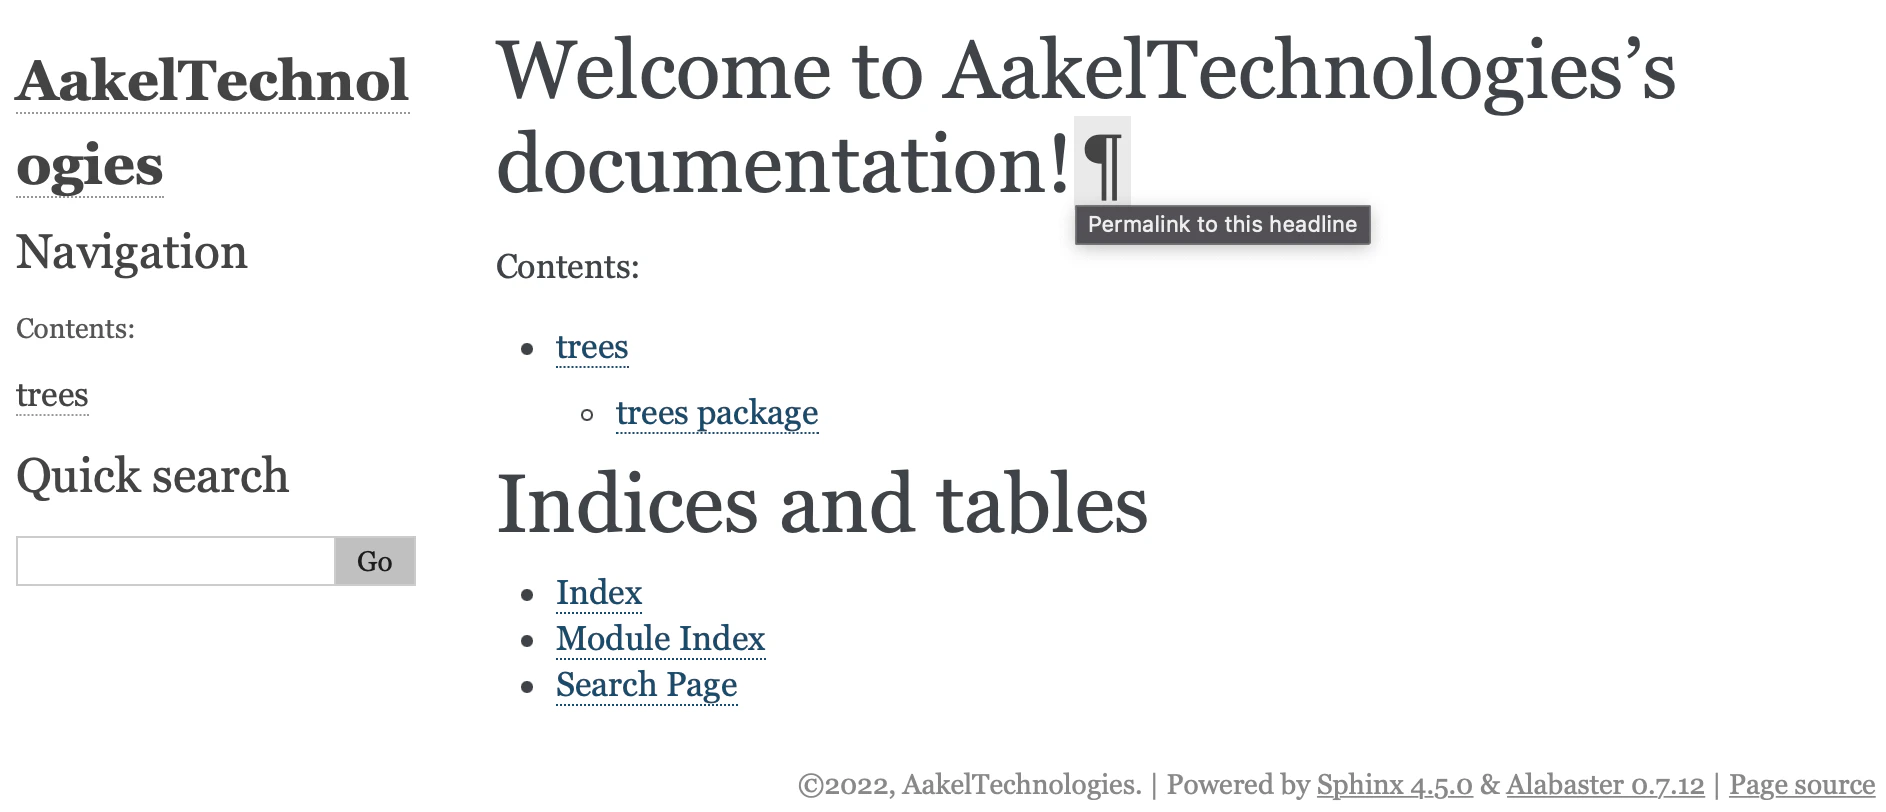
Contents項目に先ほどindex.rstに追加したmodulesの内容が反映される。
treesのリンクを辿っていけばより詳細の情報を参照できます。
このような形で実際のプロジェクトに適用していけば最新版のソースコードに同期したドキュメントを生成することができます。