この記事は UEC Advent Calender 8日目の記事の予定でした。はてなの方 が人気でこっちに全然人がいないのを良いことにめっちゃ遅れてごめんなさい ![]()
-2. 追記(2021/12/11)
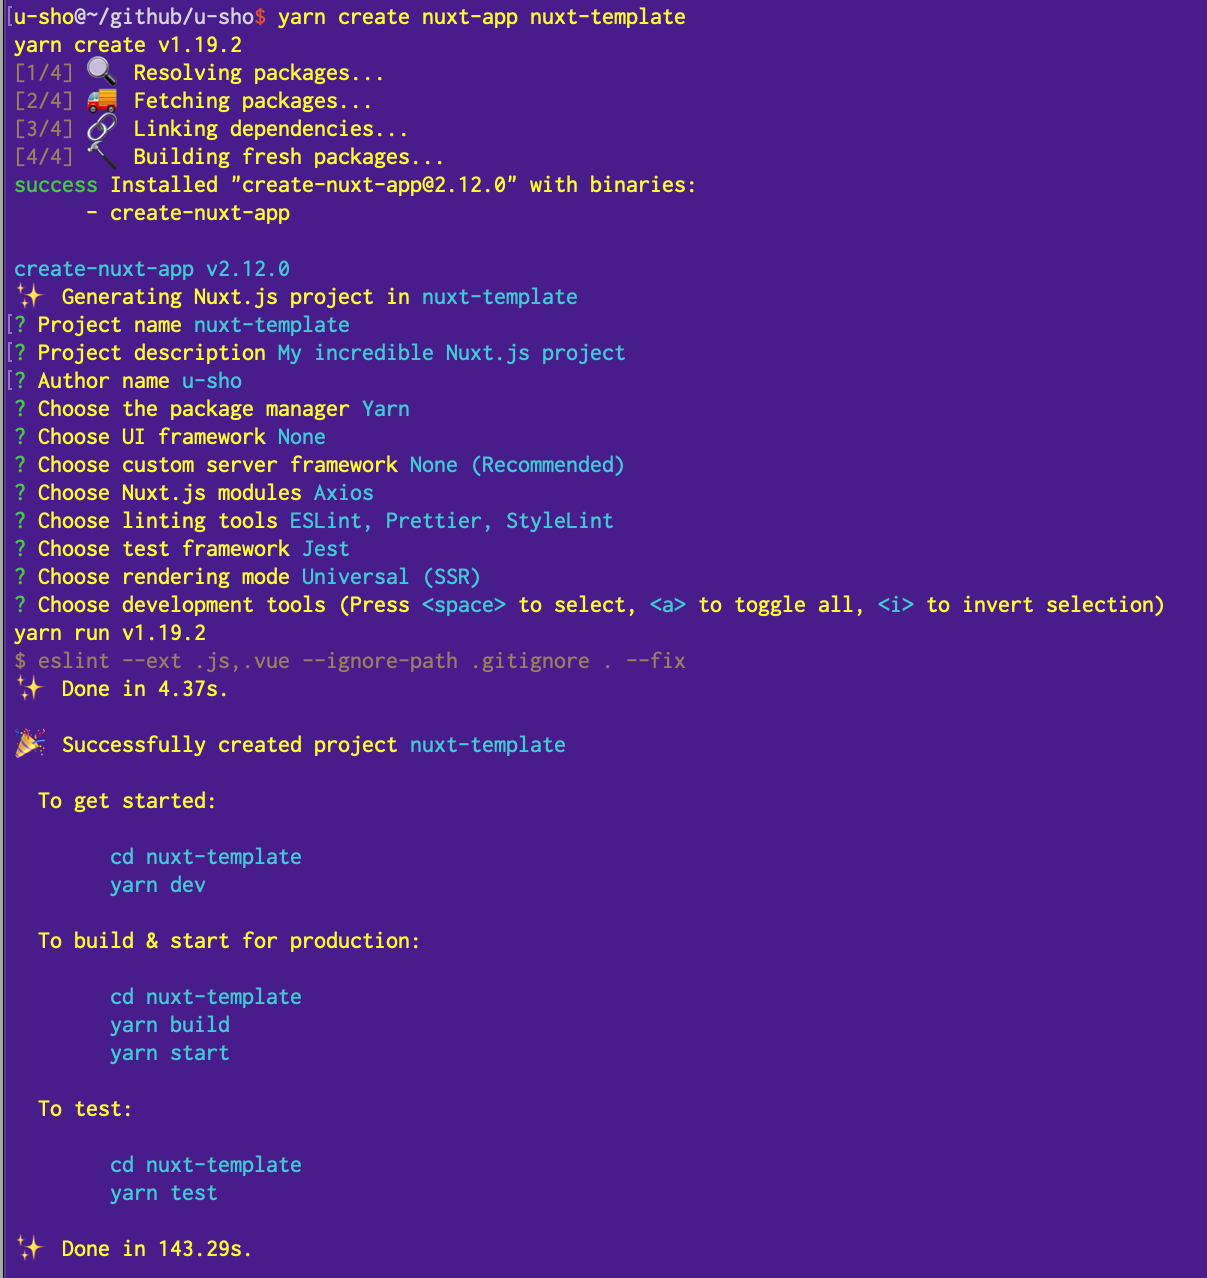
1年半ほど nuxt から遠ざかってしまっていたのですが、久々に create-nuxt-app を使ってみたところ実用に耐えるレベルになっていました。
このテンプレートはメンテナンスも滞っていたためアーカイブします。ご利用いただいた皆さまありがとうございました (*^ ^*)
-1. 追記(2020/03/17)
create-nuxt-app が TypeScript に対応します!!(6分前にマージされました![]() )
)
今後はこれを使えばいいと思います!←
0. 追記 (2019/01/26)
create-nuxt-app-ts の情報を得ようと Nuxt の Discord で検索かけてみたら Nuxt community 公式の TypeScript テンプレートがありました ![]()
github.com/nuxt-community/typescript-template
私がこの記事を書いたときに nuxt-community の GitHub リポジトリを漁っていたときには見つからなかったのですが,昨年4月の段階ではすでにリリースされていたようで,お恥ずかしい限りです ![]()
公式のテンプレートは Nuxt の他に何も入っていない簡潔なつくりなので,
私のテンプレートは,ESlint, stylelint, Prettier, Sass, jest, axios, PWA (New!), git (New!), CircleCi (New!) 1 の全部モリにしていこうと思います
1. Nuxt + TypeScript の設定がだるい件
今年の夏のハッカソンシーズン,私は,十日に一度は create-nuxt-app で新しく Nuxt プロジェクトを立ち上げて,自動生成されたドットファイルのほぼ全てを書き換えて TypeScript の設定をする作業をしていました。そして年末になった今,あの頃は若かったなあと思い返すわけです ![]()
夏の間は tsconfig.json やら nuxt.config.ts やらを一々書いていたのですが,実際のプロジェクトごとの設定の差異に対して,毎回書き換えを行っている行数が10倍以上あった気がします。あまりにもアホらしいしバージョンごとに微妙に推奨設定が変わっていたりして結構時間を取られていたので,180日ほど若さを失った私はテンプレが欲しいなと思いました。
2. 「よし,テンプレ作ろうか!」
という訳でテンプレート化して,vue-cli 経由でコマンドを一発叩けば色んな設定が完了するようにしました。
テンプレって素晴らしい ![]()
3. TL;DR ~時間ない人用~
3.1 できたもの
GitHub: github.com/u-sho/nuxt2.9-template
- TypeScript 導入:
tsconfig.json - NuxtConfig:
nuxt.config.ts - ts-jest 導入:
jest.config.js - ESlintのtypescript対応:
.eslintrc.js - stylelint:
stlelint.config.js - Prettier:
.prettierrc - Sass(SCSS) 導入
![]() Sass いらないよって方は この PR を参考に
Sass いらないよって方は この PR を参考にpackage.json と stylelint.config.js から scss 関連の記述を取り除いたあと,node_modules/ 一旦消して yarn install し直すと良いと思います。
![]() jest いらないよって方は このPR を参考に
jest いらないよって方は このPR を参考に package.json から jest 関連の記述を取り除いたあと,node_modules/ と test/ を消して yarn install し直すと良いと思います。
![]() axios いらないよって方は このPR を参考に
axios いらないよって方は このPR を参考に package.json と nuxt.config.ts と tsconfig.json から axios 関連の記述を取り除いたあと,node_modules/ を一旦消して yarn install し直すと良いと思います。
![]() TypeScript いらないよって大人は素直に nuxt-create-app 使えば良いんじゃないかな。
TypeScript いらないよって大人は素直に nuxt-create-app 使えば良いんじゃないかな。
![]() 「やっぱ Nuxt と言えば PWA っしょ!」という方は こちら をどうぞ
「やっぱ Nuxt と言えば PWA っしょ!」という方は こちら をどうぞ
3.2 使い方
$ npx vue init u-sho/nuxt2.9-template YOUR_PROJECT_NAME
# press Enter key * 3
$ cd YOUR_PROJECT_NAME
$ yarn install

# if you need
$ git init
![]() あとは README を見てください。
あとは README を見てください。
4. 作り方
公式にのっとってNuxtプロジェクトを作ったあと,create-nuxt-app コマンドの登場で使われなくなってしまった starter-template を パク 参考にして vue-cli の設定をしました。
4.1 npx create-nuxt-app
公式にそってコマンドを打つ。
$ yarn create nuxt-app <project-name> # Or npm init nuxt-app <project-name>
# choose nuxt-app options

$ cd <project-name>
これでだいたいできてる。TypeScript 導入しないならあとは stylelint の設定すればOKだと思う。やはり TypeScript を入れてはいけない。 しかし「TypeScript 使ってます」と言いたいので,頑張って設定していく ![]()
![]()
4.2 TypeScript 導入
公式を見ながらやっていく。
$ yarn add --dev @nuxt/typescript-build
$ yarn add @nuxt/typescript-runtime
$ yarn remove @nuxtjs/eslint-config
$ yarn add --dev @nuxtjs/eslint-config-typescript
$ yarn add --dev stylelint-config-standard
package.json を次のように書き換えます。
   "private": true,
   "scripts": {
-    "dev": "nuxt",
-    "build": "nuxt build",
-    "start": "nuxt start",
-    "generate": "nuxt generate",
-    "lint": "eslint --ext .js,.vue --ignore-path .gitignore .",
+    "dev": "nuxt-ts",
+    "build": "nuxt-ts build",
+    "start": "nuxt-ts start",
+    "generate": "nuxt-ts generate",
+    "lint": "eslint --ext .ts,.js,.vue --ignore-path .gitignore .",
+    "slint": "stylelint */*.css */*.vue --config stylelint.config.js",
     "test": "jest"
   },
   "dependencies": {
-    "@nuxtjs/axios": "^5.3.6",
-    "nuxt": "^2.0.0"
+    "@nuxtjs/axios": "^5.9.0",
+    "@nuxt/typescript-runtime": "^0.3.0",
+    "nuxt": "^2.9.0"
   },
   "devDependencies": {
-    "@nuxtjs/eslint-config": "^1.0.1",
+    "@nuxt/typescript-build": "^0.5.1",
+    "@nuxtjs/eslint-config-typescript": "^1.0.0",
     "@nuxtjs/eslint-module": "^1.0.0",
     "@nuxtjs/stylelint-module": "^3.1.0",
tsconfig.json ファイルを作成します 2
{
  "compilerOptions": {
    "target": "es2018",
    "module": "esnext",
    "moduleResolution": "node",
    "lib": ["esnext", "esnext.asynciterable", "dom"],
    "esModuleInterop": true,
    "allowJs": true,
    "sourceMap": true,
    "strict": true,
    "noEmit": true,
    "baseUrl": ".",
    "paths": {
      "@/*": ["./*"],
      "~/*": ["./*"]
    },
    "types": ["@types/node", "@nuxt/axios", "@nuxt/types"]
  },
  "exclude": ["node_modules"]
}
vue の型ファイルも作ります 3
declare module '*.vue' {
  import Vue from 'vue'
  export default Vue
}
nuxt.config.js は ts ファイルへと書き換えて,不要部分とコメントは邪魔なので消しました。
import { Configuration } from '@nuxt/types'

const nuxtConfig: Configuration = {
  mode: 'universal',
  head: {
    title: process.env.npm_package_name || '',
    meta: [
      { charset: 'utf-8' },
      { name: 'viewport', content: 'width=device-width, initial-scale=1' },
      {
        hid: 'description',
        name: 'description',
        content: process.env.npm_package_description || ''
      }
    ],
    link: [{ rel: 'icon', type: 'image/x-icon', href: '/favicon.ico' }]
  },
  loading: { color: '#fff' },
  css: ['ant-design-vue/dist/antd.css'],
  typescript: { typeCheck: { eslint: true } },
  buildModules: [
    '@nuxt/typescript-build',
    '@nuxtjs/eslint-module',
    '@nuxtjs/stylelint-module'
  ]
}

export default nuxtConfig
4.3 ts-jest の導入
jest.config.js に preset を追加します。
 module.exports = {
   moduleNameMapper: {
     '^@/(.*)$': '<rootDir>/$1',
     '^~/(.*)$': '<rootDir>/$1',
     '^vue$': 'vue/dist/vue.common.js'
   },
-  moduleFileExtensions: ['js', 'vue', 'json'],
+  moduleFileExtensions: ['ts', 'js', 'vue', 'json'],
   transform: {
     '^.+\\.ts$': 'babel-jest',
     '^.+\\.js$': 'babel-jest',
     '.*\\.(vue)$': 'vue-jest'
   },
   collectCoverage: true,
   collectCoverageFrom: [
     '<rootDir>/components/**/*.vue',
     '<rootDir>/pages/**/*.vue'
   ],
+  preset: 'ts-jest'
 }
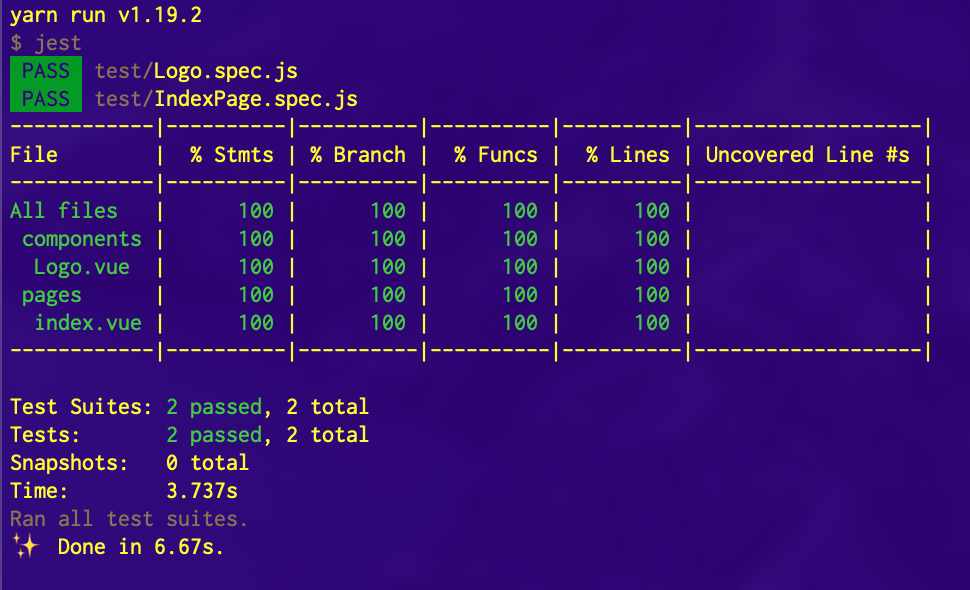
ついでなので coverage を上げるために pages/index.vue のテストを書きます。
import { mount } from '@vue/test-utils'
import IndexPage from '@/pages/index.vue'

describe('IndexPage', () => {
  test('is a Vue instance', () => {
    const wrapper = mount(IndexPage)
    expect(wrapper.isVueInstance()).toBeTruthy()
  })
})
テスト結果 (ターミナル)
テスト結果 (ブラウザ)
なんと jest は {_dir_path}/covorage/lcov-report/index.html にテスト結果を生成してくれます!!
見やすくて良い感じです。
4.4 lint の設定
.eslintrc.js を書き換えます。
@nuxt/typescript-eslint が優秀なので,いくつか削除できます。
厳格モードは好みですが,きっと開発後期の皆さんの debug 量を減らしてくれます。
 module.exports = {
   root: true,
   env: {
     browser: true,
     node: true
   },
-  parserOptions: {
-    parser: 'babel-eslint'
-  },
+  ignorePatterns: ['!.eslintrc.js'],
   extends: [
-    '@nuxtjs',
+    '@nuxt/typescript-eslint',
-    'prettier',
     'prettier/vue',
     'plugin:prettier/recommended',
     'plugin:nuxt/recommended'
   ],
-  plugins: ['vue'],
+  rules: {
+    strict: ['error', 'global']
+  }
 }
stylelint.config.js を書きます (このくらいは create-nuxt-app でやってほしい)。
module.exports = {
  // https://stylelint.io/user-guide/configuration
  ignorePath: '.gitignore',
  extends: ['stylelint-config-standard']
}
4.5 Sass (特に SCSS) の導入
SCSS で style を描けるようにします。
$ yarn add --dev node-sass sass-loader
よし,webpack の設定!と思ったら,
Nuxt.js は拡張子から自動的にファイルタイプを推測して Webpack のための適切なプリプロセッサローダを使用します。ただし使用する必要のあるローダは各自でインストールしてください。
https://ja.nuxtjs.org/api/configuration-css/
ですって!!
Nuxtくん,頭良いいですね。最高です ![]()
という訳で
lint のプラグインを stylelint.config.js に追加して,SCSS 対応は終わりです。
$ yarn add --dev stylelint-scss
 module.exports = {
   // https://stylelint.io/user-guide/configuration
-  extends: ['stylelint-config-standard']
+  extends: ['stylelint-config-standard', 'stylelint-config-prettier'],
+  plugins: ['stylelint-scss']
 }
-    "slint": "stylelint */*.css */*.vue --config stylelint.config.js",
+    "slint": "stylelint */*.css */*.scss */*.vue --config stylelint.config.js",
これで自由に (linter のもとで) SCSS が書けます。嬉しいね
4.6 vue-cli の設定
本家 starter-template をパクっていきます。
まず,これまで作っていたファイルを全て template/ フォルダ以下に押し込みます。
次に,meta.js を本家から拝借してきます。
最後に README をちょろっと書いて終了です。
5. 終わりに
とりあえずこれを継続的にメンテしていけば Vue2 の間は大丈夫でしょう。
Vue3 になったら nuxt-create-app が良い感じになるのでしょう。きっと。
至らない点がありましたらご連絡ください ![]()
何かあれば,この記事のコメントか,GitHubのissue に投げてください。喜びます。
気に入ったらQiitaの「いいね ![]() 」とかGitHubの「
」とかGitHubの「![]() star」とかつけてください。すごく喜びます。
star」とかつけてください。すごく喜びます。
(追記) 日本語版 README を作成しました。
-
GitHub Actions も検討したのですが,GitLab や GitBucket を使われている方も多いかなと思ったので ↩
-
path に
"~/*"と"@/*"があるのですが,どっちか片方にした方がいいと思います。import from '~/hogehoge'とimport from '@/hogehogeが混ざったコードは見たくないよね 片方に制限する際は,tsconfig.json だけでなく,jest.config.js も修正した方がいいでしょう。 ↩
 -
もし TypeScript 導入しなくても,これだけ置いておくとエディタが型定義にビュンビュン飛ばしてくれるようになるかもしれないです[要出典] ↩