やりたいこと
以下のようなアプリに対して Espresso を使った UI テストを作成します。
(リポジトリはこちら)
- ユーザー名を入力してログインできる
- ユーザー名が入力されていないと注意メッセージが表示される
- ログインには3秒かかる
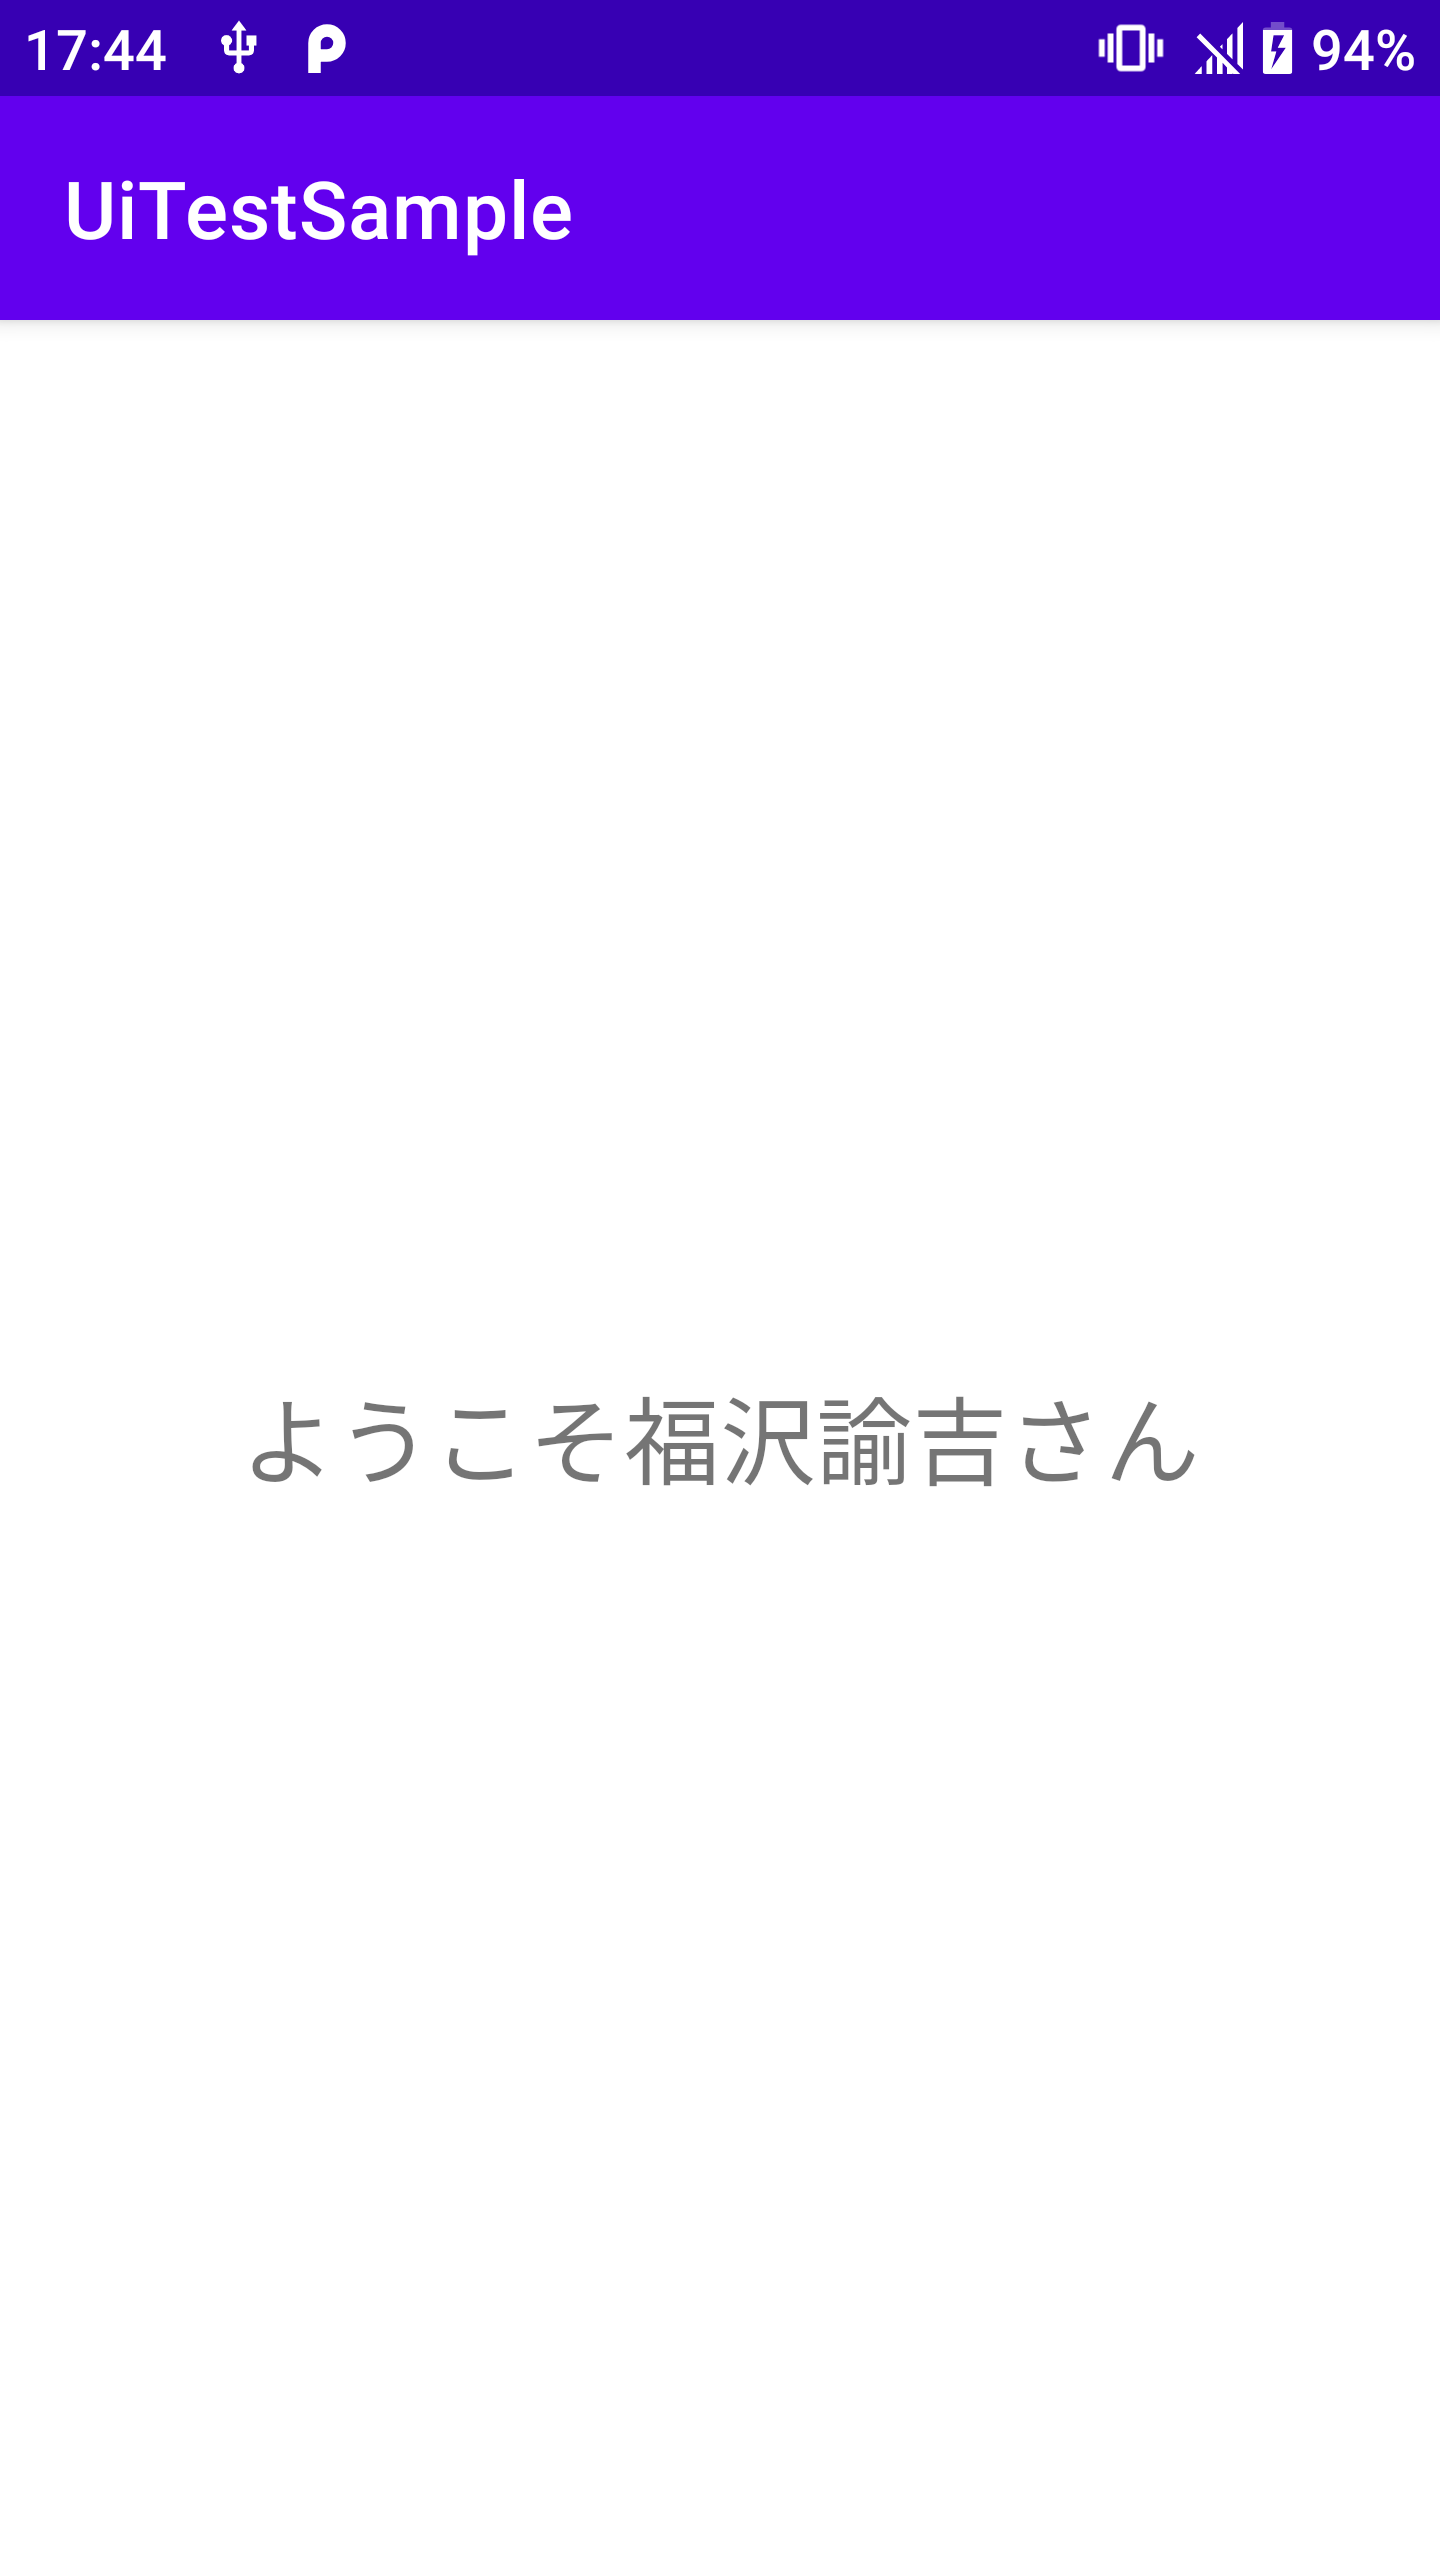
- ログイン後、メッセージが表示される
| 初期画面 | ユーザー名なしでクリック |
|---|---|
 |
 |
| ログイン中 | ログイン後 |
|---|---|
 |
 |
ライブラリの追加
UI テストに必要なライブラリを追加します。
dependencies {
    ...

    // Kotlin を使用するので ktx の方を指定します。
    androidTestImplementation 'androidx.test:core-ktx:1.4.0'
    androidTestImplementation 'androidx.test.ext:junit-ktx:1.1.3'
    androidTestImplementation 'androidx.test:rules:1.4.0'
    androidTestImplementation 'androidx.test.espresso:espresso-core:3.4.0'
    androidTestImplementation 'androidx.test.uiautomator:uiautomator:2.2.0'
}
テストの作成
最初に app > src > andriodTest > java > パッケージ名 配下に LoginActivityTest というファイル(クラス)を作成しておきます。
アクティビティの開始と終了
作成したクラスに対して ActivityScenarioRule を追加します。UI テストでは Activity を開始したり終了したりする必要がありますが、ActivityScenarioRule を使用すると、これらの処理を自動的に行ってくれます(参考)。
package com.example.uitestsample

import androidx.test.ext.junit.rules.activityScenarioRule
import androidx.test.ext.junit.runners.AndroidJUnit4
import androidx.test.filters.LargeTest
import org.junit.Rule
import org.junit.Test
import org.junit.runner.RunWith

@RunWith(AndroidJUnit4::class)
@LargeTest
class LoginActivityTest {

    @get:Rule
    var activityScenarioRule = activityScenarioRule<LoginActivity>()

    @Test
    fun loginActivityTest() {
        ...
    }
}
Espresso における UI テストの基本
onView(withId(R.id.my_view))       // R.id.my_view を取得
    .perform(click())              // ビューをクリック
    .check(matches(isDisplayed())) // ビューが表示されていることを検査
UI テストは主に以下のような3つの操作を組み合わせて行います。
-
onView()で対象となるビューを取得-
allOf()を使って複数の条件を指定することも可能 - ID 指定以外にもビュークラスの指定や ◯◯ の子要素など様々な条件設定が可能
-
-
perform()でビューの操作を実行- クリック以外にもテキストの入力やスワイプなど様々な操作が可能
-
check()でビューを検証- 表示確認以外にもビューの存在チェックや表示テキストの確認などが可能
-
not()を使うことで条件を反転させることが可能
注意メッセージをテストする
ユーザー名を入力する欄に何も入力せずログインボタンを押すと「ユーザー名を入力してください」というメッセージが表示されます。このメッセージが正しく表示されることをテストします。
package com.example.uitestsample

import androidx.test.espresso.Espresso.onView
import androidx.test.espresso.action.ViewActions.click
import androidx.test.espresso.assertion.ViewAssertions.matches
import androidx.test.espresso.matcher.ViewMatchers.*
import androidx.test.ext.junit.rules.activityScenarioRule
import androidx.test.ext.junit.runners.AndroidJUnit4
import androidx.test.filters.LargeTest
import org.hamcrest.Matchers.*
import org.junit.Rule
import org.junit.Test
import org.junit.runner.RunWith

@RunWith(AndroidJUnit4::class)
@LargeTest
class LoginActivityTest {

    @get:Rule
    var activityScenarioRule = activityScenarioRule<LoginActivity>()

    @Test
    fun loginActivityTest() {
        // メッセージが表示されていないことを確認。
        // doesNotExist() は存在しないことを確認するため意味が異なる。
        val noUserNameMessage = onView(withId(R.id.no_user_name_message))
        noUserNameMessage.check(matches(not(isDisplayed())))

        // ログインボタンを押下。
        val loginButton = onView(withId(R.id.login_button))
        loginButton.perform(click())

        // EditText に何も入力せずログインボタンを押したとき
        // メッセージが正しく表示されることを確認。
        noUserNameMessage.check(
            matches(
                allOf(
                    isDisplayed(),
                    withText("ユーザー名を入力してください")
                )
            )
        )
    }
}
この状態で一度テストを実行してみると、成功することが確認できるかと思います。
なお、UI テストを実行するときは、端末の設定でアニメーションをオフにしておきます(参考)。
「ログイン中」が表示されていることを確認
ユーザー名を入力してログインボタンを押すと、ログイン中を示すビュー(ProgressBar + TextView)が表示されます。このビューが表示されていることを確認します。
package com.example.uitestsample

import androidx.test.espresso.Espresso.onView
import androidx.test.espresso.action.ViewActions.click
import androidx.test.espresso.action.ViewActions.replaceText
import androidx.test.espresso.assertion.ViewAssertions.matches
import androidx.test.espresso.matcher.ViewMatchers.*
import androidx.test.ext.junit.rules.activityScenarioRule
import androidx.test.ext.junit.runners.AndroidJUnit4
import androidx.test.filters.LargeTest
import org.hamcrest.Matchers.*
import org.junit.Rule
import org.junit.Test
import org.junit.runner.RunWith

@RunWith(AndroidJUnit4::class)
@LargeTest
class LoginActivityTest {

    @get:Rule
    var activityScenarioRule = activityScenarioRule<LoginActivity>()

    @Test
    fun loginActivityTest() {
        // *** ここまで省略 ***
        noUserNameMessage.check(matches(withText("ユーザー名を入力してください")))

        // EditText にユーザー名を入れてログインボタンをクリック。
        val userName = "福沢諭吉"
        onView(withId(R.id.user_name_edit_text)).perform(replaceText(userName))
        loginButton.perform(click())

        // 「ログイン中」が表示されていることを確認。
        onView(withId(R.id.now_connecting_message)).check(matches(isDisplayed()))
    }
}
ここでは単純に LinearLayout R.id.now_connecting_message が表示されていることを確認しています。
ログインが完了するのを待ち合わせる
最後に、ログイン後「ようこそ◯◯さん」と表示されることをテストします。
ログインには少し時間がかかる(ここでは3秒)ので、ログインが完了するのを待ち合わせる必要があります。処理を待ち合わせる方法はいくつかあるのですが、今回は UI Automator の wait() を使用します。
wait() は指定した条件が満たされるまで処理を待機してくれます。今回は「ログイン後のメッセージビューが表示させる」ことを条件に処理を待機させます。
wait() メソッドは UI Automator フレームワークの UiDevice クラスに定義されているため、setUp() で UiDevice インスタンスを取得しておきます。
package com.example.uitestsample

import androidx.test.espresso.Espresso.onView
import androidx.test.espresso.action.ViewActions.click
import androidx.test.espresso.action.ViewActions.replaceText
import androidx.test.espresso.assertion.ViewAssertions.matches
import androidx.test.espresso.matcher.ViewMatchers.*
import androidx.test.ext.junit.rules.activityScenarioRule
import androidx.test.ext.junit.runners.AndroidJUnit4
import androidx.test.filters.LargeTest
import androidx.test.platform.app.InstrumentationRegistry
import androidx.test.uiautomator.By
import androidx.test.uiautomator.UiDevice
import androidx.test.uiautomator.Until
import org.hamcrest.Matchers.*
import org.junit.Before
import org.junit.Rule
import org.junit.Test
import org.junit.runner.RunWith

@RunWith(AndroidJUnit4::class)
@LargeTest
class LoginActivityTest {

    @get:Rule
    var activityScenarioRule = activityScenarioRule<LoginActivity>()

    private lateinit var device: UiDevice

    @Before
    fun setUp() {
        // UiDevice インスタンスを取得。
        device = UiDevice.getInstance(InstrumentationRegistry.getInstrumentation())
    }

    @Test
    fun loginActivityTest() {
        // *** ここまで省略 ***
        onView(withId(R.id.now_connecting_message)).check(matches(isDisplayed()))

        // ログインに時間がかかるため R.id.welcome_text が表示されるまで待機。
        val cond = Until.hasObject(
            By.res(
                "com.example.uitestsample",
                "welcome_text"
            )
        )
        val success = device.wait(cond, 5000L)

        // 指定した条件が満たされていることを確認。
        assertThat(success, `is`(true))

        // ログイン後のメッセージが正しいことを確認。
        onView(withId(R.id.welcome_text)).check(
            matches(withText("ようこそ${userName}さん"))
        )
    }
}
待機条件の指定には Until.hasObject() を使います。これで「対象のオブジェクトが見つかること」という条件を作ります。また、対象となるオブジェクトの指定には By.res() を使います。第1引数にパッケージ名、第2引数にリソース名(R.id.my_text であれば my_text)を指定します。
作成した条件を wait() の第1引数で指定し、タイムアウトの時間を第2引数に指定します。タイムアウトまでに条件が満たされれば true が返されるので、戻り値が true であることを assertThat() で確認しています。
これでテストを実行すると成功するかと思います。
今回の実装ではログインに3秒かかるように設定しているため、タイムアウトの時間を1秒などに変更するとテストが失敗して、wait() が正確に機能していることが確認できます。
最後に
こちらで LoginActivityTest 全体のコードが見れますので参考までに置いておきます。