Salesforce App Cloud Advent Calendar 2015の19日目の記事ということでLightning Component開発について投稿したいと思います。
はじめに
Salesforce Advent Calendar 2015の16日目にVisualforce × AngularJSというタイトルで記事を書きました。そのときのサンプルをベースにLightning Component版の開発を試してみたので、今回はそのときに覚えたLightning開発の進め方と落とし穴などについてまとめようと思います。
16日の記事でつくったのは、StandardControllerを宣言して標準の編集ページを上書きして利用するVisualforceページです。
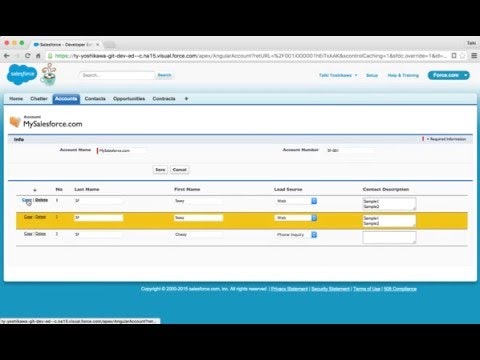
Force.com Demo #98 - Apex AngularJs App
https://www.youtube.com/watch?v=Q5CoU9ov3z0
LightningにはVisualforceのようにStandardControllerはなかったのでそのあたりについても調べてみました。
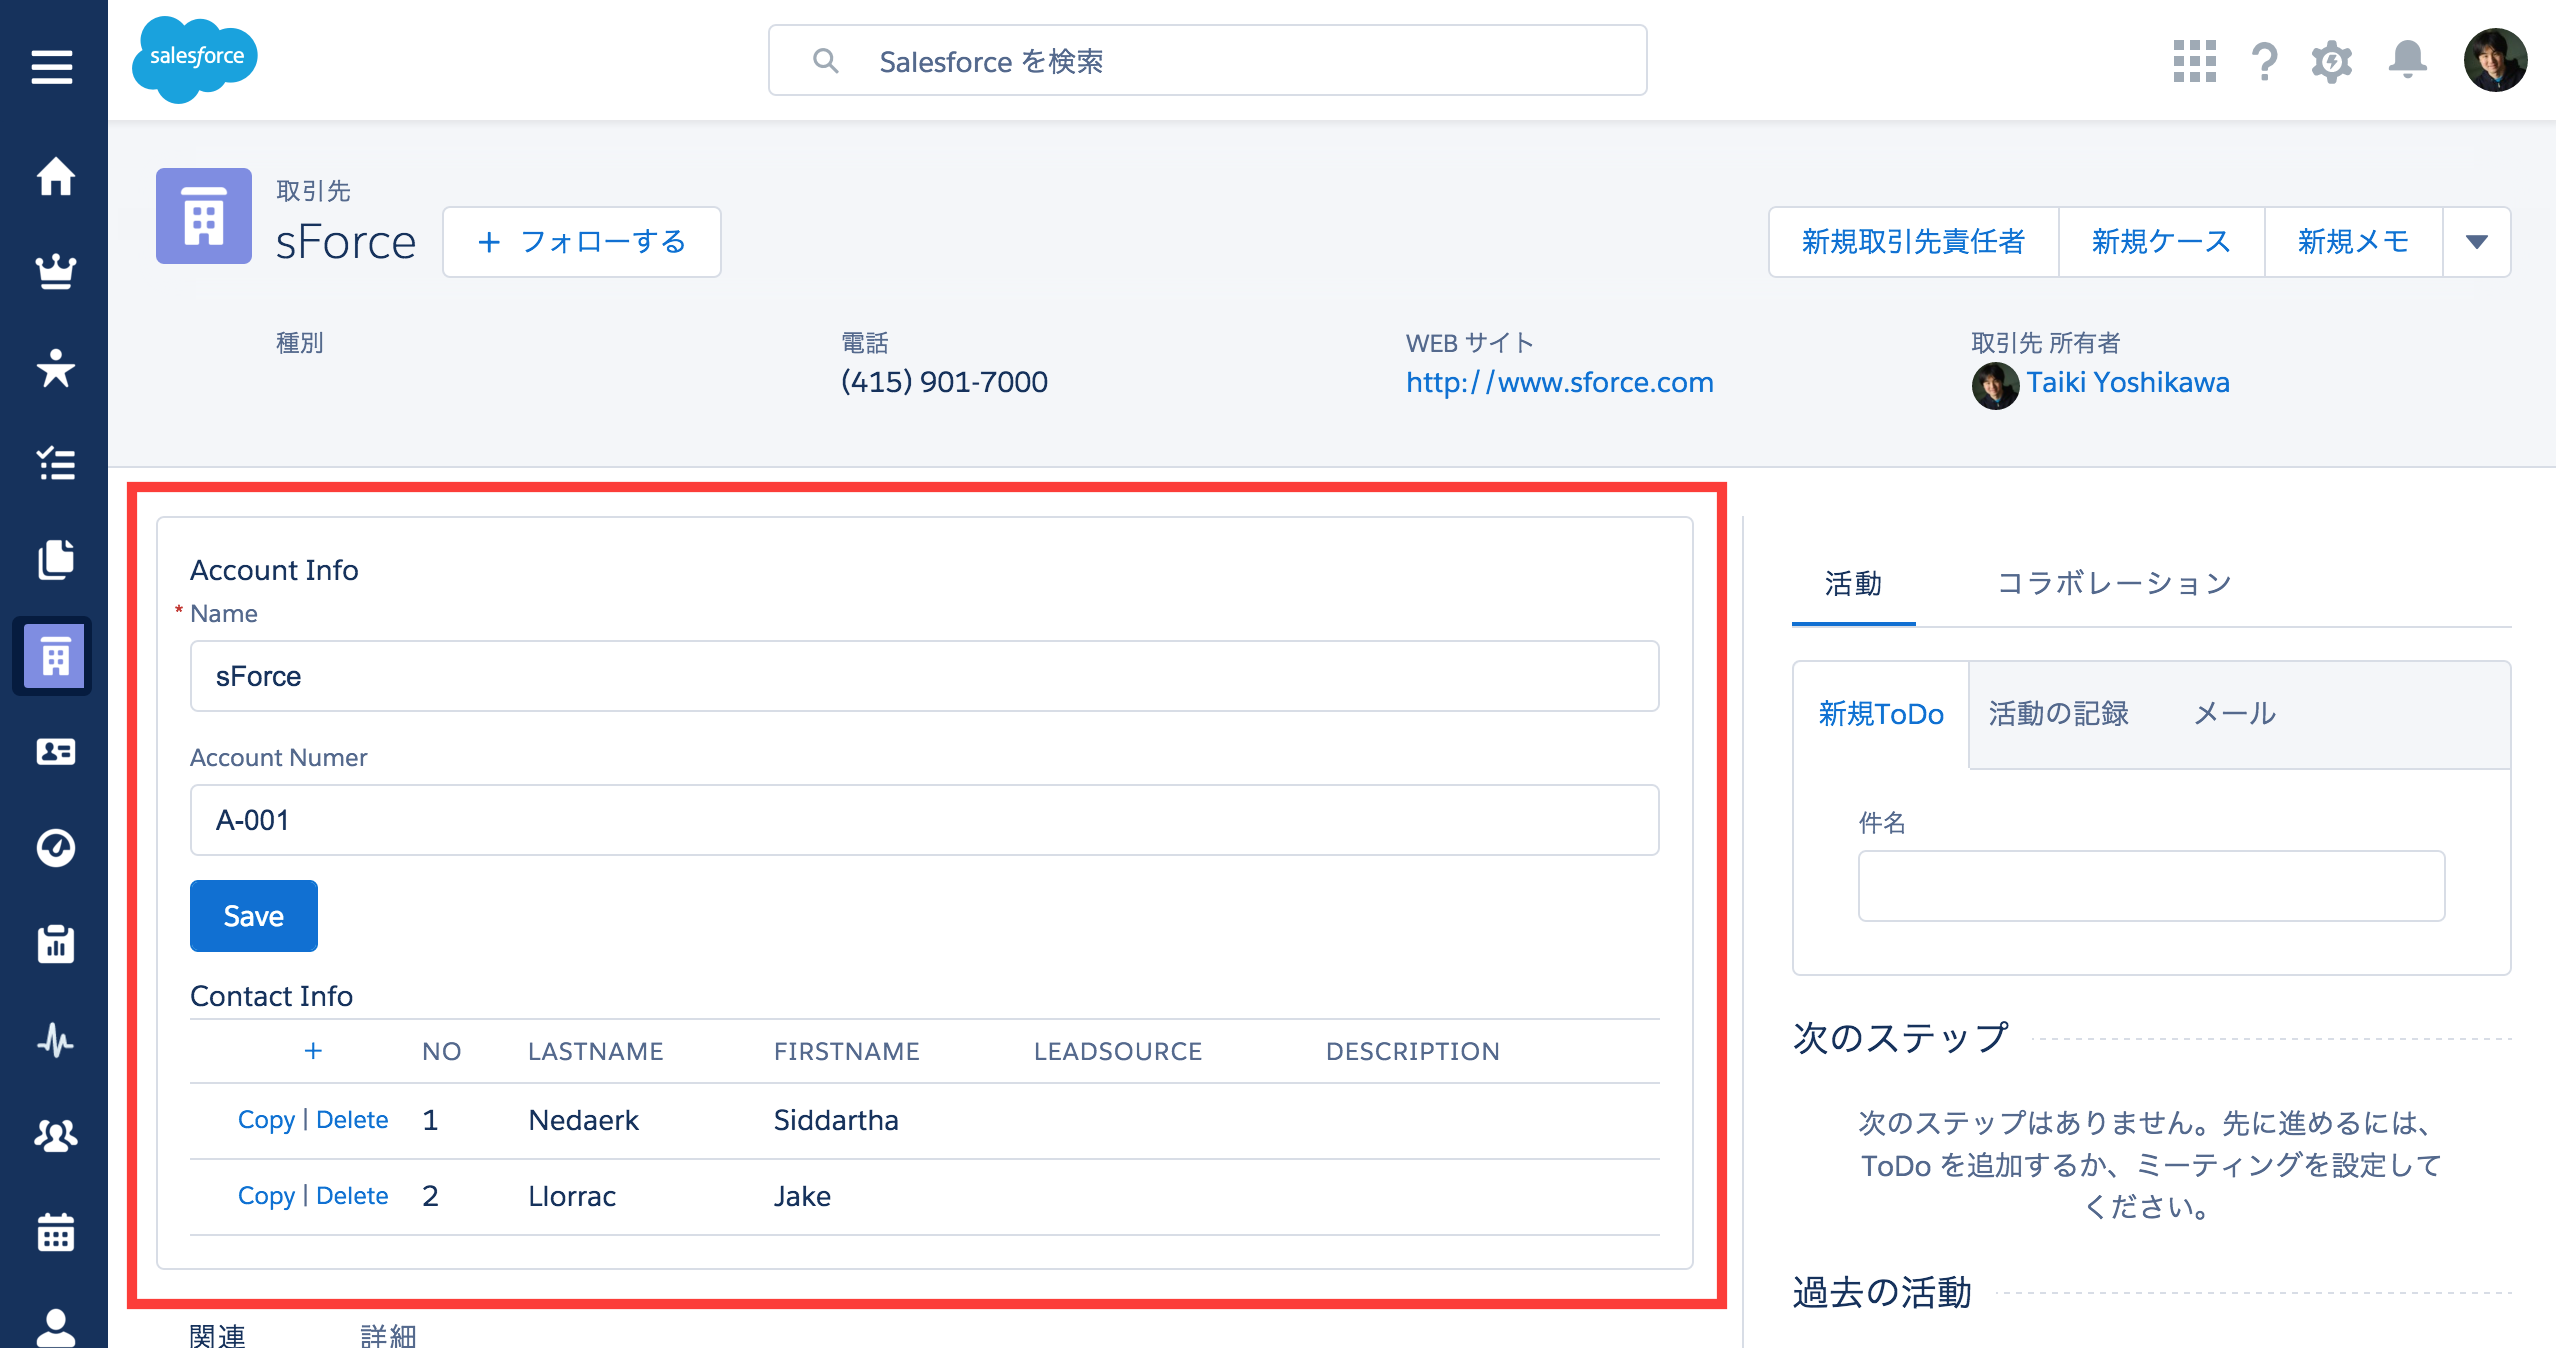
作ってみた画面
つくってみたのは次の赤枠内の部分です。CSSが違うので雰囲気は違いますが先程の画面と同じように取引先の新規作成と編集が行えます。また取引先に紐付く取引先責任者の一覧表示も行えます。(取引先責任者の編集周りの機能はちょっと間に合いませんでした。)
補足
今回、取引先の詳細ページに表示していますが、本来はVisualforceと同じように取引先の新規作成画面と編集画面を上書きして利用することを想定しています。
CSSについて
CSS部分はLightning Design Systemを利用しています。Lightning Design Systemを使えばLightning Experienceと同じようなデザインにできます。

Lightning Design System
https://www.lightningdesignsystem.com/
レコードIDの取得方法
Visualforceの場合はStandardControllerをつかって現在表示しているレコードのIDを取得することができます。ですがLightningにはStandardControllerがありません。
Lightningの場合は、『force:hasRecordId』を宣言することでレコードIDを取得できるようになっています。
<aura:component implements="force:appHostable,force:hasRecordId">
    <!-- レコードIDを変数にセット -->
    <aura:attribute name="recordId" type="Id" />
    <!-- ・・略・・ -->
</aura>
これでJS側でcomponent.getをつかって値を取得できます。
var accountId = component.get("v.recordId");
force:hasRecordIdはWinter'16のバージョンアップで追加されたインターフェースです。
Salesforce Winter '16 リリースノート
https://releasenotes.docs.salesforce.com/ja-jp/winter16/release-notes/rn_lightning_components.htm
初期値の取得
レコードIDの取得は確認できました。次は初期表示する値の取得についてです。Visualforceではコンストラクタで初期値取得処理を行えました。Lightningの場合、コンストラクタで処理を行ってもその値を利用できません。
Lightningで初期値取得処理を行いたい場合、『aura:handler name="init"』を使います。
<aura:component>
    <!-- handler -->
    <aura:handler name="init" action="{!c.init}" value="{!this}" />
</aura:component>
これで画面を表示したタイミングでController.js/Helper.jsの処理を呼び出すことができます。
({
  init: function(component, event, helper) {
    // 取引先の初期値取得
    helper.getAccountInfo(component, event);
    // 取引先責任者の初期値取得
    helper.getContactInfo(component, event);
  },
})
({
  getAccountInfo : function(component, event) {
    // Account ID
    var accountId = component.get("v.recordId");

    // Apex
    var action = component.get("c.getAccount");
    action.setParams({
      "accountId": accountId
    });
    action.setCallback(this, function(data) {
      component.set("v.account", data.getReturnValue());
    });
    $A.enqueueAction(action);
  },
  // ・・略・・
})
LightningからApexクラスを呼び出す処理は次の部分です。Visualforceの場合はRemoteActionなどを利用する必要がありましたが、Lightningはこれで実行できます。
// Apexクラスのメソッド名を指定
var action = component.get("c.getAccount");
// 引数に値をセット
action.setParams({
  "accountId": accountId
});
// 処理完了後のコールバック
action.setCallback(this, function(data) {
  // Lightning側の変数『account』にApexからreturnされた結果をセット
  component.set("v.account", data.getReturnValue());
});
$A.enqueueAction(action);
Lightningから呼び出すApexクラスのメソッドには@AuraEnabledを宣言する必要があります。
@AuraEnabled
public static Account getAccount(String accountId) {
    return dao.getAccount(accountId);
}
aura:attributeで変数宣言
Lightningではaura:attributeで変数を宣言できます。次のようにsObject型の変数を宣言することもできます。
<aura:attribute name="account" type="Account" />
ただし、List<Account>やMap<Id, Account>のようにリストやマップの宣言はできませんでした。
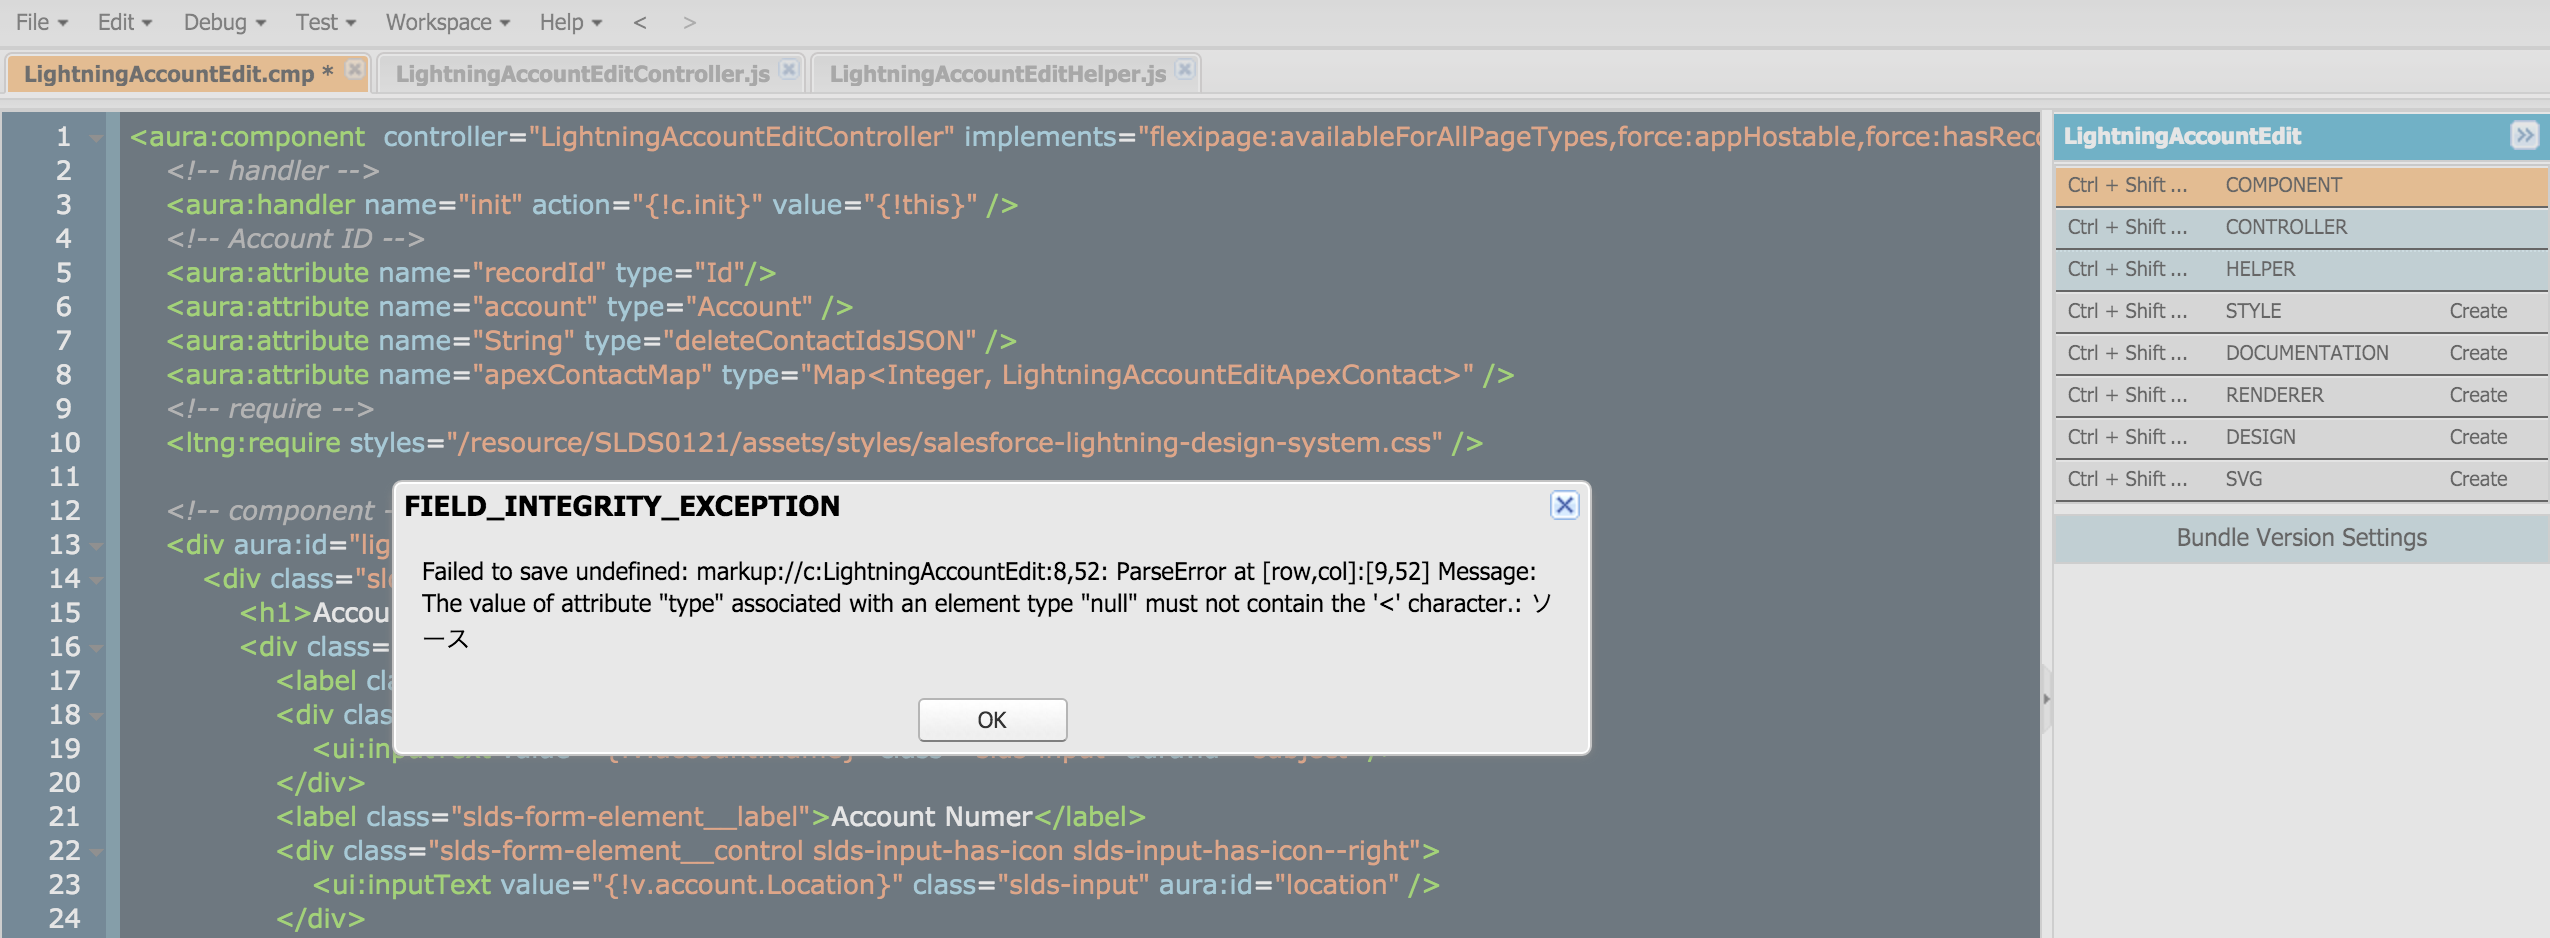
aura:attributeでリスト型を使いたい場合は"Account[]"のように宣言します。Wrapperクラス型も利用することが可能です。
<aura:attribute name="contacts" type="LightningAccountEditApexContact[]" />
エラーハンドリング
Apex処理実行時のエラー情報はWrapperクラスを用意して対応するのが良さそうです。LightningからWrapperクラスの変数にアクセスするには@AuraEnabledを宣言します。
Apexクラス側
public with sharing class LightningAccountEditResult {

    @AuraEnabled
    public Id accountId {get; set;}
    @AuraEnabled
    public List<String> errorMessages {get; set;}

    /**
     * コンストラクタ
     */
    public LightningAccountEditResult() {
        this.accountId = null;
        this.errorMessages = new List<String>();
    }
}
次のような感じです。
LightningAccountEditResult result = new LightningAccountEditResult();
try {
  // ・・略・・
} catch(DmlException e) {
  Database.rollback(sp);
  result.errorMessages.add(e.getDmlMessage(0));
  return result;
} catch(Exception e) {
  Database.rollback(sp);
  result.errorMessages.add(e.getMessage());
  return result;
}
Lightning側
Apex側でreturnしたエラー情報はsetCallbackでLightning側の変数にセットします。
action.setCallback(this, function(data) {
    component.set("v.result", data.getReturnValue());
});
エラー情報表示のサンプルです。isTrueで表示/非表示の切り替え判定を行うことができます。値の存在判定は『empty』関数が便利です。Stringのブランク/NULL判定だけでなく、リストの0件判定も行ってくれます。
<aura:component >
  <aura:attribute name="account" type="Account" />
  <aura:attribute name="result" type="LightningAccountEditResult" />
  <!-- succes message -->
  <aura:if isTrue="{! !empty(v.result.accountId)}">
    <div class="slds-box slds-theme--success slds-m-bottom--xx-small">
      <p>
        <ui:outputText value="[Success] Save Account Name = " />
        <a href="{! '/' + v.account.Id}">
          <ui:outputText value="{!v.account.Name}" />
        </a>
      </p>
    </div>
  </aura:if>
  <!-- error message -->
  <aura:if isTrue="{! !empty(v.result.errorMessages)}">
    <div class="slds-box slds-theme--error slds-m-bottom--xx-small">
      <p>
        <ul class="slds-list--dotted">
          <aura:iteration items="{!v.result.errorMessages}" var="err">
            <li>
              <ui:outputText value="{!err}" />
            </li>
          </aura:iteration>
        </ul>
      </p>
    </div>
  </aura:if>
</aura:component>
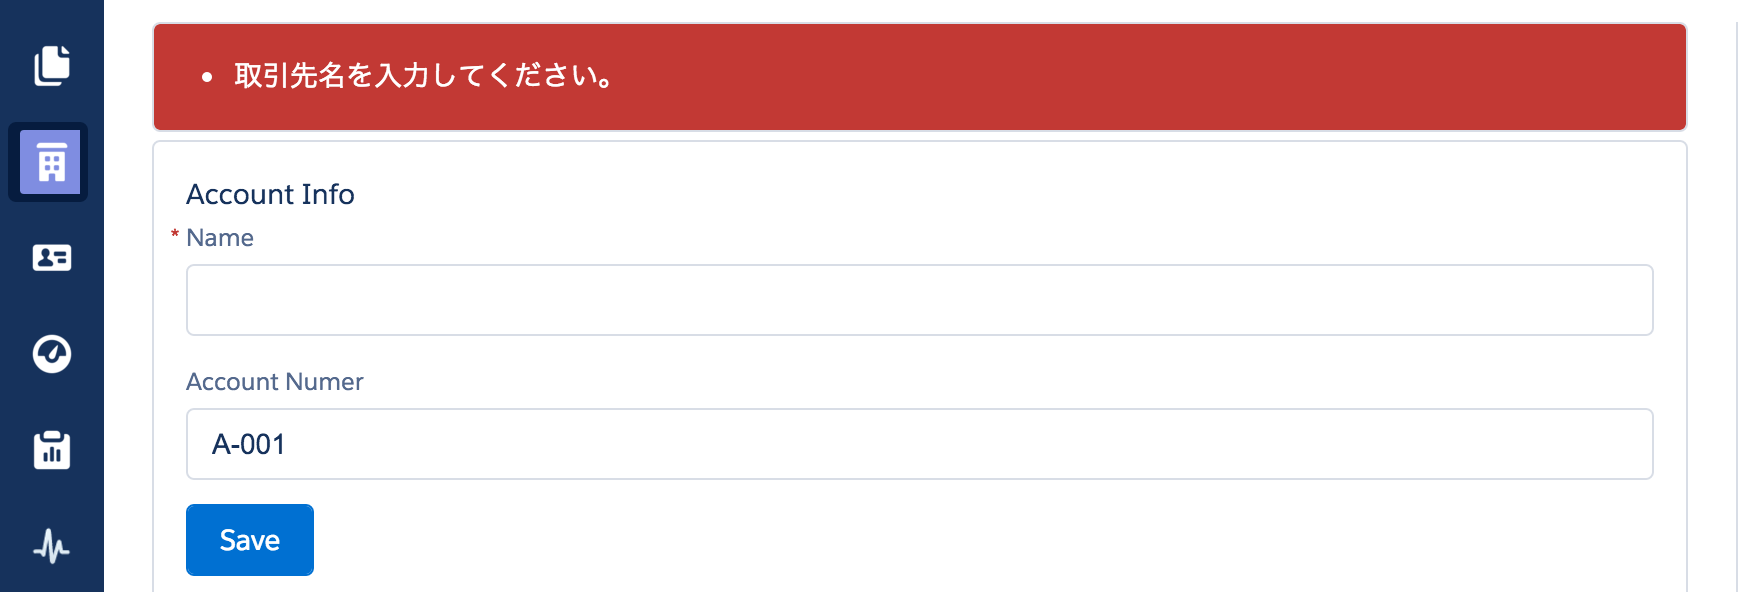
これで処理が正常に実行できたときと、エラー発生時にメッセージを表示するといったことが可能です。
正常実行のメッセージ
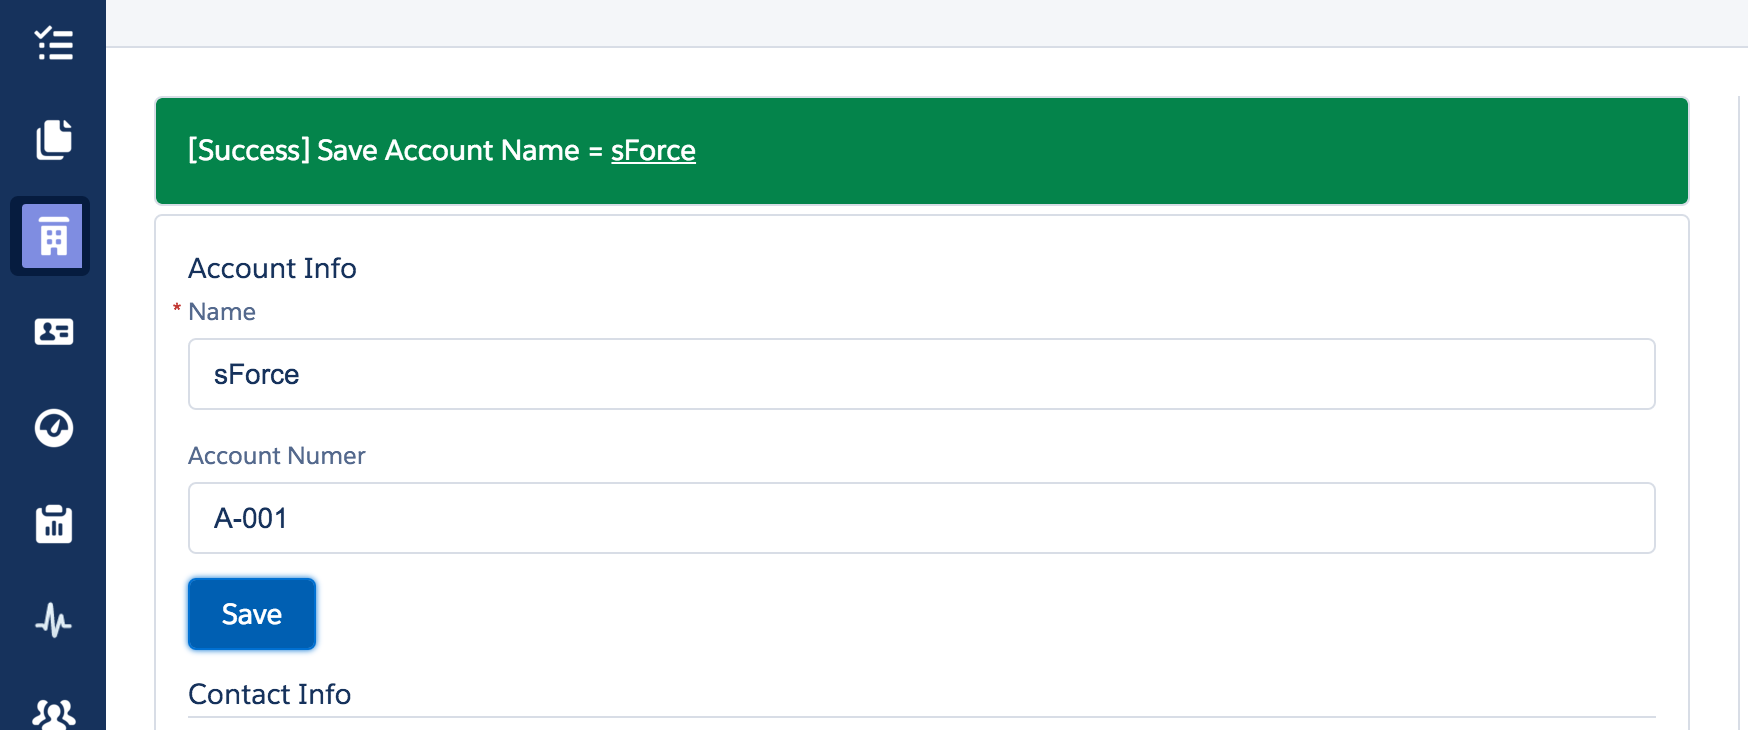
エラー発生時のメッセージ
必須項目のCSS
Lightning Design Systemには必須項目用のCSSも用意されています。これでラベルの左側に*マークが表示されます。

『slds-is-required』を適用すると*マークが表示されます。
<div class="slds-form-element slds-m-bottom--small slds-is-required">
    <label class="slds-form-element__label">Name</label>
    <div class="slds-form-element__control slds-input-has-icon slds-input-has-icon--right">
        <ui:inputText value="{!v.account.Name}" class="slds-input" aura:id="accountName" />
    </div>
</div>
aura:iterationをつかったループ処理
Lightningに用意したリスト変数は『aura:iteration』タグでループ処理を行えます。indexVar属性を使えばループ時のIndex番号を取得できます。
<tbody>
    <aura:iteration items="{!v.contacts}" var="item" indexVar="index" >
        <tr class="slds-hint-parent">
            <td class="slds-text-body--small">
                <a>
                    <ui:outputText value="Copy" />
                </a>
                <ui:outputText value=" | " />
                <a>
                    <ui:outputText value="Delete" />
                </a>
            </td>
            <td>
                <ui:outputText value="{!index + 1}" />
            </td>
            <td>
                <ui:outputText value="{!item.contact.LastName}" />
            </td>
            <td>
                <ui:outputText value="{!item.contact.FirstName}" />
            </td>
            <td>
                <ui:outputText value="{!item.contact.LeadSource}" />
            </td>
            <td>
                <ui:outputText value="{!item.contact.Description}" />
            </td>
        </tr>
    </aura:iteration>
</tbody>
*LightningとWrapperクラス変数
Apexで用意したWrapperクラス変数は@AuraEnabledを宣言してLightning側で利用できました。ただ、Wrapperクラスのリスト変数をLightningからApexに渡そうとするとシステムエラーが発生しました。
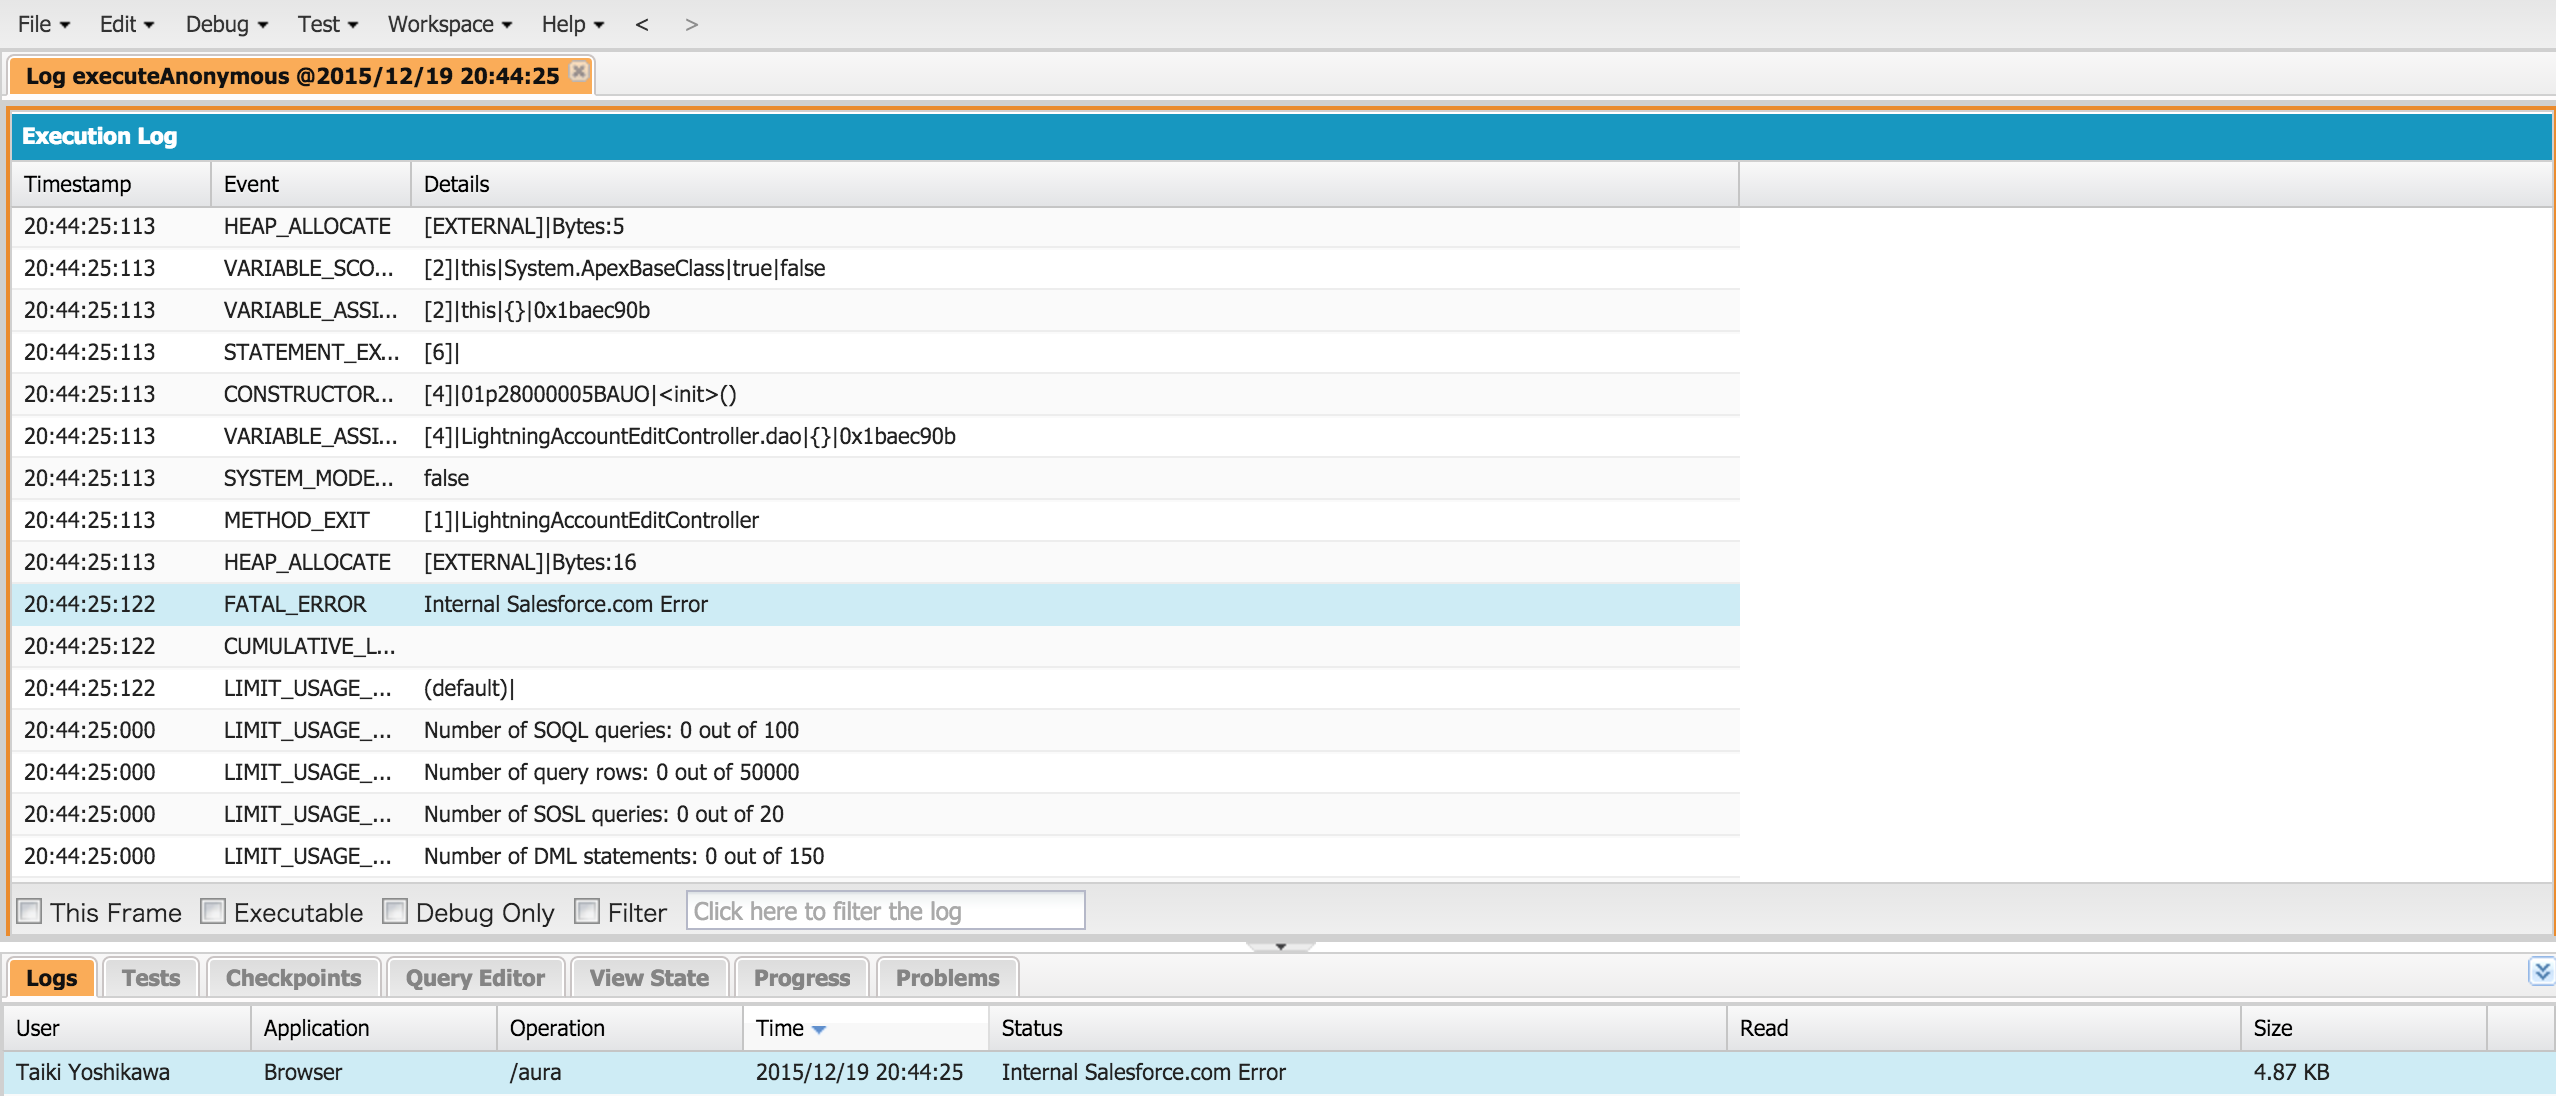
何かやり方が間違っているかもしれませんが、もしかするとリストは渡せないのかもしれません。ひとまずJSON文字列に変換してString型にする方法はうまくいきそうでした。
action.setParams({
  "account": account,
  "apexContactsJSON": JSON.stringify(apexContacts)
});
さいごに
完成まで持っていけなかったので今回はここまでになります。Lightning開発にはLightning開発のルールがあるので、Visualforceで開発したものを単純にLightning Component化というわけにはいかなそうです。
今回のサンプルコード
途中までつくったサンプルです。うまくいったら更新しようと思います。
https://github.com/tyoshikawa1106/lightning-account-edit
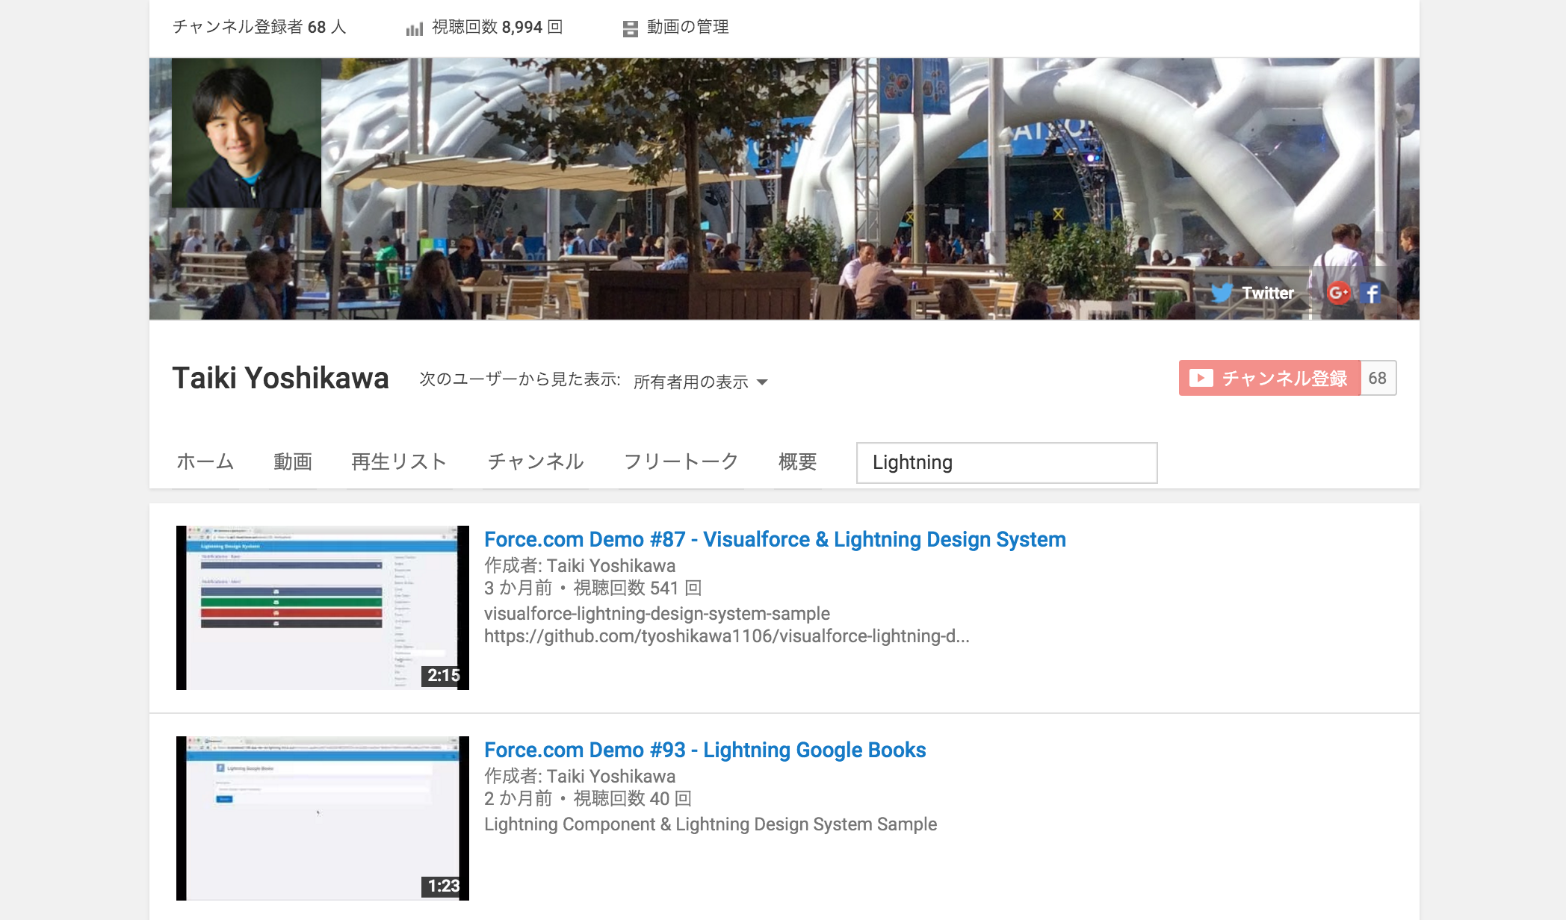
Lightningサンプルアプリのデモ動画
せっかくなので以前つかったLightning関係のデモ動画です。こんな感じアプリもつくれると思います。
https://www.youtube.com/channel/UCqYUx7Mnn62SDbKJ6wsw8xw/search?query=Lightning
以上、19日目のLightning Componentをつくってみようでした。