nvmeへのインストール方法は 後半の「本番」 で書いてます
Aー1) マイクロSDカードなし USBメモリなし nvmeのみ です
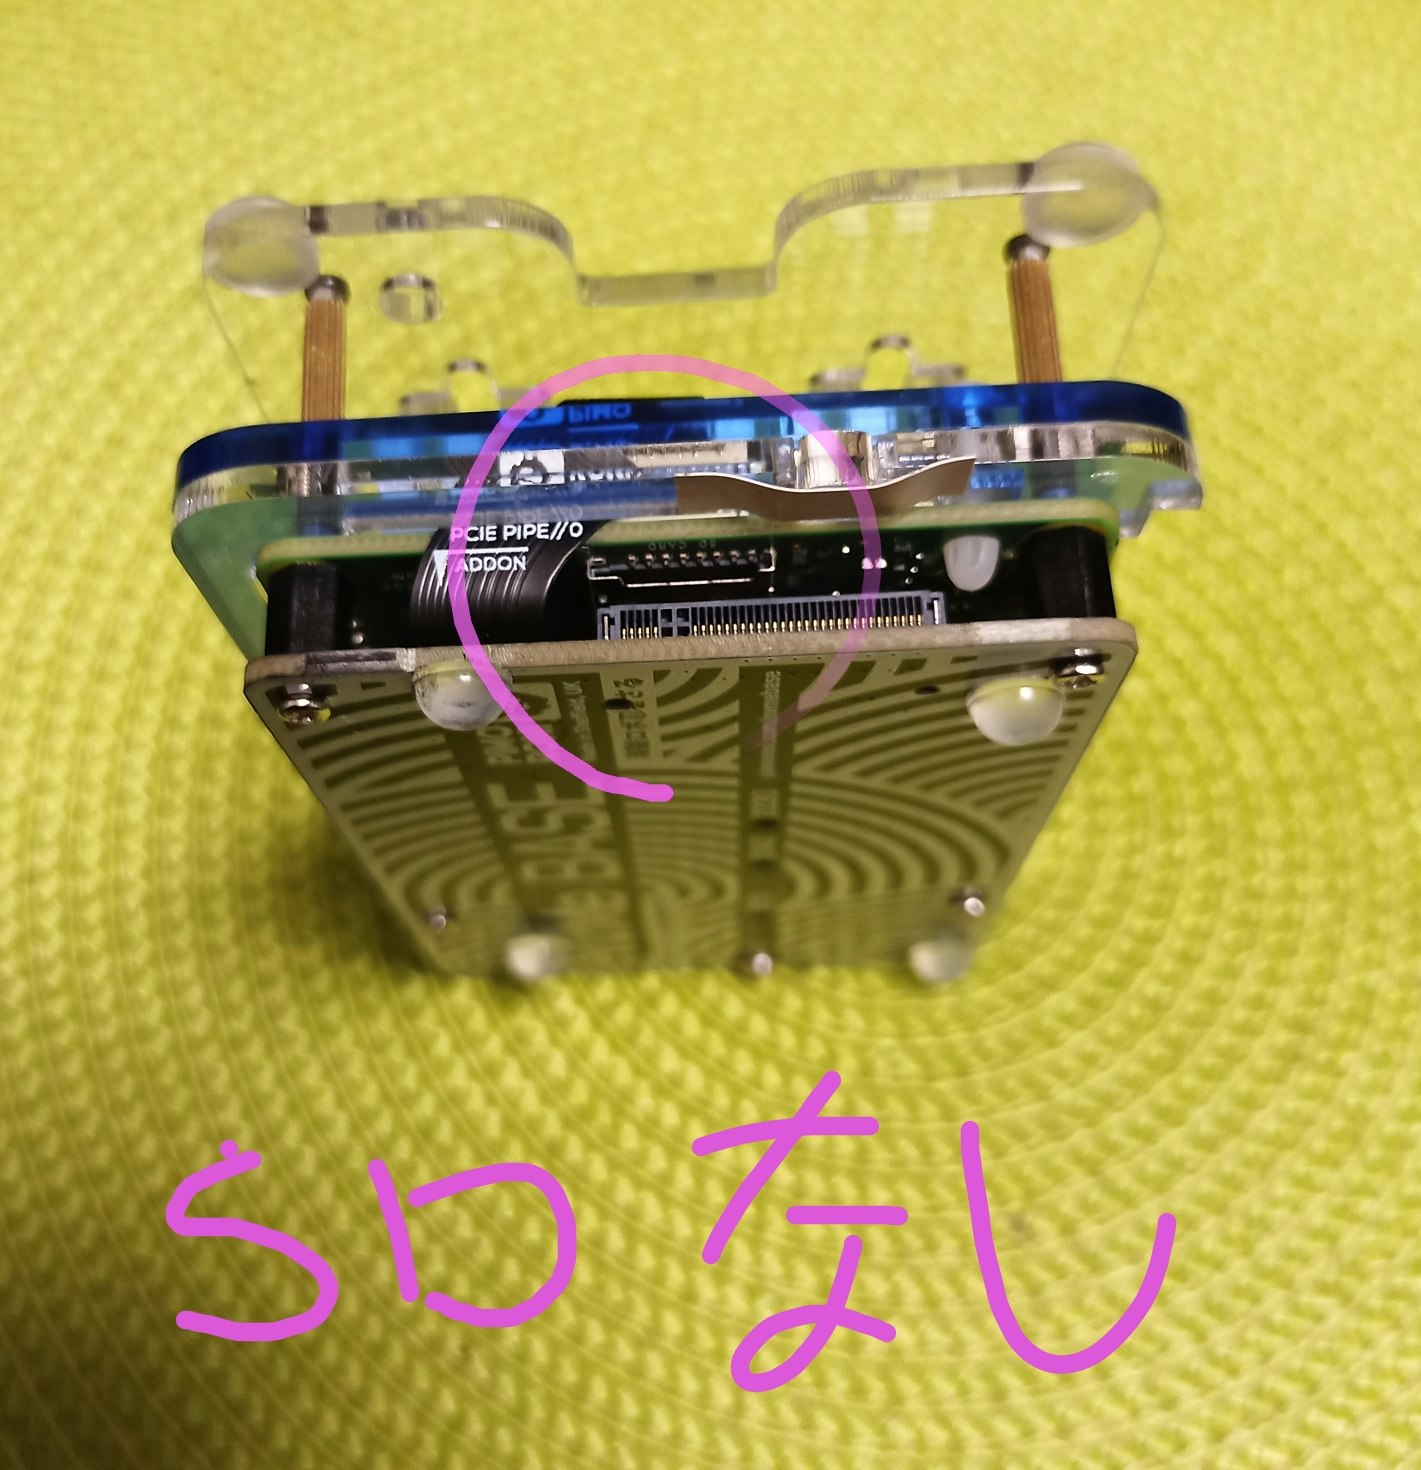
USBメモリ ー>nvme ー>マイクロSDカード という順に
探し回る設定に
$ sudo rpi-eeprom-config --edit
[all]
BOOT_UART=1
POWER_OFF_ON_HALT=0
BOOT_ORDER=0xf164
PCIE_PROBE=1
としてるために
起動はUSBメモリをさがしてからあとなので 遅くなります
なお
4は USBメモリ
6は nvme
1は SDカード
です
動画では
A-2) A-1)に USBメモリを追加します
つまり
pi5には マイクロSDカードはありませんが
nvme と USBメモリはあります
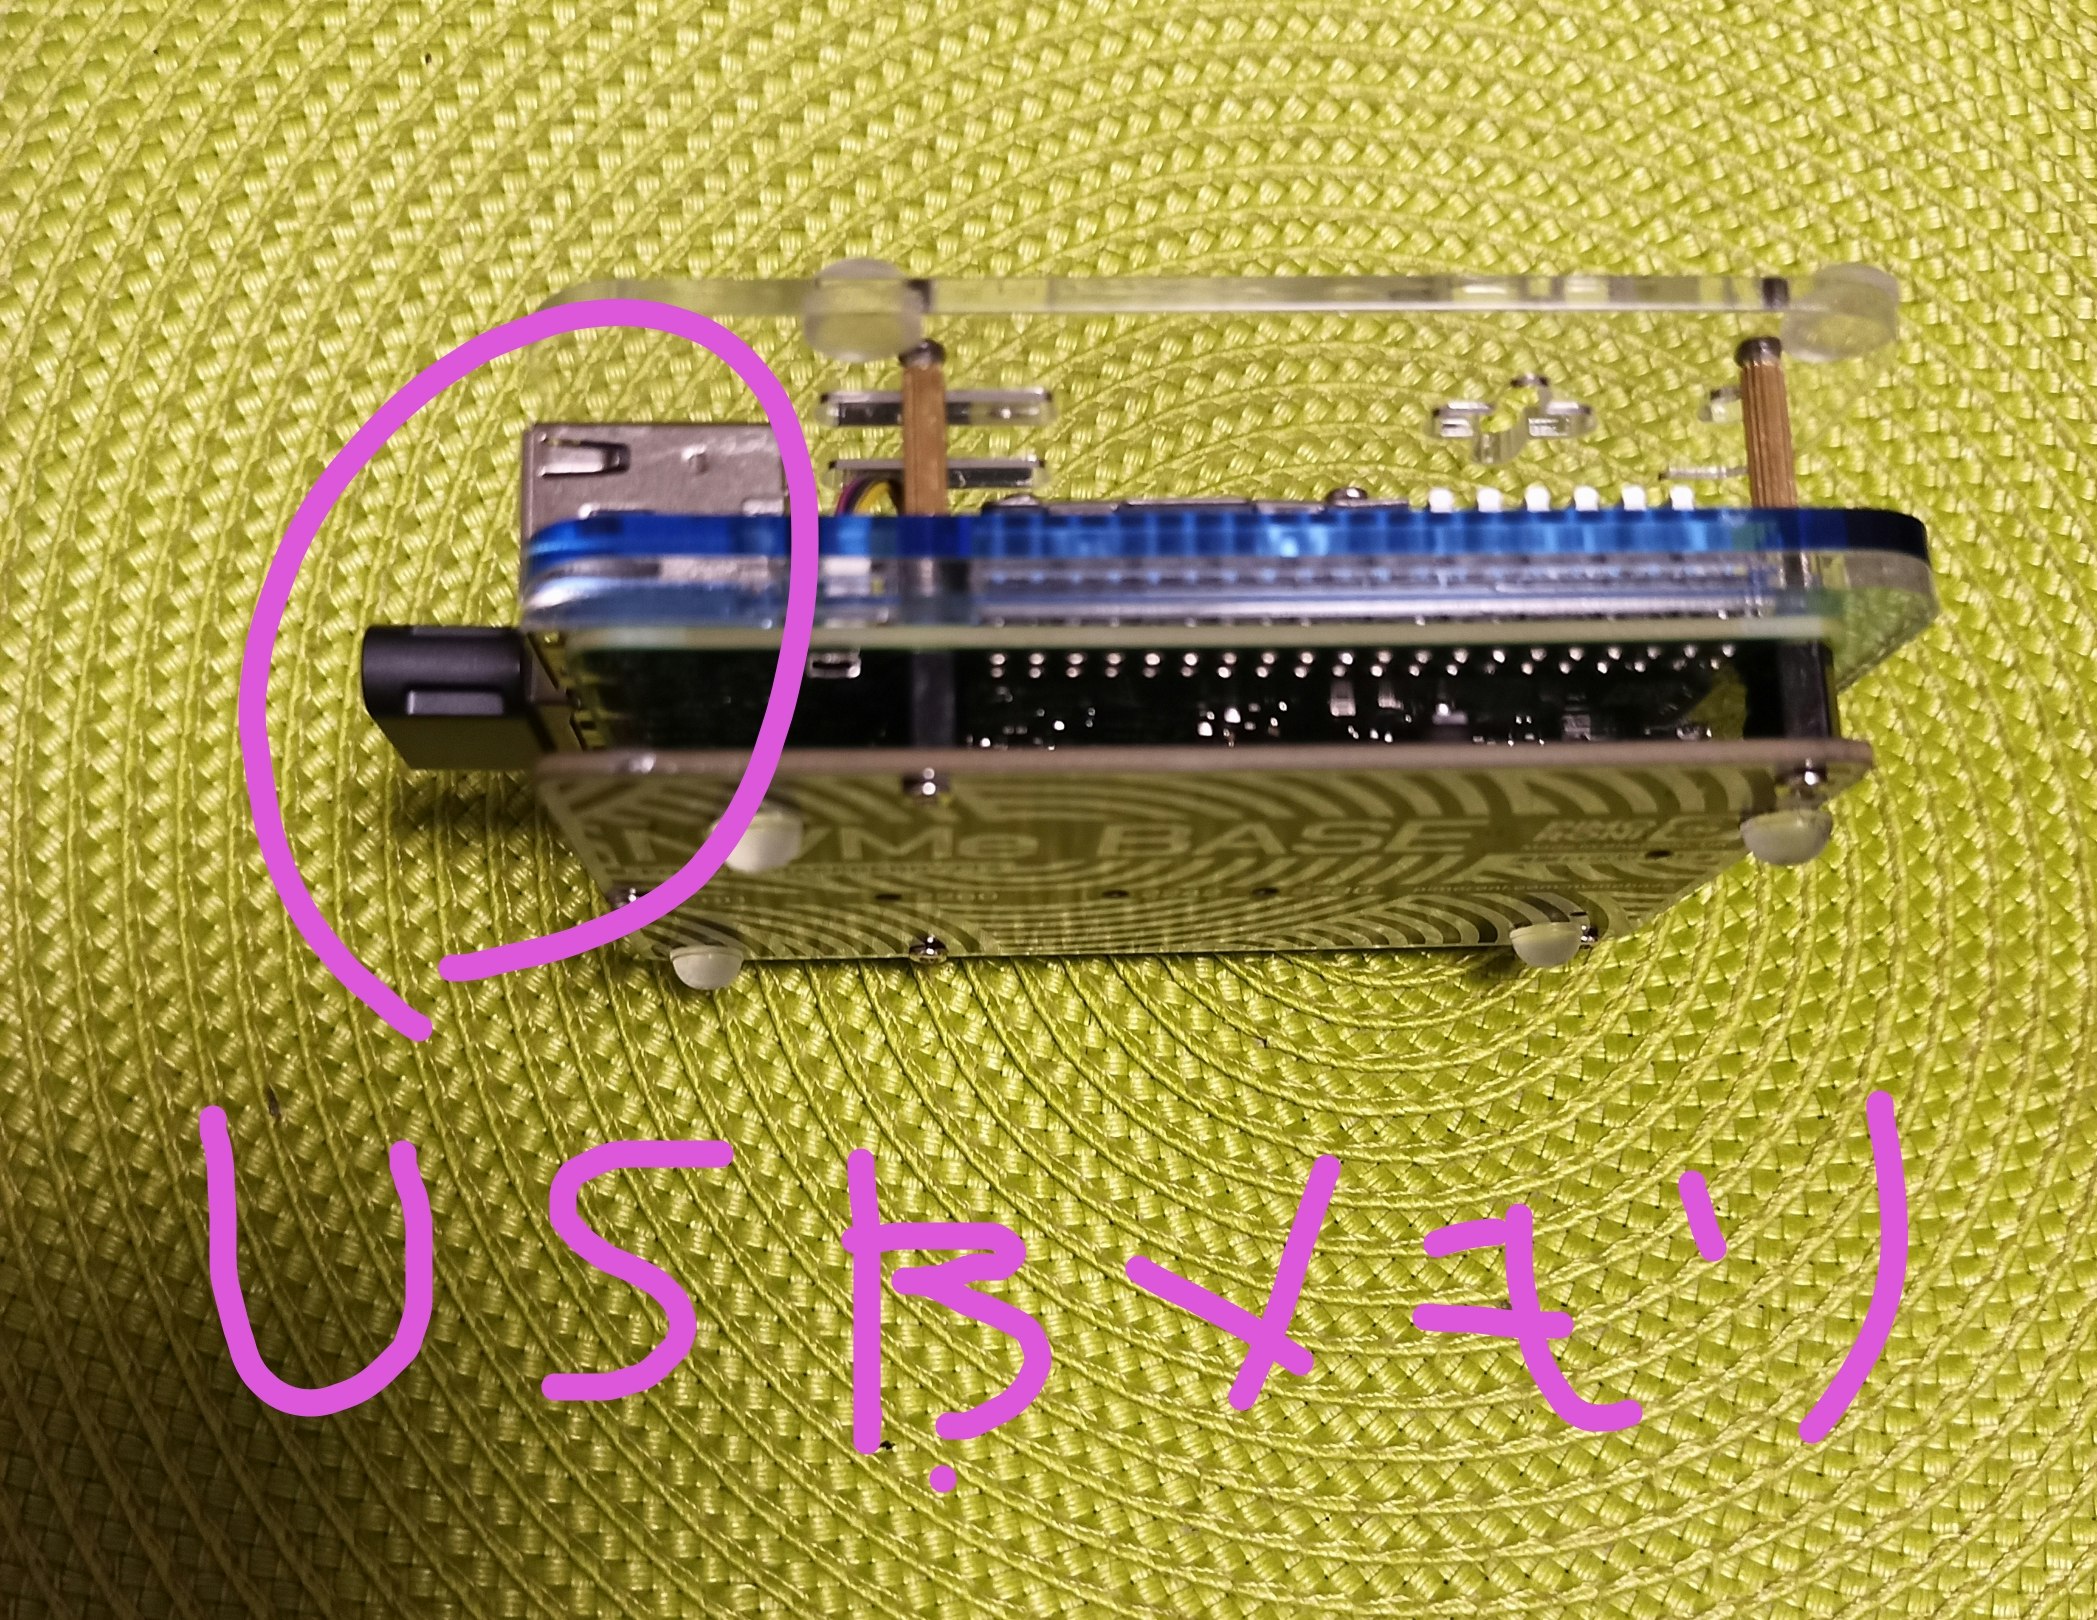
起動の最初がUSBメモリですので 起動は少しはやくなります
起動風景は
で Ubuntuが立ち上がってます
X-1)nvme のみの状態で
# df
ファイルシス   1K-ブロック    使用    使用可 使用% マウント位置
udev               3947008       0   3947008    0% /dev
tmpfs               824304    6144    818160    1% /run
/dev/nvme0n1p2   244504204 8743436 223267852    4% /
tmpfs              4121456     496   4120960    1% /dev/shm
tmpfs                 5120      64      5056    2% /run/lock
/dev/nvme0n1p1      523248   76828    446420   15% /boot/firmware
tmpfs               824288     176    824112    1% /run/user/1000


---


# ./comment-out.bat /boot/firmware/config.txt
dtparam=audio=on
camera_auto_detect=1
display_auto_detect=1
auto_initramfs=1
dtoverlay=vc4-kms-v3d
max_framebuffers=2
disable_fw_kms_setup=1
arm_64bit=1
disable_overscan=1
arm_boost=1
[cm4]
otg_mode=1
[all]
dtparam=pciex1


-----------
# ./comment-out.bat /etc/fstab
proc            /proc           proc    defaults          0       0
PARTUUID=f234efd6-01  /boot/firmware  vfat    defaults          0       2
PARTUUID=f234efd6-02  /               ext4    defaults,noatime  0       1


なお
# blkid /dev/nvme0n1p1
/dev/nvme0n1p1: LABEL_FATBOOT="bootfs" LABEL="bootfs" UUID="EF6E-C078" BLOCK_SIZE="512" TYPE="vfat" PARTUUID="f234efd6-01"

root@raspberrypi:/home/p5# blkid /dev/nvme0n1p2
/dev/nvme0n1p2: LABEL="rootfs" UUID="4aa56689-dcb4-4759-90e6-179beae559ac" BLOCK_SIZE="4096" TYPE="ext4" PARTUUID="f234efd6-02"

---


# cat /boot/firmware/cmdline.txt
console=serial0,115200 console=tty1 root=PARTUUID=f234efd6-02 rootfstype=ext4 fsck.repair=yes rootwait quiet splash plymouth.ignore-serial-consoles cfg80211.ieee80211_regdom=JP
nvme起動後の状況はこうでした
本番) さて 話をnvmeへのインストール自体に戻します、何も入ってない新しいnvmeをつけ マイクロSDカードから起動します。
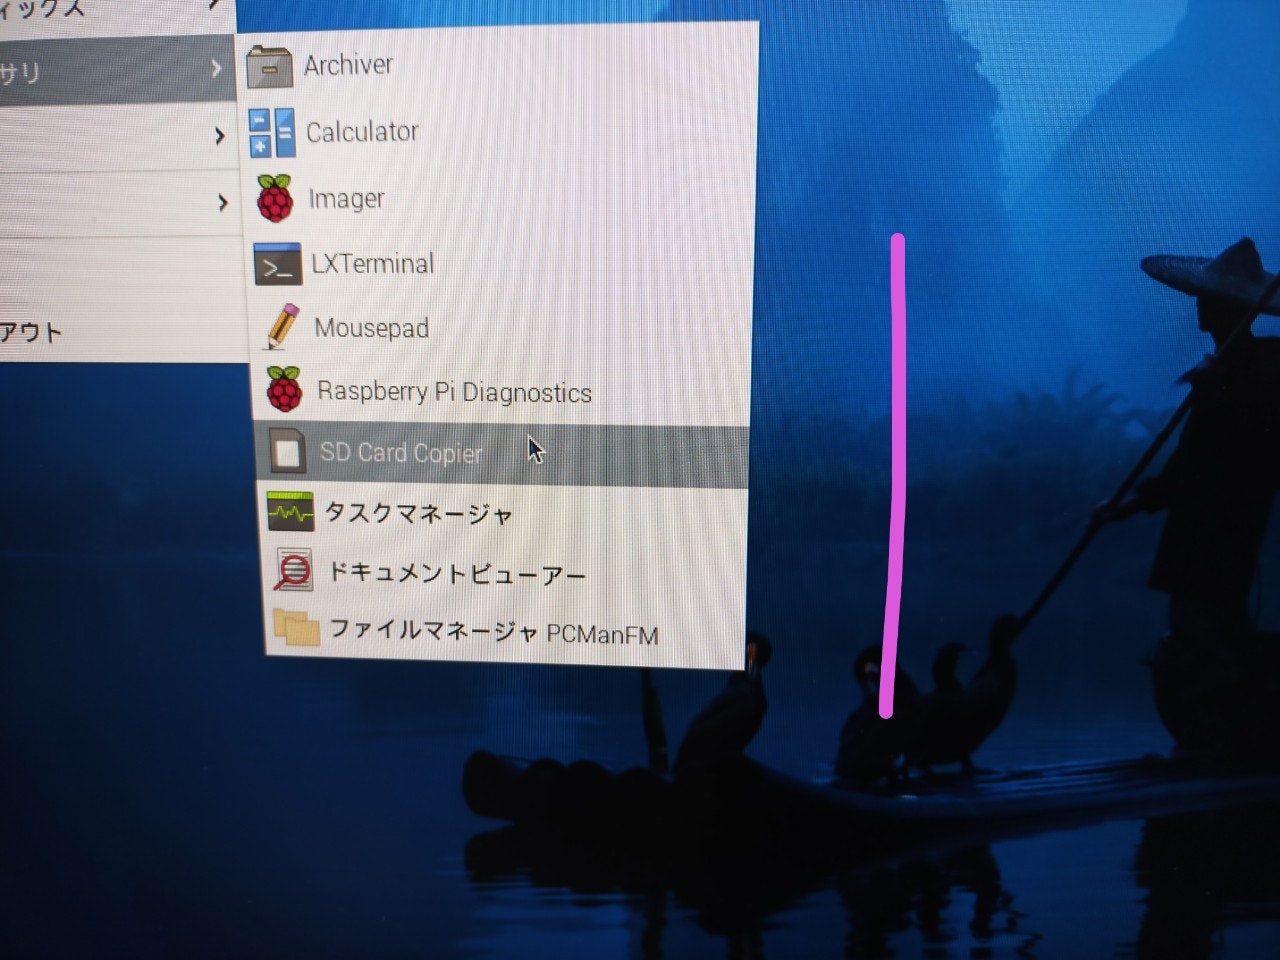
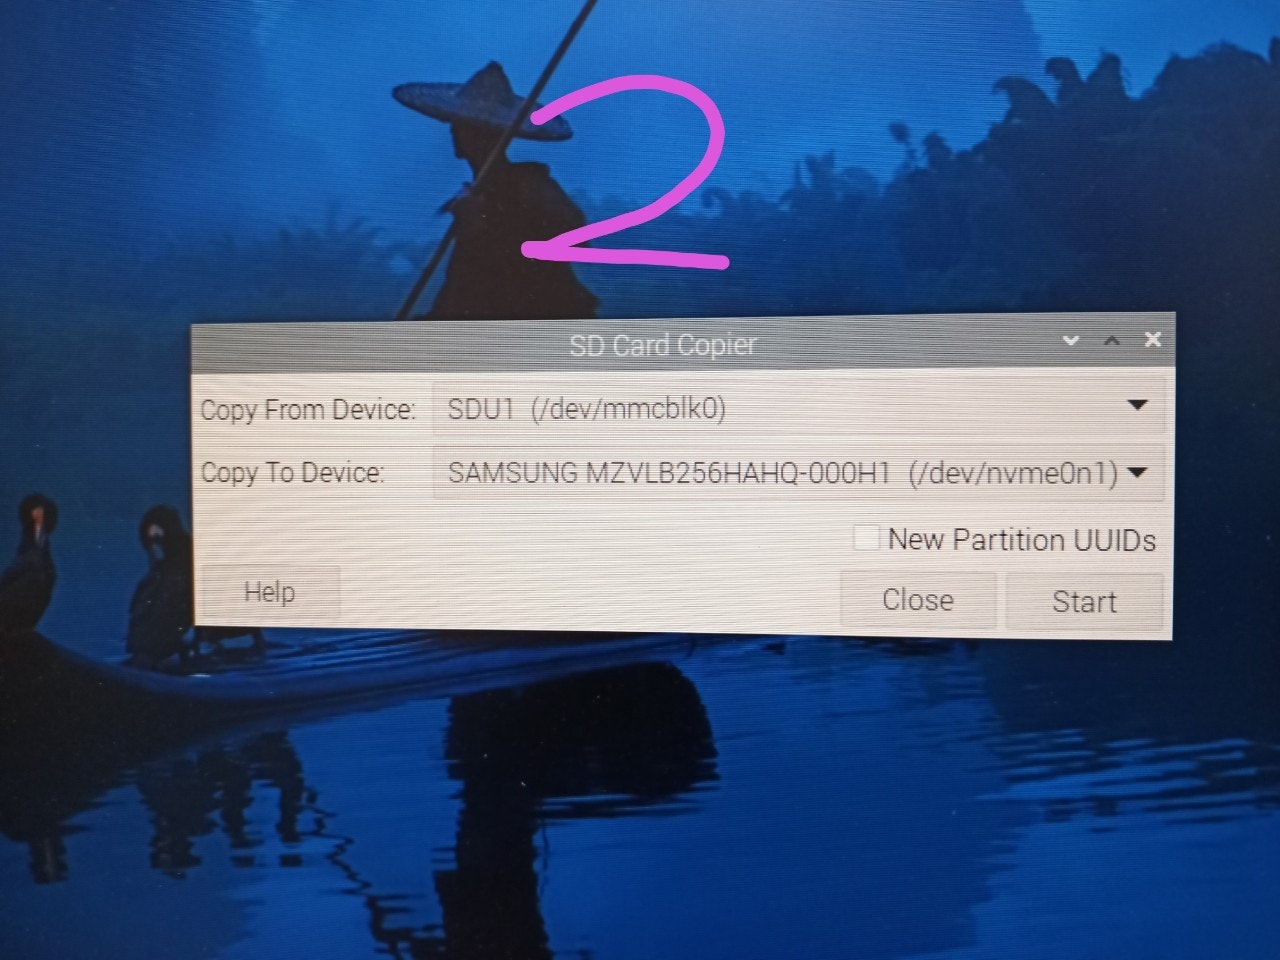
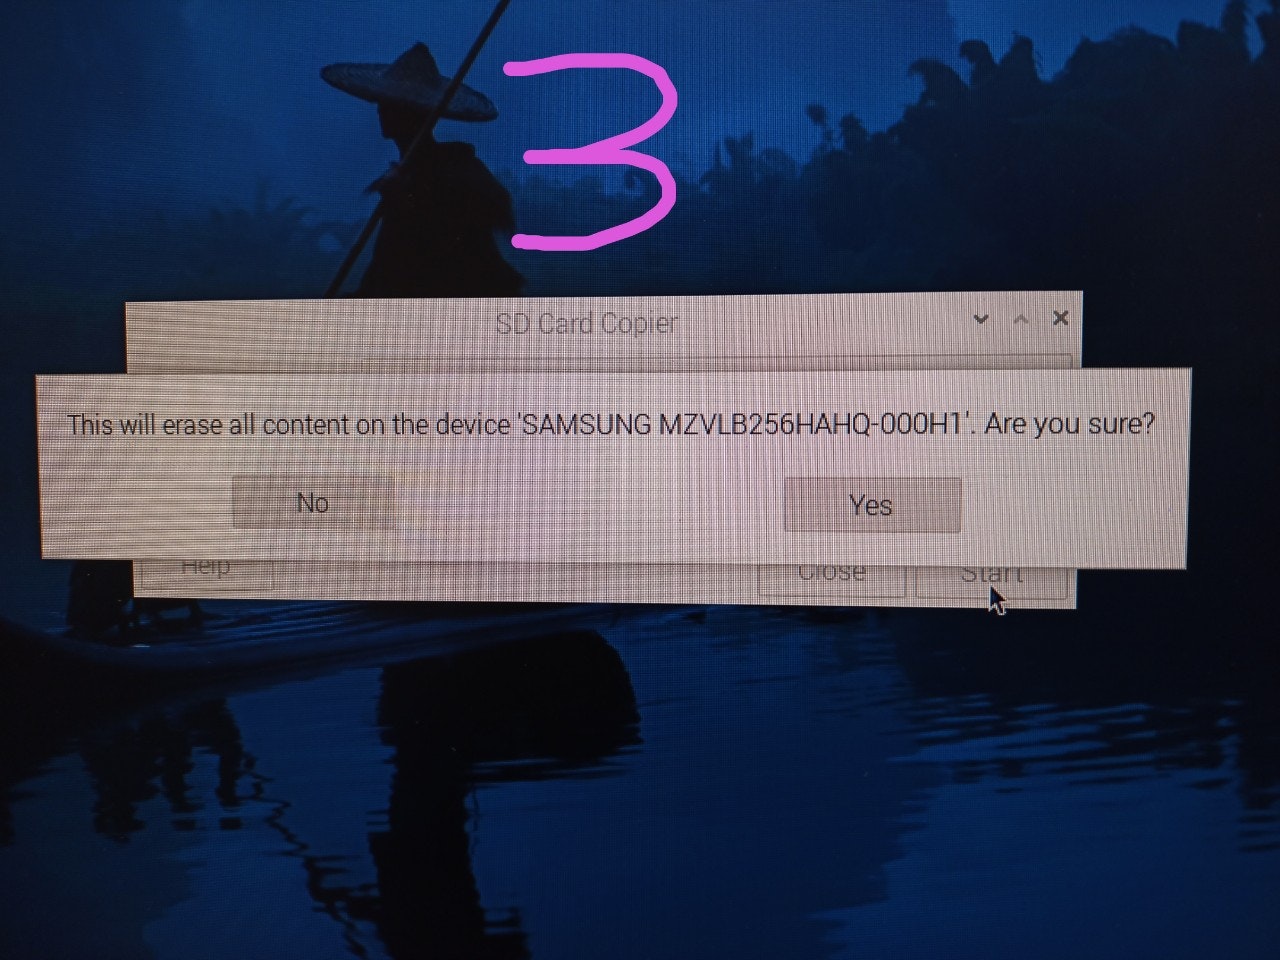
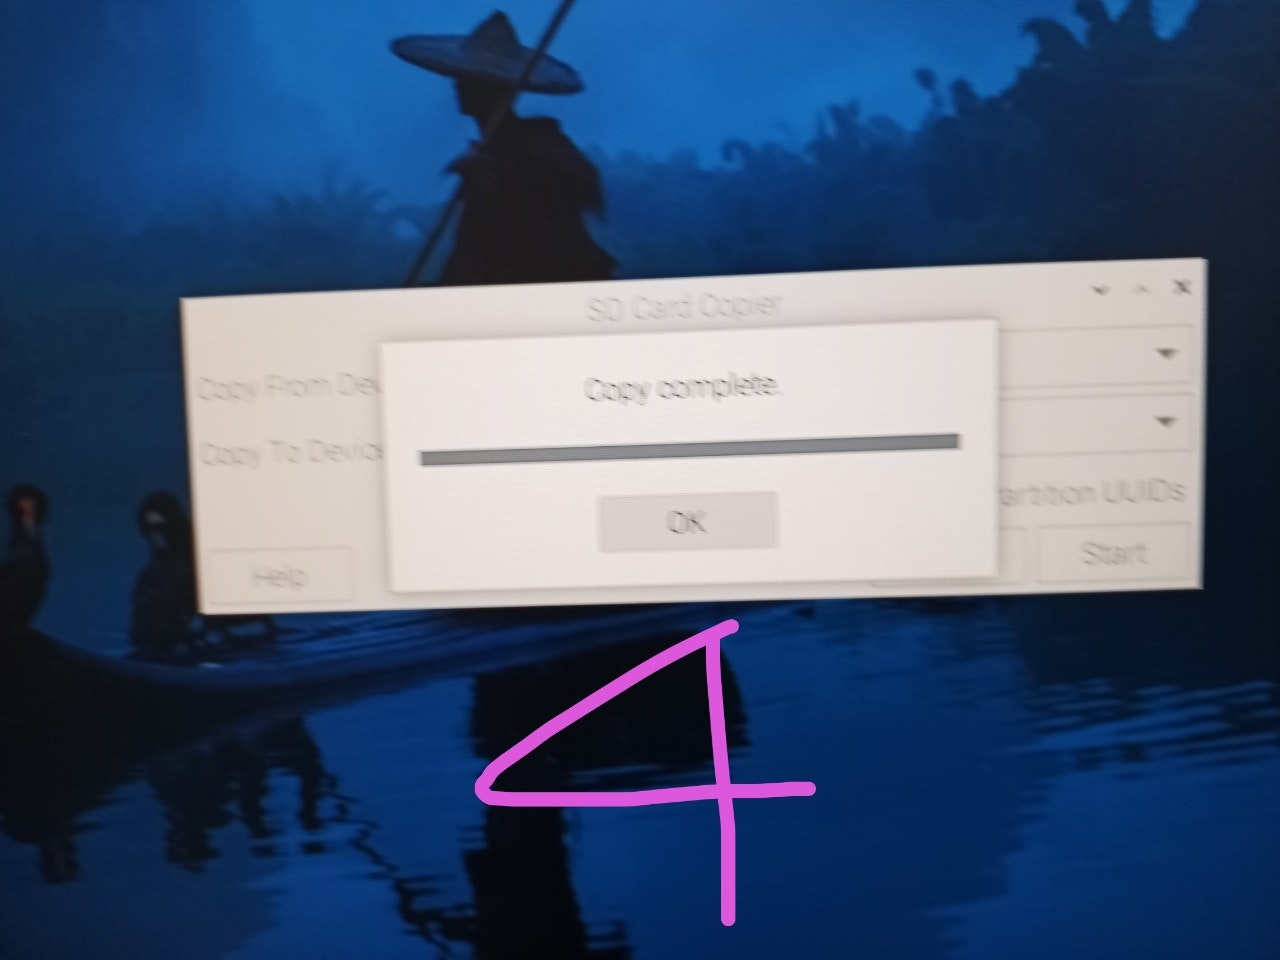
このSD Card Copyer にて
となってまして
このあと 以下をしてます
# mkdir /mp1 ; mount  /dev/nvme0n1p1  /mp1


# ls /mp1
 LICENCE.broadcom	      bcm2710-rpi-zero-2.dtb   bootcode.bin   fixup4x.dat      kernel8.img	 start4x.elf
'System Volume Information'   bcm2711-rpi-4-b.dtb      cmdline.txt    fixup_cd.dat     kernel_2712.img	 start_cd.elf
 bcm2710-rpi-2-b.dtb	      bcm2711-rpi-400.dtb      config.txt     fixup_db.dat     overlays		 start_db.elf
 bcm2710-rpi-3-b-plus.dtb     bcm2711-rpi-cm4-io.dtb   fixup.dat      fixup_x.dat      start.elf	 start_x.elf
 bcm2710-rpi-3-b.dtb	      bcm2711-rpi-cm4.dtb      fixup4.dat     initramfs8       start4.elf
 bcm2710-rpi-cm3.dtb	      bcm2711-rpi-cm4s.dtb     fixup4cd.dat   initramfs_2712   start4cd.elf
 bcm2710-rpi-zero-2-w.dtb     bcm2712-rpi-5-b.dtb      fixup4db.dat   issue.txt        start4db.elf
root@raspberrypi:/home/p5#


#cp /mp1/config.txt   /mp1/config.txt-ori-1


# diff  /mp1/config.txt   /mp1/config.txt-ori-
49c49
< dtparam=pciex1
ぜひ
https://www.raspi.jp/2024/01/raspberry-pi-5-nvme-ssd-boards/
を ご覧になさってください
A) $ sudo rpi-eeprom-config --edit
これを 実はずっと前にしてました
[all]
# BOOT_ORDERを変更。
**右側から読んで行く** ので MicroSDの1,nvmeの6,USBの4 は
BOOT_ORDER=0xf164
かつ以下を 追記する
PCIE_PROBE=1
B) /boot/config.txtをエディターで開いて、以下の設定をファイルの末尾に追記します。
[all]
dtparam=pciex1
なお https://www.jeffgeerling.com/blog/2023/nvme-ssd-boot-raspberry-pi-5
によると
# Add to bottom of /boot/config.txt
dtparam=pciex1

# Note: You could also just add the following (it is an alias to the above line)
# dtparam=nvme

# Optionally, you can control the PCIe lane speed using this parameter
# dtparam=pciex1_gen=3
取り付けたボードは
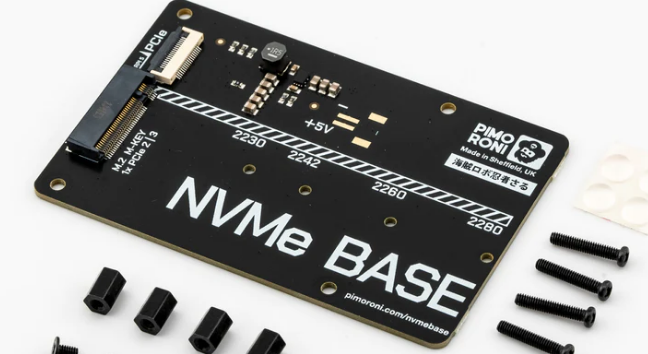
ですが
nvme をより好みするそうです
https://shop.pimoroni.com/products/nvme-base?variant=41219587178579
より
Drive compatibility
We have tested NVMe Base with the following M.2 NVMe drives successfully. We have usually tested one drive from one batch, so this is not comprehensive, or an 'Approved' list, but it's a good guide for drives to seek out:

AData Legend 700
AData Legend 800
AData XPG SX8200 Pro
Axe Memory Generic Drive
Crucial P2 M.2
Crucial P3 M.2
Crucial P3 Plus M.2
Inland PCIe NVMe SSD
Kingston KC3000
Kioxia Exceria NVMe SSD
Kioxia Exceria G2 NVMe SSD
Lexar NM620
Lexar NM710
Netac NV2000 NVMe SSD
Netac NV3000 NVMe SSD
Origin Inception TLC830 Pro NVMe
Patriot P300
Patriot P310
PNY CS1030
Sabrent Rocket 4.0
Sabrent Rocket Nano
Samsung 980
Samsung 980 Pro (500GB/1TB)
Team MP33
Western Digital Black SN750 SE (Phison Controller)


ーーーーーーーーーーーーーーーーーー

' Maybe' List. Works with quirks/not ideal.

These drives either needed extra power, were a bit quirky when we tested them or we've had reports of them being problematic. It may just be the drive we had, but they're probably best avoided.

Kioxia BG4 2230. Performance very patchy. Runs at quite a high temp.
Samsung 970 EVO Plus. Runs at a higher temp. Some user reports of problems under heavy load or not showing up on boot.
Samsung 980 Pro (250GB). Reports of this size not working.
WD Blue SN550. Our fresh unit could be used as storage but could not be booted from.
WD Red SN700. Slow to boot first time, but worked and booted OK.
WD SN740. Our fresh unit worked well. YMMV.
WD Black SN770. Our fresh unit worked fine. YMMV.


ーーーーーーーーーーーーーーーーーーー
'Avoid' List. We've had problems or reports of problems.

WD Green/Blue/Red/Black not in the above list. Variable results or not working because of quirks of a SanDisk controller/firmware. Our SN350 and SN570 prevented the RPi 5 from booting at all especially.
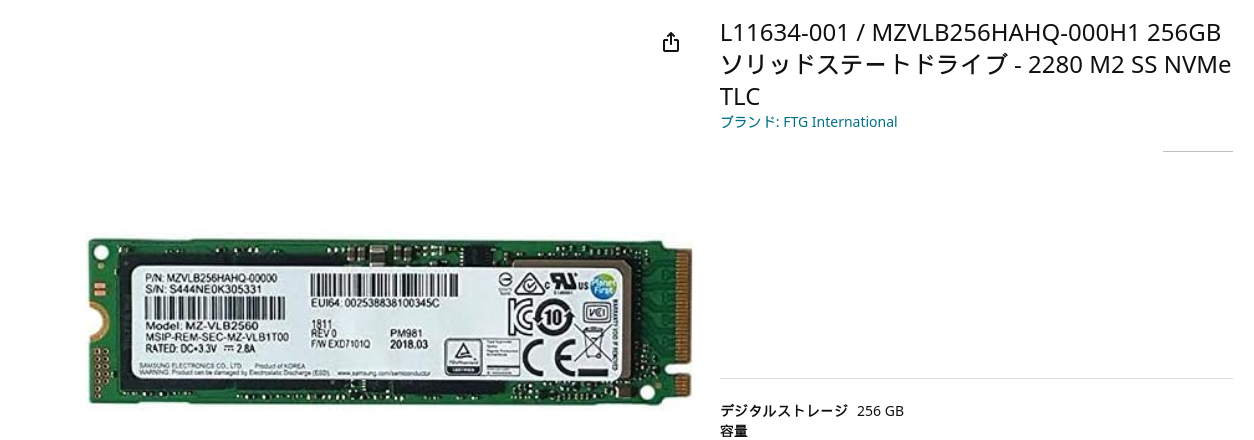
なお 自分のはサムスンの256GBのでした、詳しくは以下
# smartctl -a /dev/nvme0
smartctl 7.3 2022-02-28 r5338 [aarch64-linux-6.1.0-rpi8-rpi-2712] (local build)
Copyright (C) 2002-22, Bruce Allen, Christian Franke, www.smartmontools.org

=== START OF INFORMATION SECTION ===
Model Number:                       SAMSUNG MZVLB256HAHQ-000H1
付録1) 自分はPI5に USB DAC (FIIO D5)をつけて ヤマハ MSP3モニタースで 聞いてます、 気に入ってますこの環境!
付録2 ) nvme のbackup です、マイクロSDカード差し込むのは細かい作業でめんどうなので USBハードディスクでします
| これやると 不安定になったことがあったので推奨できません |
|---|
rpi-eeprom-config --edit
を
[all]
BOOT_UART=1
POWER_OFF_ON_HALT=0
BOOT_ORDER=0xf64
PCIE_PROBE=1
して
起動を SDカードをのけ
raspberry OS な USBハードディスク
となるようにします
USBハードディスク差し込んで起動します
そうすると
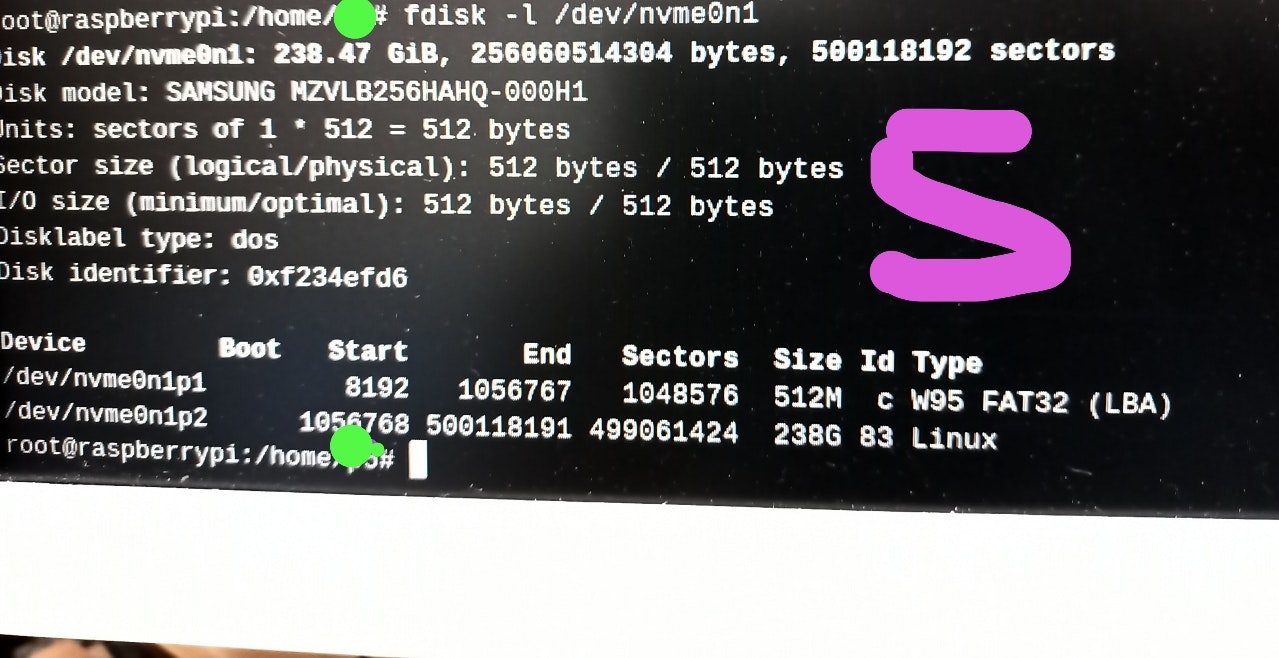
# fdisk -l | grep nvme
Disk /dev/nvme0n1: 238.47 GiB, 256060514304 bytes, 500118192 sectors
/dev/nvme0n1p1         8192   1056767   1048576  512M  c W95 FAT32 (LBA)
/dev/nvme0n1p2      1056768 500118191 499061424  238G 83 Linux

# fdisk -l | grep mmc
Disk /dev/mmcblk0: 29.12 GiB, 31267487744 bytes, 61069312 sectors
/dev/mmcblk0p1         8192  1056767  1048576  512M  c W95 FAT32 (LBA)
/dev/mmcblk0p2      1056768 61069311 60012544 28.6G 83 Linux
とnvmeが見えてます
そこで
さらにもう一つUSBハードディスクをさしこみ
https://blog.goo.ne.jp/a-storm/e/616403c75c544d4c5aaefdeeb4147093
風にここへ
# dd if=/dev/nvme0n1 bs=64k status=progress | gzip -c > nvme.gz
します
| とバックアップできたので 「心配ないからねー、大丈夫だ」 |
|---|