初めに
SwiftUIをまともに触るの今回がはじめてなのでやばいコードが多々あるかもしれないですが、暖かい目で見守っていただけると助かります。
また、ロジック部分も無駄なところが多いとは思いますが、そこも暖かい目で見守っていただけると助かります。
電卓の設計
github: https://github.com/ryotatanks9981/CalculatorForSwiftUI
レイアウトはこんな感じです。

まず、最小のViewを作ります。
ここでは丸の形のボタンですね。
ボタンのコードはこんな感じです。
struct RadiusButton: View {
    var title: String
    var width: CGFloat?
    var color: Color?
    var handler: () -> Void

    var body: some View {
        Button(title) {
            self.handler()
        }
        .frame(width: width ?? 80.0, height: 80.0)
        .background(color ?? Color.init(.systemGray2))
        .cornerRadius(40)
    }
}
.frameでボタンのサイズを決めます。変数widthをオプショナルにしておくと初期化していなければ80、していれば初期化した値の横幅になります。
同様に背景色も決めます。
そして.cornerRadiusで丸角を作ります。
綺麗な丸を作りたかったらwidthの半分の大きさを指定してあげればいいです。
次にNumberPlateViewを作ります。数字のボタン部分です。
struct NumberPlateView: View {

    @ObservedObject var calc: Calc

    var body: some View {
        VStack {
            HStack {
                RadiusButton(title: "7", handler: {
                    insertionNumber(num: 7)
                })
                RadiusButton(title: "8", handler: {
                    insertionNumber(num: 8)
                })
                RadiusButton(title: "9", handler: {
                    insertionNumber(num: 9)
                })
            }
            .padding(EdgeInsets(top: 0, leading: 0, bottom: 3, trailing: 0))

            HStack {
                RadiusButton(title: "4", handler: {
                    insertionNumber(num: 4)
                })
                RadiusButton(title: "5", handler: {
                    insertionNumber(num: 5)
                })
                RadiusButton(title: "6", handler: {
                    insertionNumber(num: 6)
                })
            }
            .padding(EdgeInsets(top: 0, leading: 0, bottom: 3, trailing: 0))

            HStack {
                RadiusButton(title: "1", handler: {
                    insertionNumber(num: 1)
                })
                RadiusButton(title: "2", handler: {
                    insertionNumber(num: 2)
                })
                RadiusButton(title: "3", handler: {
                    insertionNumber(num: 3)
                })
            }
            .padding(EdgeInsets(top: 0, leading: 0, bottom: 3, trailing: 0))

            HStack {
                RadiusButton(title: "0", width: 260, handler: {
                    insertionNumber(num: 0)
                    print(calc.num1)
                    print(calc.num2)
                })
            }
        }
    }

    private func insertionNumber(num: Int) {
        if calc.operatorType == .no || calc.target == .num1 {
            calc.num1 = calc.num1 * 10 + num
        } else if calc.operatorType != .no || calc.target == .num2 {
            calc.num2 = calc.num2 * 10 + num
        }
    }
}
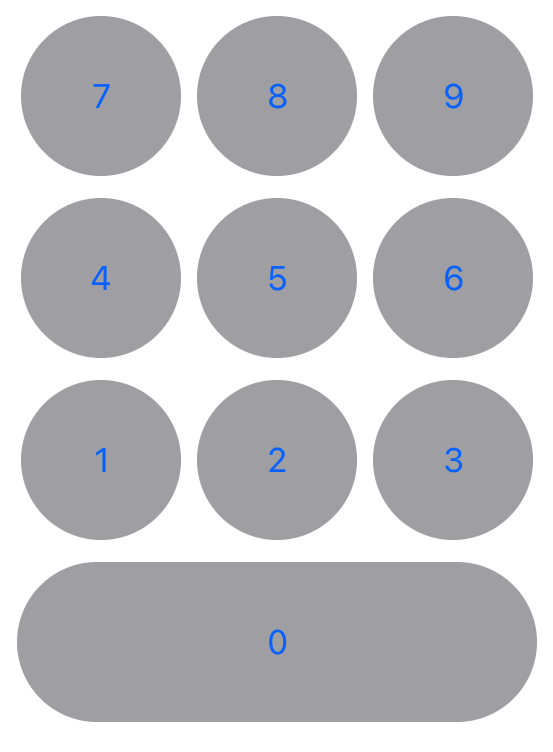
HStackでボタンを横並びにします。横並びにしたのをVStackで縦並びにします。
こんな感じになればいいです。

他のViewも同じように作っているのでgithubを見てください。
最後にContentViewです。
struct ContentView: View {

    @ObservedObject var calc = Calc()

    var body: some View {
        VStack {
            Spacer()
            Text(String(calc.num1))
                .font(.system(size: 70))
                .frame(minWidth: 0, idealWidth: 0, maxWidth: .infinity,
                       minHeight: 0, idealHeight: 100, maxHeight: 100,
                       alignment: .trailing)
                .padding(EdgeInsets(top: 0, leading: 10, bottom: 0, trailing: 10))
                .onTapGesture {
                    calc.target = .num1
                }

            Text(String(calc.num2))
                .font(.system(size: 70))
                .frame(minWidth: 0, idealWidth: 0, maxWidth: .infinity,
                       minHeight: 0, idealHeight: 100, maxHeight: 100,
                       alignment: .trailing)
                .padding(EdgeInsets(top: 0, leading: 10, bottom: 0, trailing: 10))
                .onTapGesture {
                    calc.target = .num2
                }

            KeyboardView(calc: calc)
                .padding(EdgeInsets(top: 0, leading: 0, bottom: 20, trailing: 0))
        }
    }
}
これで冒頭の写真と同じレイアウトになると思います。
参照
SwiftUI覚書
SwiftUIの機能 @State, @ObservedObject, @EnvironmentObjectの違いとは
カピ通信
最後に
SwiftUIはUIを作るのがStoryBoardに比べてかなり簡単だなとは思いましたがデータのやりとりがいまいちつかめてないので難しいなと感じました。
でも、いつもと違う感じで新鮮な気持ちで学習できたのですごく楽しかったです。