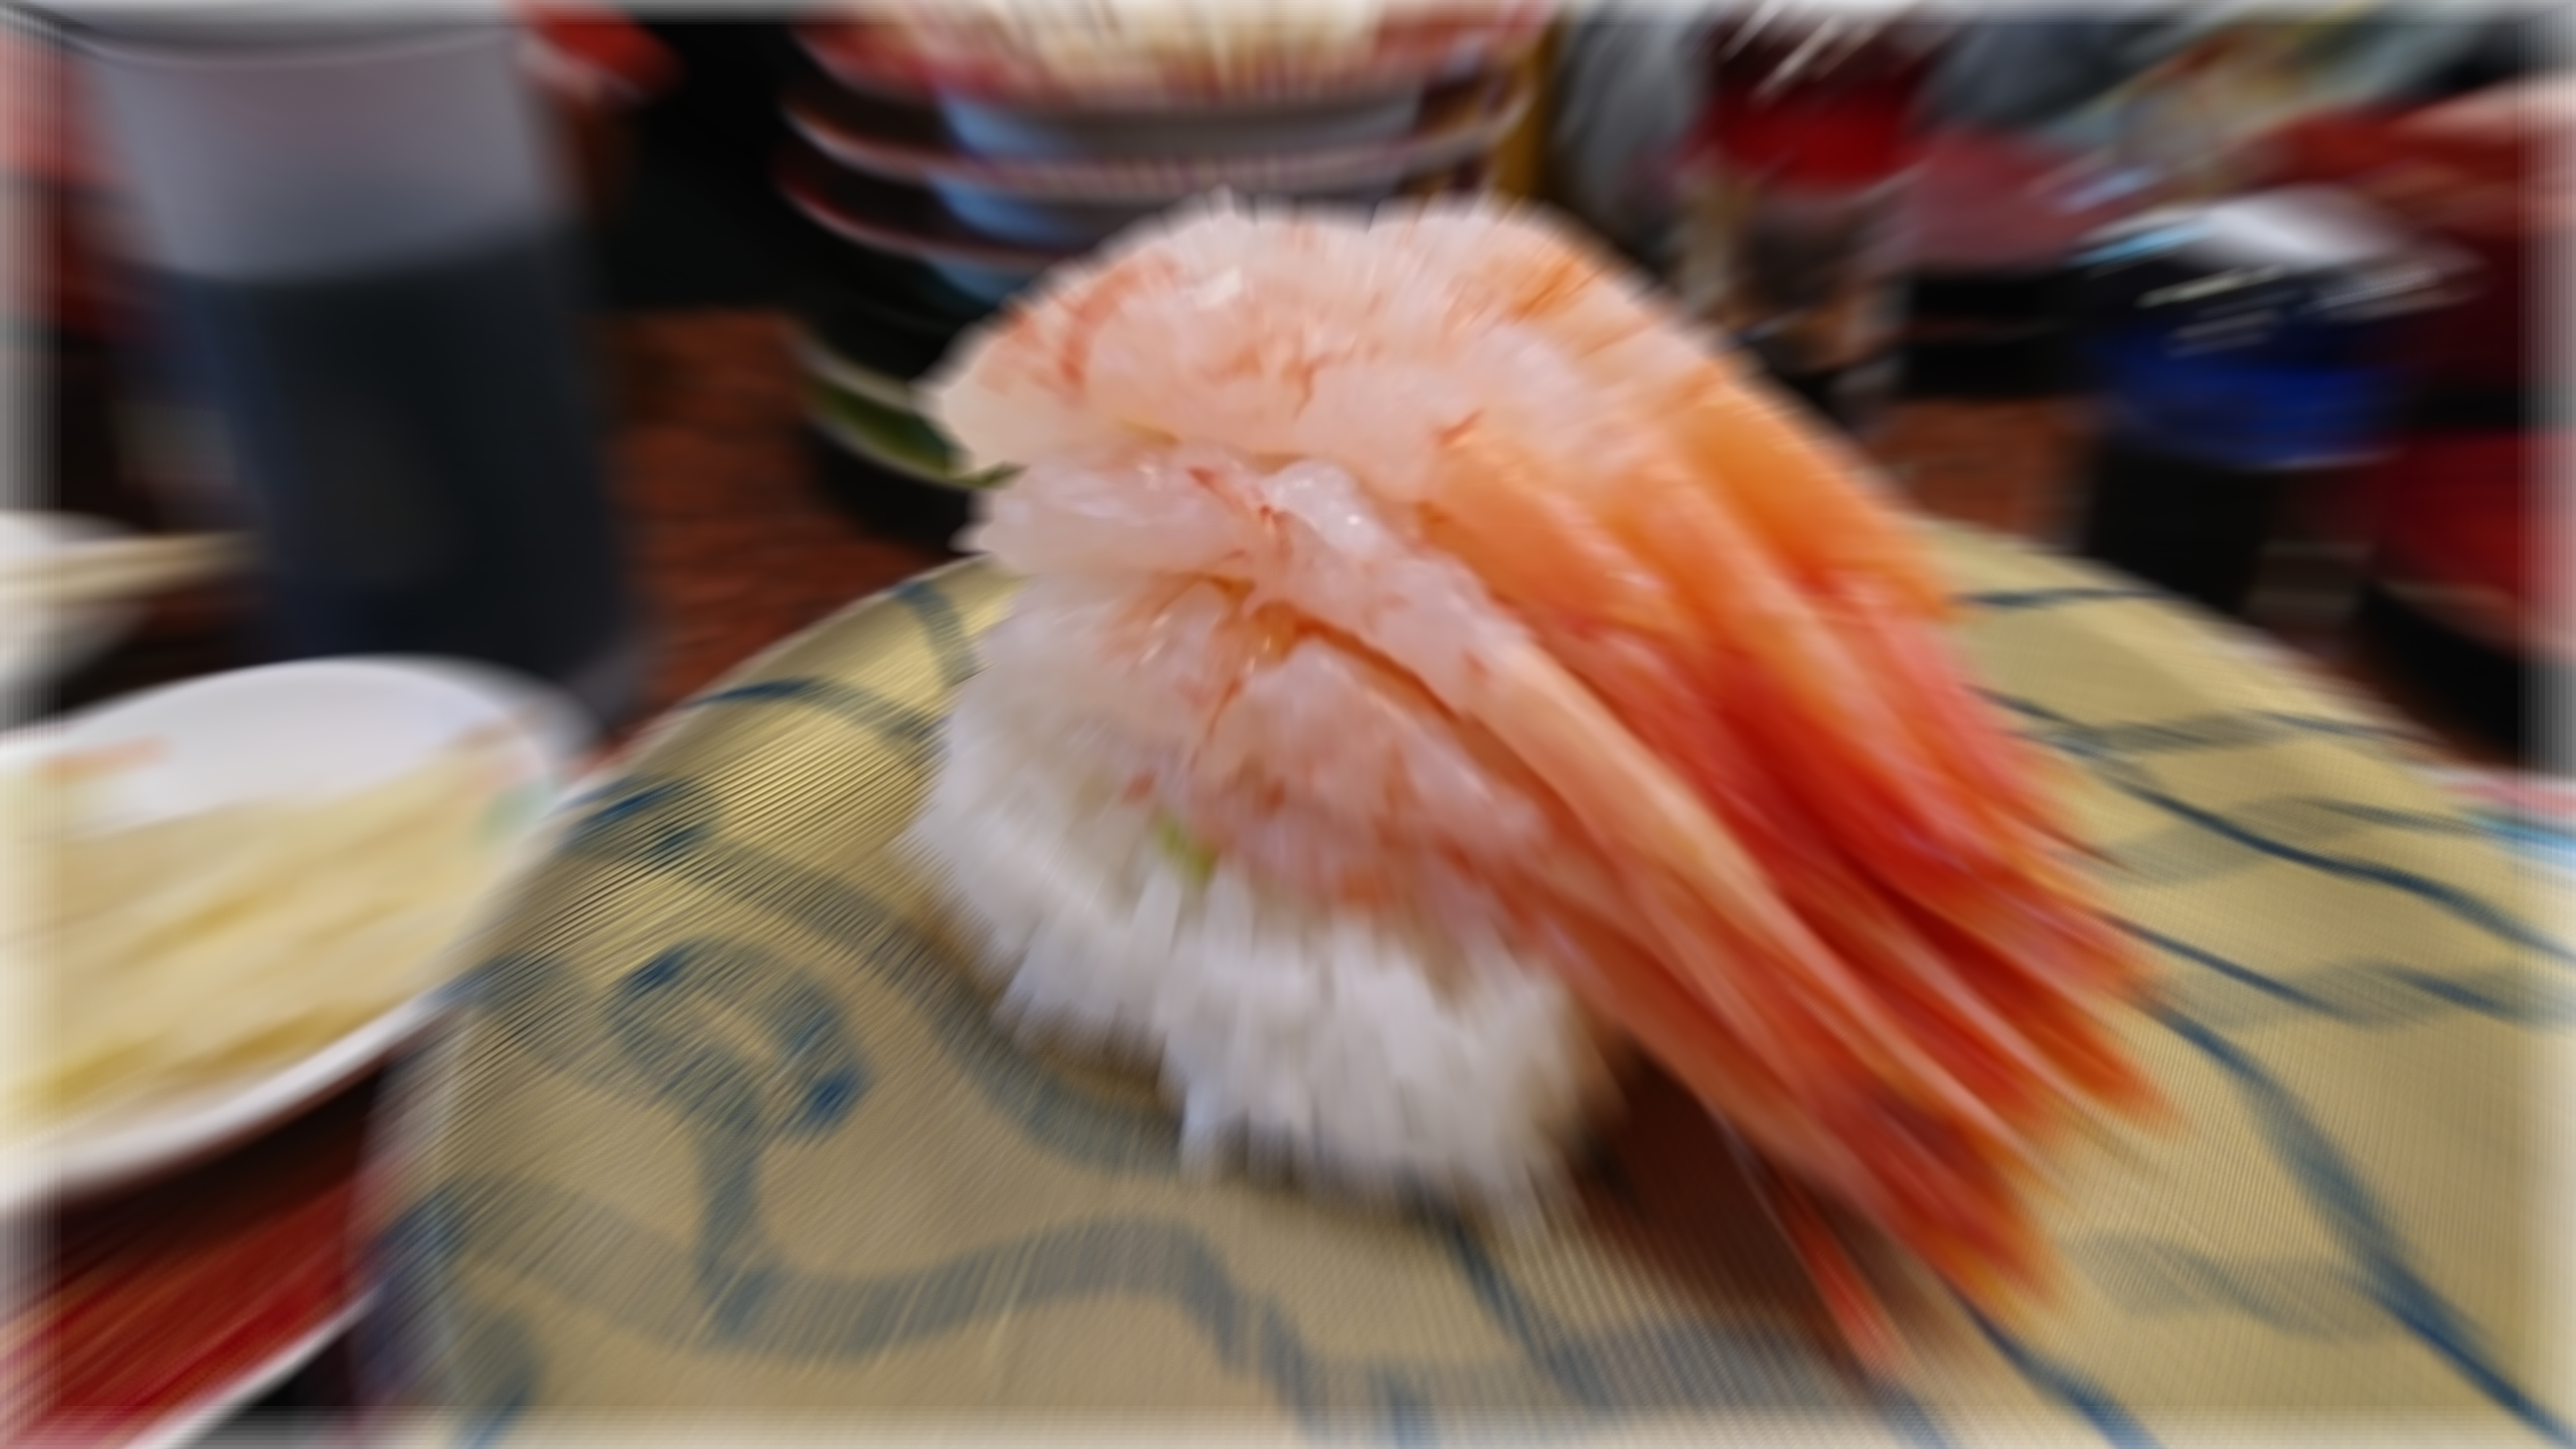
放射ぼかしとは
カメラを前後に動かしながら撮影するとこうなりますね.集中線のような効果を得られます.一部の界隈では「躍動」写真とも呼ばれています.
この放射ぼかし,PhotoShopなどの一般的な画像編集ソフトではおそらく標準搭載されています.しかし,一見数学的に1つの関数で表せそうなこの画像処理はOpenCVには標準搭載されていないので,プログラム上で扱うことができません.自分で実装するしかないというわけです.
放射ぼかしの実装
自分で作る前に調べてみたところ,やはり先駆者がいらっしゃいました.
『放射ぼかしをPython+OpenCVで実現する - さやかちゃんドットネット』
しかし,私はもう少し高速化できないかと考えて別のアルゴリズムで実装しようと思いました.簡単に言うと,元画像から段階的に小さくした画像を何枚も生成して,ぼかしの中心を基準に位置を合わせて全て重ね合わせます.以下がソースコードになります.
def radial_blur(src, pos, ratio, iterations, margin):
    h, w = src.shape[0:2]
    n = iterations
    m = margin

    # 背景を作成する.お好みで255を0にすると黒背景にできる.
    bg = np.ones(src.shape, dtype=np.uint8) * 255
    bg = cv2.resize(bg, (int(m * w), int(m * h)))

    # 背景の中心に元画像を配置
    bg[int((m - 1) * h / 2):int((m - 1) * h / 2) + h, int((m - 1) * w / 2):int((m - 1) * w / 2) + w] = src

    image_list = []
    h *= m
    w *= m
    c_x = pos[0] * m
    c_y = pos[1] * m

    # 縮小画像の作成
    for i in range(n):
        r = ratio + (1 - ratio) * (i + 1) / n
        shrunk = cv2.resize(src, (int(r * w), int(r * h)))
        left = int((1 - r) * c_x)
        right = left + shrunk.shape[1]
        top = int((1 - r) * c_y)
        bottom = top + shrunk.shape[0]
        bg[top:bottom, left:right] = shrunk
        image_list.append(bg.astype(np.int32))

    # 最終的な出力画像の作成
    dst = sum(image_list) / n
    dst = dst.astype(np.uint8)

    r = (1 + ratio) / 2
    dst = dst[int((1 - r) * c_y):int(((1 - r) * c_y + h) * r), int((1 - r) * c_x):int(((1 - r) * c_x + w) * r)]
    dst = cv2.resize(dst, (int(w / m), int(h / m)))
    return dst
各変数の意味は以下の通りです.
- src:元画像
- pos:ぼかしの中心座標(x, y)
- ratio: 最大縮小率(0 < ratio < 1)
- iterations: 重ね合わせる枚数(多いと滑らかになるが実行時間が増える)
- margin: このアルゴリズムは一番大きい元画像の端がぶれないという欠点があるため,元画像に余白を持たせてからアルゴリズムを実行し,最後にマージンの分をカットするという方法を取っています.(1 < margin < 2程度 大きいと実行時間が増える)
ちなみに,最初に貼った画像はratio = 0.9, iterations = 20, margin = 1.3です.
おわりに
どうしてもfor文を使うアルゴリズムのため,実行時間が1秒ほどかかってしまいまだまだ不満です.もっと高速な実装があるという方がいましたらどうかお教えください.
