はじめに
Spring Bootの基本を理解するためにチュートリアルを実施します。
PivotalのサイトはUNIXをベースにしているようですが、Windowsでやってみることにします。
1. 前提
以下の環境で動作した内容を記述しています。
Windows 10 Home (64bit)
JDK 1.8
gradle 4.3.1
2. Sourceを格納するフォルダの作成
チュートリアル用のフォルダ(例えばc:\dev\pcf\springboot)を作成し、
そのフォルダで以下のコマンドを実行し、Sourceを格納するフォルダを作成します。
> cd c:\dev\pcf\springboot
> mkdir src\main\java\hello
3. Gradle用build.gradleファイルを作成
後にGradleでBuildするために、以下のファイルをチュートリアル用フォルダ直下に格納します。
buildscript {
    repositories {
        mavenCentral()
    }
    dependencies {
        classpath("org.springframework.boot:spring-boot-gradle-plugin:1.5.8.RELEASE")
    }
}

apply plugin: 'java'
apply plugin: 'eclipse'
apply plugin: 'idea'
apply plugin: 'org.springframework.boot'

jar {
    baseName = 'gs-spring-boot'
    version =  '0.1.0'
}

repositories {
    mavenCentral()
}

sourceCompatibility = 1.8
targetCompatibility = 1.8

dependencies {
    // tag::jetty[]
    compile("org.springframework.boot:spring-boot-starter-web") {
        exclude module: "spring-boot-starter-tomcat"
    }
    compile("org.springframework.boot:spring-boot-starter-jetty")
    // end::jetty[]
    // tag::actuator[]
    compile("org.springframework.boot:spring-boot-starter-actuator")
    // end::actuator[]
    testCompile("junit:junit")
}
4. Source code作成
src\main\java\hello配下に以下2つのソースコードを格納します。
package hello;

import org.springframework.web.bind.annotation.RestController;
import org.springframework.web.bind.annotation.RequestMapping;

@RestController
public class HelloController {

    @RequestMapping("/")
    public String index() {
        return "Greetings from Spring Boot!";
    }

}
package hello;

import java.util.Arrays;

import org.springframework.boot.SpringApplication;
import org.springframework.boot.autoconfigure.SpringBootApplication;
import org.springframework.context.ApplicationContext;

@SpringBootApplication
public class Application {

    public static void main(String[] args) {
        ApplicationContext ctx = SpringApplication.run(Application.class, args);

        System.out.println("Let's inspect the beans provided by Spring Boot:");

        String[] beanNames = ctx.getBeanDefinitionNames();
        Arrays.sort(beanNames);
        for (String beanName : beanNames) {
            System.out.println(beanName);
        }
    }

}
5. Buildと実行
gradleコマンドでbuildし、エラーが出なければjavaコマンドで実行してみます。
> gradle build
> java -jar build/libs/gs-spring-boot-0.1.0.jar
http://localhost:8080/にアクセスすると以下のような画面が表示されます。
6. Unit testの追加
build.gradleのdependencies部分にあるtestCompile("junit:junit")を削除し以下を追加します。
// tag::tests[]
testCompile("org.springframework.boot:spring-boot-starter-test")
// end::tests[]
Unit test用フォルダを作成します。
>mkdir src\test\java\hello
作成したフォルダに以下2つのファイルを格納します。
package hello;

import static org.hamcrest.Matchers.equalTo;
import static org.springframework.test.web.servlet.result.MockMvcResultMatchers.content;
import static org.springframework.test.web.servlet.result.MockMvcResultMatchers.status;

import org.junit.Test;
import org.junit.runner.RunWith;
import org.springframework.beans.factory.annotation.Autowired;
import org.springframework.boot.test.autoconfigure.web.servlet.AutoConfigureMockMvc;
import org.springframework.boot.test.context.SpringBootTest;
import org.springframework.http.MediaType;
import org.springframework.test.context.junit4.SpringRunner;
import org.springframework.test.web.servlet.MockMvc;
import org.springframework.test.web.servlet.request.MockMvcRequestBuilders;

@RunWith(SpringRunner.class)
@SpringBootTest
@AutoConfigureMockMvc
public class HelloControllerTest {

    @Autowired
    private MockMvc mvc;

    @Test
    public void getHello() throws Exception {
        mvc.perform(MockMvcRequestBuilders.get("/").accept(MediaType.APPLICATION_JSON))
                .andExpect(status().isOk())
                .andExpect(content().string(equalTo("Greetings from Spring Boot!")));
    }
}
package hello;

import static org.hamcrest.Matchers.equalTo;
import static org.junit.Assert.assertThat;

import java.net.URL;

import org.junit.Before;
import org.junit.Test;
import org.junit.runner.RunWith;
import org.springframework.beans.factory.annotation.Autowired;
import org.springframework.boot.context.embedded.LocalServerPort;
import org.springframework.boot.test.context.SpringBootTest;
import org.springframework.boot.test.web.client.TestRestTemplate;
import org.springframework.http.ResponseEntity;
import org.springframework.test.context.junit4.SpringRunner;

@RunWith(SpringRunner.class)
@SpringBootTest(webEnvironment = SpringBootTest.WebEnvironment.RANDOM_PORT)
public class HelloControllerIT {

    @LocalServerPort
    private int port;

    private URL base;

    @Autowired
    private TestRestTemplate template;

    @Before
    public void setUp() throws Exception {
        this.base = new URL("http://localhost:" + port + "/");
    }

    @Test
    public void getHello() throws Exception {
        ResponseEntity<String> response = template.getForEntity(base.toString(),
                String.class);
        assertThat(response.getBody(), equalTo("Greetings from Spring Boot!"));
    }
}
再度buildします。
HelloControllerTest.javaは、埋め込みサーバーを使わないテストを実施し、
HelloControllerIT.javaは、埋め込みサーバーを一度立ち上げHTTP Requestを投げてテストを実施します。
c:\dev\pcf\springboot>gradle build

> Task :test
2017-11-25 23:20:45.964  INFO 13204 --- [      Thread-14] ationConfigEmbeddedWebApplicationContext : Closing org.springframework.boot.context.embedded.AnnotationConfigEmbeddedWebApplicationContext@49ca9843: startup date [Sat Nov 25 23:20:40 JST 2017]; root of context hierarchy
2017-11-25 23:20:45.968  INFO 13204 --- [      Thread-17] o.s.w.c.s.GenericWebApplicationContext   : Closing org.springframework.web.context.support.GenericWebApplicationContext@378a05b4: startup date [Sat Nov 25 23:20:44 JST 2017]; root of context hierarchy
2017-11-25 23:20:45.984  INFO 13204 --- [      Thread-14] o.e.jetty.server.AbstractConnector       : Stopped ServerConnector@6eb8bf5d{HTTP/1.1,[http/1.1]}{0.0.0.0:0}
2017-11-25 23:20:45.984  INFO 13204 --- [      Thread-14] org.eclipse.jetty.server.session         : Stopped scavenging
2017-11-25 23:20:45.988  INFO 13204 --- [      Thread-14] o.e.j.s.h.ContextHandler.application     : Destroying Spring FrameworkServlet 'dispatcherServlet'
2017-11-25 23:20:45.988  INFO 13204 --- [      Thread-14] o.e.jetty.server.handler.ContextHandler  : Stopped o.s.b.c.e.j.JettyEmbeddedWebAppContext@685261de{/,[file:///C:/Users/tetsu/AppData/Local/Temp/jetty-docbase.7830730798919207703.0/],UNAVAILABLE}


BUILD SUCCESSFUL in 9s
6 actionable tasks: 6 executed
7. Actuatorの追加設定と動作確認
build.gradleのdependencies部分にあるactuator部分にcompile('org.springframework.boot:spring-boot-actuator-docs')を追記します。
// tag::actuator[]
compile("org.springframework.boot:spring-boot-starter-actuator")
compile('org.springframework.boot:spring-boot-actuator-docs')
// end::actuator[]
再度buildし、起動します。
> gradle build
> java -jar build/libs/gs-spring-boot-0.1.0.jar
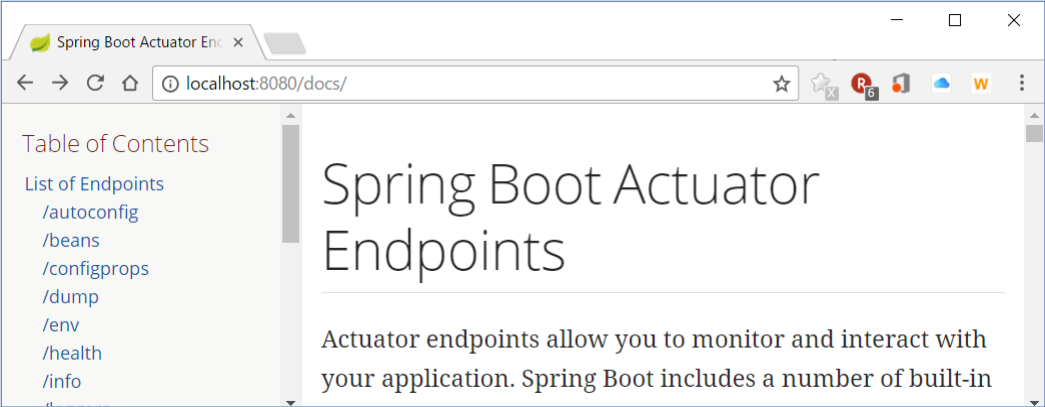
http://localhost:8080/docs/にアクセスすると以下のような画面が表示されます。
今回はこれで終了です。
参考ページ
https://spring.io/guides/gs/spring-boot/#scratch
http://namihira.hatenablog.com/entry/20160124/1453615715