Kiwi TCMSは、オープンソースのテスト管理システムです。
ちょっと試して見ようと思い 1 、動くところまでやったので手順のまとめです。
**(更新)**日本語入力時にエラーになるケースの対応が抜けていたので追加しました。2
環境
- Windows 10 Pro 2004
- Ubuntu 20.04 on WSL2
- Docker version 19.03.12
手順
ここに書いている内容に沿って、以下の感じで進めていきます。
$ docker pull kiwitcms/kiwi
<snip>
$ curl -O https://raw.githubusercontent.com/kiwitcms/Kiwi/master/docker-compose.yml
<snip>
$ curl -O https://raw.githubusercontent.com/kiwitcms/Kiwi/master/99-charset.cnf
<snip>
$ curl -O https://raw.githubusercontent.com/kiwitcms/Kiwi/master/99-charset.sh
<snip>
$ docker-compose up -d
Creating network "dev_default" with the default driver
Creating volume "dev_db_data" with default driver
Creating volume "dev_uploads" with default driver
Creating kiwi_db ... done
Creating kiwi_web ... done
$ docker exec -it kiwi_web /Kiwi/manage.py migrate
Operations to perform:
  Apply all migrations: admin, attachments, auth, bugs, contenttypes, core, django_comments, kiwi_auth, linkreference, management, sessions, sites, testcases, testplans, testruns
Running migrations:
  Applying contenttypes.0001_initial... OK
  Applying auth.0001_initial... OK
<snip>
$ docker exec -it kiwi_web /Kiwi/manage.py createsuperuser
Username: test
Email address: test@example.com
Password:
Password (again):
Superuser created successfully.
$ docker exec -it kiwi_web /Kiwi/manage.py set_domain localhost
Domain updated successfully.
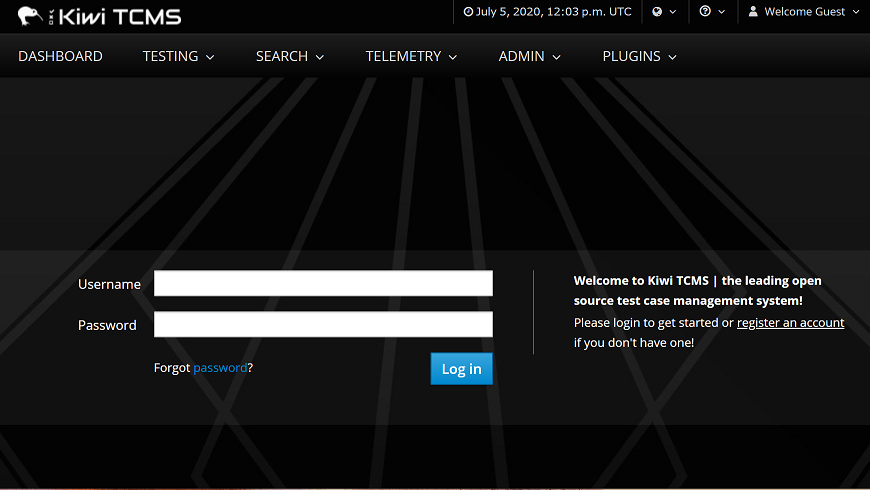
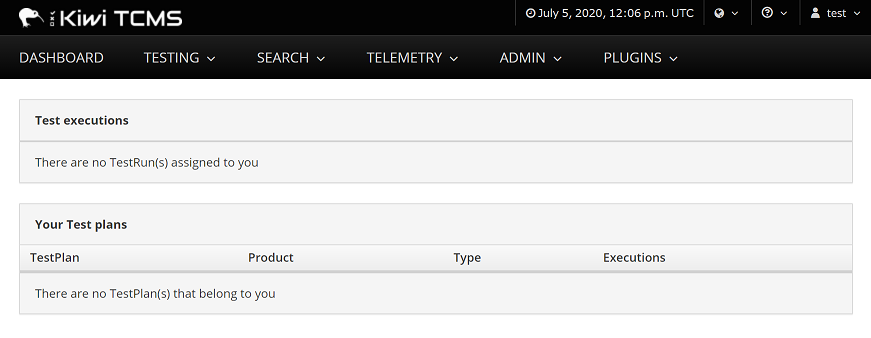
ここまでやったら、ブラウザから https://localhost に接続すると以下のような画面が開きます。
上のコマンドで作成したユーザーとパスワードでログインできます。

おまけ
トラブルシューティングとして、デバッグモードでトレースバックを表示するようにする方法も書いてあります。
docker-compose.ymlと同じ階層に、debug.pyなどとしてファイルを作成します。
# -*- coding: utf-8 -*-

DEBUG = True
その後、docker-compose.ymlのweb側に以下のように書き加えて再起動します。
        volumes:
            - uploads:/Kiwi/uploads:Z
+           - ./debug.py:/venv/lib64/python3.6/site-packages/tcms_settings_dir/debug.py
これでエラーが発生した際は、トレースバックが表示されるようになります。
