YoutubeにElm0.18のセッション動画が上がっていたのでご紹介です。
「Toward a Better Front End Architecture: Elm - Codemash 2017」
前半がElmの文法・型システム中心のセッション、
後半がJsonサーバーへアクセスするGUIを即興で作るセッションです。
後半で作るアプリの成果物はGithubで公開されています。
https://github.com/jfairbank/arch-elm/blob/master/app/src/Profile.elm
APIサーバーへのアクセス
特に目を見張ったのがセッション後半の、JsonAPIサーバーへのアクセス部分です。v0.17までは非常にわかりにくかった部分が改善されています。
userDecoder関数では、Jsonの各要素を順次Userのメンバに割り当てて
いるのが見て取れます。(JSON.Decode.Pipeline)
userDecoder : Decoder User
userDecoder =
    decode User
        |> required "screen_name" string
        |> required "name" string
        |> required "description" string
        |> required "profile_image_url" string
また、fetchUser関数ではHttp.sendでJsonリクエストの結果を、Cmd msgに変換してupdate関数で受け取れるようにしています。(http)
fetchUser : String -> Cmd Msg
fetchUser screenName =
    let
        url =
            "http://localhost:8081/user/" ++ screenName

        request =
            Http.get url userDecoder
    in
        Http.send LoadUser request
Http.getでリクエストを"作成"しHttp.sendでリクエストを"送信"します。
getとsendで2回リクエストを投げそうですが、見た目に反して(?)HTTPリクエストは1回しか行われません。トランスパイルされたjsを覗いてみると、getはオブジェクトを作成しているだけでした。
スタックオーバーフローでも同サンプルで言及されています。
http://stackoverflow.com/questions/42883491/elm-http-example-http-send-call
タイピング量としては最低限で済んでますね。
補足
Elm Httpのドキュメントを検索すると、elm-httpパッケージが上位に上がってきますが旧ライブラリです。get関数の動作も異なってますので要注意です。
| パッケージ名 | 現バージョン | |
|---|---|---|
| elm-lang/http | 1.0.0 | 正 |
| evancz/elm-http | 3.0.1 | 非推奨 |
環境構築
せっかくなので、セッションでのプログラムの実行環境を作成しました。
APIサーバーもソースが付いているのですが、今回は別にモックサーバーを用意しました。
JSON-SERVERの準備
適当なフォルダーで routes.jsonとuser.jsonを作ります。
{
  "/user/:id": "/:id"
}
{
    "elm" : {
            "name": "Elm Friends",
            "url": "http:/qiita.com",
            "description": "Elm JSON Test",
            "screen_name": "elm",
            "lang": "jp",
            "time_zone": "Tokyo",
            "id": 123456,
            "id_str": "123456",
            "profile_image_url": "https://qiita-image-store.s3.amazonaws.com/0/66748/profile-images/1481384149"
     }
}
JSON サーバーのインストールと起動
npm install -g json-server
json-server -w user.json -r routes.json -p8081
サンプルプログラムの起動
別のシェルを開き、プログラムをインストールします。
git clone https://github.com/jfairbank/arch-elm.git
cd app
yarn install
npm run dev
起動したら以下をブラウザで開いてください。
http://localhost:8000/
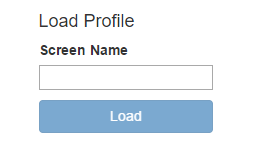
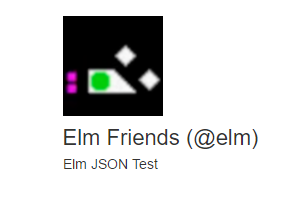
「elm」を入力して、Loadボタンを押すとUser.jsonの内容が表示されます。
終わりに
Elmには一目惚れしたものの、Taskの理解で頓挫していた私にとって非常に元気の出る内容でした。
お疲れ様でした!
参考

