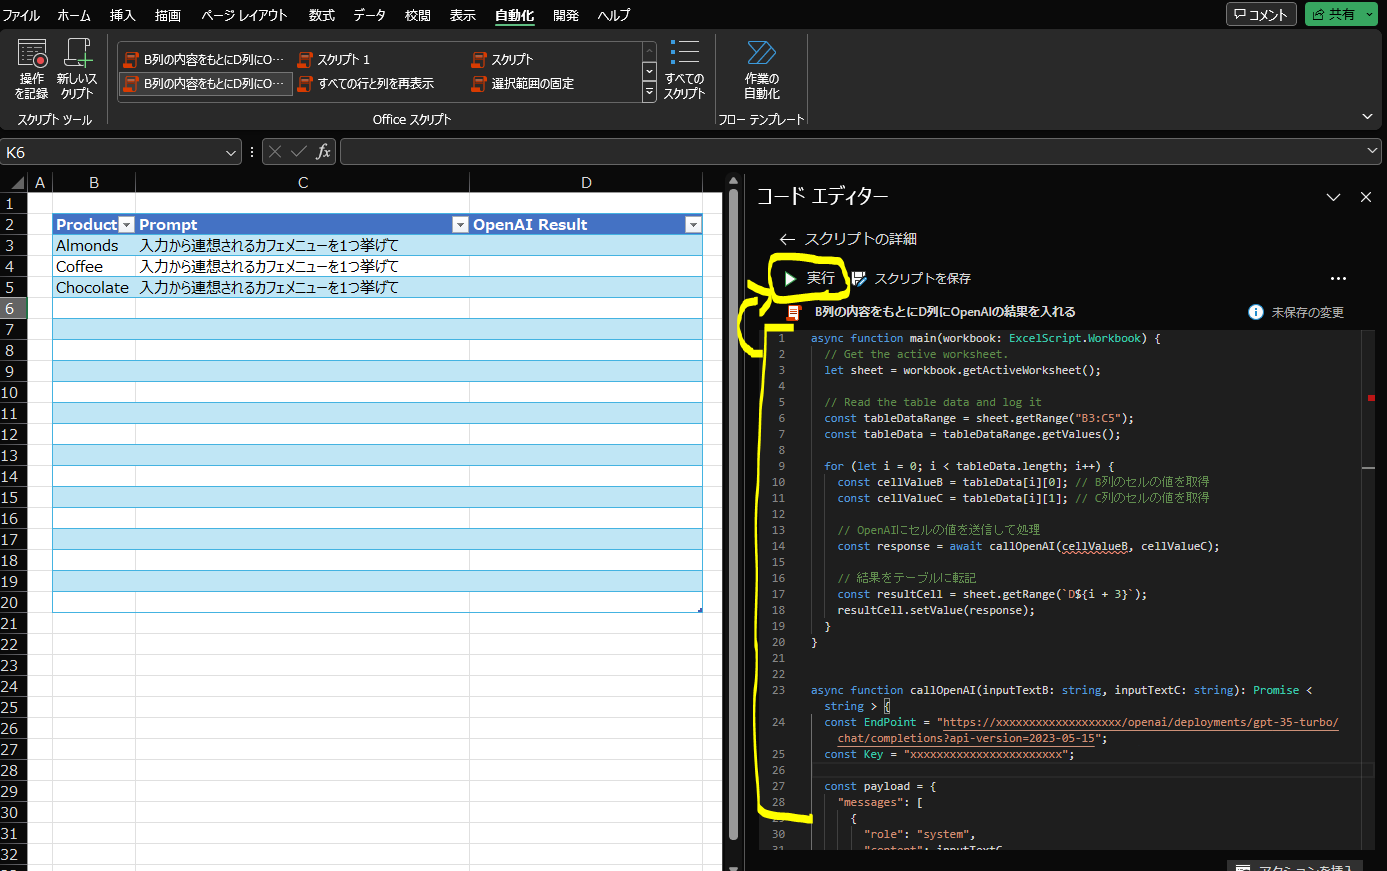
async function main(workbook: ExcelScript.Workbook) {
  // Get the active worksheet.
  let sheet = workbook.getActiveWorksheet();

  // Get the table
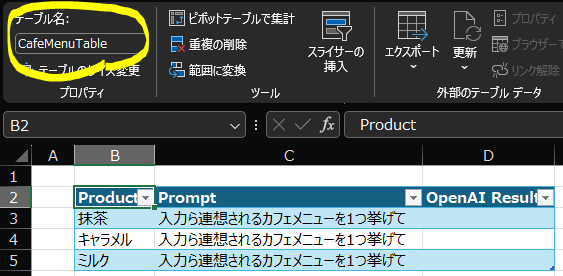
  const table = sheet.getTable("CafeMenuTable"); // "CafeMenuTable" はテーブルの名前に置き換えます

  const tableDataRange = table.getRangeBetweenHeaderAndTotal(); // テーブルのヘッダーと合計行を含む範囲を取得

  const tableData = tableDataRange.getValues();

  for (let i = 0; i < tableData.length; i++) {
    const cellValueB = tableData[i][0]; // B列のセルの値を取得
    const cellValueC = tableData[i][1]; // C列のセルの値を取得

    // OpenAIにセルの値を送信して処理
    const response = await callOpenAI(cellValueB, cellValueC);

    // 結果をテーブルに転記
    const resultCell = tableDataRange.getCell(i, 2); // D列に書き込む
    resultCell.setValue(response);
  }
}


async function callOpenAI(inputTextB: string, inputTextC: string): Promise < string > {
  const EndPoint = "https://xxxxxxxxxxxxxxx.openai.azure.com/openai/deployments/gpt-35-turbo/chat/completions?api-version=2024-02-01";
  const Key = "xxxxxxxxxxxxxxxxxxxxxxxxxxxxx";

  const payload = {
    "messages": [
      {
        "role": "system",
        "content": inputTextC
      },
      {
        "role": "user",
        "content": inputTextB
      }
    ],
    "temperature": 0.7,
    "max_tokens": 800,
    "stop": null,
    "stream": false
  };

  const options: RequestInit = {
    method: 'POST',
    headers: {
      'Content-Type': 'application/json',
      'api-Key': Key
    },
    body: JSON.stringify(payload)
  };

  try {
    const response = await fetch(EndPoint, options);
    // console.log(EndPoint, options);
    if (response.ok) {
      const json: { choices: { message: { content: string } }[] } = await response.json();
      const content = json.choices[0].message.content;
      console.log(content);
      return content;
    } else {
      console.log('APIリクエストに失敗しました' + response.status);
    }
  } catch (error) {
    console.log('エラーが発生しました', error);
  }
}


