今回はriverpodのAsyncNotifierを使って自動ログイン機能を実装について記事にしたいと思います。
よろしくお願いします!
警告
この記事では、firebaseの初期設定、およびAuthenticationの初期設定されている前提で書いております!
また私は未経験の独学ですので、その点はご了承ください
初めに今回使うパッケージ
dependencies:
  flutter_riverpod:
  riverpod_annotation:

dev_dependencies:
  build_runner:
  riverpod_generator:
AsyncNotifierProviderとは?
基本的な概念:
AsyncNotifierProviderは、非同期な状態とそれを操作するAsyncNotifierを提供するためのProviderです。
AsyncNotifierの状態が変更されるたびに通知され、状態の変更に応じて動的に値が更新されます。このプロバイダを使用することで状態の変更を監視し、UIを適切に更新することができます
今回のアプリの仕様について
- ユーザーの認証:Firebase Authentication
- ユーザー登録:Firestore
このアプリでは、ユーザーが最初にFirebase Authenticationを使用して認証されます。認証が成功すると、ユーザーの個別情報(ユーザー名、プロフィール画像など)がFirestoreに保存されます。
アプリのUI
SignInPage,CreateAccountPage,MyUserPageの3つのページ
1.SignInPage
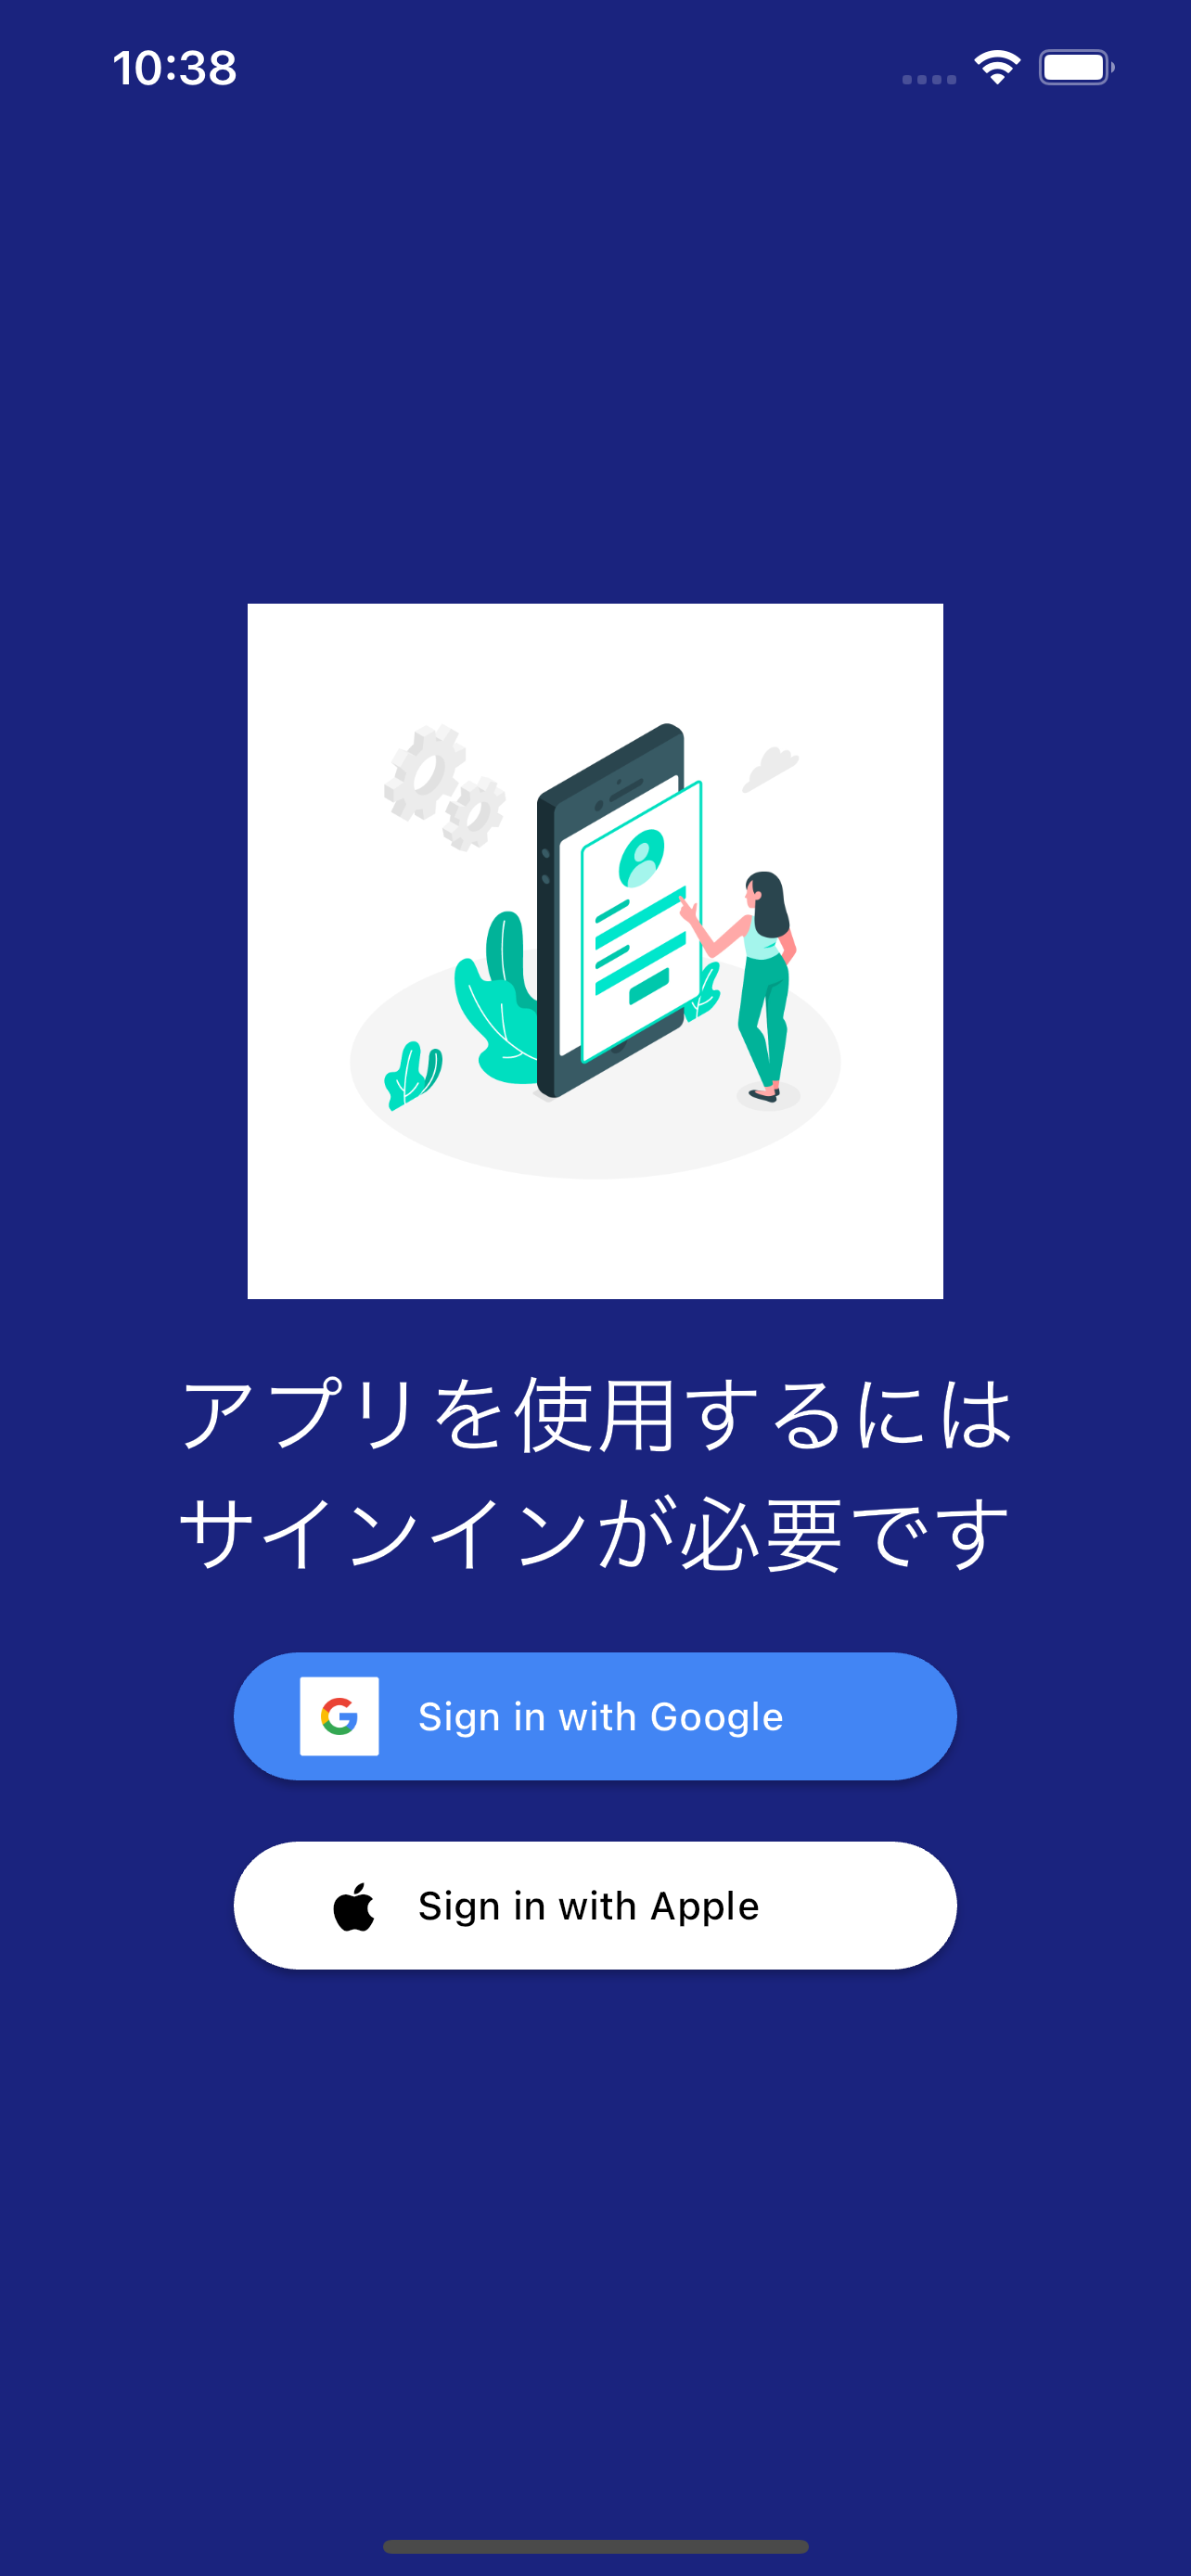
説明:Firebase Authenticationを使った認証
2.CreateAccountPage
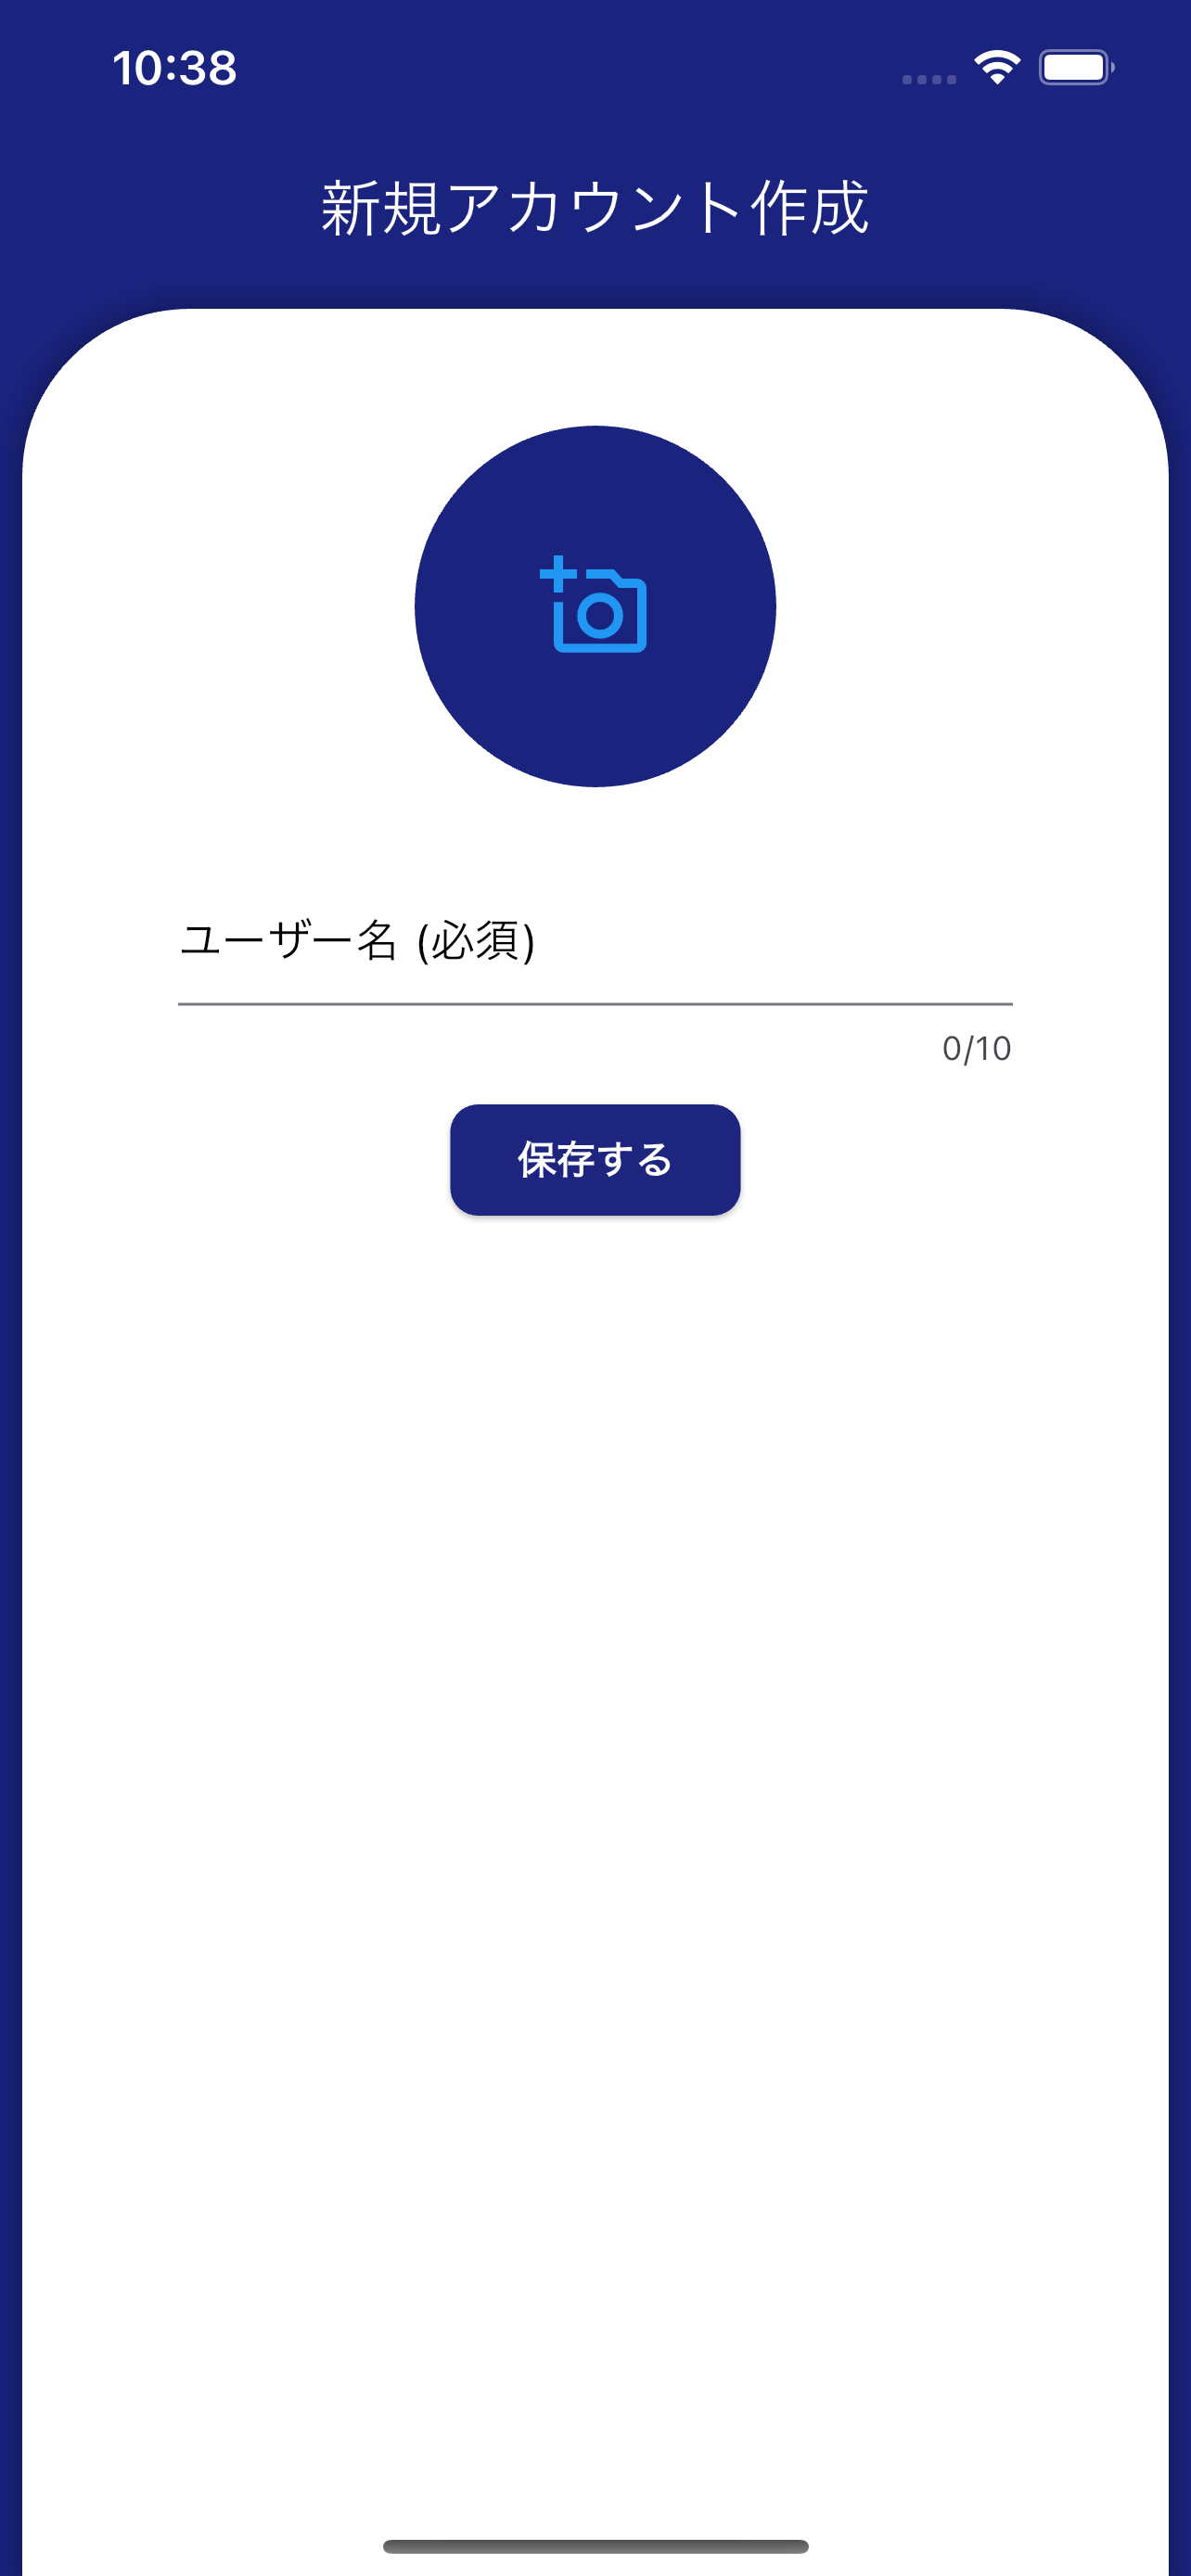
説明:Firestoreを使ったユーザー情報の保存
3.MyUserPage

説明:Firestoreからユーザー情報を表示
自動ログイン機能
認証状態やfirestoreに保存されているかどうかなどの、状態によって画面遷移させるルートを変えます
1. Firebase Authenticationに未認証のユーザー(新規ユーザー)
新規ユーザー: SignInPage -> CreateAccountPage -> MyUserPage
2. Firebase Authenticationに認証されているが、Firestoreにアカウント情報がないユーザー
CreateAccountPage -> MyUserPage
3. 両方に情報があるユーザー(自動ログイン)
auth,firestoreに情報がある場合(自動ログイン) -> MyUserPage
ユーザー認証状態クラスを作成
ユーザーの認証状態を表すAuthStatusというenumクラスを作成しました。これは以下のように定義されています。
enum AuthStatus {
  unauthenticated, // Firebase Authenticationに情報がなく、認証されていない
  accountNotCreated, // Firebase Authenticationには情報があるが、Firestoreにデータがない
  authenticated, // Firebase Authenticationに情報があり、Firestoreにもデータがある
}
このAuthStatusを使用することで、アプリの様々な認証状態を効率的に管理し、適切な画面にスムーズに遷移させることができます。
当初、私はこれらの状態をAuthStatusクラスを使わずにbool型の条件分岐で実装しようとして、大苦戦いました笑
AsyncNotifierProviderで自動ログイン実装
AsyncNotifierProvider定義
import 'package:riverpod_annotation/riverpod_annotation.dart';

import '../../../../infrastructure/firebase/account_firebase.dart';
import '../../../../infrastructure/firebase/authentication_service.dart';
import '../../../models/auth/auth_status.dart';
import '../../../view_models/auth_view_model.dart';
import '../account/account_notifier.dart';
import '../account/account_state_notifier.dart';

part 'auth_notifier.g.dart';

@riverpod
class AuthStateNotifier extends _$AuthStateNotifier {
  @override
  Future<AuthStatus> build() async {
    try {
      //authenticationからuserの情報が存在するか確認
      final user = await AuthenticationService().getCurrentUser();
      if (user == null) return AuthStatus.unauthenticated; // 認証されていない

      //Firestoreにユーザーデータがあるかチェック
      final userAccount = await AccountFirestore.fetchUserData(user.uid);
      if (userAccount != null) {
        return AuthStatus.authenticated; // 認証され、Firestoreにデータがある
      } else {
        return AuthStatus.accountNotCreated; // アカウントはあるが、Firestoreにデータがない
      }
    } catch (e, stack) {
    //エラー処理
      throw AsyncError(e, stack);
    }
  }
}
AuthStateNotifierのコードを詳しく見ていきます!
-
Future<AuthStatus>はreturnでAuthStatusを返すためです -
AuthenticationService().getCurrentUser()でAuthenticationからユーザー情報があるかどうか確認し、あればUser型で返し、無ければnullを返します
AuthenticationService().getCurrentUser()
  //Authenticationからユーザー情報が確認し、あればその情報を返す
 Future<User?> getCurrentUser() async {
    return  FirebaseFirestore.instance.currentUser;
  }
-
final userAccount = await AccountFirestore.fetchUserData(user.uid);で、user.uidからfirestoreにあるユーザー情報を探します、あればAccount型(自分で作ったクラス)で返し、無ければnullを返します
AccountFirestore.fetchUserData(user.uid);
// 指定されたユーザーIDのユーザーデータを取得する関数
static Future<Account?> fetchUserData(String userId) async {
  try {
    // 指定されたユーザーIDでFirestoreのドキュメントを取得
    DocumentSnapshot userSnapshot = await users.doc(userId).get();

    // ドキュメントが存在する場合、そのデータを使用してAccountオブジェクトを作成
    if (userSnapshot.exists) {
      // ドキュメントのデータをMapとして取得
      Map<String, dynamic> data = userSnapshot.data() as Map<String, dynamic>;
      // 取得したデータをもとにAccountオブジェクトを作成して返却
      return Account(
        id: data["user_id"],
        name: data["name"],
        myToken: data["myToken"] ?? "", // myTokenがnullの場合は空文字列を設定
        imagePath: data["imagePath"] ?? "", // imagePathがnullの場合は空文字列を設定
      );
    }
  } catch (e) {
   //エラーハンドリング
  }
  // ユーザー情報が存在しない場合はnullを返却
  return null;
}
-
catch(e,stack){throw AsyncError(e, stack);}でUI層にエラーをthrowで伝える
view
FirstPageはアプリが起動されたら一番初めに呼ばれます
import ...

class FirstPage extends ConsumerWidget {
  const FirstPage({super.key});

  @override
  Widget build(BuildContext context, WidgetRef ref) {
  //authStateNotifierProviderの処理が行われる
    final authAsyncValue = ref.watch(authStateNotifierProvider);
    final loader = ref.watch(globalLoaderProvider); // ローディング状態を監視

    return Scaffold(
      backgroundColor: Colors.indigo[900],
      body: authAsyncValue.when(
        error: (e, stack) {
        //エラー処理
        },
        //ローディング中のインジケーター表示
        loading: () => ShowProgressIndicator(
          textColor: Colors.white,
          indicatorColor: Colors.white,
        ),
        data: (status) {
    //statusにAuthStatusの値が入ってくる
          switch (status) {
          //AuthStatusの値によって条件分岐して画面遷移
            case AuthStatus.unauthenticated:
              //サインイン表示
              return SignInPage(loader: loader, ref: ref);
            case AuthStatus.accountNotCreated:
              //アカウント作成ページ
              return CreateAccountPage();
            case AuthStatus.authenticated:
              //タイムラインページ
              return MyUserPage();
          }
        },
      ),
    );
  }
}
FirstPageのコードを詳しく見ていきます!
error:は処理中に何かエラーがあった時の処理を書きます。
loadingはauthStateNotifierProviderの処理中の時です、今回はインジケータを表示させます
dataは準備完了を表します
自動ログイン時のstatusの値
`
AuthStatus.authenticatedが返されたので、MyUserPageに画面遷移されます!
これで自動ログインが実装できました!!
まとめ
以上の処理を行うとユーザーの状態によって画面遷移させる順番を変えることによって自動ログインが実装できます。
最後にもう一度アプリの画面遷移のルートを載せておきます
新規ユーザー: SignInPage -> CreateAccountPage -> MyUserPage
auth,firestoreに情報がある場合(自動ログイン) -> MyUserPage
ログアウトしたユーザー: SignInPage -> MyUserPage
アカウントを削除したユーザー: CreateAccountPage -> MyUserPage
最後まで読んでいただきありがとうございました!
私はまだまだflutter勉強中ですので、間違っている箇所など、ありましたらコメントください
また質問も気軽にどうぞ!
それではまた