今回はFlutterアプリで画像とカスタムフォントを使用する方法を記述します。
プロジェクトに画像とフォントを追加する
- プロジェクト直下に
assetsフォルダを作成し、その直下にimagesとfontsフォルダを作成する。 - 使用したい画像とフォントを各フォルダに格納する。

pubspec.yamlにパスを記述する
Flutterで画像やフォントを使用するには、pubspec.yamlにパスを記述する必要があります。
pubspec.yaml
flutter:

  # The following line ensures that the Material Icons font is
  # included with your application, so that you can use the icons in
  # the material Icons class.
  uses-material-design: true

  # To add assets to your application, add an assets section, like this:
  assets:
    - assets/images/
    - assets/fonts/

# An image asset can refer to one or more resolution-specific "variants", see
  # https://flutter.dev/assets-and-images/#resolution-aware.

  # For details regarding adding assets from package dependencies, see
  # https://flutter.dev/assets-and-images/#from-packages

  # To add custom fonts to your application, add a fonts section here,
  # in this "flutter" section. Each entry in this list should have a
  # "family" key with the font family name, and a "fonts" key with a
  # list giving the asset and other descriptors for the font. For
  # example:
  fonts:
    - family: OpenSansCondensed
      fonts:
        - asset: assets/fonts/OpenSansCondensed-Light.ttf
          weight: 300
        - asset: assets/fonts/OpenSansCondensed-Bold.ttf
          weight: 700
フォントファイルは太さによって複数に分かれていることが多いので、それぞれにweightを定義します。
pubspec.yamlに記述する際、インデントが揃っていないと、エラーになったり、上手く適用されないなどがあるので、注意が必要です。
画像を表示する
実際にアプリ上にプロジェクトに追加した画像を表示してみます。
aseetsの画像を表示する
main.dart
import 'package:flutter/material.dart';
void main() {
runApp(MyApp());
}
class MyApp extends StatelessWidget {
@override
Widget build(BuildContext context) {
return MaterialApp(
debugShowCheckedModeBanner: false,
title: 'Flutter Demo',
home: Scaffold(
appBar: AppBar(
title: Text('Flutter Demo'),
),
body: Center(
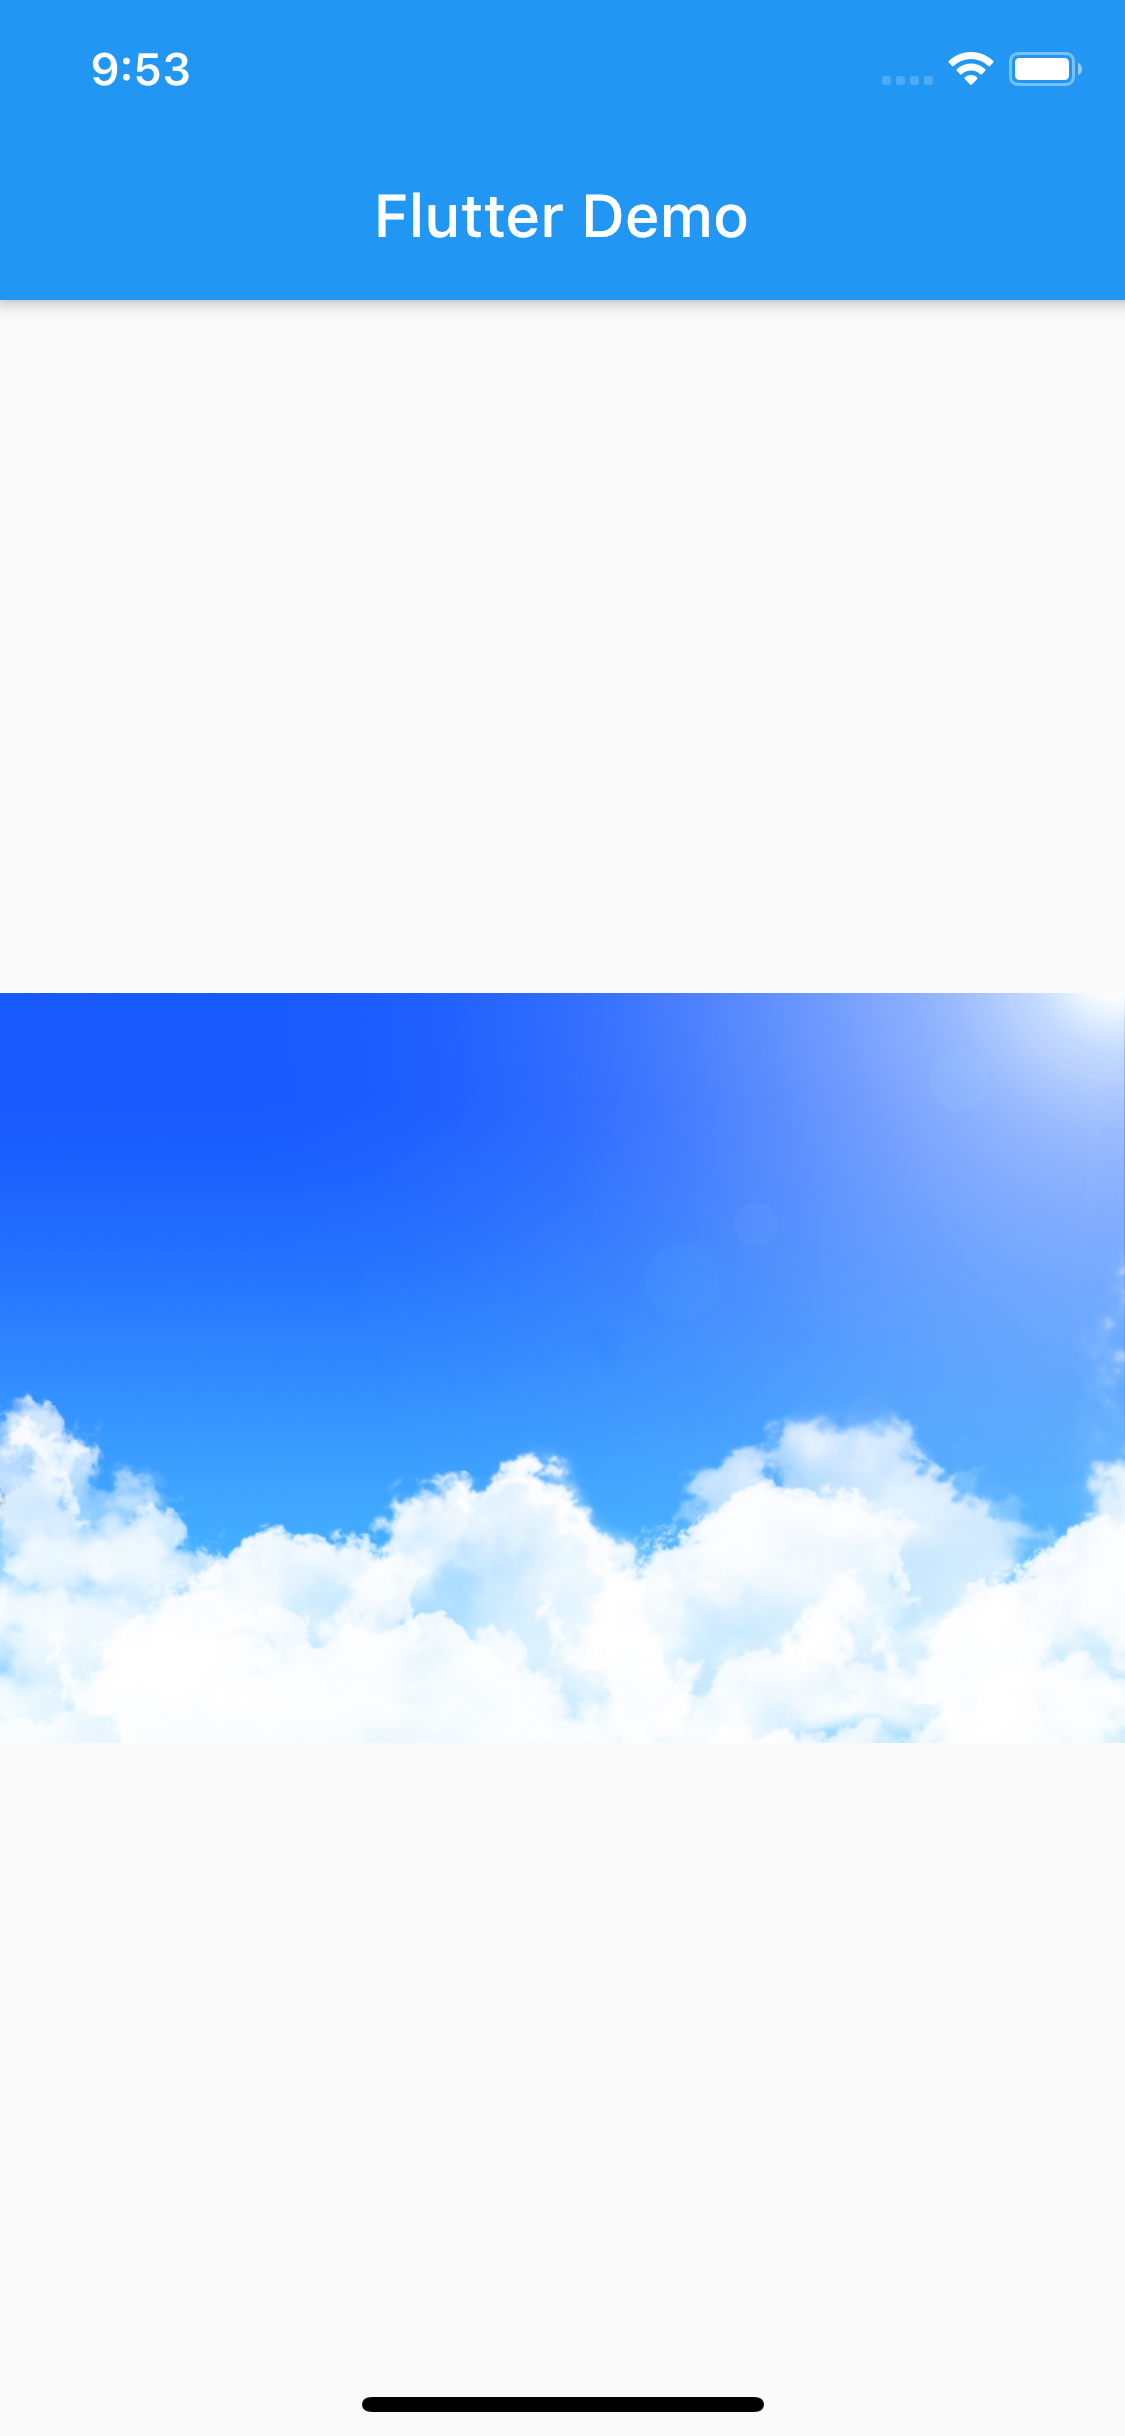
child: Image.asset('assets/images/sample.png'),
),
),
);
}
}
ビルドすると以下のように画像を表示させることができました。
ネットワーク上の画像を表示させる
Image.network('イメージのURL')
画像のURLを記述することで、URL先の画像を表示させることもできます。
カスタムフォントを使用する
カスタムフォントを適用する方法は主に2種類あります。
アプリ全体のデフォルトに設定する
MaterialApp()のthemeに指定してあげることで、デフォルトのフォントに設定されます。
main.dart
class MyApp extends StatelessWidget {
  @override
  Widget build(BuildContext context) {
    return MaterialApp(
      debugShowCheckedModeBanner: false,
      title: 'Flutter Demo',
      theme: ThemeData(fontFamily: 'OpenSansCondensed'),
      home: SamplePage(),
    );
  }
}
個別に指定する
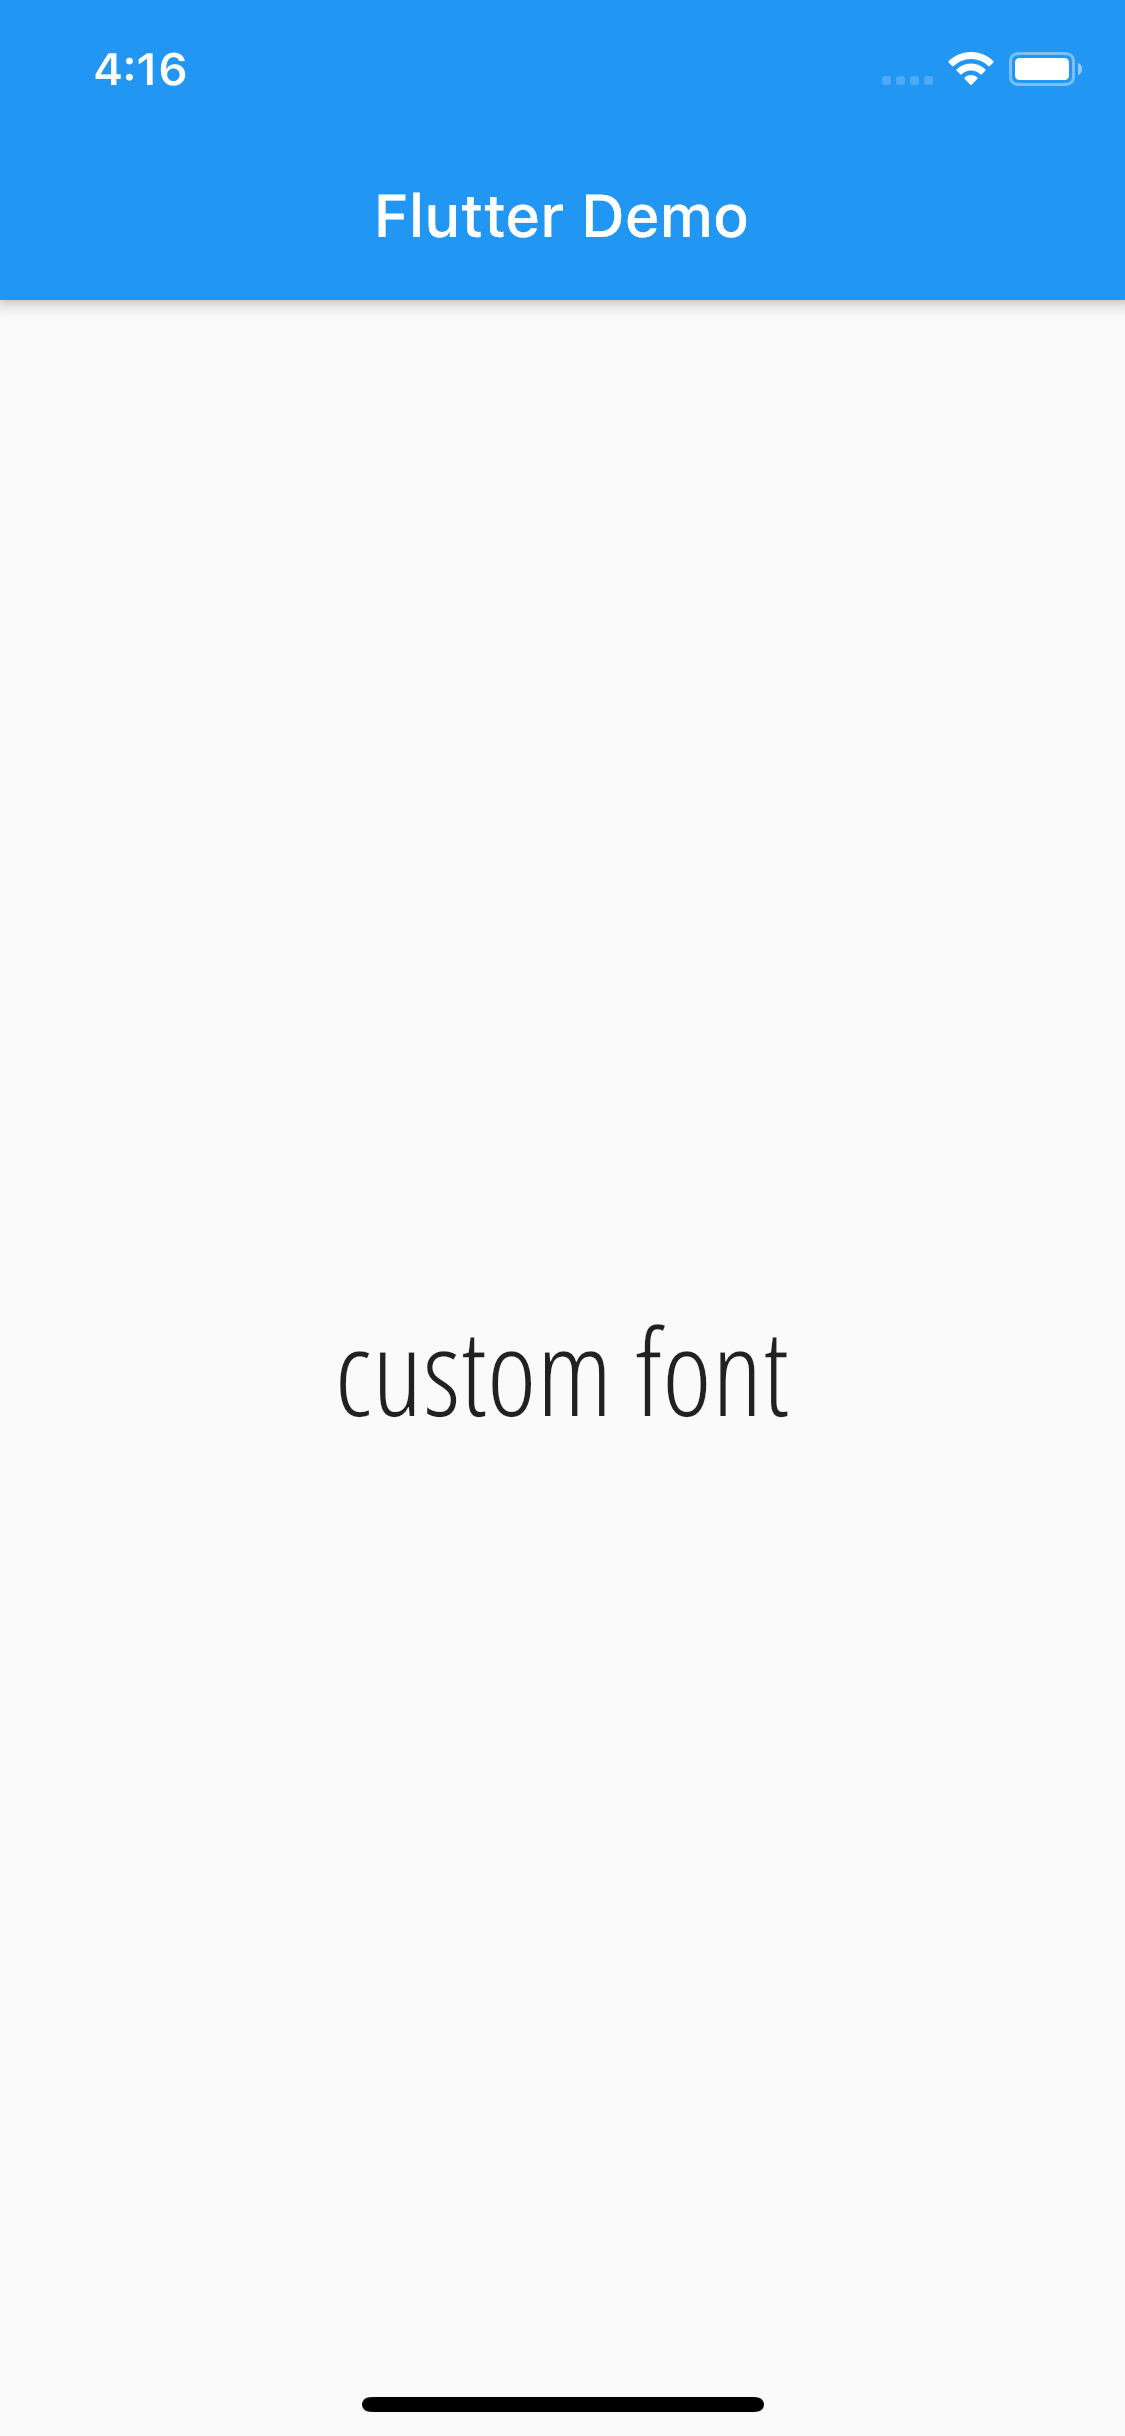
特定のTextにのみ適用させたい場合は、以下のようにTextStyleのfontFamilyに指定します。
fontWeight にpubspec.yamlに記述したweightを指定することで、それぞれのフォントファイルを使用することができます。
main.dart
Text(
          'custom font',
          style: TextStyle(
            fontFamily: 'OpenSansCondensed',
            fontWeight: FontWeight.w300,
            fontSize: 40,
          ),
        ),
おまけ
フォントファイルをわざわざ用意しなくとも、google_fontsを使用することができるFlutterのパッケージがありますので、そちらを利用してみるのもいいかもしれません。
https://pub.dev/packages/google_fonts