Python開発環境は様々ありますが,ここではanacondaでjupyter-notebookを利用する最短手順を紹介します.
- WindowsとMacOSの手順はほぼ同じです.
- 使えるようにするパッケージは次のもの
- scikit-image 0.17.2
- jupyter-notebook 6.0.3
- 以下の手順は2020/8/26のもの.バージョンアップなどにより日々画面や手順は変わりますので,その場合には適当に対応を考えて(がんばって)ください
ダウンロード
サイト
公式サイト https://www.anaconda.com へ行きます.
選択
メニューからProducts(製品)->Individual Edition(個人用)
- 注意:今後のバージョンでは,この製品名も変わる可能性があるので,適宜読み替えてください
- 以前はDownloadというリンクだった
- 以前はindividual/team/enterpriseなどのカテゴリはなかった

ダウンロード
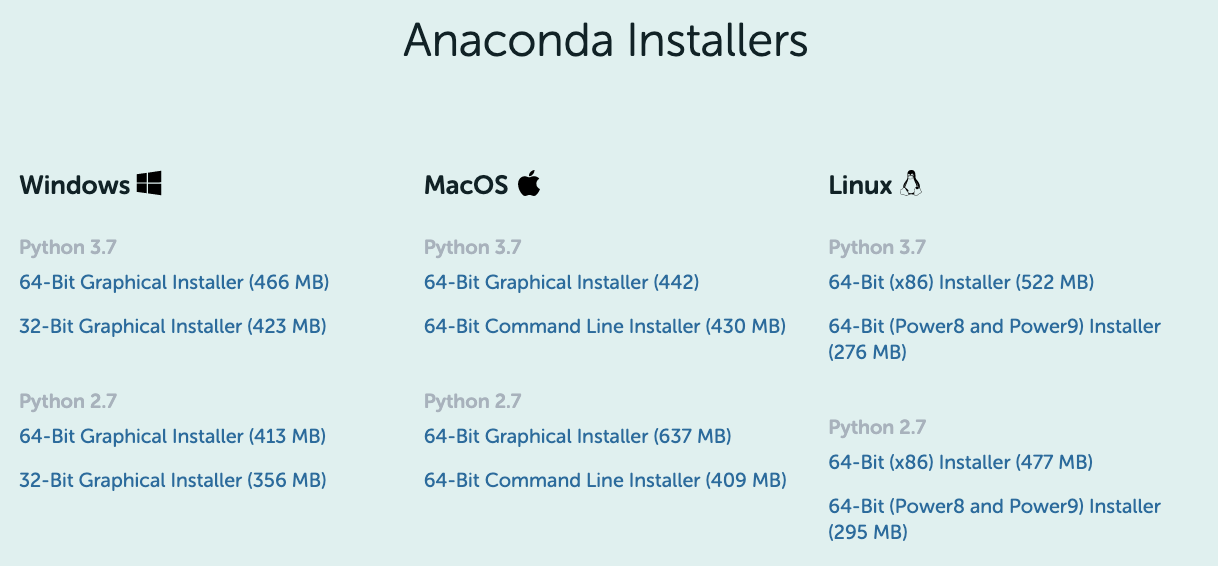
インストーラをダウンロードします.
- Windows/MacOS/Linuxから自分の使っているOSのものを選んでください.
- 「Python 3.7」の方を選んでください(Python 2.7は古い).今後バージョンが上がって3.8などになるかもしれませんが,2.*ではなく3.*のものを選んでください.
- 64-bitの方を選んでください(現在のPCはほとんど64bitです)
- MacOSの場合は,Graphical Installerを選んでください(Command Line Installerの方はターミナル操作ができることが前提)
- Linuxはterminal版しかないのでそれをダウンロード
インストール
Windows / MacOS
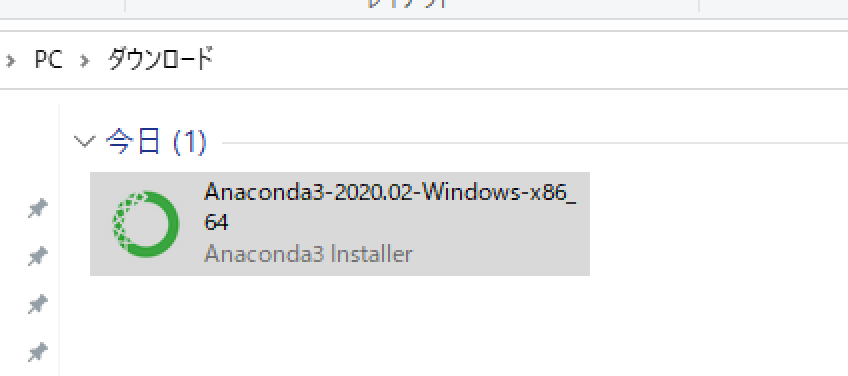
ダウンロードしたインストーラを実行.
- 注意:今後のバージョンでは,インストール画面も変わる可能性があるので,適宜読み替えてください
- 以下の画面はWindowsですがMacOSでもほぼ同様です.
インストーラが起動するので,このあとは順番にnext, okなどを押していく

ライセンスに同意

Just Me(自分だけにインストール)を選択

インストール先を選択(変更なしでNextでOK)

このままデフォルトでOK
- PATHに追加しない,レジスタに追加する

インストール開始

インストール終了

広告はNextでスキップする.
最後はFinishを押して終了する.
- Go to ... やRead ... などのチェックを外しておくとよい
Anaconda navigatorの起動
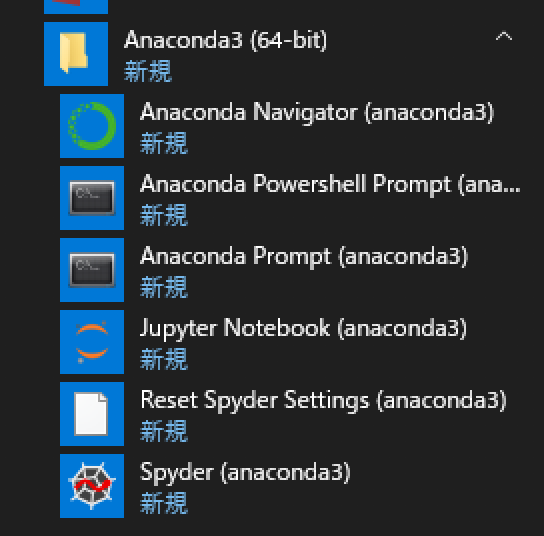
スタートメニューから選択
- MacOSならアプリケーションかランチャーから選択

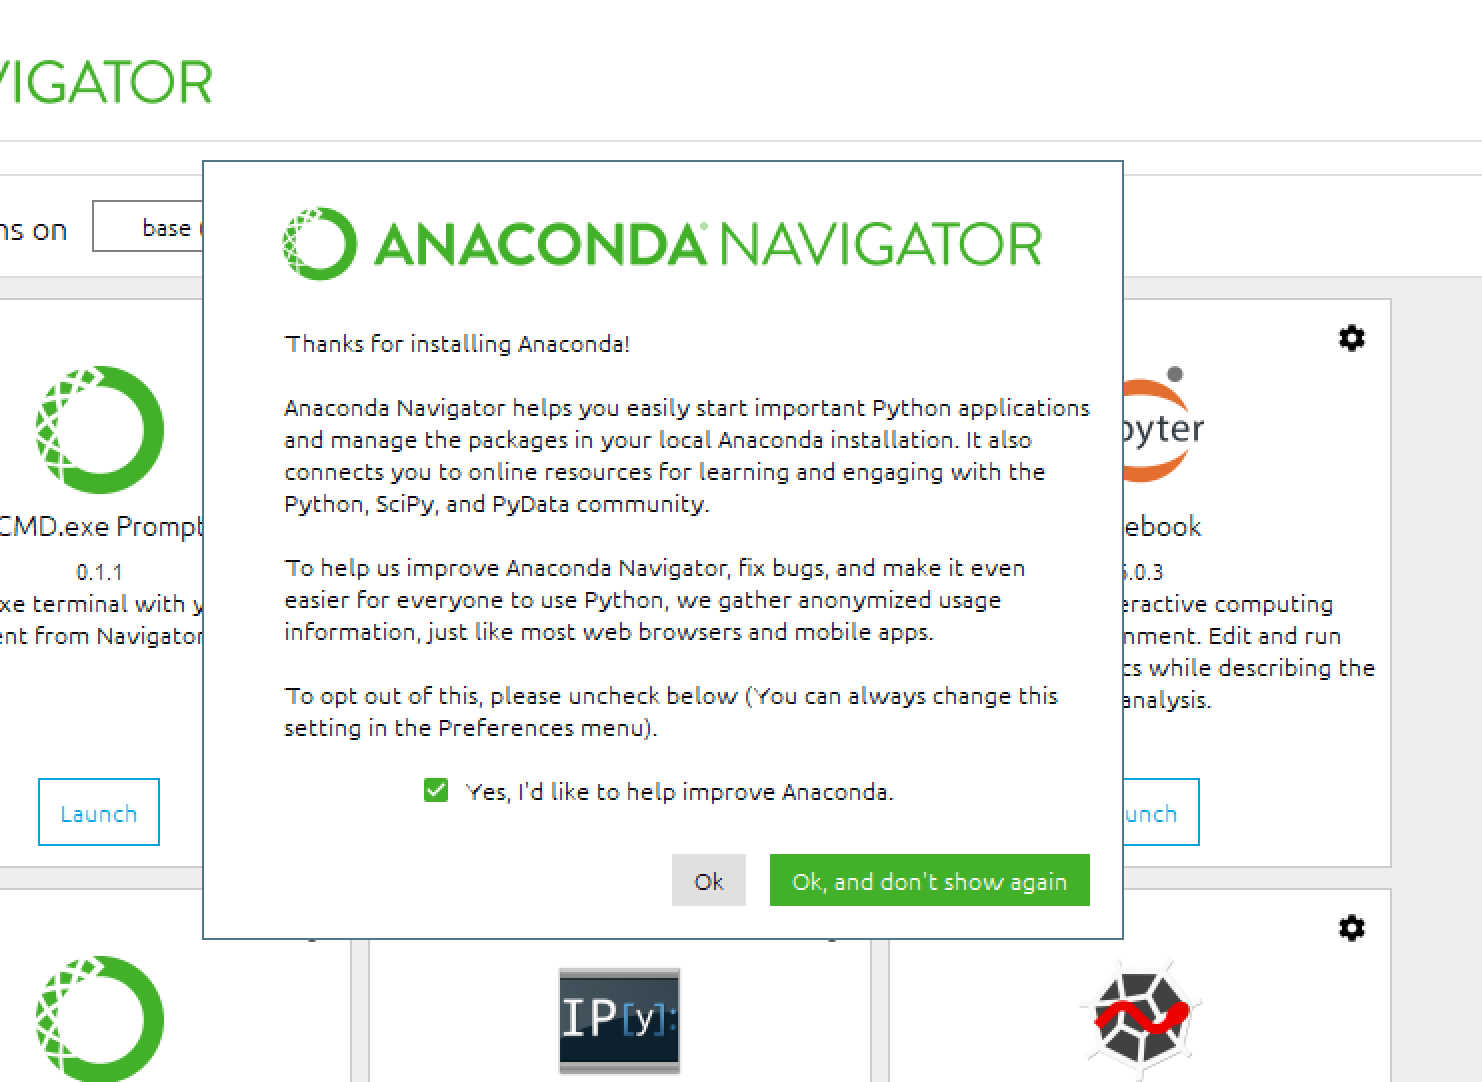
以下の起動画面ではOKを押して次へ進む.
jupyter-notebookのインストール
「jupyter Notebook」のボタンが「Install」なら,それを押してインストールしてください.「Launch」ならインストール済みです.

jupyter-notebookの起動
Anaconda navigatorのHomeに戻って,
「jupyter Notebook」の「Launch」ボタンを押してください.
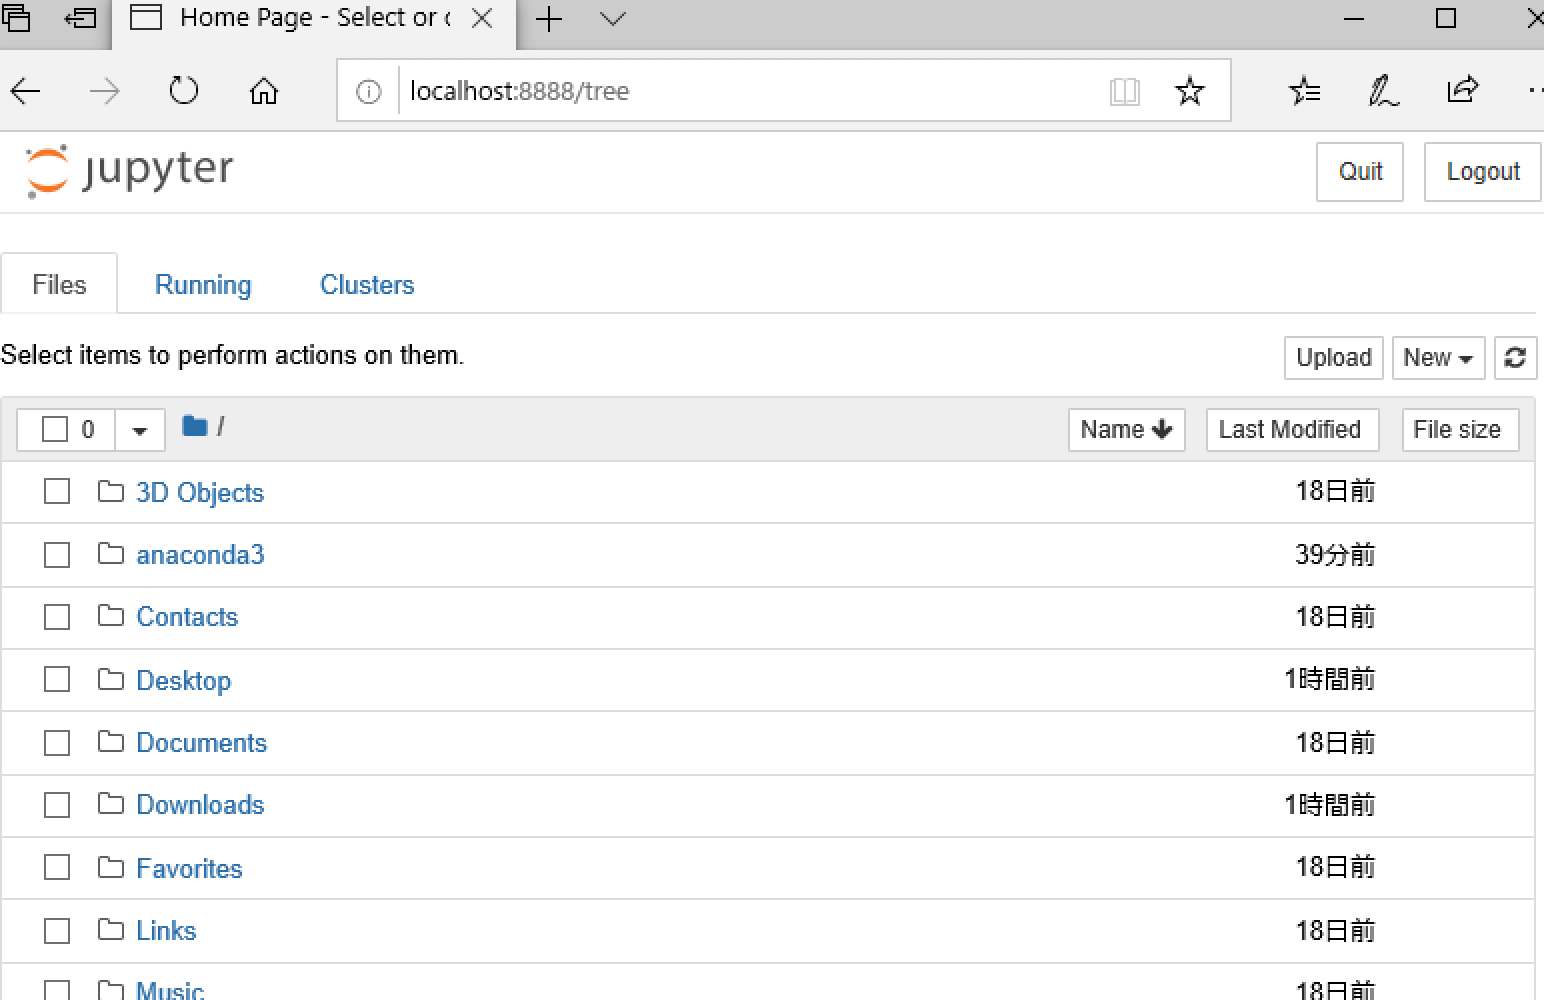
ウェブブラウザが開いてnotebookが始まります.
終了するにはブラウザを閉じて,Anaconda navigatorを終了してください.
注意:Windowsならスタートメニューから「Anaconda3 (64-bit) --> Jupyter notebook」でも起動できます.
実行の確認
コードの入手
notebookとpythonコードが動くかどうか,以下のgithubのコードを実行して確認してみます.
このページの「Clone or download」を押して,さらに「Download ZIP」を押してzipファイルをダウンロードします.

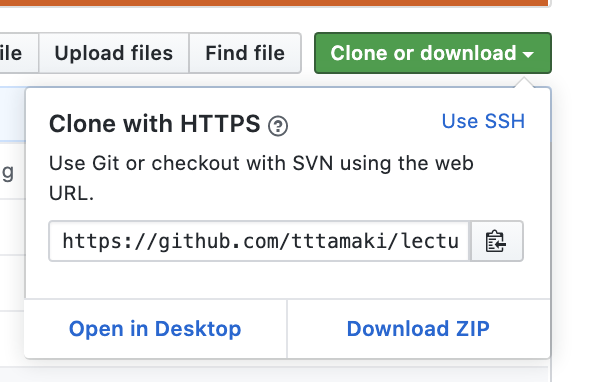
ダウンロードされたzipファイルを展開し,ダウンロードフォルダに展開したと仮定します.
notebookでの確認
Anaconda navigatorのHomeに戻って,
jupyter-notebookを起動し,ダウンロードフォルダ以下のフォルダに移動します.

notebookファイルを開きます.
最初の灰色のセルに移動して,Shift+Enterを押してセルを実行します.

エラーが出なければ成功です.