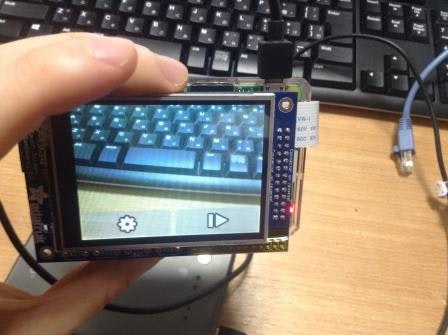
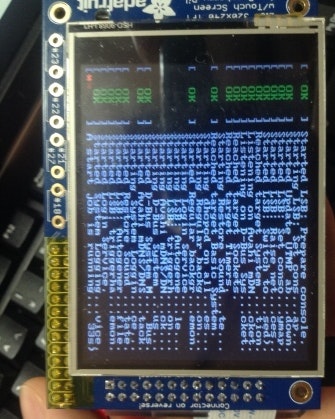
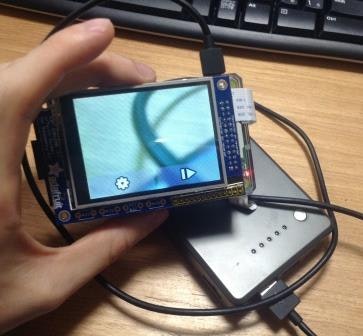
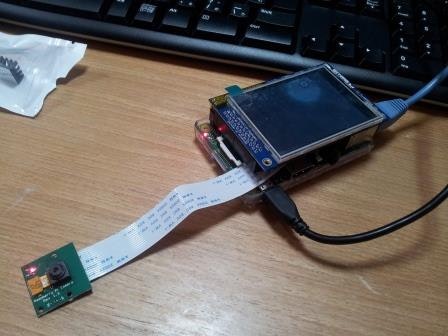
Raspberry Pi 2で、タッチパネル付きデジカメを作ります。
用意するもの
- Raspberry Pi 2 Model B
- Adafruit PiTFT タッチスクリーン(感圧式)
- 純正カメラモジュール
- microSD(8GB以上)
- ポータブル充電器
- HDMI対応モニター
- USB式キーボード
- マウス
- テープなど、カメラモジュールをRaspberry Piに固定できるモノ
- Windows PC
- インターネットに有線で接続可能であること
参考
adafruit社のHPに作成方法が書いてあるので、[このページ][link-1]に従って作っていきます。
[link-1]:https://learn.adafruit.com/diy-wifi-raspberry-pi-touch-cam/
microSDにOSを用意
- microSDをSDFormatterなどでフォーマット
- [adafruit社のHP][link-2]からJessie Lite-basedをダウンロードし解凍後、microSDにコピー
[link-2]:https://learn.adafruit.com/adafruit-pitft-28-inch-resistive-touchscreen-display-raspberry-pi/easy-install
OSのインストール
- microSDをRaspberry Piに差し込む
- Raspberry Piにモニター、キーボード、マウス、LANケーブル、タッチスクリーン、カメラモジュールを接続
- Raspberry Piの電源ON
- インストールするOSを聞かれるのでJessie Lite-basedにチェックを入れ、Installをクリック
- 20~30分ぐらいでインストール完了
PiTFTタッチスクリーン関連のセットアップ
- OSが立ち上がったらuser:pi/password:raspberryでログイン
-
$sudo raspi-configで「Expand Filesystem」を選択し実行
※自分の環境では下記メッセージが出て実行出来なかったが、気にせずにスキップ。
Your partition layout is not currently supported by this tool. You are probably using NOOBS, in which case your root filesystem is already expanded anyway.
- 再起動し、常にsshでPCからリモート接続できるようにしておく
$sudo reboot
$sudo apt-get install openssh-server
$sudo apt-get install chkconfig
$update-rc.d ssh enable -
$chkconfig --listでsshがonになっていることを確認 - 再び
$sudo rebootで、PCからRaspberry Piにssh接続できるようになっていればOK - カーネルを再インストール
$curl -SLs https://apt.adafruit.com/add-pin | sudo bash
$sudo apt-get install raspberrypi-bootloader adafruit-pitft-helper raspberrypi-kernel
※20~30分程度かかる - 下記実行後、y/nを二回聞かれるので、両方ともyにする
$sudo adafruit-pitft-helper -t 28r -
$sudo rebootし、OS起動画面がタッチスクリーンの方に表示されてくればOK
カメラモジュール関連のセットアップ
-
$sudo raspi-configで「Expand Filesystem」を選択し実行
※PiTFTタッチスクリーンの時と同様、メッセージが出て実行出来なくても気にせずスキップ。 - 専用スクリプトをダウンロード
$curl -O https://raw.githubusercontent.com/adafruit/Raspberry-Pi-Installer-Scripts/master/pi-touch-cam.sh
$cd adafruit-pi-cam-master
$sudo python cam.py
カメラも起動されて、タッチスクリーン上に映し出されていることを確認
※表示されない場合、$sudo raspi-configで「Enable Camera」を選択し実行後、再びcam.pyを実行する
OS起動時、自動的にデジカメモードになるように設定
$sudo nano /etc/rc.localなどで、#cd /home/pi/adafruit-pi-cam-master ; sudo python cam.py行の#を消去
カメラの回転の設定
自分の場合、カメラモジュールの固定位置の都合で初期化時に270度回転させる必要があったため、
adafruit-pi-cam-master/cam.py内のcamera.crop = (0.0, 0.0, 1.0, 1.0)の下あたりに
camera.rotation = 270を追記
カメラモジュールの固定
カメラモジュールに付属していたケースのフタとゴム紐で本体に固定。
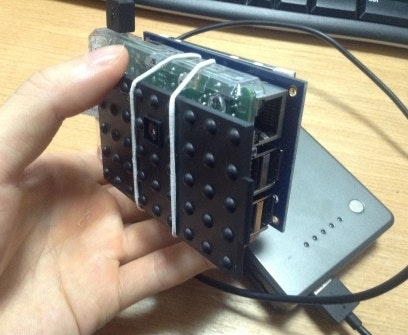
とりあえずこれで、ポータブル充電器を繋ぐだけでデジカメとして使えるモノが出来ました。
このOSにはデジカメとしてのいろいろな設定機能が既に入っています。
カメラの使い方、設定内容の詳細は[コチラ][link-3]をご参照
[link-3]:https://learn.adafruit.com/diy-wifi-raspberry-pi-touch-cam/using-the-camera
撮った写真はデフォルトでは/home/pi/Photosに格納されるので、sftpなどでPCに転送すればよいですね。
以上
