UnityプロジェクトをGitHubで管理します。
書いてみるとどうということはないですが、少しひっかかったのでまとめました。
Unityでプロジェクトを作成
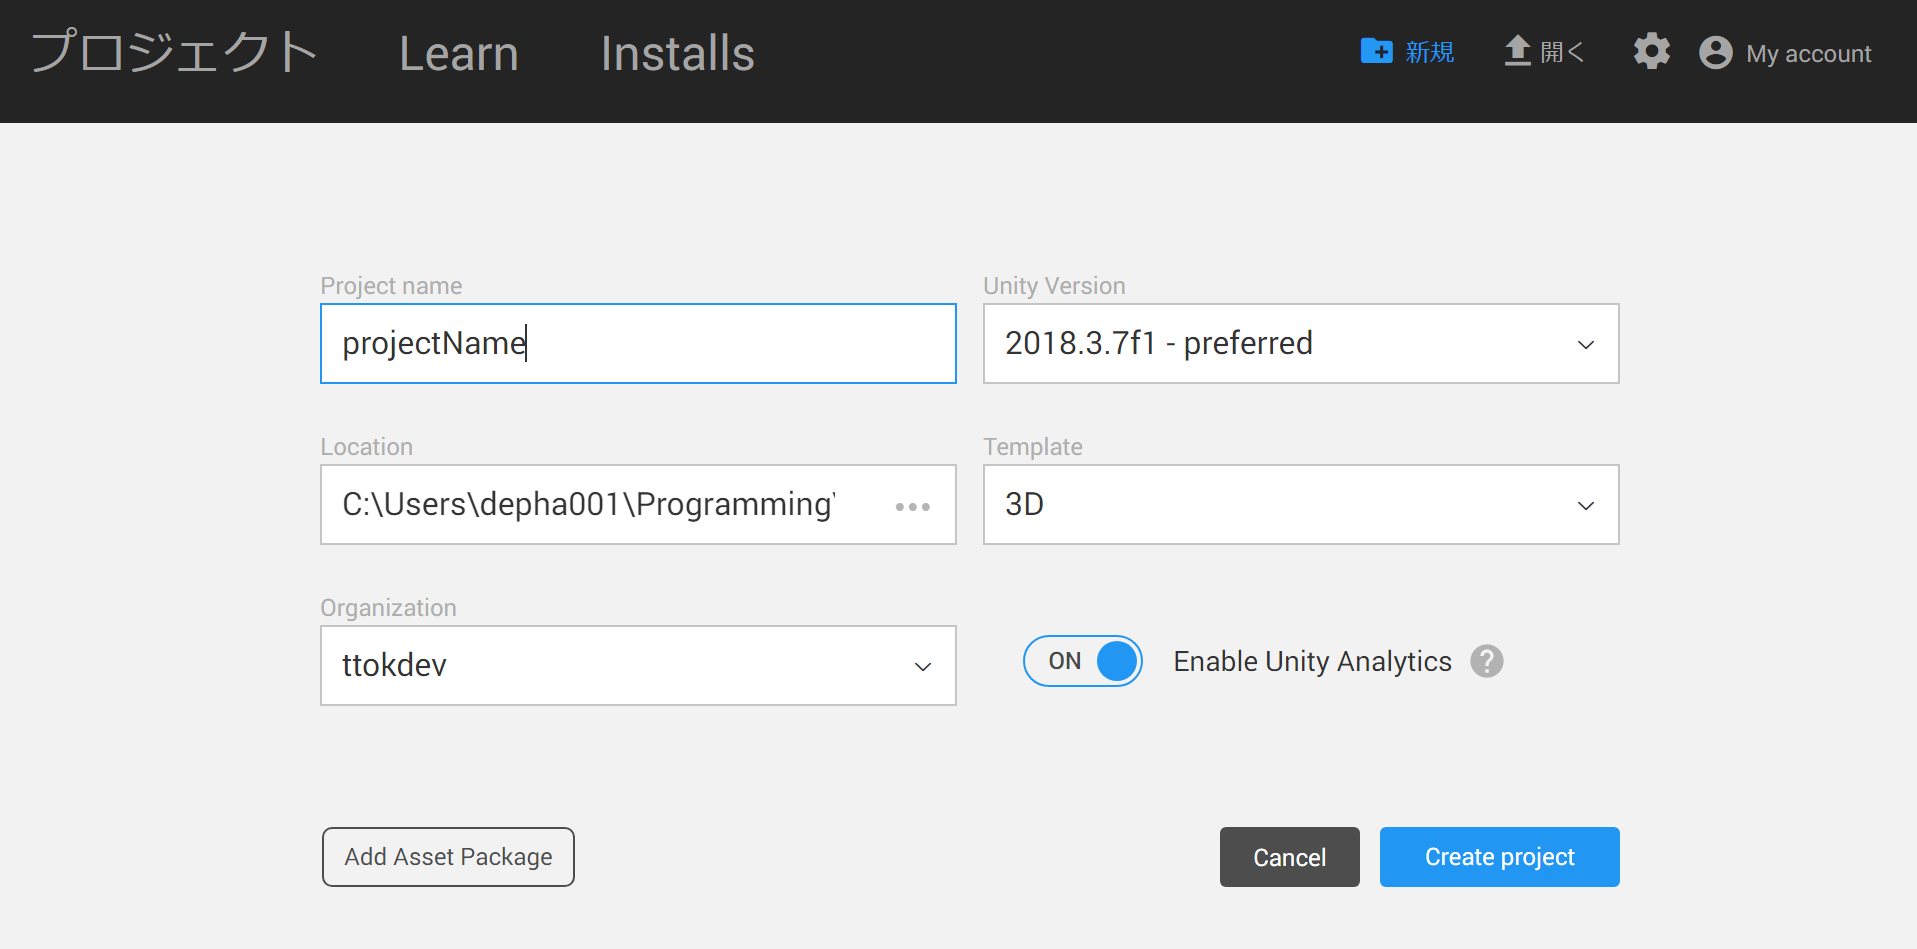
まずはふつうにUnityでプロジェクトを作成します。
UnityHubから[新規]で適当なプロジェクト名を入力して作成。
しばらくするとUnityが立ち上がるので
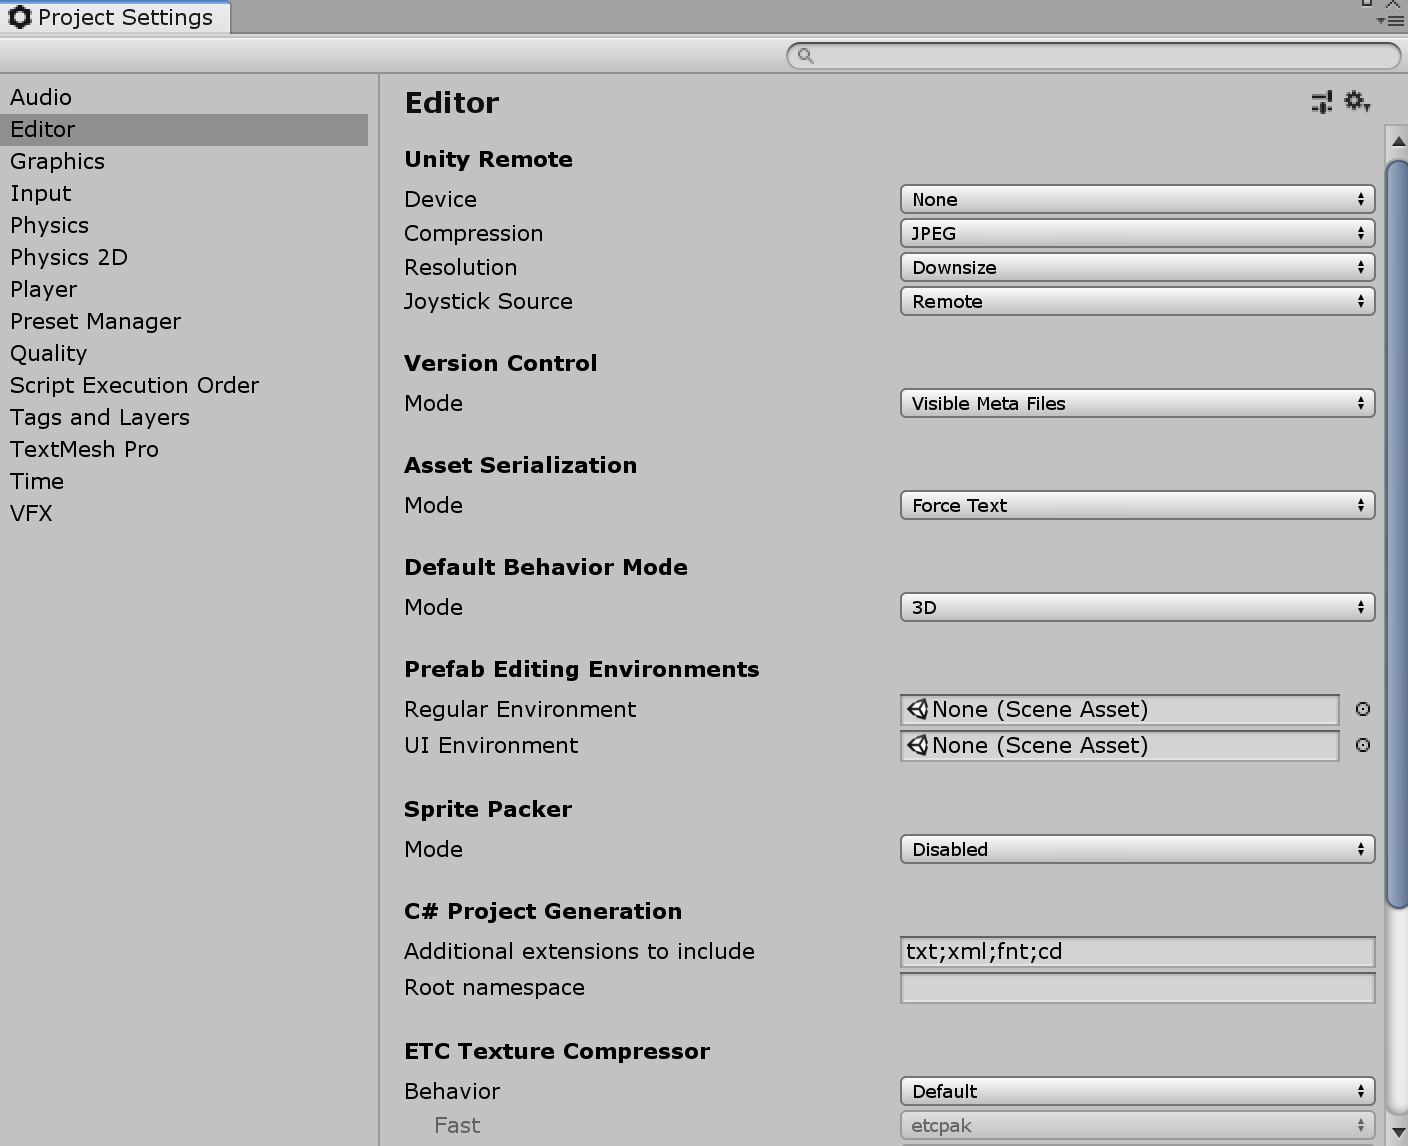
[Edit]->[ProjectSettings]で
Version ControlがVisible Meta Files、
Asset SerializationがForce Textになっているのを確認。
Unityの操作はこれだけです。
GitHubでリモートリポジトリを作成
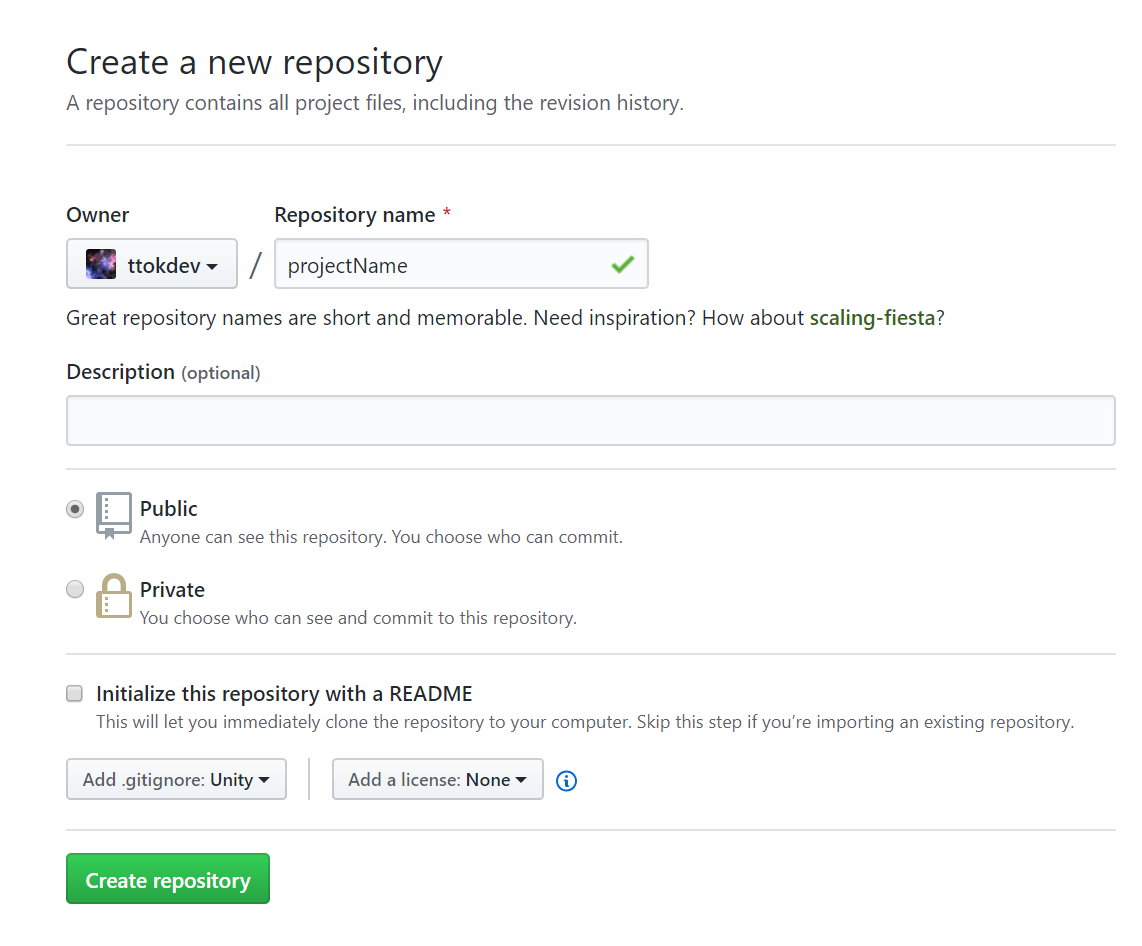
GitHubのサイトへいき、リポジトリ新規作成ページから、リポジトリを作ります。
この際、[Add .gitignore]のプルダウンで[Unity]を選択してください。(重要)
[Initialize this repository with a README]のチェックはしなくてかまいません。
ローカルリポジトリを作る
次に、ローカルリポジトリを作るため、コマンドラインツールで先程つくったUnityプロジェクトのフォルダ階層に移動し
git init
git remote add origin [リモートリポジトリのURL]
で、ローカルリポジトリとリモートリポジトリをリンクします。
.gitignoreをローカルに追加する
通常であれば、ここからadd→commit→pushして完了ですが、
このままだとUnityプロジェクト内の不必要なファイルまでコミットしてしまうため、
リモートリポジトリで自動生成された.gitignoreをローカルリポジトリに追加します。
git pull origin master
そのまま通常通り、add→commit→pushします。
git add .
git commit -m "first commit."
git push origin master
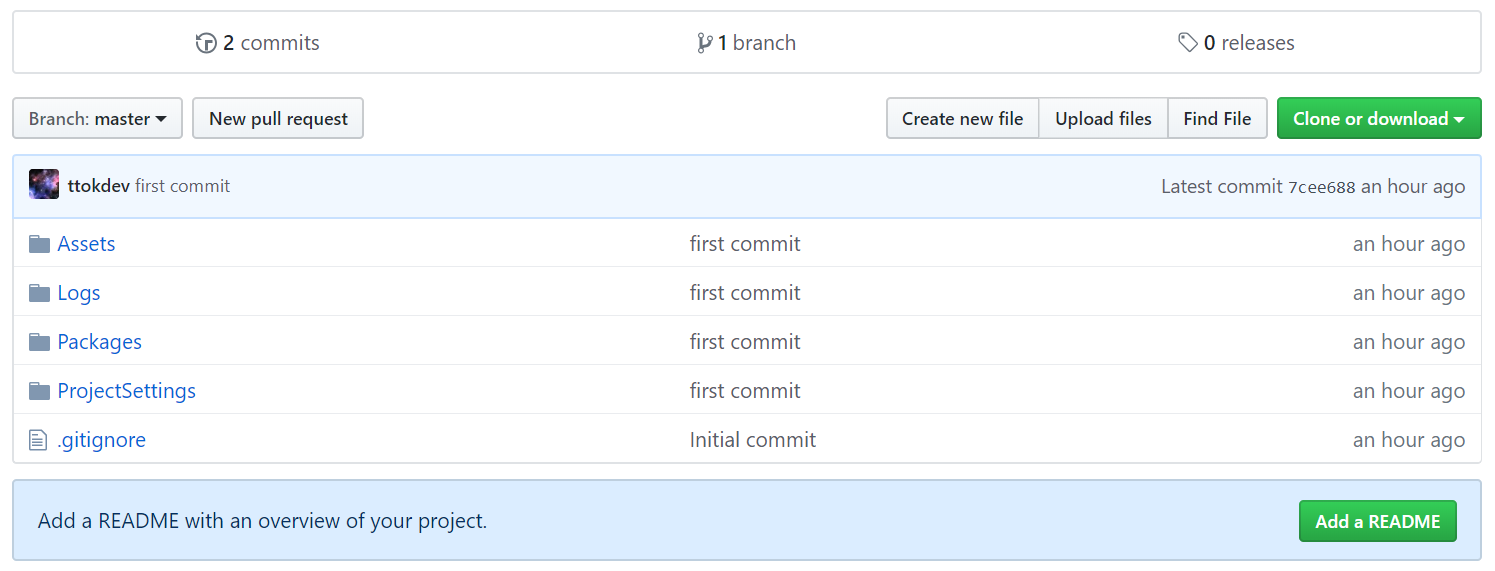
作成したUnityプロジェクトがリモートリポジトリに反映されていたら完了です。


