Dockerのインストールは64bitマシン上で、と公式サイトには提示されていますが、32bitマシンでもインストールライブラリを取得してインストール可能なようです(2019年10月時点)。
[画像] - Ubuntuに関する公式サイトのページ
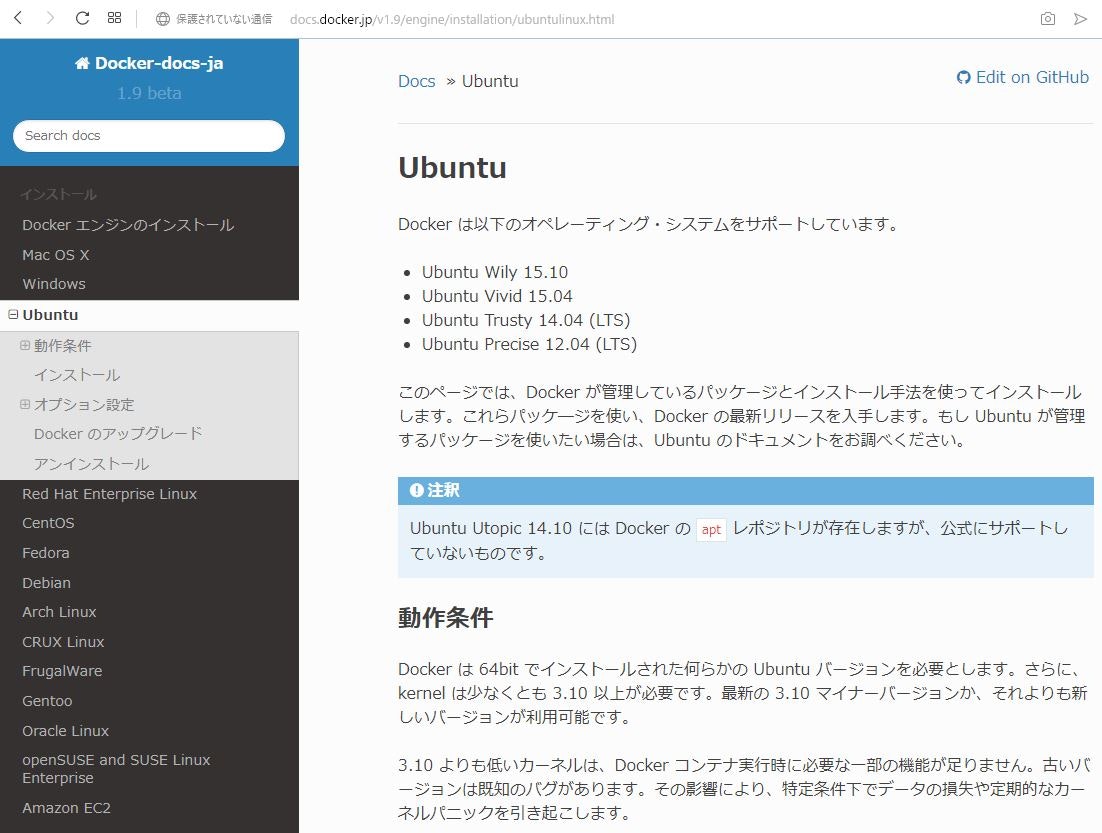
今回は32bitマシン(Windows Server 2003)にVM Playerを立て、その上にUbuntu(14.04.6)をインストールしてみました。
環境構成

インストール作業
インストール作業をまとめました。
(1)VM PlayerへUbuntu14をインストール
VM Playerを起動し、「新規仮想マシンの作成」を選択します(赤枠)。
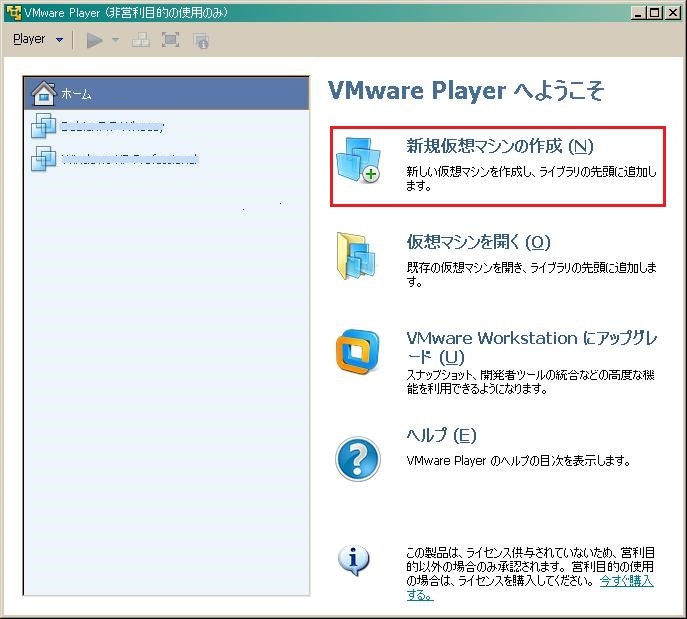
今回使用したVM Playerのバージョンは5.0.3でした。
参照ボタンをクリックします。
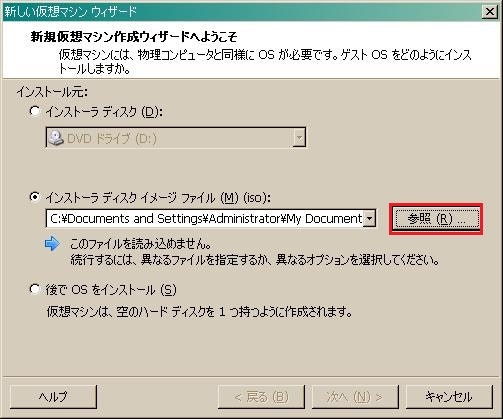
ubuntu-14.04.6のisoイメージディスクを選択します。
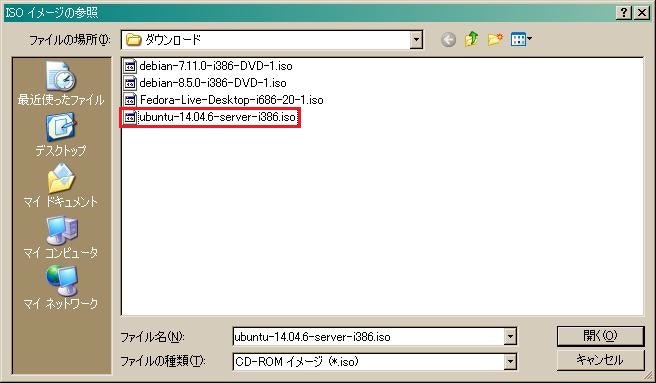
[次へ(N)>]ボタンをクリックし、インストールを続行します。
※以降Ubuntuのインストールは一般的な手順のため、省略します。
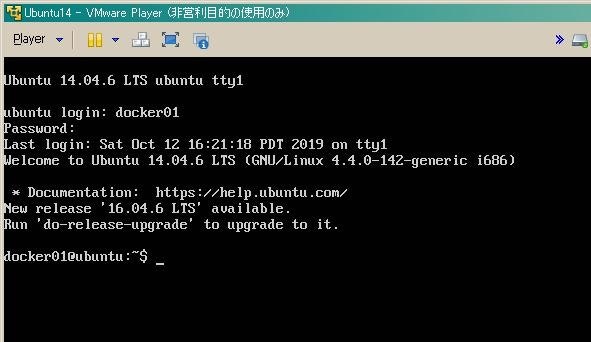
インストール後のログイン直後の様子
(2)Dockerインストールのためのイメージデータの取得
wget https://gitlab.com/docker-32bit/ubuntu/raw/master/build-image.sh
取得結果
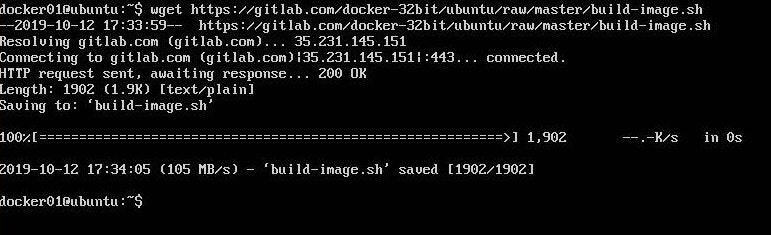
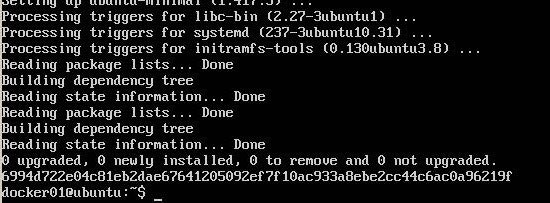
イメージデータを取得し、root権限で実行します。
sudo bash ./build-image.sh
インストール後の様子
(3)一般ユーザへの実行権限の付与
Dockerコマンドを一般ユーザで実行できるように設定します。
sudo usermod -aG docker $USER
一旦ログアウトとログインを行います。
(4)Docker実行状況の確認
Dockerのバージョンの確認
docker -v

Dockerの実行状況(status)の確認

本記事は以上です。