はじめに
SwiftUI Advent Calendar 2022の8日目です🎄
iOS 16からNavigationStackという新しい画面遷移のViewが使えるようになりました🐥
これにより画面遷移の実装がより簡単になったと日々の個人開発の中で実感しております。
NavigationStackの使い方を模索しておりまして、一旦現状を共有することで皆さんに助言をいただきより良いものにしようとする魂胆です。
ですのでこうした方が良いよ!とかなんでこんな書き方しているの?とかご意見ありましたら、ぜひコメントください!
また投稿前日に書いているため支離滅裂な箇所もあるかと思いますので生暖かい目で見ていただければと思います🙏
NavigationStackを使ってモリモリ開発しているアプリが気になる方はこちらから🎟
https://apps.apple.com/jp/app/ticketmania/id6444087177
(レビューください⭐️)
サンプルリポジトリはこちら
https://github.com/tsuzukihashi/SampleNavigationStack
動作環境
- Xcode 12
- iOS 16対象
NavigationStackとは
ざっくりいうとSwiftUIでも画面遷移をよりプログラムから制御しやすくしようとしたNavitaionViewの改良版的なものだと捉えています。
今回の記事では基本的な使い方については解説しないので詳しくはAppleのドキュメントを見てください🍎
Apple Developer Documentation
登場人物紹介(※独自実装)
- AppEnvironment
- EnvironmentObjectとして定義
- アプリの画面遷移のデータを全て持つ縁の下の力持ち
- Route
- NavigationStackに与える値
- 全ての遷移方法を知っている人物知り
- NavigationModifier
- NavigationStackのdestinationを一元管理する
- コードがバラバラにならないようにまとめてくれる優しい人
AppEnvironmentの例
class AppEnvironment: ObservableObject {
    @Published var homePath: [Route] = []
    @Published var searchPath: [Route] = []
    @Published var myPagePath: [Route] = []
}
色々なViewから触りやすいようにEnvironmentObjectとして定義しています。
以下に定義するRouteの配列を持たせています。
Routeの例
enum Route: Hashable {
    case detail
    case user(id: String)
    case web(url: URL)
}
画面遷移のパターンをenumで定義しています。
Hashableに準拠させることでNavigationStackのpathに使うことができます。
画面遷移の情報をここで一元管理できるのがおすすめポイントです!
NavigationModifier
struct NavigationModifier: ViewModifier {
    @Binding var path: [Route]

    @ViewBuilder
    fileprivate func coordinator(_ route: Route) -> some View {
        switch route {
        case .detail:
            DetailView()
        case .user(let id):
            UserView(id: id)
        case .web(let url):
            WebView(url: url)
        }
    }

    func body(content: Content) -> some View {
        NavigationStack(path: $path) {
            content
                .navigationDestination(for: Route.self) { route in
                    coordinator(route)
                }
        }
    }
}

extension View {
    func navigation(path: Binding<[Route]>) -> some View {
        self.modifier(NavigationModifier(path: path))
    }
}
Modifierを使ってNavigationStackの実装を共通化しています。
以下のように使います。
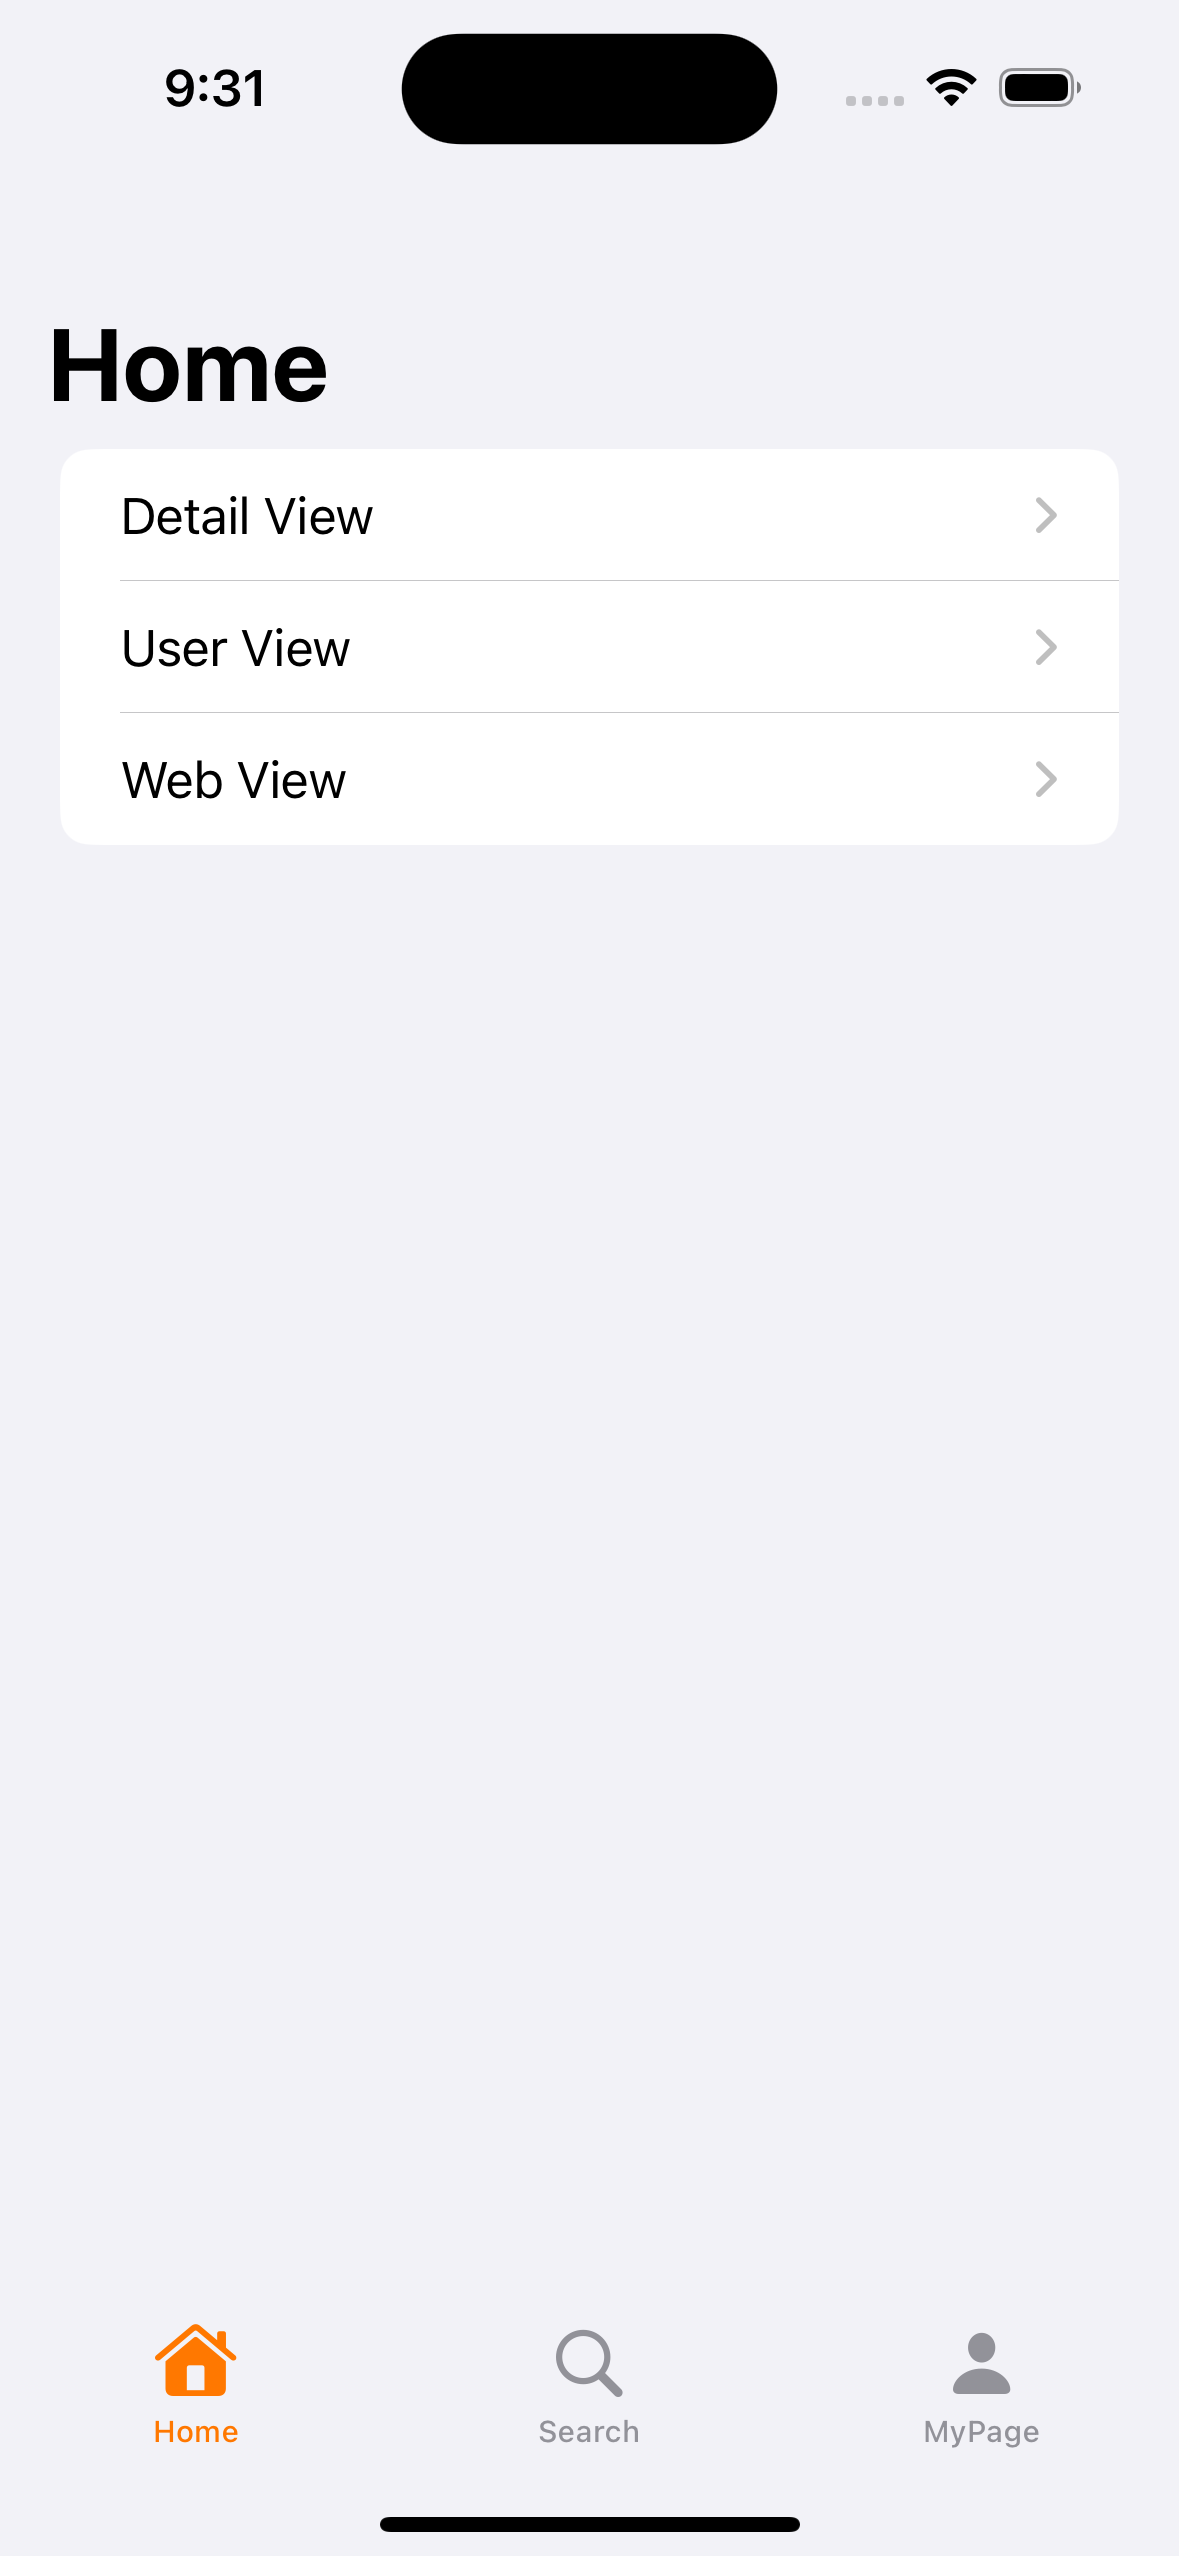
struct HomeView: View {
    @EnvironmentObject var appEnvironment: AppEnvironment

    var body: some View {
        List {
            NavigationLink(value: Route.detail) {
                Text("Detail View")
            }
            NavigationLink(value: Route.user(id: "tsuzuki817")) {
                Text("User View")
            }
            NavigationLink(value: Route.web(url: URL(string: "https://google.com")!)) {
                Text("Web View")
            }
        }
        .navigationTitle("Home")
        .navigation(path: $appEnvironment.homePath)
    }
}

TabViewのように普通に実装したらnavigationDestinationを各Viewに宣言する必要がありますが、Modifierを使うことで一箇所で管理できています。
AppEnvironmentに全てのNavigationのパスが保持されているのでこの配列をいじるだけでNavigationを制御することができます。
Button {
    appEnvironment.homePath.append(.detail)
} label: {
    Text("Button Navigation")
}

Popさせる方法
今のままの実装だと画面をPOPしようとすると、他のタブと区別がつかずどのpathの配列をいじれば良いのかわかりませんので区別できるようにしていきます。
新しくタブのenumを作ります!
enum SampleTab: Hashable {
    case home
    case search
    case mypage

    var title: String {
        switch self {
        case .home:
            return "Home"
        case .search:
            return "Search"
        case .mypage:
            return "MyPage"
        }
    }
}
またAppEnvironmentに以下を追加します。
class AppEnvironment: ObservableObject {
	@Published var selectedTab: SampleTab = .home

	var tabSelection: Binding<SampleTab> {
        Binding { [weak self] in
            self?.selectedTab ?? .home
        } set: { [weak self] newValue in
            self?.selectedTab = newValue
        }
  }
	.
	.
	.

	func pop(to route: Route) {
        switch selectedTab {
        case .home:
            homePath.removeAll(where: { $0 == route })
        case .search:
            searchPath.removeAll(where: { $0 == route })
        case .mypage:
            myPagePath.removeAll(where: { $0 == route })
        }
    }
}
-
@Published var selectedTab: SampleTab
- 現在選択しているタブを管理
- var tabSelection: Binding
- TabViewが切り替わる時の処理
- func pop(to route: Route)
- popするための処理を追加
RootView
TabViewを含めた画面は以下のようになります。
struct RootView: View {
    @EnvironmentObject var appEnvironment: AppEnvironment

    var body: some View {
        TabView(selection: appEnvironment.tabSelection) {
            HomeView()
                .tabItem {
                    Image(systemName: "house")
                    Text("Home")
                }
                .tag(SampleTab.home)
            SearchView()
                .tabItem {
                    Image(systemName: "magnifyingglass")
                    Text("Search")
                }
                .tag(SampleTab.search)
            MyPageView()
                .tabItem {
                    Image(systemName: "person")
                    Text("MyPage")
                }
                .tag(SampleTab.mypage)
        }
    }
}
DetailView
以下のようにappEnvironmentからpopメソッドを呼ぶだけで元の画面に戻ることができます🐔
struct DetailView: View {
    @EnvironmentObject var appEnvironment: AppEnvironment

    var body: some View {
        VStack {
            Image(systemName: "note")
            Text("Detail View")

            Text(appEnvironment.selectedTab.title + "からの遷移")

            Button {
                appEnvironment.pop(to: .detail)
            } label: {
                Text("pop")
            }

        }
        .font(.title)
    }
}

最後に
NavigationView時代に比べてよりNavigationの遷移が制御しやすくなりました!
ぜひ皆さんも新しい画面遷移を体験してみてください!
サンプルリポジトリを作成しましたのでこちらからご覧ください🙇
https://github.com/tsuzukihashi/SampleNavigationStack
最後まで見ていただきありがとうございました!