1. はじめに
@tsuzuki817です🐸
SwiftUIでLazyVGrid内の画像を正方形として表示するまでに時間がかかってしまったのでシェアしておきます。
| 項番 | ページ内リンク |
|---|---|
| 1 | 1. はじめに |
| 2 | 2. 個々の大きさがバラバラになる |
| 3 | 3. アスペクト比がおかしくなる |
| 4 | 4. うまくいった方法 |
| 5 | 5. 参考 |
2. 個々の大きさがバラバラになる
以下の方法で実装すると、大きさがバラバラになり不採用
    LazyVGrid(
        columns: Array(repeating: .init(.flexible()), count: 3),
        alignment: .center,
        spacing: 4
    ) {
        ForEach(images, id: \.self) { imageName in
            Image(imageName)
                .resizable()
                .scaleToFit() // scaleToFillでも同様
        }
    }

3. アスペクト比がおかしくなる
以下の方法で実装すると、正方形内だけでaspectFillになってしまうので不採用
    LazyVGrid(
        columns: Array(repeating: .init(.flexible()), count: 3),
        alignment: .center,
        spacing: 4
    ) {
        ForEach(images, id: \.self) { imageName in
            Image(imageName)
                .resizable()
                .aspectRatio(1, contentMode: .fit)
        }
    }
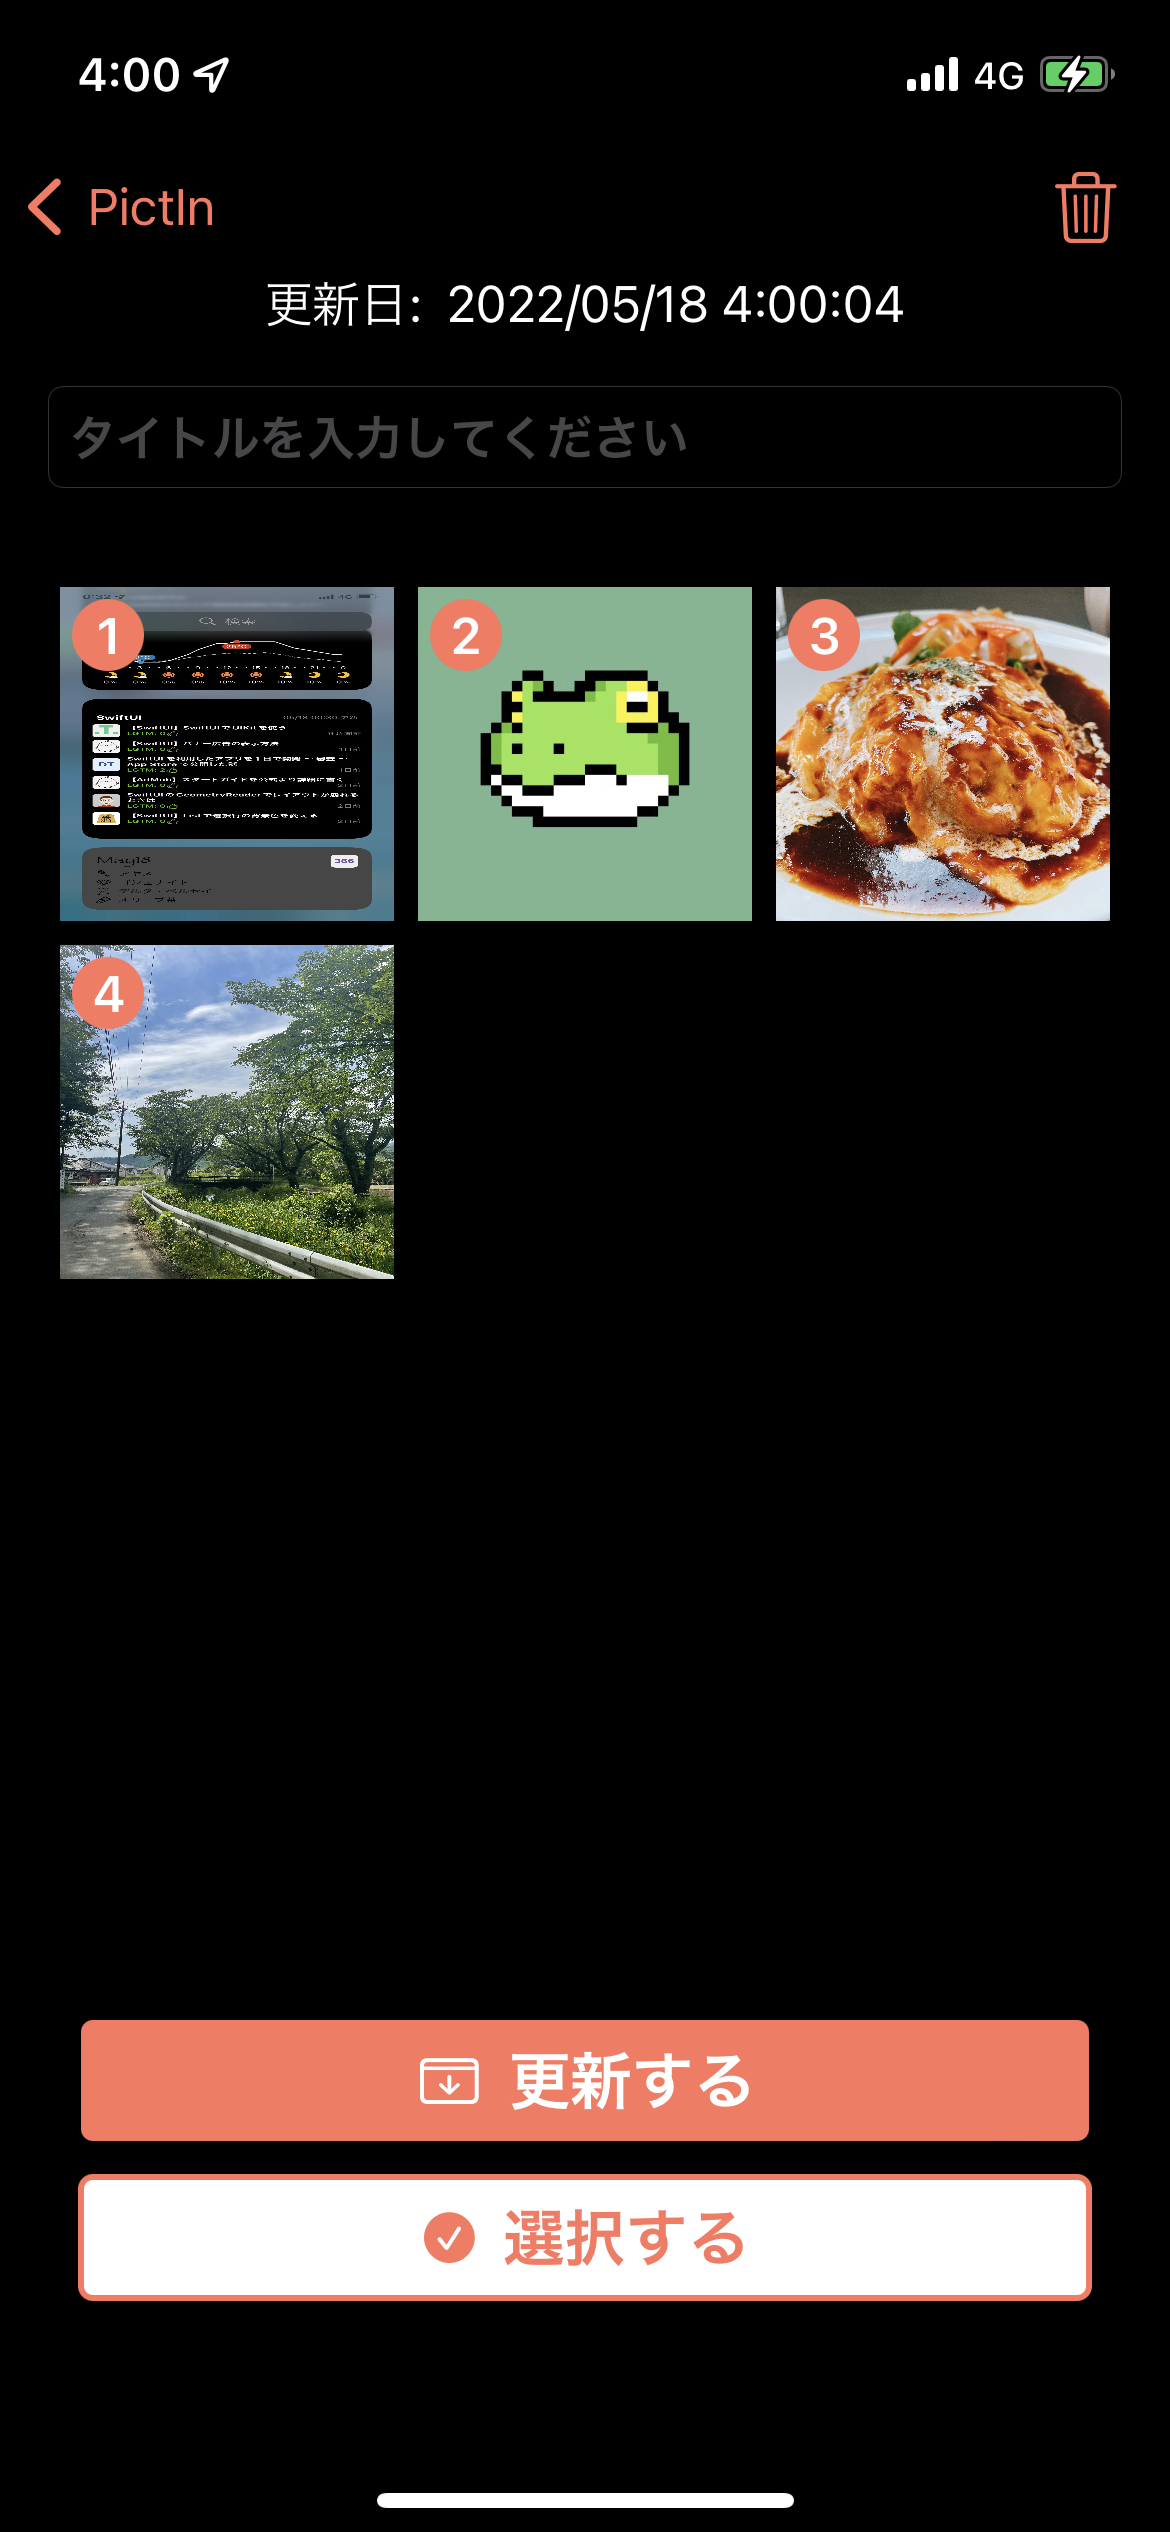
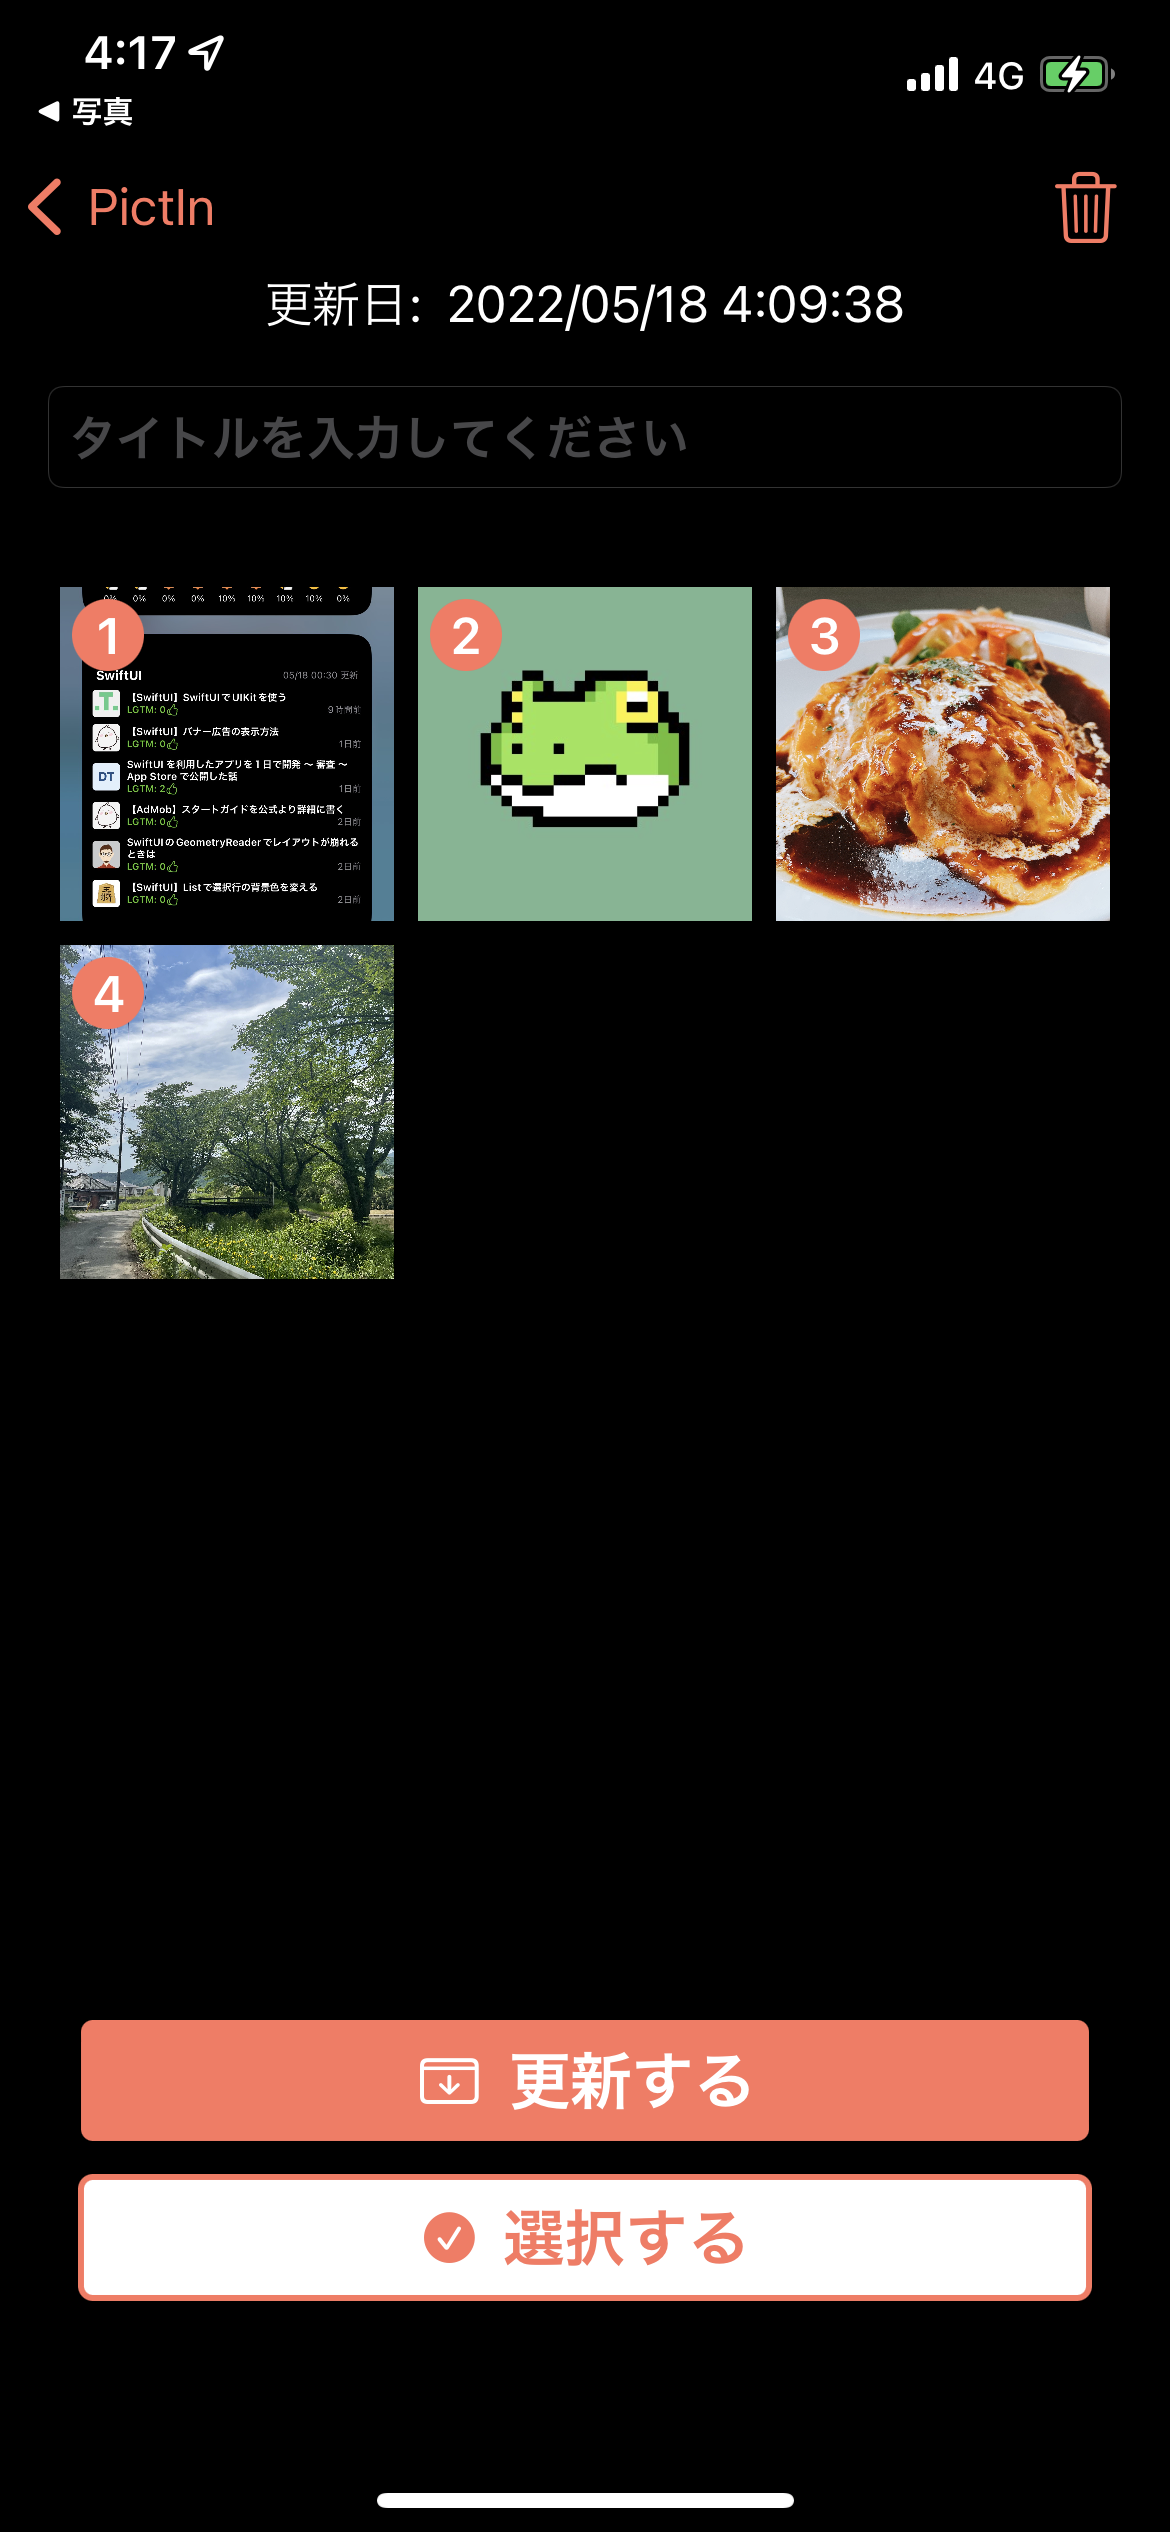
4. うまくいった方法
画像を任意のViewの上からoverlayすることで、scaledToFillが効き、はみ出た箇所をclippedすることで表示したい見た目にできた!採用!
LazyVGrid(
    columns: Array(repeating: .init(.flexible()), count: 3),
    alignment: .center,
    spacing: 4
) {
    ForEach(images, id: \.self) { imageName in
        Color.black
            .aspectRatio(1, contentMode: .fill)
            .overlay(
                Image(imageName)
                    .resizable()
                    .scaledToFill()
            )
            .clipped()
    }
}
5. 参考