はじめに
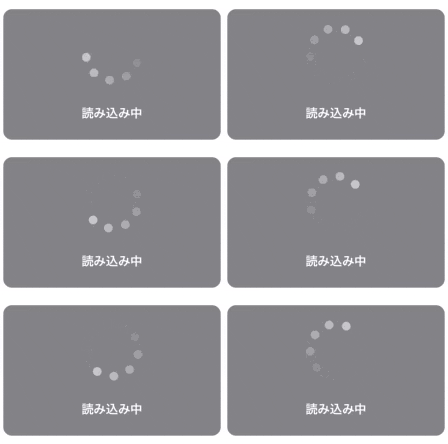
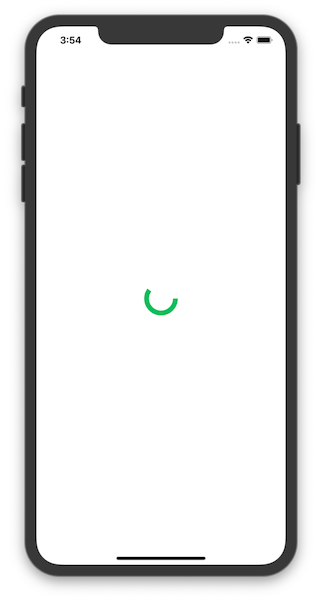
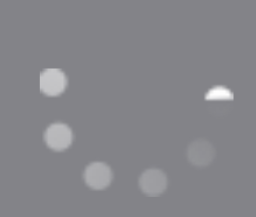
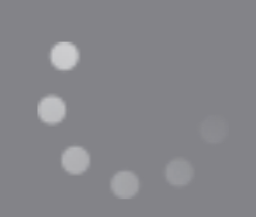
作りながら学ぶ! アニメーション インジケーター編です。
作ろう
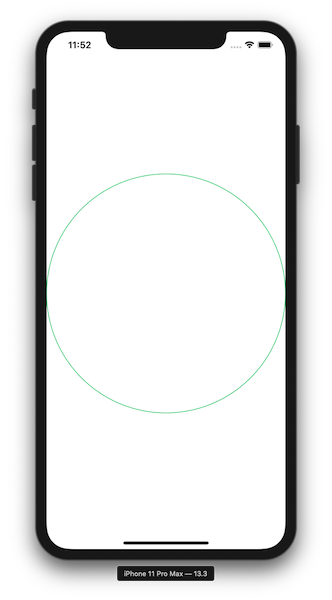
円を作る
まずは土台となる円を作ります。
import SwiftUI

struct ContentView: View {
 var body: some View {
     Circle()
 }
}

円をくり抜いて輪を作る
円を輪にするにはstrokeメソッドを使います。
func stroke<S>(S, lineWidth: CGFloat) -> View
func stroke<S>(S, style: StrokeStyle) -> View
func stroke(lineWidth: CGFloat) -> Shape
func stroke(style: StrokeStyle) -> Shape
ここの<S>にはShapeStyleに準拠している型を指定することができます。
ColorやGradientといった色や色のグラデーションを指定することができます。
https://developer.apple.com/documentation/swiftui/shapestyle
最初はわかりやすいように色をグリーンにします。
struct ContentView: View {
    var body: some View {
            Circle()
                .stroke(Color.green)
    }
}
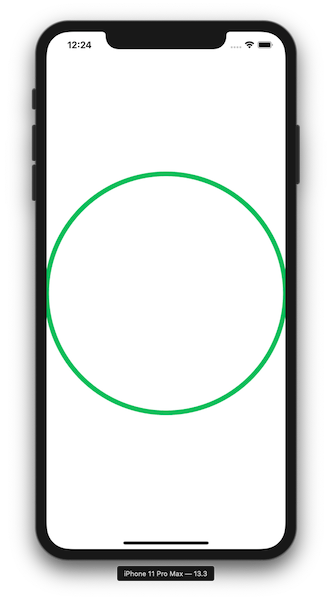
これでは線が細くて見づらいので、線の幅を広げて見やすいようにしましょう。
そのためにStrokeStyleを当てていきます。
StrokeStyle
境界線または仕切りの色、幅、およびスタイルを定義するオブジェクト。
https://developer.apple.com/documentation/apple_news/strokestyle
        StrokeStyle(lineWidth: CGFloat,
                    lineCap: CGLineCap,
                    lineJoin: CGLineJoin,
                    miterLimit: CGFloat,
                    dash: [CGFloat],
                    dashPhase: CGFloat)
lineWidth
線の幅 デフォルトは1
ですので線幅を大きくするために、lineWidthを8にします。
struct ContentView: View {
    var body: some View {
            Circle()
                .stroke(Color.green, style: StrokeStyle(lineWidth: 8))
    }
}
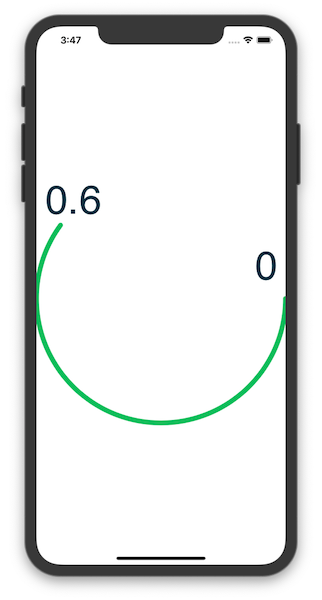
円のままだと、回転してもわからないのでtrimメソッドを使ってトリミングしていきます。
trim(from:to:)
func trim(from startFraction: CGFloat = 0, to endFraction: CGFloat = 1) -> some Shape
struct ContentView: View {
    var body: some View {
        Circle()
            .trim(from: 0, to: 0.4)
            .stroke(Color.green, style: StrokeStyle(lineWidth: 8))
    }
}
現在のままだと円が大きいので、frameメソッドを使い調整します。
import SwiftUI

struct ContentView: View {
    var body: some View {
        Circle()
            .trim(from: 0, to: 0.6)
            .stroke(Color.green, style: StrokeStyle(lineWidth: 8))
            .frame(width: 48, height: 48)
    }
}
インジケーターっぽいサイズになってきました!
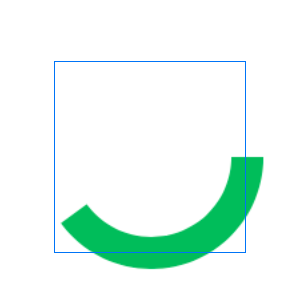
角が尖っているのを、丸くしていきます。
そのためにStrokeStyleのlineCapを利用します。
CGLineCap (iOS 2.0+)
| CGLineCap | 線の端 | 末端 | 画像 |
|---|---|---|---|
| .butt | 四角 | 指定されたパスのエンドポイントまで | 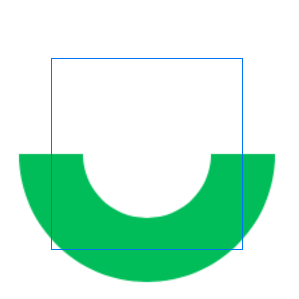 |
| .round | 丸 | 指定されたパスの端点を超える | 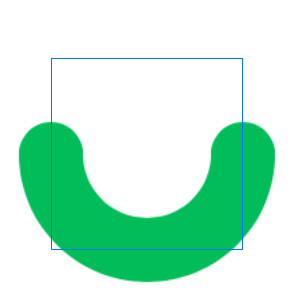 |
| .square | 四角 | 指定されたパスの端点から線幅の半分だけ超える | 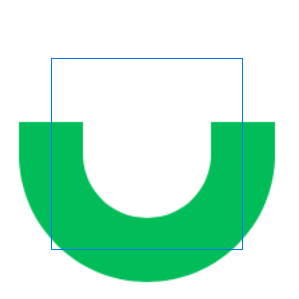 |
| https://developer.apple.com/documentation/coregraphics/cglinecap |
struct ContentView: View {
    var body: some View {
        Circle()
            .trim(from: 0, to: 0.6)
            .stroke(Color.green,
                    style: StrokeStyle(lineWidth: 8, lineCap: .round))
            .frame(width: 48, height: 48)
    }
}
CGLineJoin (iOS 2.0+)
以下のように角がある図形だと変化がわかります。
しかし、今回作成するインジケーターは円弧なので軽く流します。
| .miter | .round | .bevel | |
|---|---|---|---|
| lineJoin | 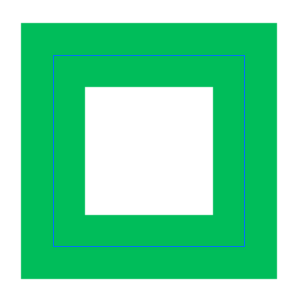 |
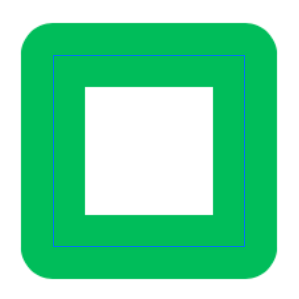 |
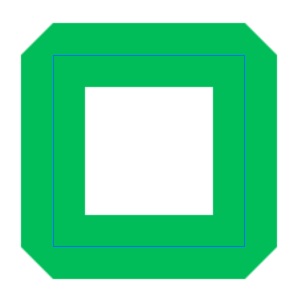 |
miterLimit
先端部の形状に.miterを適用を決める閾値(デフォルト 10)
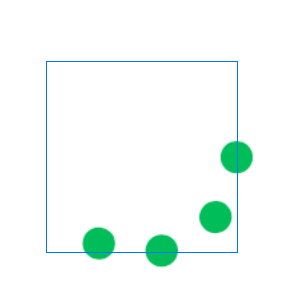
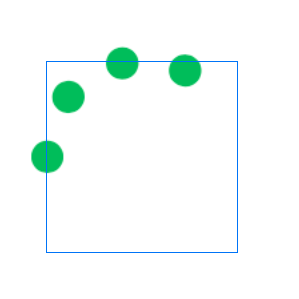
dash
破線の形状を配列で指定します。
[線の長さ, 空白の長さ, 2番目の線の長さ, 2番目の空白の長さ, ...]
struct ContentView: View {
    var body: some View {
        Circle()
            .trim(from: 0, to: 0.4)
            .stroke(Color.green,
                    style: StrokeStyle(
                        lineWidth: 8,
                        lineCap: .round,
                        dash: [0.1, 16]))
            .frame(width: 48, height: 48)
    }
}
dashPhase
破線の開始位置を変更します。デフォルトは0
回転させよう
いよいよアニメーションです。
2次元の回転系のアニメーションには、rotatioinEffectを使います。
rotationEffect(_:anchor:)
func rotationEffect(_ angle: Angle, anchor: UnitPoint = .center) -> some View
https://developer.apple.com/documentation/swiftui/text/3276966-rotationeffect
angleには回転する角度を指定します。
anchorには回転する中心を指定します。デフォルトは.centerです。
Angle
https://developer.apple.com/documentation/swiftui/angle
Angleにはdegreesとradiansを渡すことができます。
今回は角度を渡すことにするのでdegreesを引数にとります。
struct ContentView: View {
    var body: some View {
        Circle()
            .trim(from: 0, to: 0.6)
            .stroke(Color.green,
                    style: StrokeStyle(
                        lineWidth: 8,
                        lineCap: .round,
                        dash: [0.1, 16]))
            .frame(width: 48, height: 48)
            .rotationEffect(Angle(degrees: 180))
    }
}
しかしこれでは、アニメーションとは言えません。
ですので、時間経過とともに変化するようにしていきます。
onAppear
まずはじめに、どのタイミングでアニメーションが発火するか決めます。
ボタンを押したら、スクロールしたら、など色々ありますが、今回は対象となるViewが表示されたアニメーションが発火するようにします。
そこでonAppearメソッドを利用します。
func onAppear(perform action: (() -> Void)? = nil) -> some View
このメソッドを呼ぶことでViewが用事されたときにactionクロージャを実行します。
次に肝心のアニメーションの処理です。
今回は withAnimationメソッドを利用します。
withAnimation
指定したアニメーションとともにViewを更新します。
https://developer.apple.com/documentation/swiftui/3279151-withanimation
bodyにはアニメーションとともに変化させたい状態変数をクロージャに渡します。
Animation
| Animatioin | 説明 | gif |
|---|---|---|
| default | デフォルト | 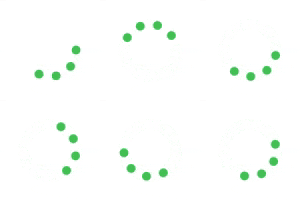 |
| linear | 直線的 一定の割合 | 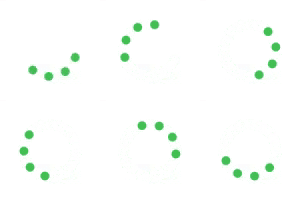 |
| easeIn | 徐々に早くなる | 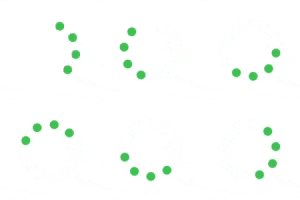 |
| easeOut | 徐々に遅くなる | 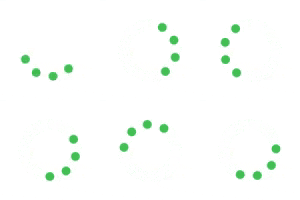 |
| easeInOut | 開始は遅く、中盤で加速し終盤でまた遅くなる | 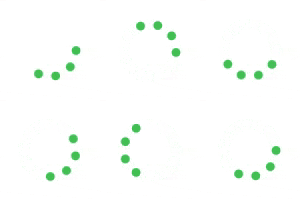 |
今回は一定速度で回り続けて欲しいのでlinearを利用します。
lienarメソッドにはアニメーション長さを指定することができます。
lienar(duration:)を利用します。
@State
状態変数をセットします。
これをwithAnimationのクロージャ内で切り替えてあげることで状態が変化します。
struct ContentView: View {

    @State var isAnimation = false

    var body: some View {
        Circle()
            .trim(from: 0, to: 0.6)
            .stroke(Color.green,
                    style: StrokeStyle(
                        lineWidth: 8,
                        lineCap: .round,
                        dash: [0.1, 16]))

            .frame(width: 48, height: 48)
            .rotationEffect(Angle(degrees: self.isAnimation ? 360 : 0))
            .onAppear() {
                withAnimation(
                    Animation
                        .linear(duration: 1)) {
                            self.isAnimation.toggle()
                }
        }
    }
}
このままですと、一度回転しただけで終わってしまいますので、repeatForever(autoreverses:)メソッドを利用します。
repeatForever(autoreverses:)
| autoreverses | |
|---|---|
| true | 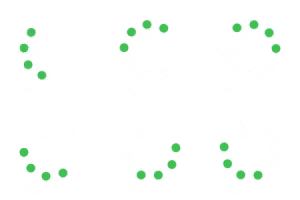 |
| false | 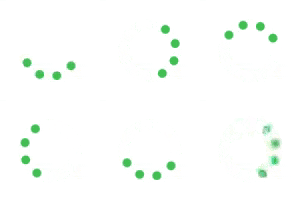 |
リバースしなくて良いので、falseを指定します。
struct ContentView: View {

    @State var isAnimation = false

    var body: some View {
        Circle()
            .trim(from: 0, to: 0.6)
            .stroke(Color.green,
                    style: StrokeStyle(
                        lineWidth: 8,
                        lineCap: .round,
                        dash: [0.1, 16]))

            .frame(width: 48, height: 48)
            .rotationEffect(Angle(degrees: self.isAnimation ? 360 : 0))
            .onAppear() {
                withAnimation(
                    Animation
                        .linear(duration: 1)
                        .repeatForever(autoreverses: true)) {
                            self.isAnimation.toggle()
                }
        }
    }
}
RoundedRectangle
グラデーション
Gradient(colors: [.gray, .white])
| グラデーション | 見た目 |
|---|---|
| Linear 線形 | 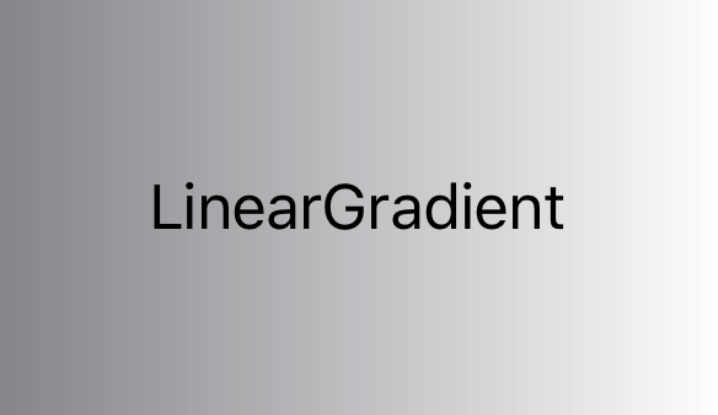 |
| Angular 円形 | 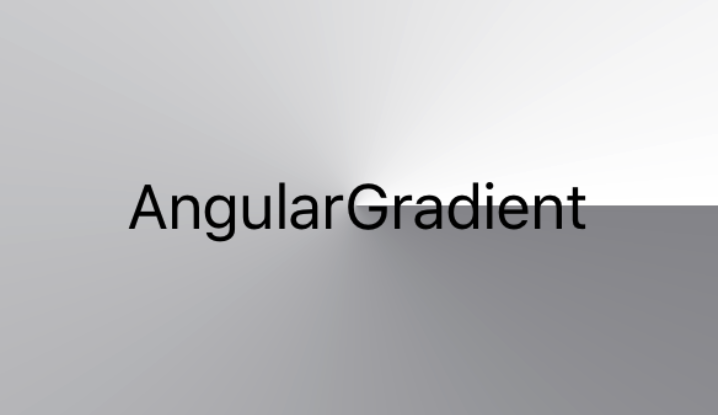 |
| Radical 放物状 | 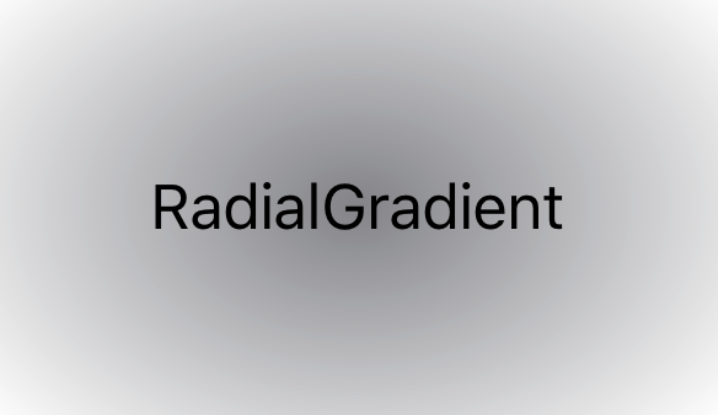 |
.strokeメソッドの中のColor.greenをAngularGradient(gradient: Gradient(colors: [.gray, .white])に変更します。
そうすると以下のように破線の位置がずれていることが確認できます。
そこでStrokeStyleのdashPhaseの値をかえます。
dashPhase: 8にすることで、
綺麗に描画されました。
完成済みソースコード
import SwiftUI

struct ContentView: View {

    @State var isAnimation = false

    var body: some View {
        ZStack {
            RoundedRectangle(cornerRadius: 8)
                .frame(width: 200, height: 120, alignment: .center)
                .foregroundColor(Color.gray)

            VStack {
                Spacer()
                Circle()
                    .trim(from: 0, to: 0.6)
                    .stroke(AngularGradient(gradient: Gradient(colors: [.gray, .white]), center: .center),
                            style: StrokeStyle(
                                lineWidth: 8,
                                lineCap: .round,
                                dash: [0.1, 16],
                                dashPhase: 8))

                    .frame(width: 48, height: 48)
                    .rotationEffect(Angle(degrees: self.isAnimation ? 360 : 0))
                    .onAppear() {
                        withAnimation(
                            Animation
                                .linear(duration: 1)
                                .repeatForever(autoreverses: false)) {
                                    self.isAnimation.toggle()
                        }
                }

                Text("読み込み中")
                    .foregroundColor(.white)
                    .font(.system(size: 12, weight: .medium, design: .rounded))
                    .lineLimit(1)
                    .padding(.top)
                Spacer()
            }
        }
    }
}
課題
strokestykeのdashにアニメーション当てれなかった;;
dashの幅を変えて、アニメーションをeaseOutでアニメーションの終わりに一つ一つの玉が近くアニメーションを作りたかった;;
誰か教えてくださいmm
