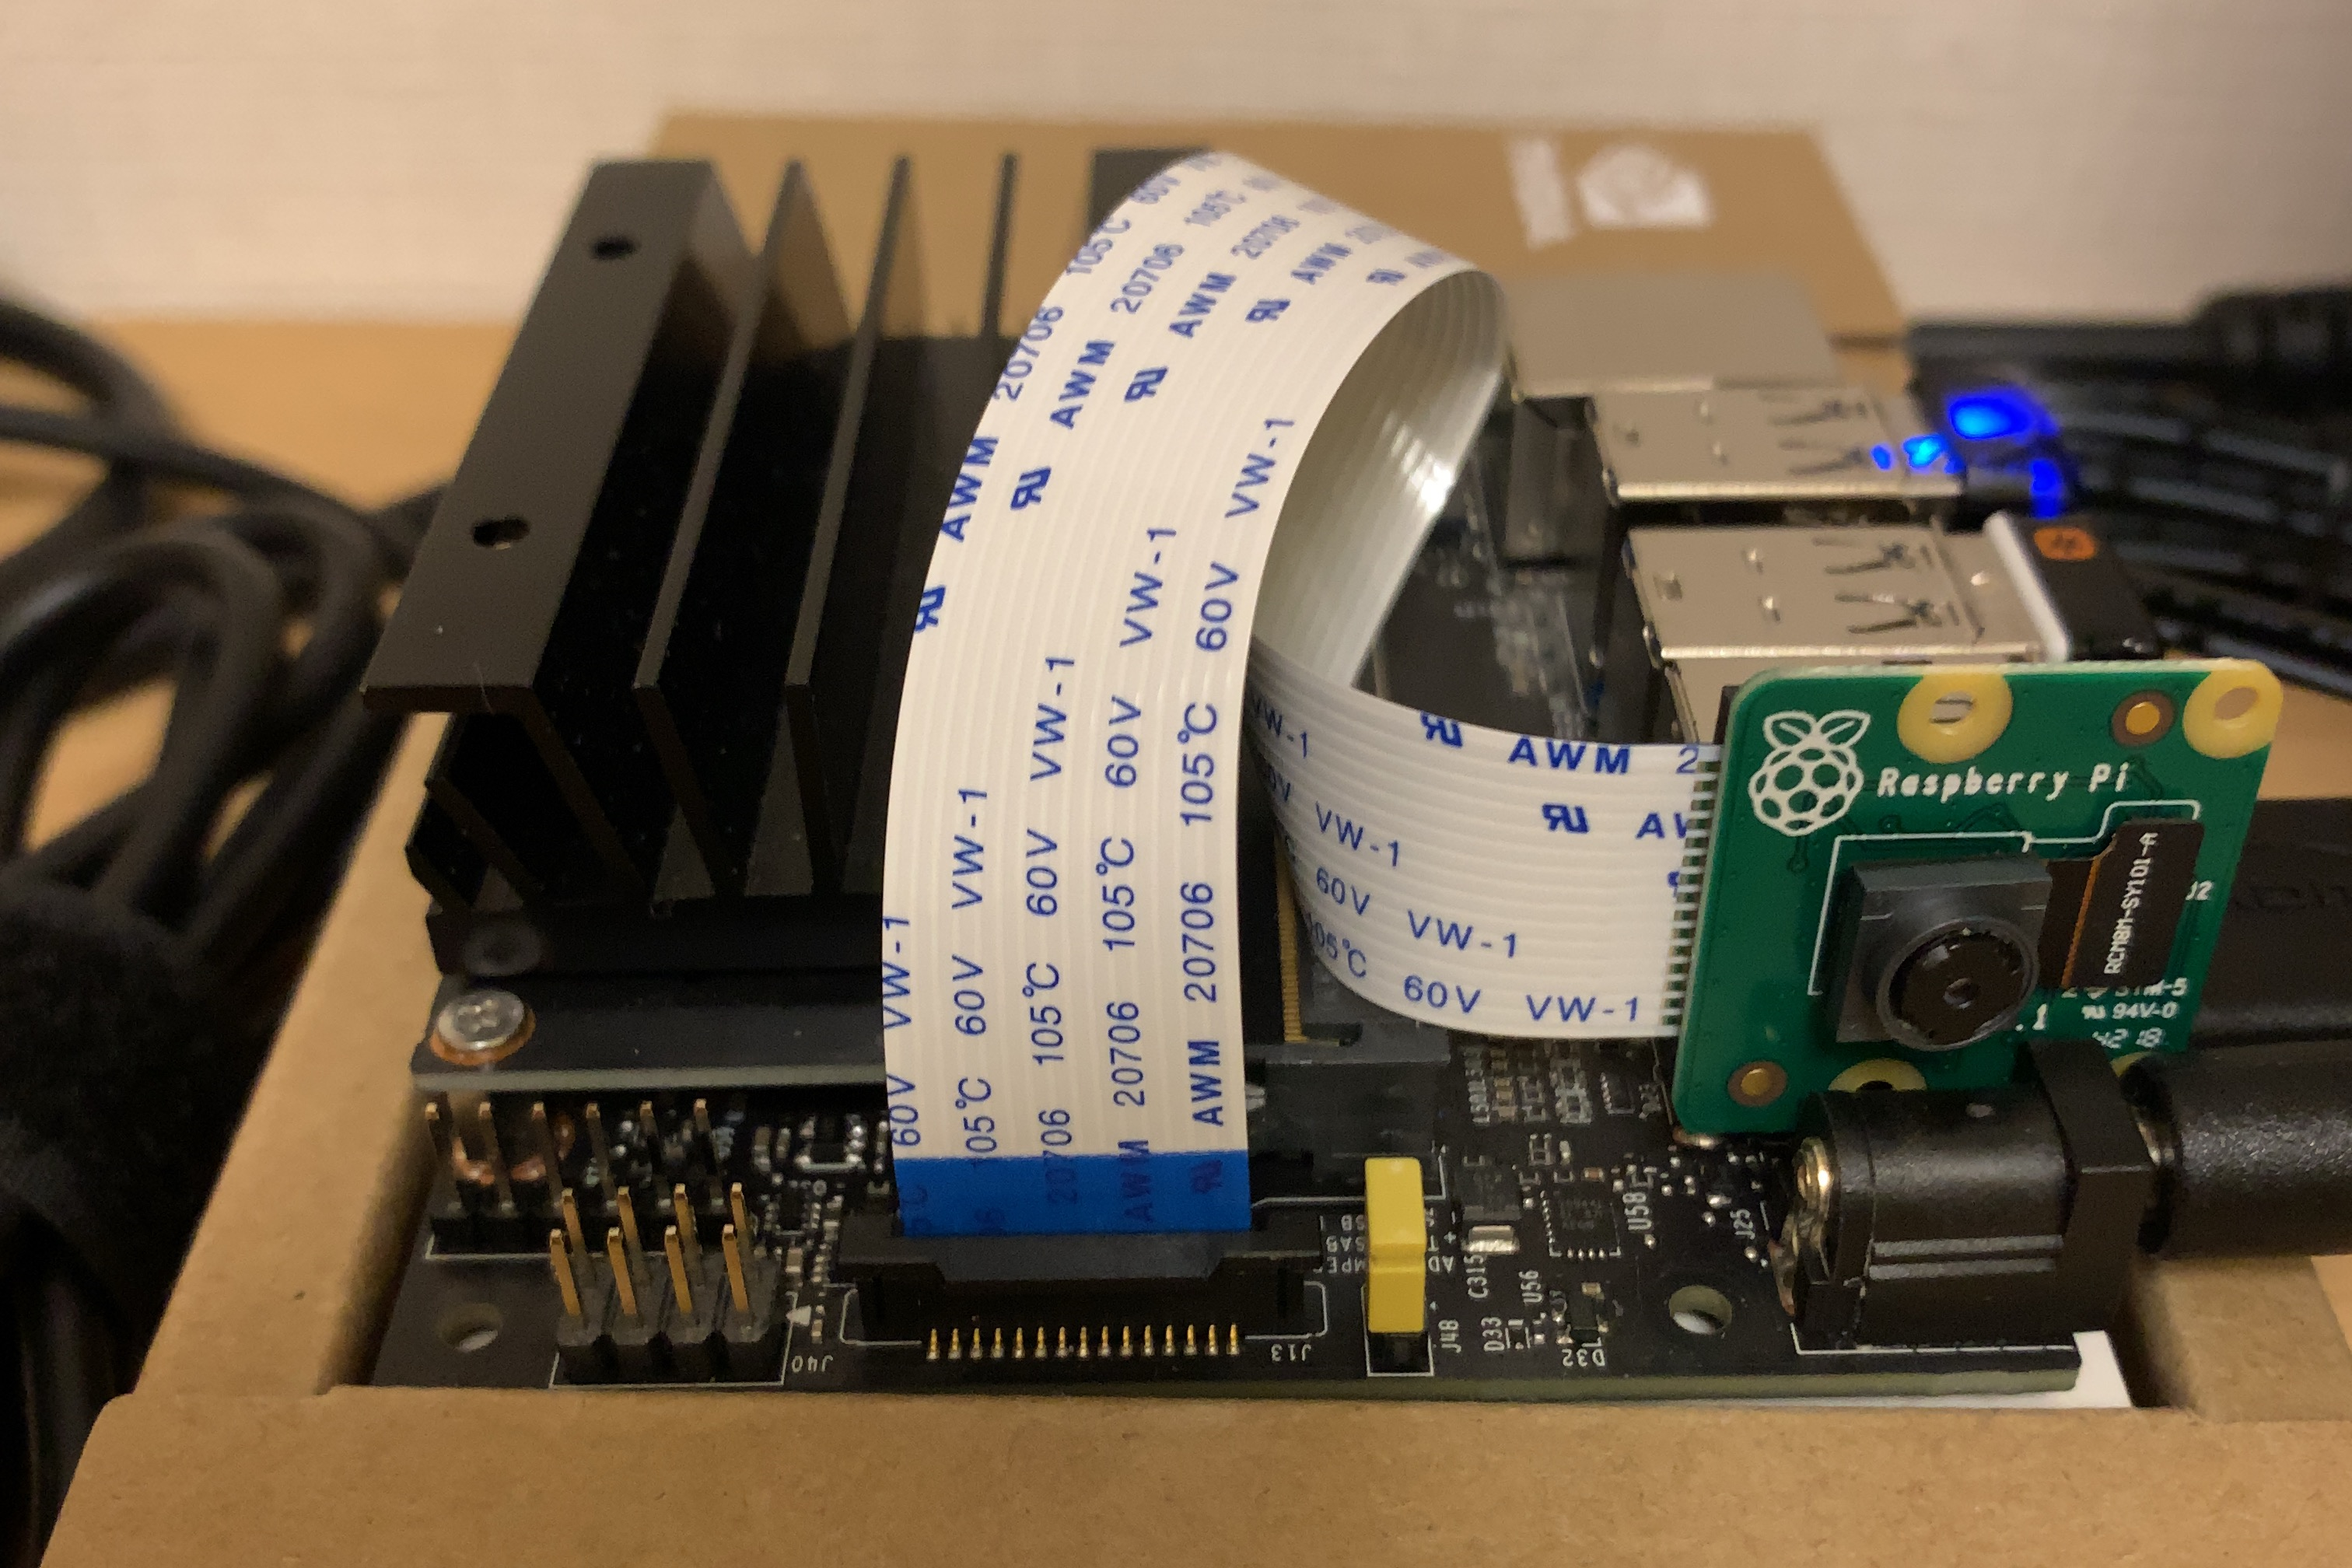
Jetson Nano 開発者キットに Raspberry Pi カメラ (V2) を接続して基本のカメラ・スルーを試してみましょう。
カメラの取り付け
GStreamer コマンドで実行
$ gst-launch-1.0 nvarguscamerasrc ! 'video/x-raw(memory:NVMM), width=1920, height=1080, format=(string)NV12, framerate=(fraction)30/1' ! nvoverlaysink -e
終了するときは Ctrl + C
OpenCV で実行
まず、numpy モジュールのアップグレード。
$ sudo apt-get update
$ sudo apt install python3-pip
$ sudo pip3 install --upgrade numpy
コードは以下のとおり。
How to Capture and Display Camera Video with Python on Jetson TX2 を参考にさせていただきました。
nano_cam_test.py
import cv2

GST_STR = 'nvarguscamerasrc \
    ! video/x-raw(memory:NVMM), width=3280, height=2464, format=(string)NV12, framerate=(fraction)30/1 \
    ! nvvidconv ! video/x-raw, width=(int)1920, height=(int)1080, format=(string)BGRx \
    ! videoconvert \
    ! appsink'
WINDOW_NAME = 'Camera Test'

def main():
    cap = cv2.VideoCapture(GST_STR, cv2.CAP_GSTREAMER)

    while True:
        ret, img = cap.read()
        if ret != True:
            break

        cv2.imshow(WINDOW_NAME, img)

        key = cv2.waitKey(10)
        if key == 27: # ESC
            break

if __name__ == "__main__":
    main()
コードの実行
$ python3 nano_cam_test.py
エスケープキーを押すとプログラムの実行は終了。
以下のようなエラーが出るときは
Gtk-Message: 22:21:01.949: Failed to load module "canberra-gtk-module"
libcanberra-gtk-module と libcanberra-gtk3-module をインストールするとエラーは消えますが、エラーが出ても実行できているのでその必要性は不明。
$ sudo apt install libcanberra-gtk-module libcanberra-gtk3-module
以上です。
