Rails Bootstrap with Modal Form
Railsの勉強をするにあたり、マスタメンテ画面を作ろうと思いました。
そこでこちらの記事を参考に、イマドキのかっこいいModal画面を作ろうと思いました。
要件
- CUDはModal Formから、作成できるようにする。
- Bootstrapを使ってできるだけかっこよくする。
- 難しい実装にしない。
- 自学のために、記録する。
Railsアプリケーションの生成
こちらのガイドを勉強用に使っていたのでプロジェクト的にはRailsアプリケーションがある状態ですが、作ります。
$ rails new blog
(sqlite3が起動しなかった気がするので、あとで追記しときます。)
Railsアプリディレクトリに移動
$ cd blog
手順
記事通りに記載しましたが、うまくいかず、GitHubのREADME.mdを参考にしつつ、アプリ立ち上げまで
Bootstrap導入
Gemfileにgemを追加します。
source 'https://rubygems.org'
git_source(:github) { |repo| "https://github.com/#{repo}.git" }

ruby '2.5.4'

# for Bootstrap4
gem 'jquery-rails'
gem 'bootstrap', '~> 4.3.1'

# Bundle edge Rails instead: gem 'rails', github: 'rails/rails'
gem 'rails', '~> 5.2.2', '>= 5.2.2.1'
# for Bootstrap4
gem 'jquery-rails'
gem 'bootstrap', '~> 4.3.1'
を追記しました。
で、bundle installでインストール。
$ bundle install
ライブラリがインストールされます。
application.cssの拡張子変更
まず、blog/app/assets/stylesheets/application.cssがRailsアプリケーション生成時に自動生成されるので、application.cssをapplication.scssに変更します。
$ cd blog/app/assets/stylesheets/
$ mv application.css application.scss
application.scssの編集
このapplication.scssを編集します。
/*
 * This is a manifest file that'll be compiled into application.css, which will include all the files
 * listed below.
 *
 * Any CSS and SCSS file within this directory, lib/assets/stylesheets, or any plugin's
 * vendor/assets/stylesheets directory can be referenced here using a relative path.
 *
 * You're free to add application-wide styles to this file and they'll appear at the bottom of the
 * compiled file so the styles you add here take precedence over styles defined in any other CSS/SCSS
 * files in this directory. Styles in this file should be added after the last require_* statement.
 * It is generally better to create a new file per style scope.
 *
 *= require_tree .
 *= require_self
 */
コメントだけのこのファイルに以下を追記します。
// for Bootstrap4
@import "bootstrap";
そして、コメントの
 *= require_tree .
 *= require_self
の2行を削除します。
README.mdより
Do not use *= require in Sass or your other stylesheets will not be able to access the Bootstrap mixins and variables.
application.jsの編集
次にblog/app/assets/javascripts/application.jsを編集します。
// This is a manifest file that'll be compiled into application.js, which will include all the files
// listed below.
//
// Any JavaScript/Coffee file within this directory, lib/assets/javascripts, or any plugin's
// vendor/assets/javascripts directory can be referenced here using a relative path.
//
// It's not advisable to add code directly here, but if you do, it'll appear at the bottom of the
// compiled file. JavaScript code in this file should be added after the last require_* statement.
//
// Read Sprockets README (https://github.com/rails/sprockets#sprockets-directives) for details
// about supported directives.
//
//= require rails-ujs
//= require activestorage
//= require turbolinks
//= require_tree .
に
//= require jquery3
//= require popper
//= require bootstrap-sprockets
の3行を追加します。
Scaffoldで雛形の作成
記事に沿ってscaffoldを使って、MVCの雛形を作ります。
user雛形を作成します。
$ cd blog
$ rails g scaffold user name:string
Railsアプリケーションの起動
$ cd blog
$ rails s
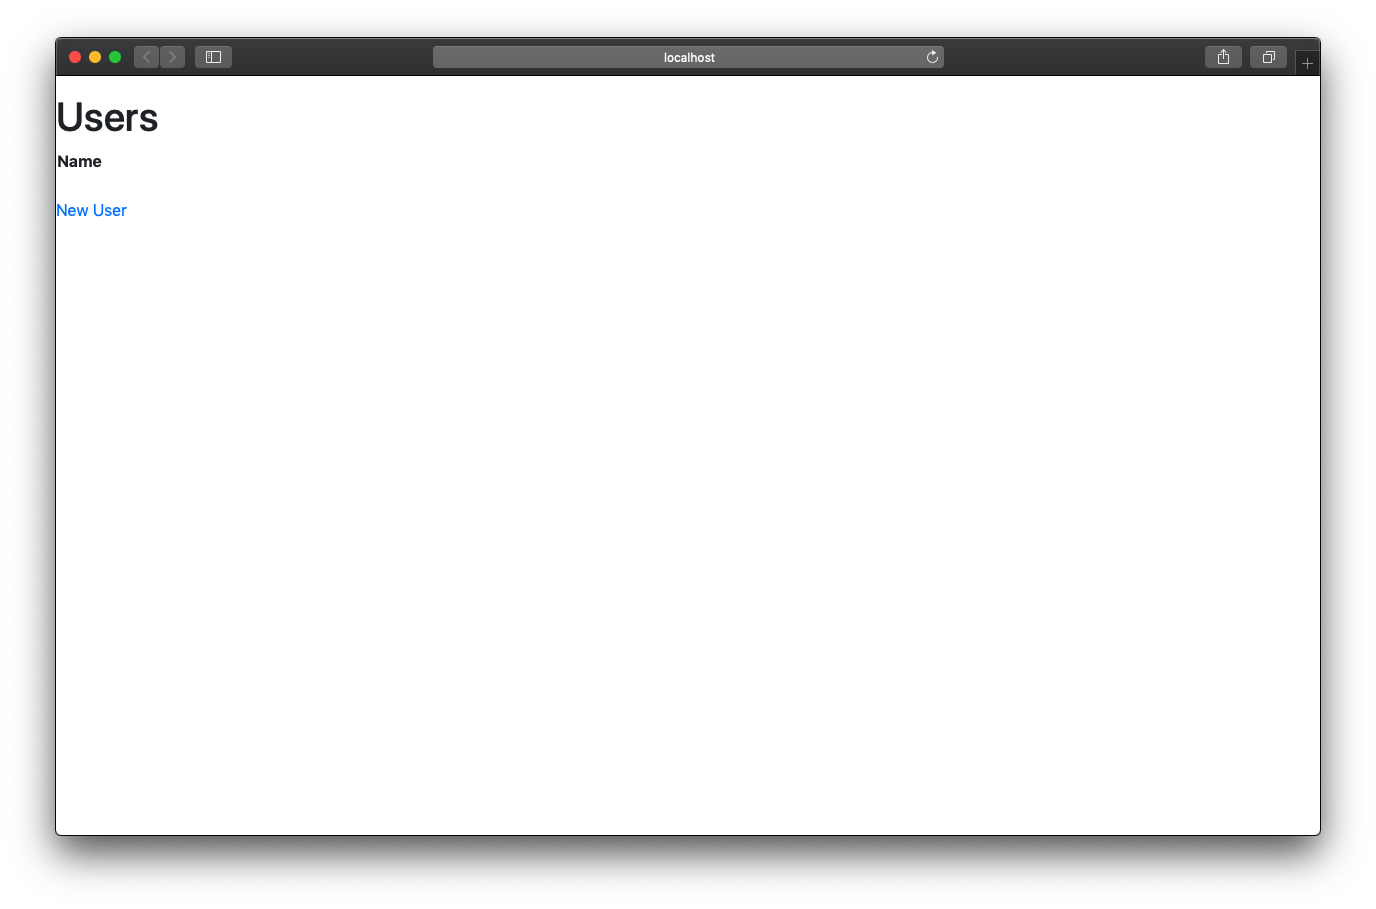
とりあえず、起動させて、localhost:3000/usersにアクセスしましょう。
画面が表示されたら問題なく起動しています。
Bootstrap適用確認
作成したblog/app/views/users/index.html.erbを開き、以下のコードにclass属性を付与し、Bootstrapが適用されているか確認します。
<%= link_to 'New User', new_user_path %>
⬇︎
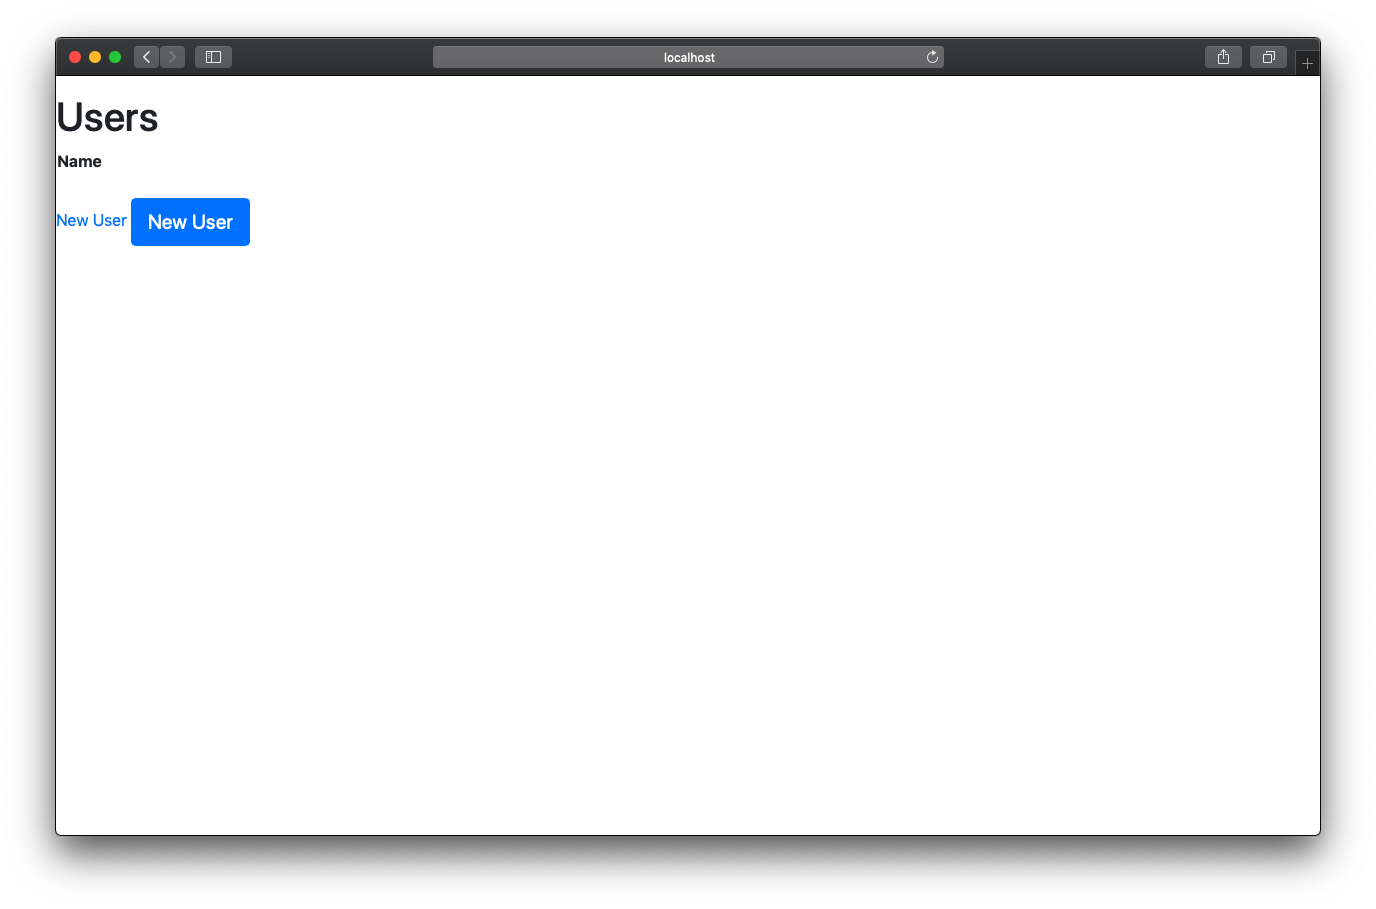
<%= link_to 'New User', new_user_path, class: "btn btn-lg, btn-primary" %>
リンクが青色の"New User"と書かれたボタンに変化していたら、OKです。
CREATE
Ajax化
先ほどのリンクに属性を追加します。
<%= link_to 'New User', new_user_path, remote: true, class: "btn btn-lg, btn-primary" %>
remote: trueとし、呼び出し先をnew.html.erbからnew.js.erbに変更します。
new.js.erbの作成
$ cd blog/app/views/users
$ touch new.js.erb
$("#user-modal").html("<%= escape_javascript(render 'form') %>")
$("#user-modal").modal("show")
上記はindex.html.erbのid="user-modal"の<div>タグに対し、新規作成用formをレンダリング・表示する。
_form.html.erbの編集
Bootstrapを用いて_form.html.erbをmodal formとして表示させるため、<div>タグで囲みます。
<div class="modal-dialog" role="document">
  <div class="modal-content">
    <%= form_with(model: user, local: true) do |form| %>
      <% if user.errors.any? %>
        <div id="error_explanation">
          <h2><%= pluralize(user.errors.count, "error") %> prohibited this user from being saved:</h2>
          <ul>
          <% user.errors.full_messages.each do |message| %>
            <li><%= message %></li>
          <% end %>
          </ul>
        </div>
      <% end %>

      <%= form.label :name %>
      <%= form.text_field :name %>

      <div class="actions">
        <%= form.submit %>
      </div>
    <% end %>
  </div>
</div>
<div class="modal-dialog" role="document">
  <div class="modal-content">
  ...
  ...
  </div>
</div>
ただこれだけですと、modal formが表示されません。
ボタンを押下すると、terminalにrailsログが出力されます。
ActionView::Template::Error (undefined local variable or method `user' for #<#<Class:0x00007fc68f71bc10>:0x00007fc69165c1b0>
Did you mean?  @user):
定義していないローカル変数(メソッド)としてuserがエラーとなっています。ログの通り、インスタンス変数化しましょう(@user)
<div class="modal-dialog" role="document">
  <div class="modal-content">
    <%= form_with(model: @user, local: true) do |form| %>
      <% if @user.errors.any? %>
        <div id="error_explanation">
          <h2><%= pluralize(@user.errors.count, "error") %> prohibited this user from being saved:</h2>
          <ul>
          <% @user.errors.full_messages.each do |message| %>
            <li><%= message %></li>
...
すると、
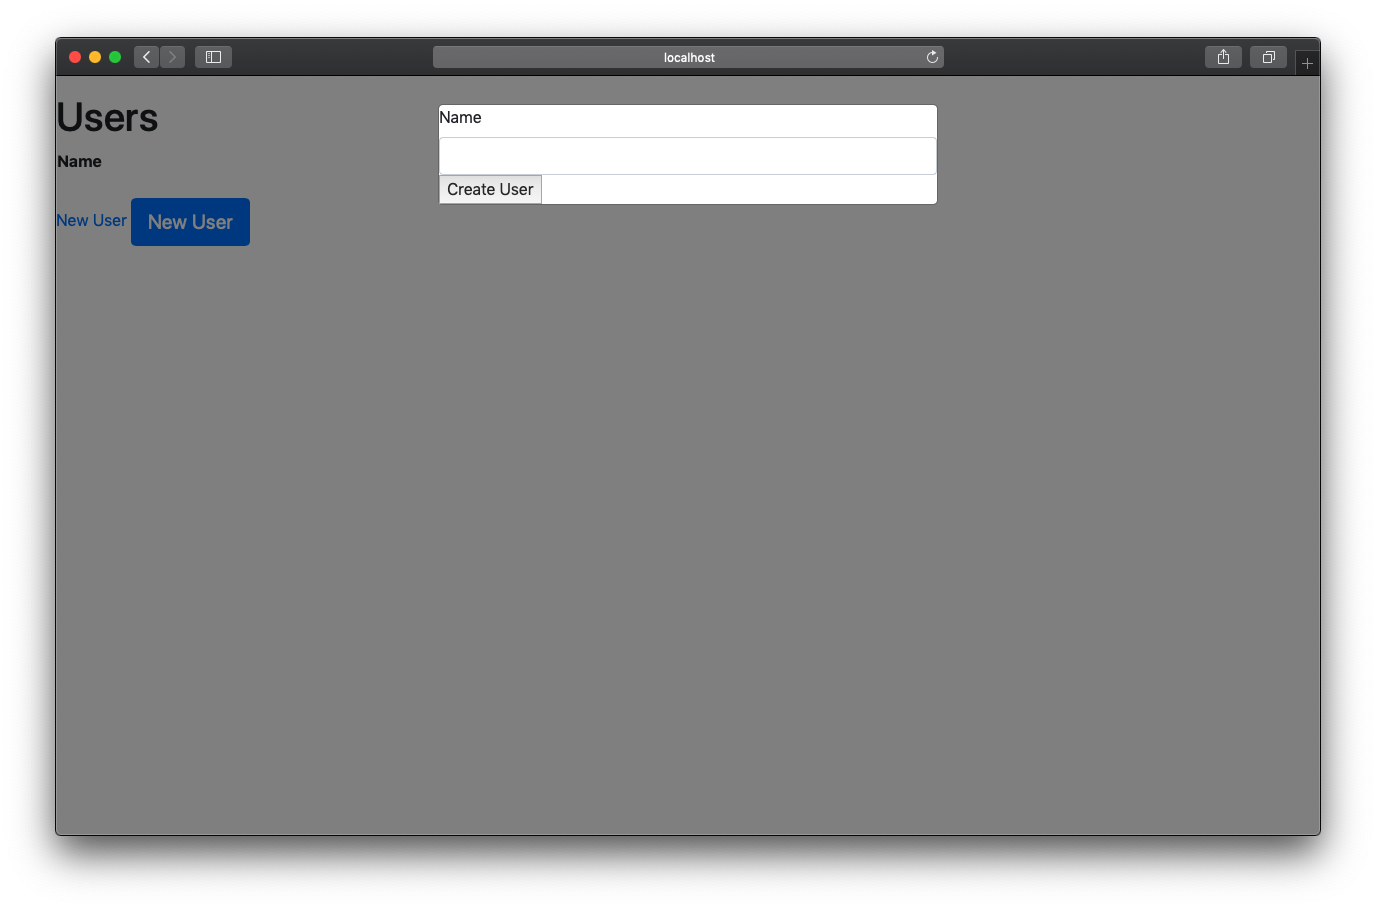
おお、modal formが表示されました。
ただ、これだけだとダサいので、Bootstrapを適用していきます。
<div class="modal-dialog" role="document">
<div class="modal-content">
<%= form_with(model: @user, local: true) do |form| %>
<% if @user.errors.any? %>
<div id="error_explanation">
<h2><%= pluralize(@user.errors.count, "error") %> prohibited this user from being saved:</h2>
<ul>
<% @user.errors.full_messages.each do |message| %>
<li><%= message %></li>
<% end %>
</ul>
</div>
<% end %>
<div class="modal-header">
<h5 class="modal-title">New User</h5>
<button type="button" class="close" data-dismiss="modal" aria-label="Close">
<span aria-hidden="true">×</span>
</button>
</div>
<div class="modal-body">
<div class="form-group field">
<%= form.label :name , class: "form-control-label"%>
<%= form.text_field :name, class: "form-control" %>
</div>
</div>
<div class="modal-footer actions">
<%= form.submit class: "btn btn-primary"%>
</div>
<% end %>
</div>
</div>
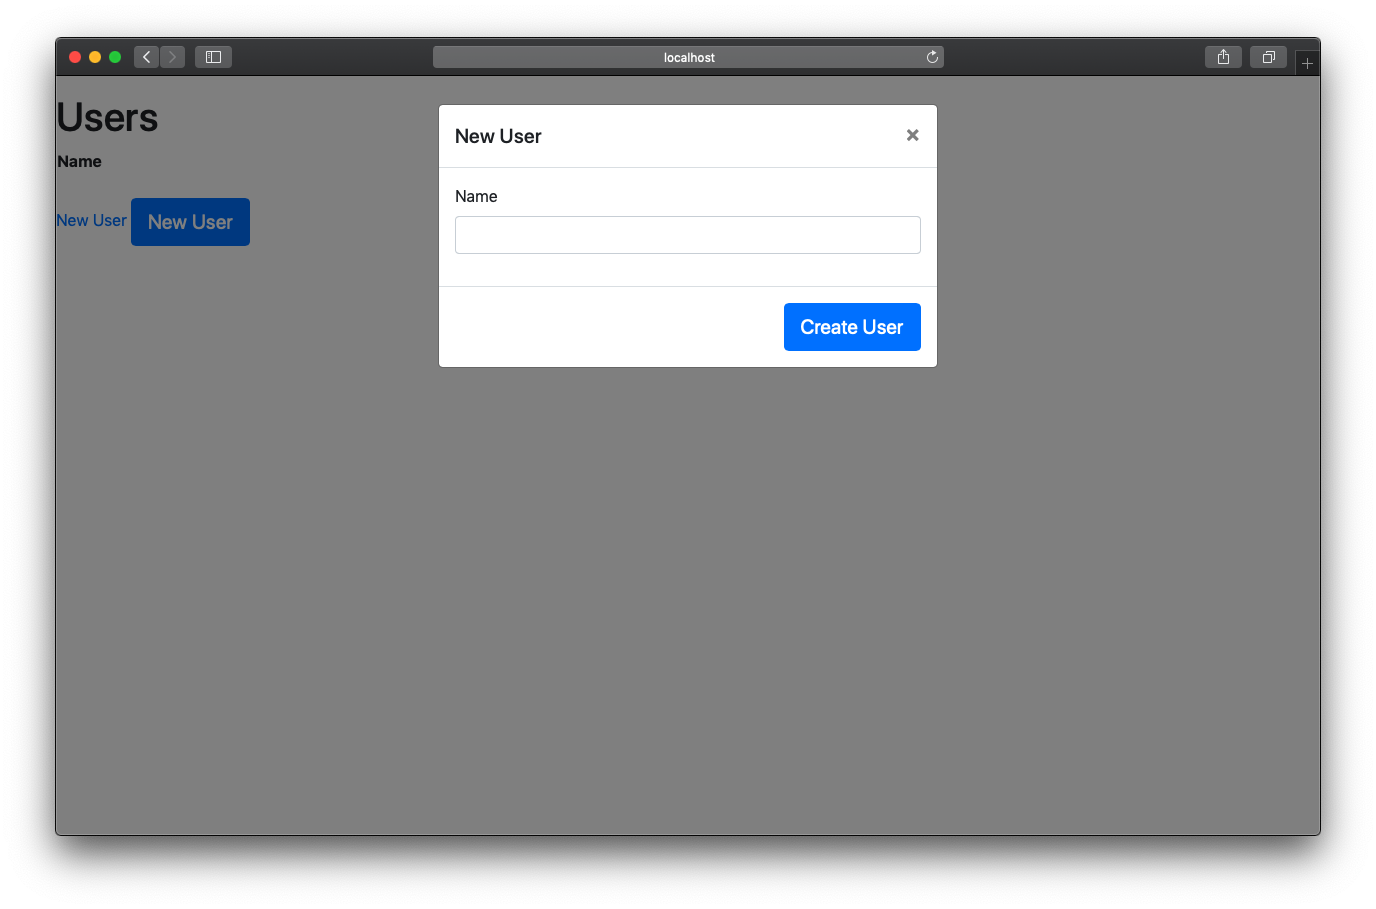
変更点:
- Modal Headerの追加
- Modal Headerにタイトル追加
- Modal Headerに「×」(Close)ボタンを追加
- Modal Bodyの追加
- Modal Bodyにラベルとテキストフィールドを追加
- ラベルとテキストフィールドをform-groupクラスのdivタグで囲み、それぞれに、form-control-labelとform-controlクラスを適用
- Modal Footerの追加
- Modal FooterにSubmitボタン追加
- Submitボタンにbtnとbtn-lgとbtn-primaryクラスを適用
見た目はそれっぽくなりました。
新規作成処理のAjax化
前述のapp/views/users/_form.html.erbにremoteオプションをつけて、javascript指定でコントローラに流れるようにします。
<%= form_with(model: @user, local: true) do |form| %>
⬇︎local: trueをremote: trueに修正
<%= form_with(model: @user, remote: true) do |form| %>
また、app/controllers/user_controller.rbのcreateメソッドを修正します。
  # POST /users
  # POST /users.json
  def create
    @user = User.new(user_params)

    respond_to do |format|
      if @user.save
        format.html { redirect_to @user, notice: 'User was successfully created.' }
        format.json { render :show, status: :created, location: @user }
        # 追加
        format.js { @status = "success" }
      else
        format.html { render :new }
        format.json { render json: @user.errors, status: :unprocessable_entity }
        # 追加
        format.js { @status = "fail" }
      end
    end
  end
このcreateメソッドにformat.js{}を記述します。
DBにINSERTしたのち、インスタンス変数@statusに成功の場合はsuccess、失敗の場合はfailを代入しています。
モーダルフォームを閉じるまでに処理結果によってAjax処理をしています。
登録後の処理
上記createメソッド処理後、remote: trueにしているため、create.html.erbではなくcreate.js.erbを呼びます。app/views/users/create.js.erbを作成します。
<% if @status == 'success' %>
    $("tbody").append("<%= j(render("tr", user: @user)) %>");
<%  elsif @status == 'fail' %>
    alert('error!');
<% end %>
$("#user-modal").modal("hide");
先ほど、インスタンス変数@statusに処理成功・失敗時にsuccess・failを代入しました。
成功時はtbodyタグに_tr.html.erbをuserをインスタンス変数@userを用いてappendしています。
失敗時はalertを表示しています。
そのあと、モーダルフォームを非表示にしています。
<tr>
    <td><%= user.name %></td>
    <td><%= link_to 'Show', user %></td>
    <td><%= link_to 'Edit', edit_user_path(user) %></td>
    <td><%= link_to 'Destroy', user, method: :delete, data: { confirm: 'Are you sure?'} %></td>
</tr>
試す!!
上記ののち、アプリ起動して
ボタン押下→モーダルフォーム表示→name入力→Submit
と操作しましたが、モーダルフォームが非表示になりませんでした。
サーバのコンソールログは200をレスポンスとして返しており、登録処理でも失敗していない模様。
実際、http://localhost:3000/usersを再読み込みしましたところ、先ほど登録したデータが表示される。
JS側で問題かと思い、Chromeの開発者モードで開くと、JSでエラーが発生している。
...
Uncaught SyntaxError
    at processResponse (rails-ujs.XXX
...
ブレークポイントを配置し、調べてもよくわからず
rails-ujsで調べてみるとこちらに興味深いことが
5.1からjquery依存が廃止されたのに伴い、ujs関連はrails-ujsとして切り出されたようです。
rails-ujsが足りないから発生したのか?
Gemfileをみても、rails-ujsらしき記載はなく
で入れてみる。
gem 'rails-ujs'
$ bundler install
とすると、
The dependency tzinfo-data (>= 0) will be unused by any of the platforms Bundler is installing for. Bundler is installing for ruby but the dependency is only for x86-mingw32, x86-mswin32, x64-mingw32, java. To add those platforms to the bundle, run `bundle lock --add-platform x86-mingw32 x86-mswin32 x64-mingw32 java`.
Fetching gem metadata from https://rubygems.org/............
Fetching gem metadata from https://rubygems.org/.
Resolving dependencies...
Using rake 12.3.2

...

Fetching rails-ujs 0.1.0
Installing rails-ujs 0.1.0

...
インストールされた。
最初の方でapplication.jsには//= require rails-ujsと記載されているので、てっきりインストールされているとばかり思っていましたが。
再度操作すると、
できた!!!
UPDATE(DETAIL)
目標:一覧表の1行を押下すると、更新Modalが表示される
一覧表にBootstrapを当ててみる
デフォルトの一覧表は、イケていなかったのでまずBootstrapを当てます。
...
<table class="table table-hover">
  <thead>
...
とりあえず、class="table table-hover"を適用し、Bootstrapのテーブルデザインと、rowをhoverすると色が変化するtable-hoverを適用しました。

row押下でModalの表示
以前、こちらを参考に、row押下で詳細画面へ遷移するようにはできました。
しかし、今回はModalで表示したい!(できるなら楽して)ということで
trタグにこんなコードを書いてみました。
<tr class="tbody_link clickable" data-href="<%= url_for controller: 'users', action: 'edit', id: user %>">
<script>
    jQuery( function($) {
      $('tbody tr[data-href]').click( function() {
        window.location = $(this).attr('data-href');
      }).find('a').hover( function() {
        $(this).parents('tr').unbind('click');
        }, function() {
          $(this).parents('tr').click( function() {
          window.location = $(this).attr('data-href');
        });
      });
    });
</script>
だめでした…
結果として、遷移しているし(ajaxじゃないし)
link_to remote: trueを使ってなんとか、できないものか…
- trタグをlink_toで囲む→そもそも、リンクが表示されない(生成されているがtableタグ外になぜか生成):×
- 上記ソースでajaxを呼ぶようにする→複雑になる、登録はlink_to remote: trueで書いているのにソースの統一ができなくなる:△
- trタグの中にlink_toを書く→できたけど、trタグ全体に反映されない:△
- 3を修正し、trタグ全体までlink_to(要はaタグ)の適用領域を広げる:○
ということで4がうまういきました。
trタグ全体にaタグを適用
こちらを参考に、CSSを適用しました。
table tr a {
  display:block;
  width:100%;
  height:100%;
}

table tr a:hover {
  text-decoration: none;
}
上のtable tr aだけでもいいのですが、hoverした時に、リンクですよの下線を表示させたくなかったので、table tr a:hoverを適用しました。
trタグ押下時の処理ajax化
trタグにaタグ(link_to)を書きます。
  <tbody id="user-tbody">
    <% @users.each do |user| %>
      <tr>
        <td><%= user.id %></td>
        <td><%= user.name %></td>
        <td><%= link_to 'Show', user %></td>
        <td><%= link_to 'Edit', edit_user_path(user) %></td>
        <td><%= link_to 'Destroy', user, method: :delete, data: { confirm: 'Are you sure?' } %></td>
      </tr>
    <% end %>
  </tbody>
⬇︎
  <tbody id="user-tbody">
    <% @users.each do |user| %>
      <tr>
        <td><%= link_to user.id, edit_user_path(user), remote: true %></td>
        <td><%= link_to user.name, edit_user_path(user), remote: true %></td>
    <% end %>
  </tbody>
遷移先にedit_user_path(user)とremote: trueを指定し、edit.html.erbからedit.js.erbに向き先を変更しました。
更新
まず、edit.js.erbを編集します
$("#user-modal").html("<%= escape_javascript(render 'form') %>");
$("#user-modal").modal("show");
内容としては、_form.html.erbを生成していますが、これは、新規作成の時にも、同じテンプレートを使用しています。うまくいくのでしょうか?
これは、テンプレートのform_with()の挙動が吸収してくれるようです。
この記事によると、@userオブジェクトが空オブジェクトの場合、createアクション、つまり新規登録アクションを呼び出し、@userオブジェクトが空オブジェクトでない場合、editアクション、つまり更新アクションを呼び出します。
実際submitボタンもラベルが変わっています。
そして、submitボタンを押すと、updateアクションが呼ばれます。user_controller.rbを編集します。
  def update
    respond_to do |format|
      if @user.update(user_params)
        format.html { redirect_to @user, notice: 'User was successfully updated.' }
        format.json { render :show, status: :ok, location: @user }
        format.js { @status = "success"}
      else
        format.html { render :edit }
        format.json { render json: @user.errors, status: :unprocessable_entity }
        format.js { @status = "fail" }
      end
    end
  end
これもcreateアクション同様、format.jsを追記します。そして、update.js.erbを作成します。
<% if @status == 'success' %>
<%  elsif @status == 'fail' %>
    alert('error!');
<% end %>
// modal-formを消す
$("#user-modal").modal("hide");
以前作った、create.js.erbと同じ処理、UPDATE結果で変化させています。
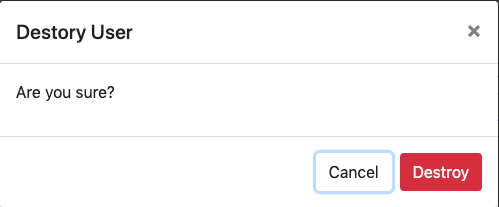
削除
削除を実装します。
下記Gemでconfirmをalertではなく、modalで表示してくれます。
gem 'data-confirm-modal'
$ cd blog
$ bundle install
そして、application.jsに以下を記載します。
//= require data-confirm-modal
<%= link_to 'Destroy', @user, method: :delete,
 title: 'Destory User', data: { confirm: 'Are you sure?',
                                commit: 'Destroy',
                                cancel: 'Cancel'
                              }, class: "btn btn-danger" %>
各属性について
- title: modalのヘッダのタイトル
- data-confirm: bodyのテキスト
- data-commit: 決定ボタンのテキスト
- data-cancel: キャンセルボタンのテキスト
実際にこんな感じです。
処理自体は修正していません。
最終的に…
一覧表示・新規作成・更新・削除までできるようになりました。
今後の展望
今後は、これに対して一覧検索機能をつけたいと思います!
一旦はこれで、要件は満たしたかな…
参考URL
Rails5.1のform_withはデフォルトでremote: true
Rails5とBootetrapでモーダルウィンドウを作るまで
Modal · Bootstrap
覚えておくと超便利!Ruby on Railsのscaffoldの使い方【初心者向け】
[Rails 5.1] 'form_with' APIドキュメント完全翻訳
Rails5.1のform_withはデフォルトでremote: true
Qiitaにアップする画面動画をgifアニメで簡単に作ろう
Rails5と BootstrapでAjax-modalform
[JS]jQuery を利用して table の tr にリンク先を指定できるようにする方法
【CSS:link】テーブルでセル全体をリンクする
Rails5のform_withのデータの行き先
Data-Confirm Modalを使って Rails の削除確認ダイアログをいい感じにする
GitHub - ifad/data-confirm-modal: Makes Rails' link_to confirm: 'foo' build a Bootstrap Modal instead of calling the browser's confirm() API.