概要
職場の後輩ちゃんがLINE Clovaを手に入れたので、それを使ってなにか面白いスキル開発をやろうということに!
手始めに、挨拶をしてくれるスキルを作ろうと思いました!
バックエンドのアプリの開発言語にはNode.jsを採用しています!
環境
Windows 8.1
Node.js 8.12.0
npm 6.4.1
Clova Developer Centerのセットアップ
こちらのサイトを参考にさせて頂きました!
https://dotstud.io/blog/line-clova-skill-tutorial/
1. スキルの作成
Clova Developer Centerで行っていきます!
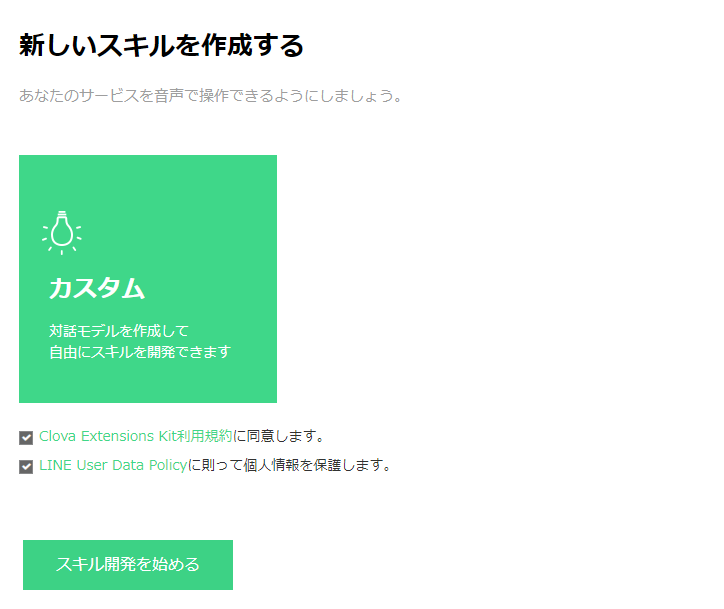
1-1. スキルチャネルの作成
まずはスキルチャネルの作成を行っていきます。
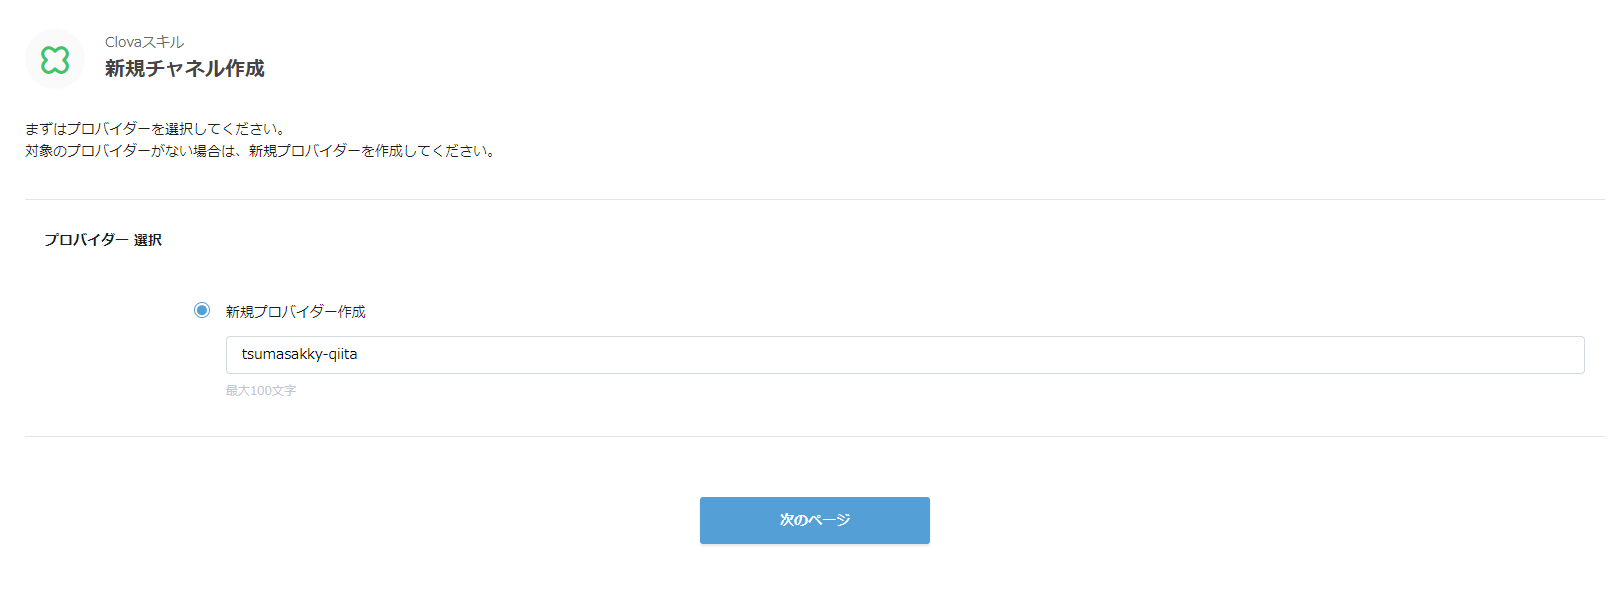
「スキルチャネルを新規作成」してください。
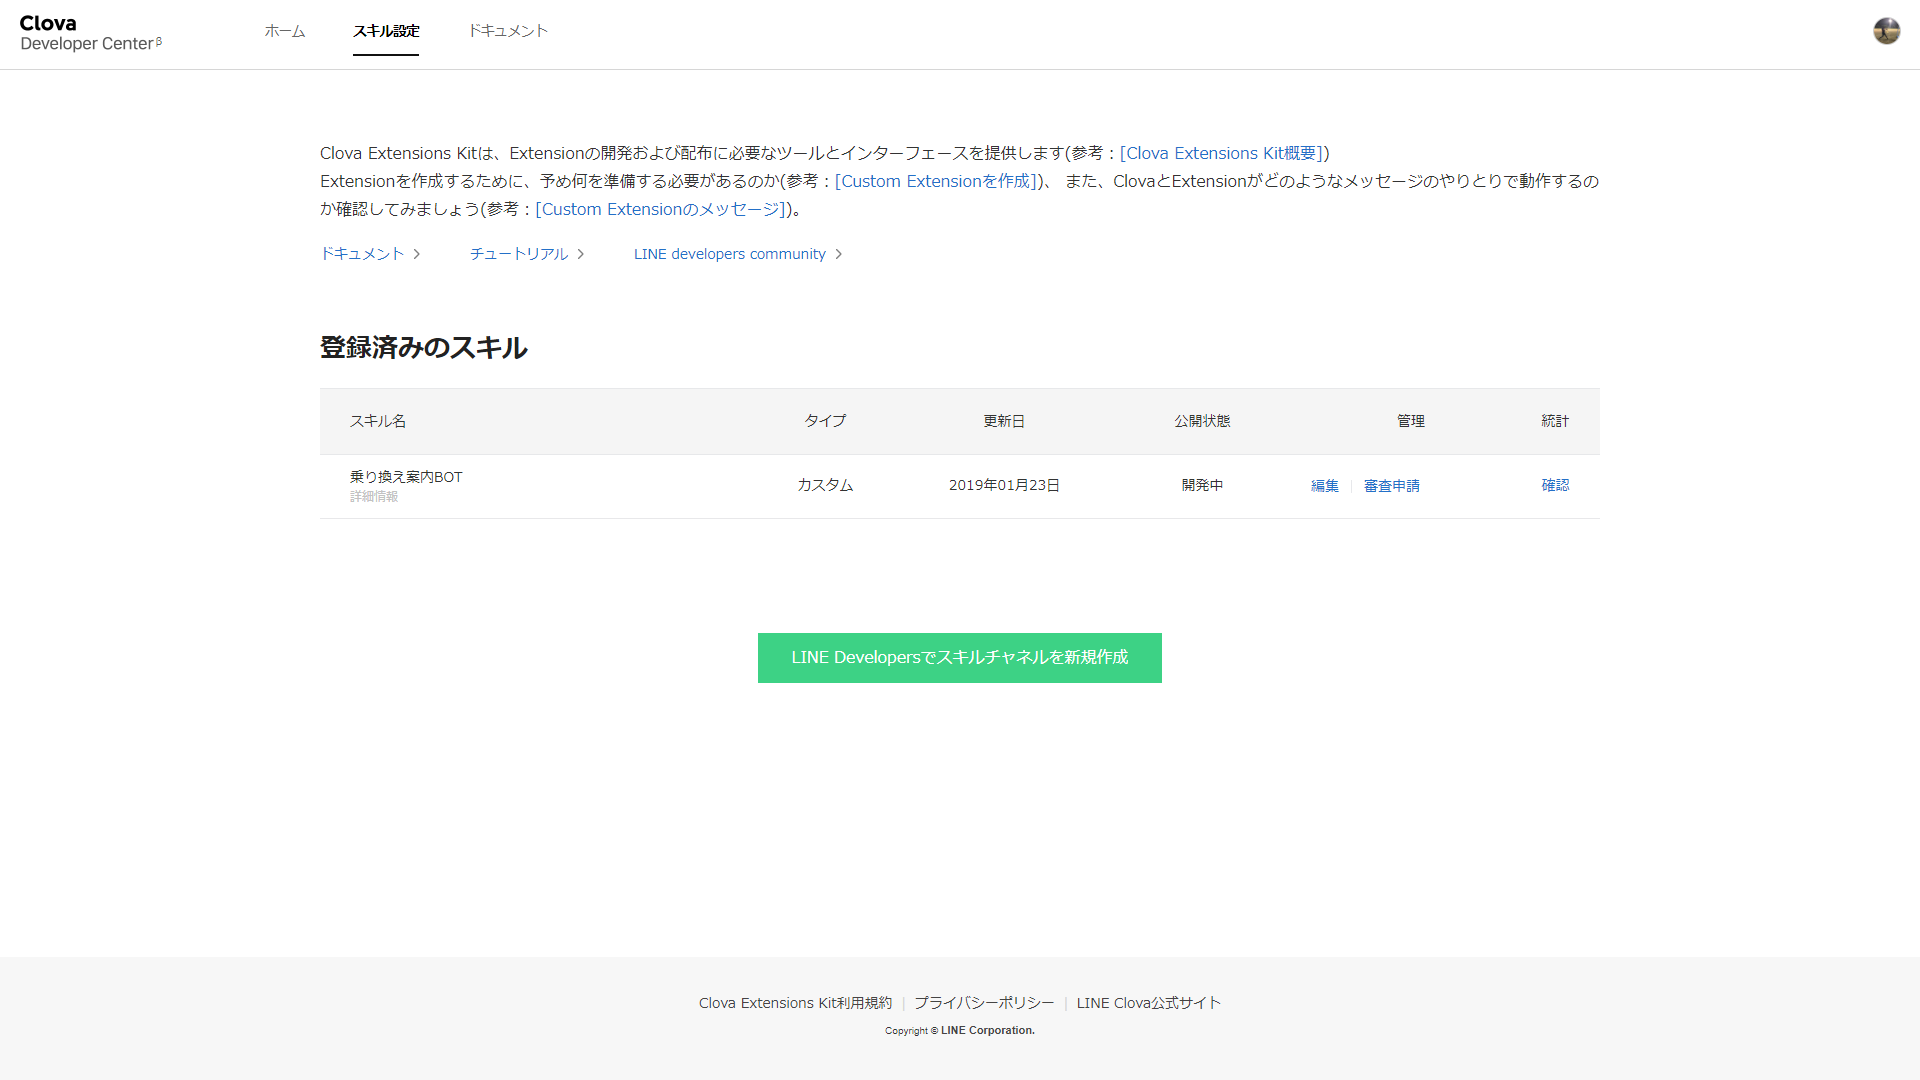
既存のプロバイダを使用しても構いませんし、ない方は新しいプロバイダを作成します。
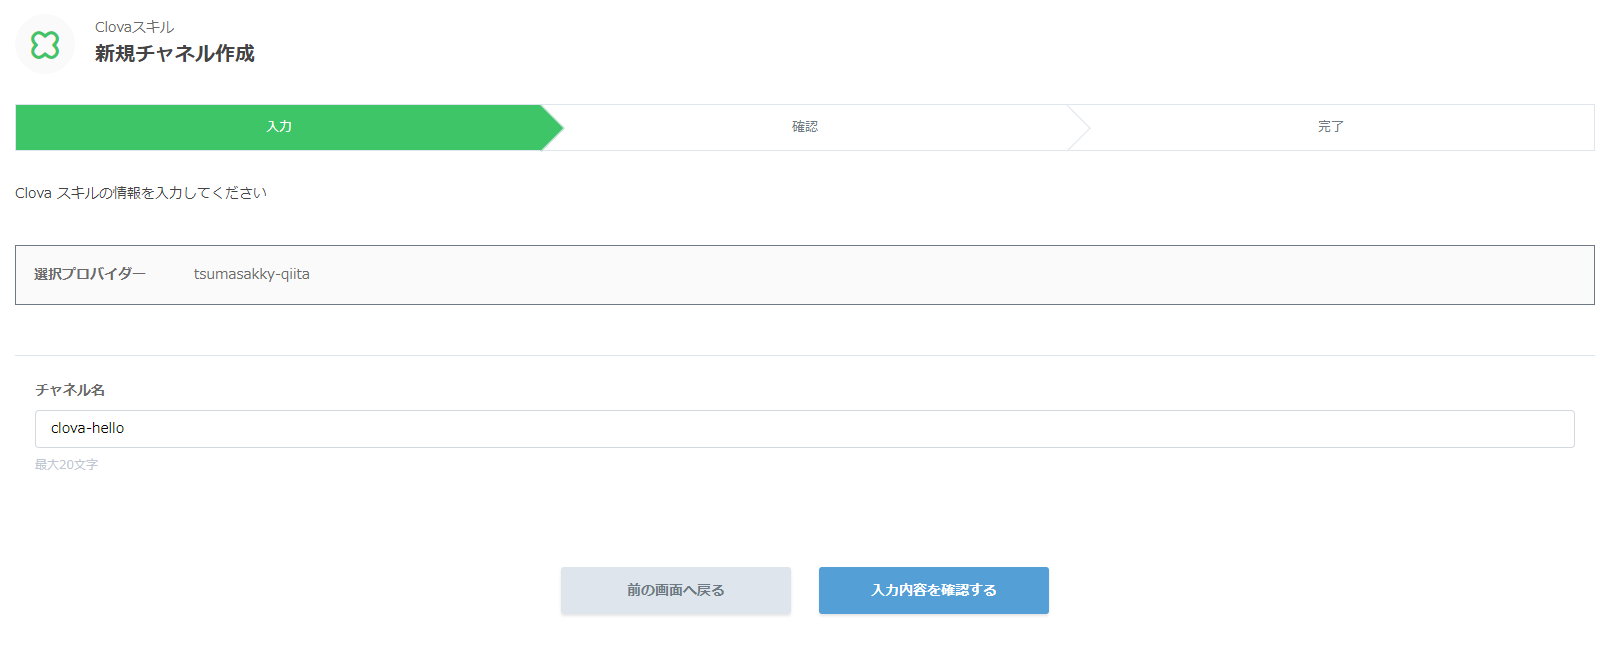
次にチャネル名を入力します。
確認して完了させます。
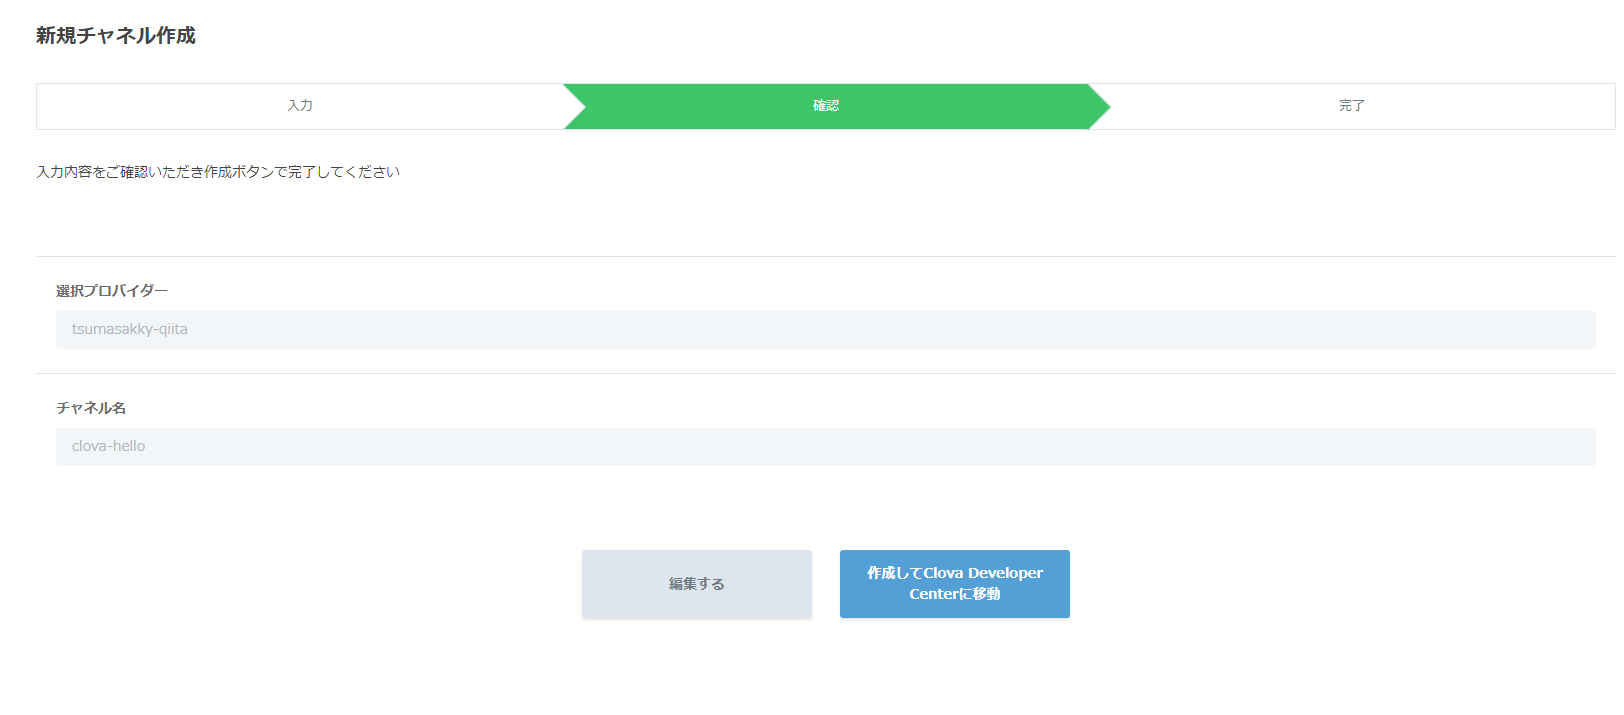
確認事項に同意します。
1-2. チャネル基本設定
続いて基本情報を設定していきます。
Extension ID: のちほどアプリでリクエスト認証に使用します。

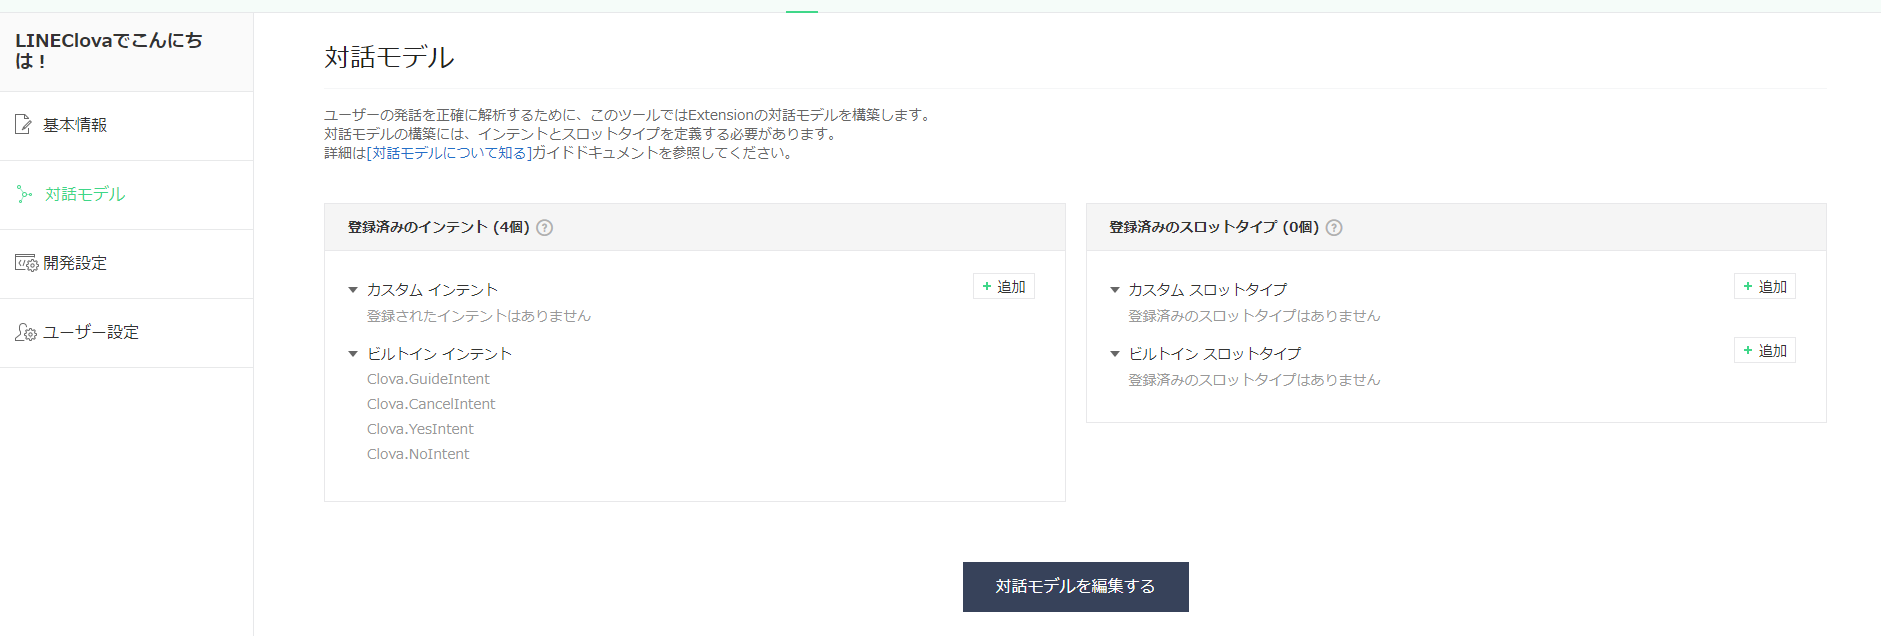
1-3. 対話モデルの作成
いよいよ対話モデルを作成していきます。
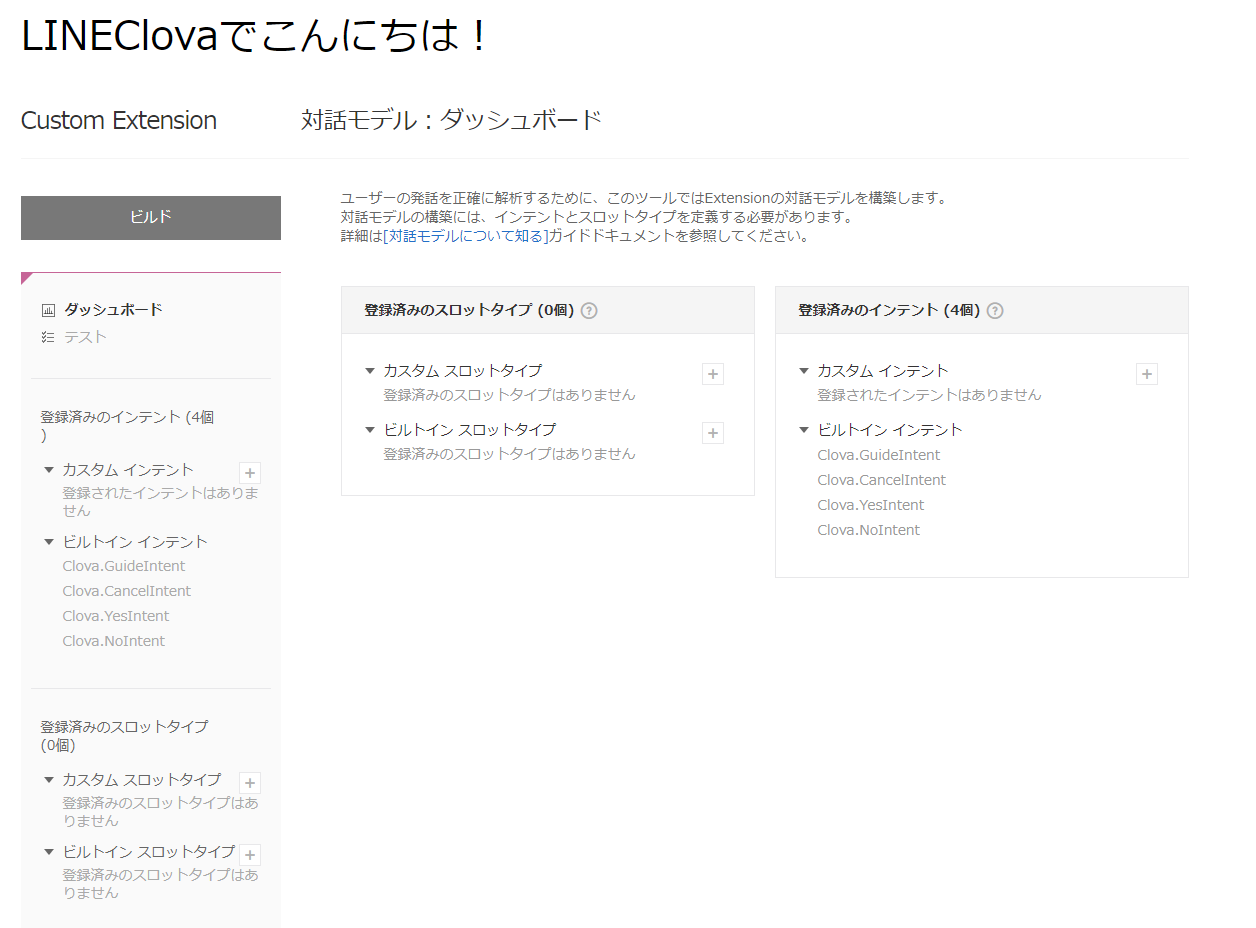
「対話モデルを編集する」を選択すると、別ウィンドウでダッシュボードが現れます。
1-3-1. スロット
まずは「カスタムスロットタイプ」を追加していきます。
カスタムスロットタイプの「+」ボタンをクリックして下さい。
スロットについて -> Extensionのデザインガイドライン - Clova Developer Center β
「おはよう」「こんにちは」「こんばんは」の3種類に応じて返事ができるように作っていきます。(将来的には)
※今回は「こんにちは」としか返ってきません。
スロット名は「greeting」とします。
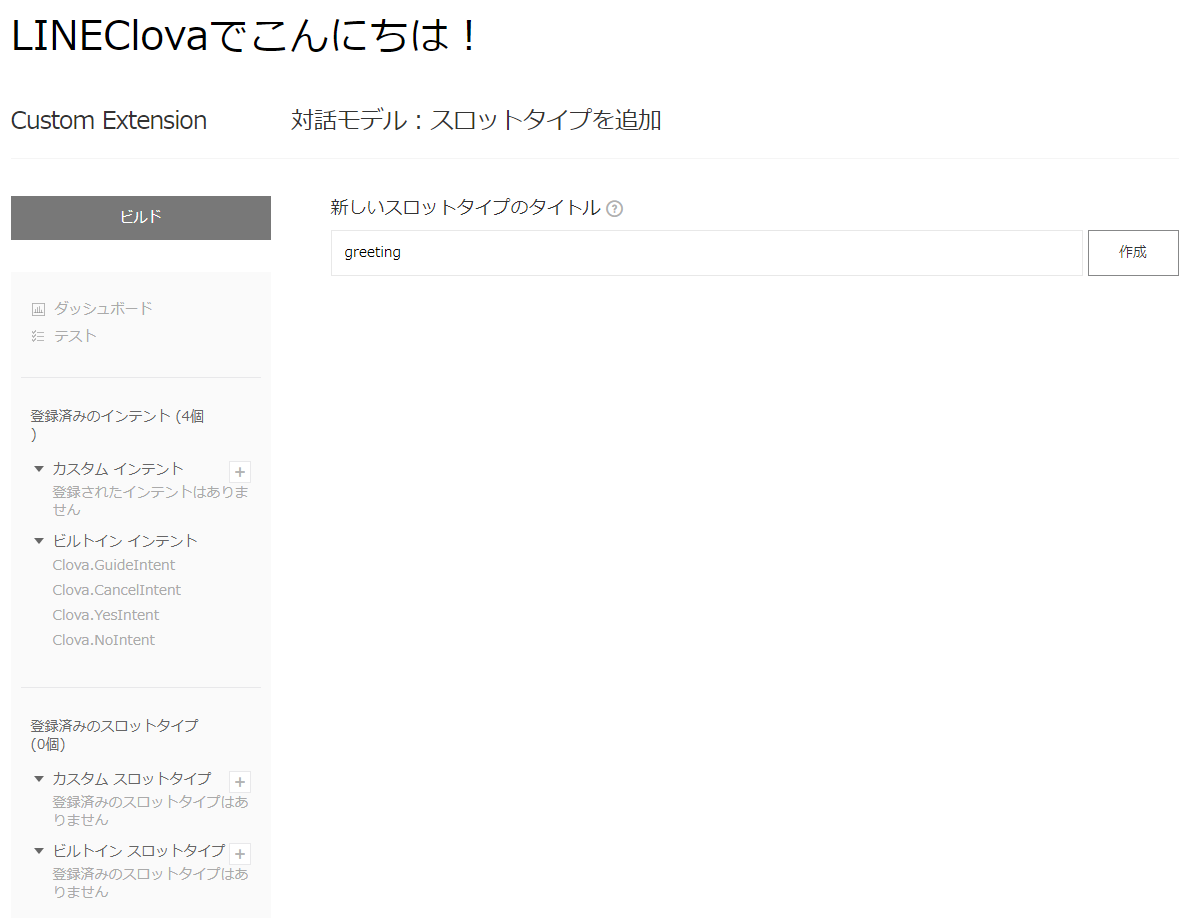
画像のような形で設定してください。

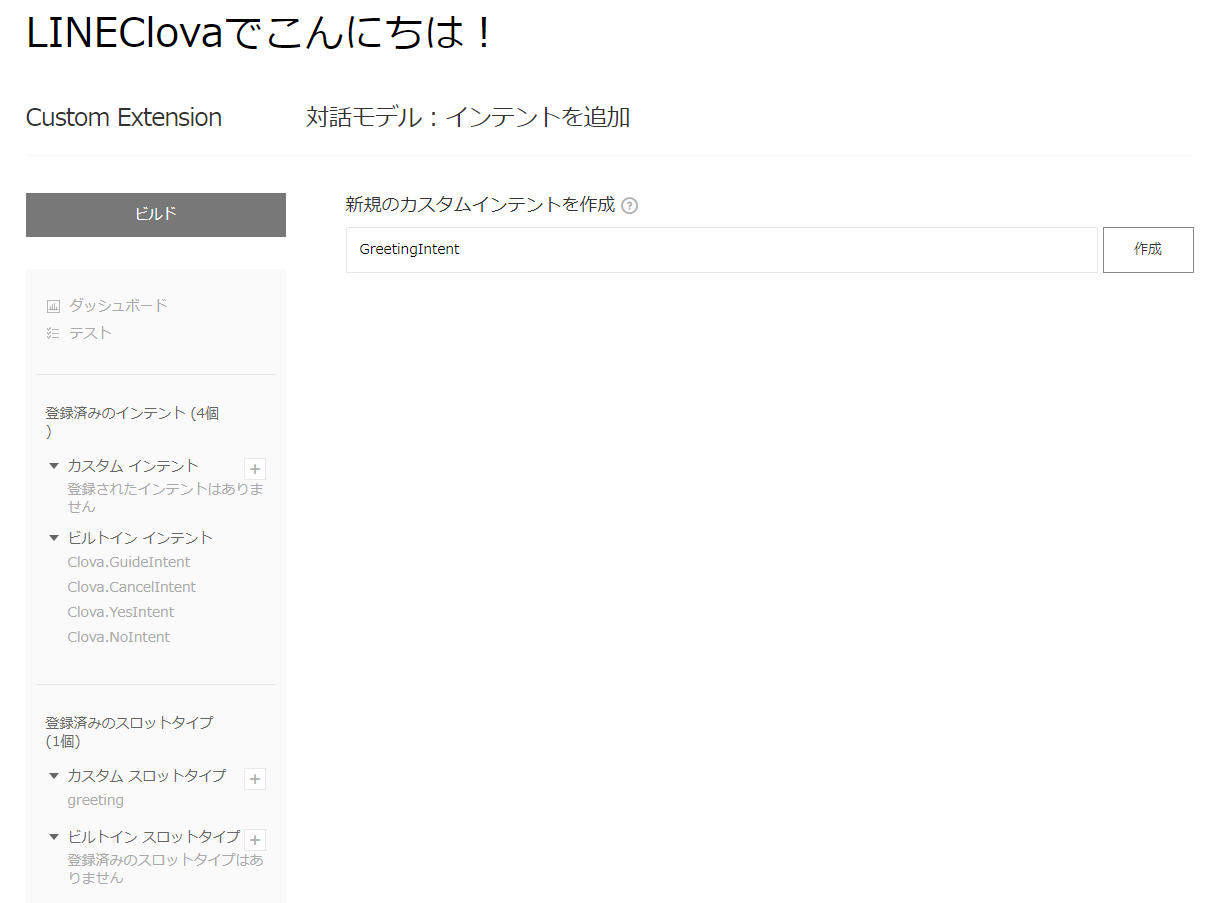
1-3-2. インテント
続いてインテントを作成していきます。
カスタムインテントの「+」ボタンをクリックして下さい。
インテントについて -> Extensionのデザインガイドライン - Clova Developer Center β
インテント名は「GreetingIntent」とします。
まずはスロットリストに先ほど作成したスロットを追加します。

続いて発話リストに「Clova、こんにちは」というサンプルを作成し、「こんにちは」の部分をカーソルで選択します。
すると、スロットとして認識できるので、「greeting」というスロットとして認識させます。
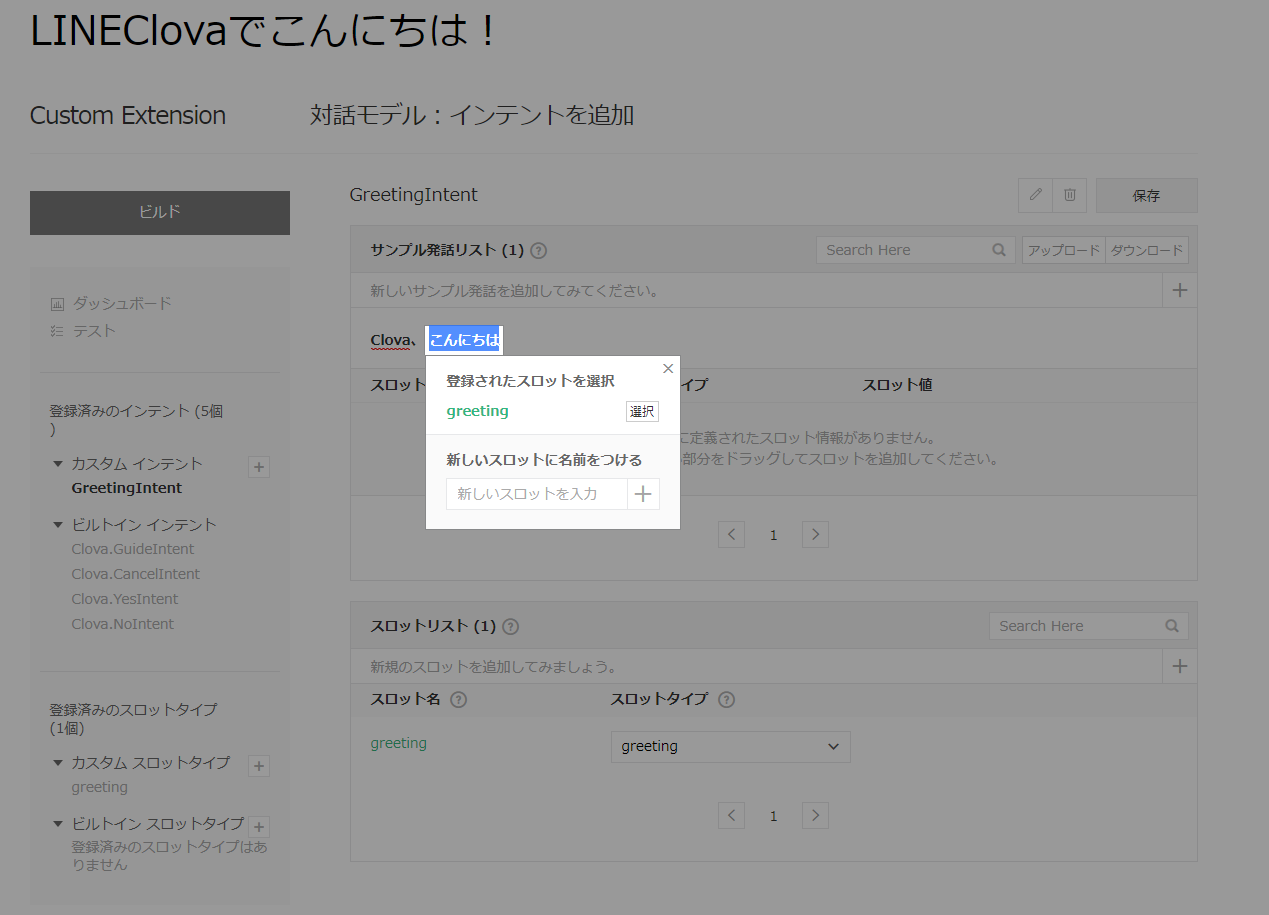
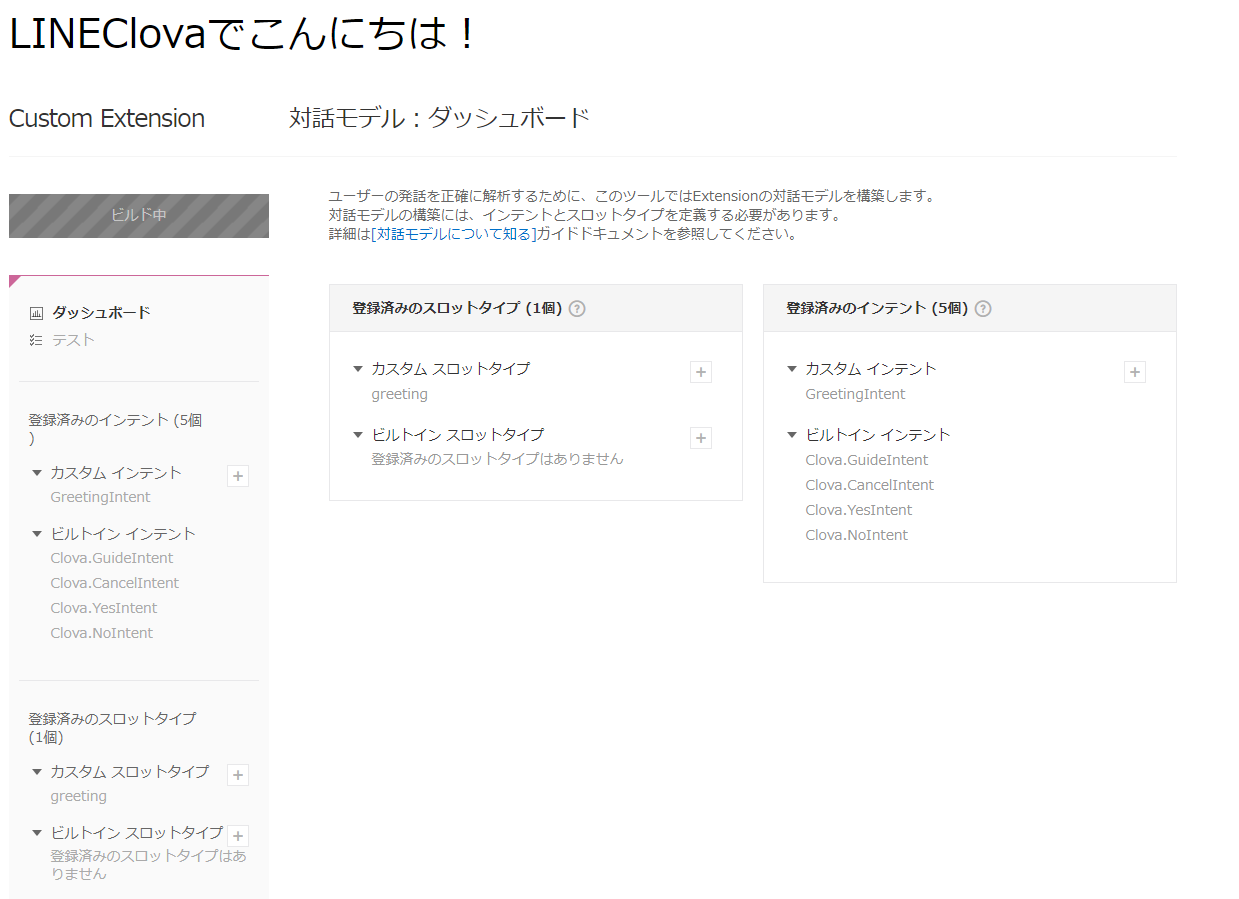
以上の設定が終わったら、ビルドを行います。
2. バックエンドアプリの開発
まず、開発用フォルダを作成し、移動します。
$ mkdir clova-hello
$ cd clova-hello
Node.jsアプリの準備をします。
$ npm init -y
必要なnpmパッケージを用意します。
$ npm i @line/clova-cek-sdk-nodejs express body-parser
同フォルダにindex.jsというファイルをを作成し、にコードを書いていきます。
process.env.EXTENSIONIDは、Herokuの環境変数に設定します。
const clova = require('@line/clova-cek-sdk-nodejs');
const express = require('express');

// アプリのID
const EXTENSIONID = process.env.EXTENSIONID;

// 発話設定
const clovaSkillHandler = clova.Client
    .configureSkill()

    // 起動時に喋る
    .onLaunchRequest(responseHelper => {
        responseHelper.setSimpleSpeech({
            lang: 'ja',
            type: 'PlainText',
            value: '起動しました。',
        });
    })

    // ユーザーからの発話イベントが来たら反応
    .onIntentRequest(async responseHelper => {
        const intent = responseHelper.getIntentName();
        const sessionId = responseHelper.getSessionId();

        console.log('Intent : ' + intent);
        const slots = responseHelper.getSlots();

        console.log(slots);
        // デフォルトのスピーチ内容
        let speech = {
            lang: 'ja',
            type: 'PlainText',
            value: 'こんにちは'
        }

        responseHelper.setSimpleSpeech(speech);
        responseHelper.setSimpleSpeech(speech, true);
    })

    //終了時
    .onSessionEndedRequest(responseHelper => {
        const sessionId = responseHelper.getSessionId();
    })
    .handle();

const app = new express();
const port = process.env.PORT || 3000;

// Clova Developer Centerで設定したExtension IDを使ってリクエストの検証を行うことができる
const clovaMiddleware = clova.Middleware({ applicationId: EXTENSIONID });
app.post('/', clovaMiddleware, clovaSkillHandler);

app.listen(port, () => console.log(`Server running on ${port}`));
index.jsと同じ階層に.gitignoreというファイルを作成します。
このファイルに明記したフォルダやファイルはgitにアップロードされません。
node_modules
また、index.jsと同じ階層にProcfileというファイルも作成します。
これはHerokuでのアプリ起動設定となります。
web: node index.js
3. Herokuにデプロイする
Herokuにアプリを作っていきます。
まず現在のフォルダをgitローカルリポジトリとして設定します。
$ git init
Herokuのアプリを作成します。
heroku createの後ろには好きな名前をつけて下さい。
僕は今回、hello-clova-tkyという名前を付けます。
$ heroku create hello-clova-tky
そして、gitリモート先を設定します。
$ heroku git:remote --app hello-clova-tky
pushします。
$ git add .
$ git commit -m "first commit"
$ git push heroku master
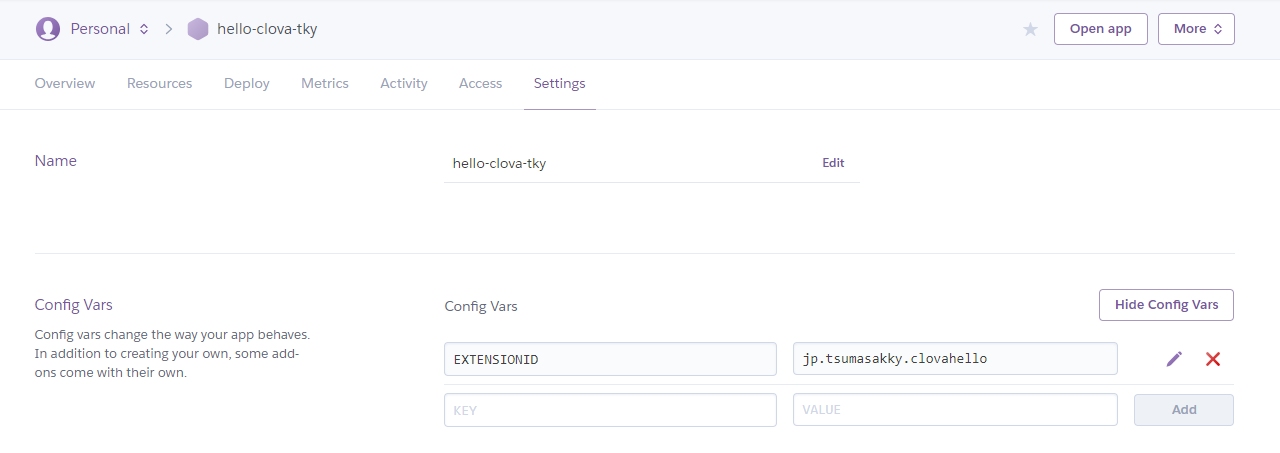
また、今回は環境変数も使用しますので、ブラウザのダッシュボードから設定してみたいと思います。
Herokuのダッシュボードでアプリを選択し、
Settings -> Config Varsに追加してください。
KEY:"EXTENSIONID"
VALUE:"Clova Developer Centerで設定したExtension ID"
4. Clova Developer Centerからテストする
実機がなくてもブラウザ上でテストできるようです。
まずはHerokuにデプロイしたアプリのURLをClova側に設定します。
開発設定->サーバー設定 の "ExtensionサーバーのURL"にバックエンドアプリのURLを入力します。
バックエンドアプリのURLはhttps://[アプリ名].herokuapp.com/となります。

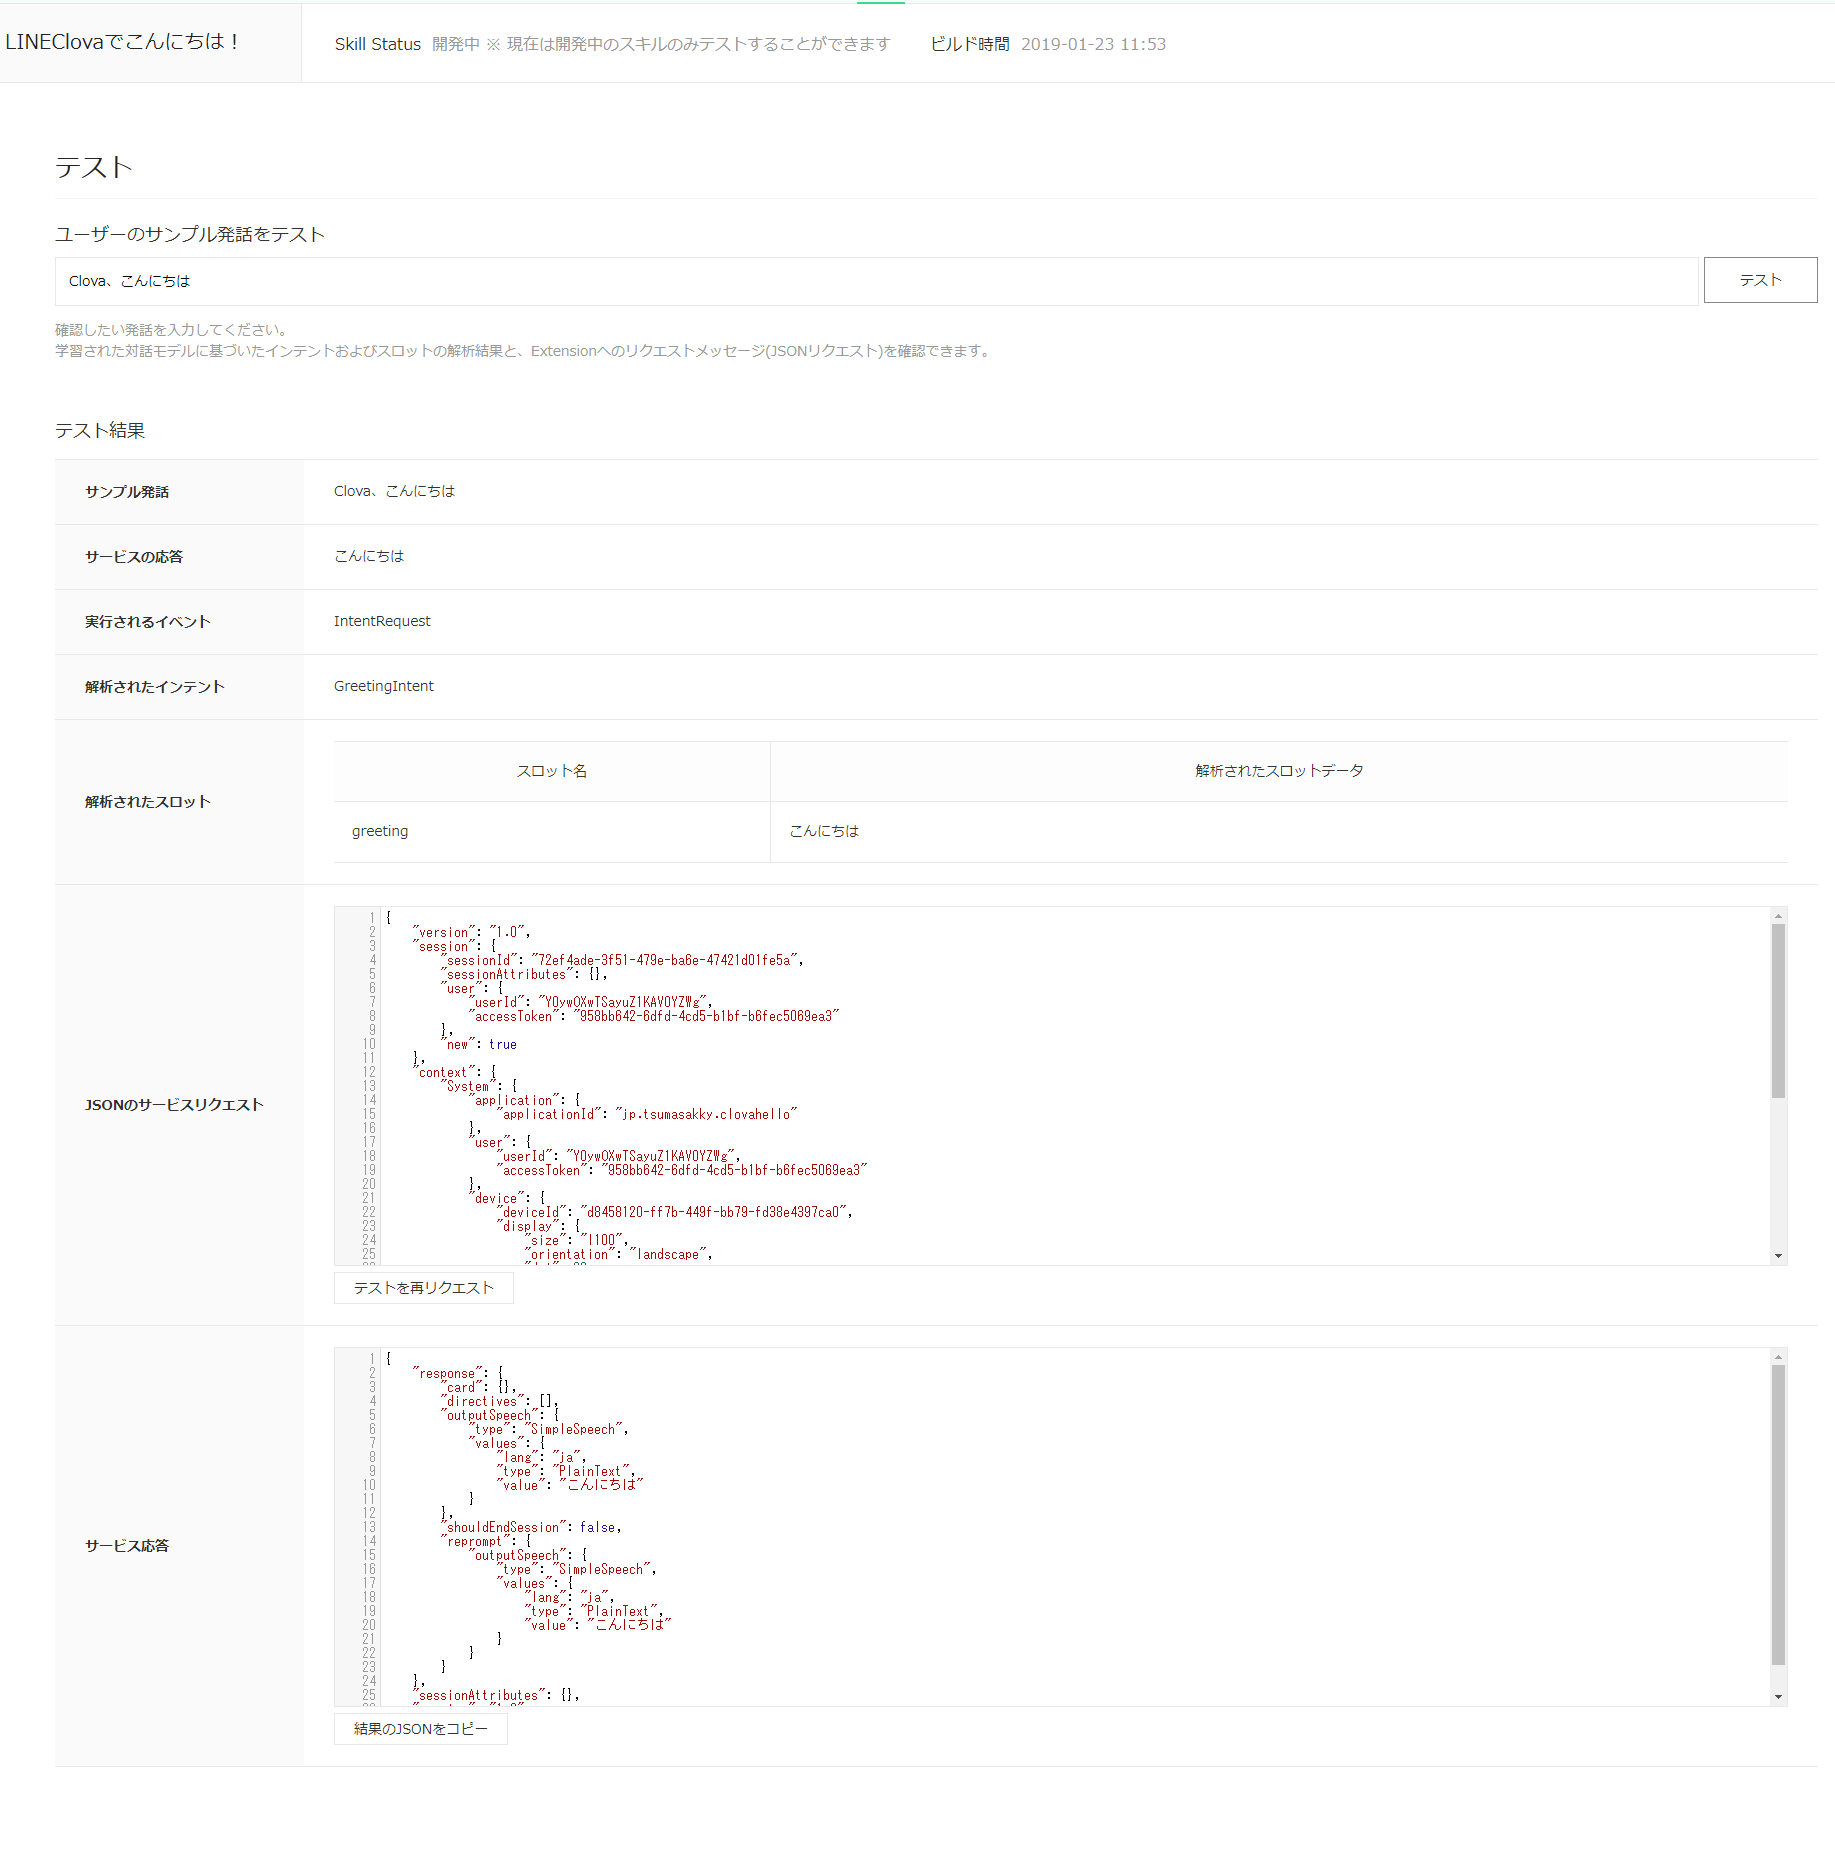
Clova Deveroper Centerの「テスト」で「Clova、こんにちは」と入力します。
すると、「こんにちは」と返ってきました!
まとめ
- Clova Developer Centerでスキルを作成
- バックエンドアプリをNode.jsでコーディング
- バックエンドアプリをHerokuにデプロイ
- Clova Developer Centerから対話テスト
感想
Google Homeも少しだけいじったことがありますが、Clova Deveroper Centerの操作は非常に簡単でした!
バックエンドからmp3ファイル等を返したりもできるようで、可能性が広がっています!
引き続き取り組んでいきたいと思います!
参考
https://dotstud.io/blog/line-clova-skill-tutorial/
https://dotstud.io/blog/clova-cek-nodejs-tutorial/
https://clova-developers.line.biz/guide/