VALUは最高のサービスだと思った
個人的な好き嫌いの話だが、発想が好きだ。思想が好き。2017年ぽさがエモい。
エモいことが好き。
ただ、実装上はEthereumでやるべきだよね。と思った。
それが6月の話。アドベントカレンダー何しようかなと思ったのですが、夏休みにせっかくだしなんかしようということでskuroとETHで動く的なVALUを作ろうということでやってみた。それをそのまま貼ります。結構前のコードなので怪しいです。
わりと環境ごっちゃごちゃになってしまったので、そのままだと動かない可能性大です(スミマセン)。やり方の感覚を掴むため、実験的にいじいじしたリポジトリなのでそういう意味で割と雑になってしまっています。ユルシテクダサイ
フレームワークは私がちょっと触ったことのあるDjangoを使っていますが、Djangoの話もしません。まあ雰囲気わかればいいかな〜程度で見ていただけると嬉しいです。
そもそも、だいたいdjangoの中でweb3をimportしてぽちぽち使ってますがすごい冗長コードなのでクソです。あとすごい密結合です。エラー処理もめんどいので書いないのあります。クソコードと罵ってください。
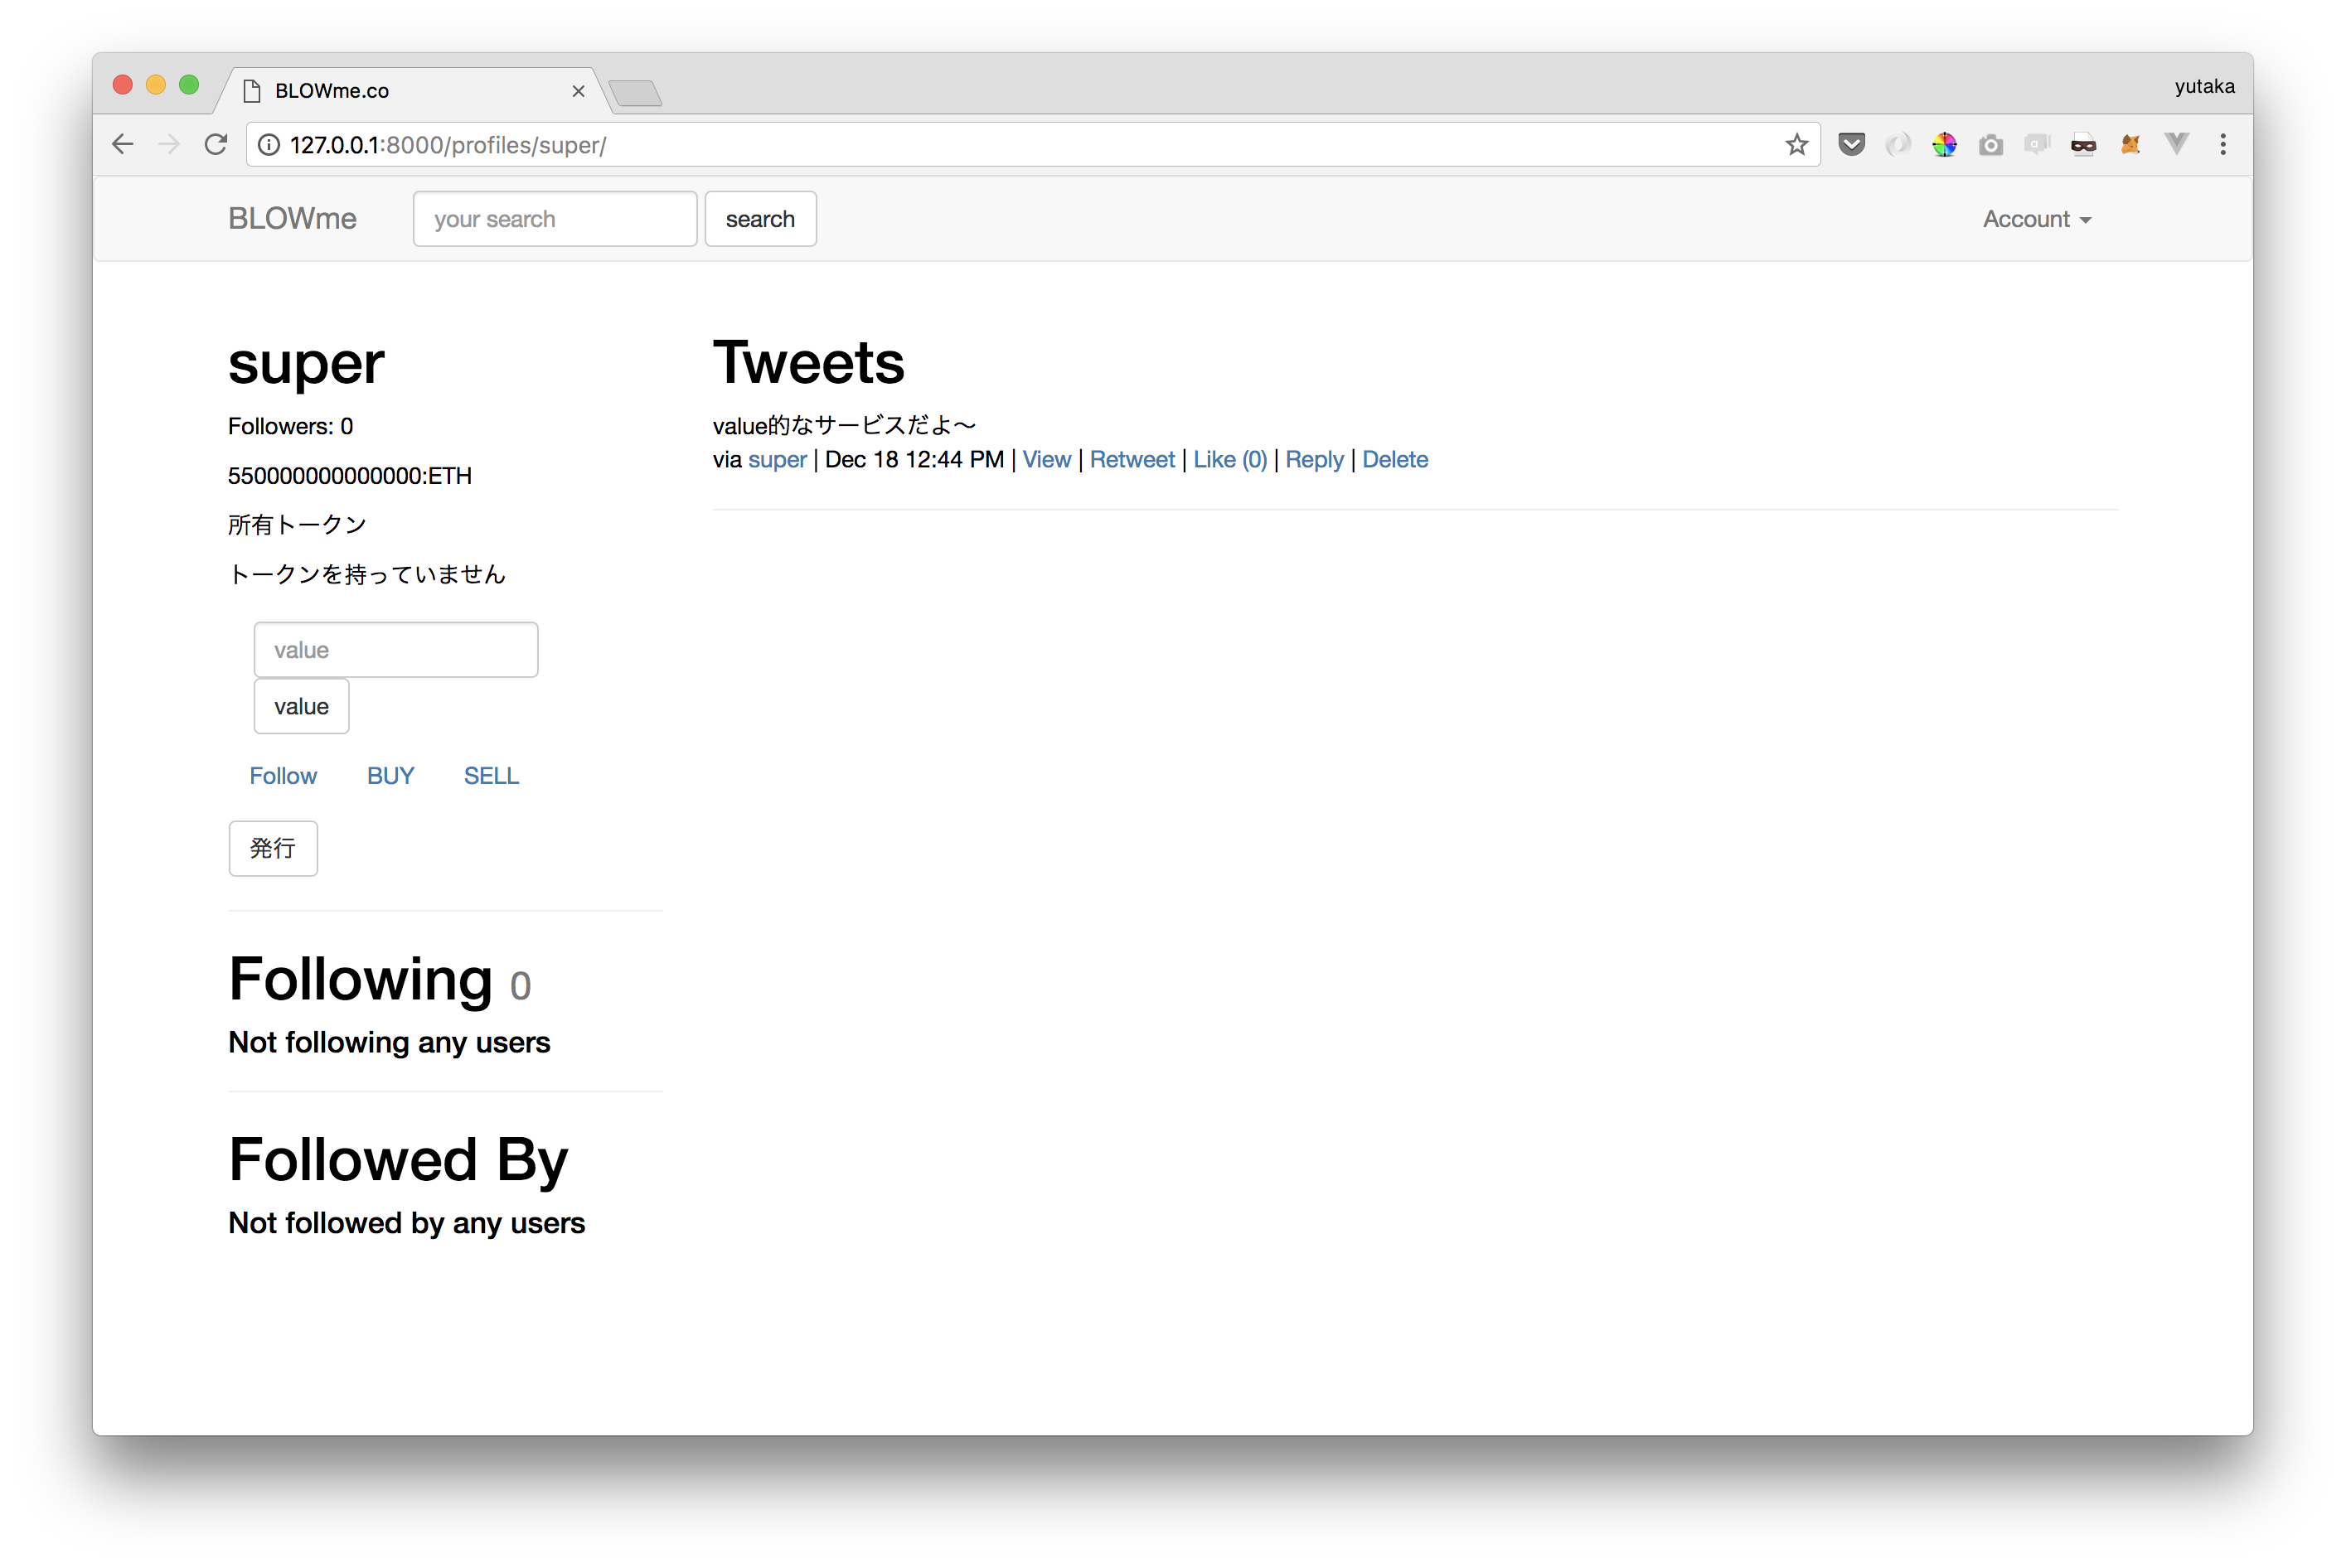
一通り動かすとこうなります(なるはず)
README.mdの通りに、環境整備して、
python manage.py makemigrations
python manage.py migrate してプロジェクト準備をします。 Djangoお決まりですね。ちなみにethvalu/src/Makefileの位置にMakefile作ってあるので、make コマンドあります。
make help で中身は参照してください。
Register
geth --rpc --rpcapi "personal,eth" --dev --networkid 123 console
ローカルのgethを立てたまま、
make run でdjango用のサーバーを動かして、localhostにアクセス。
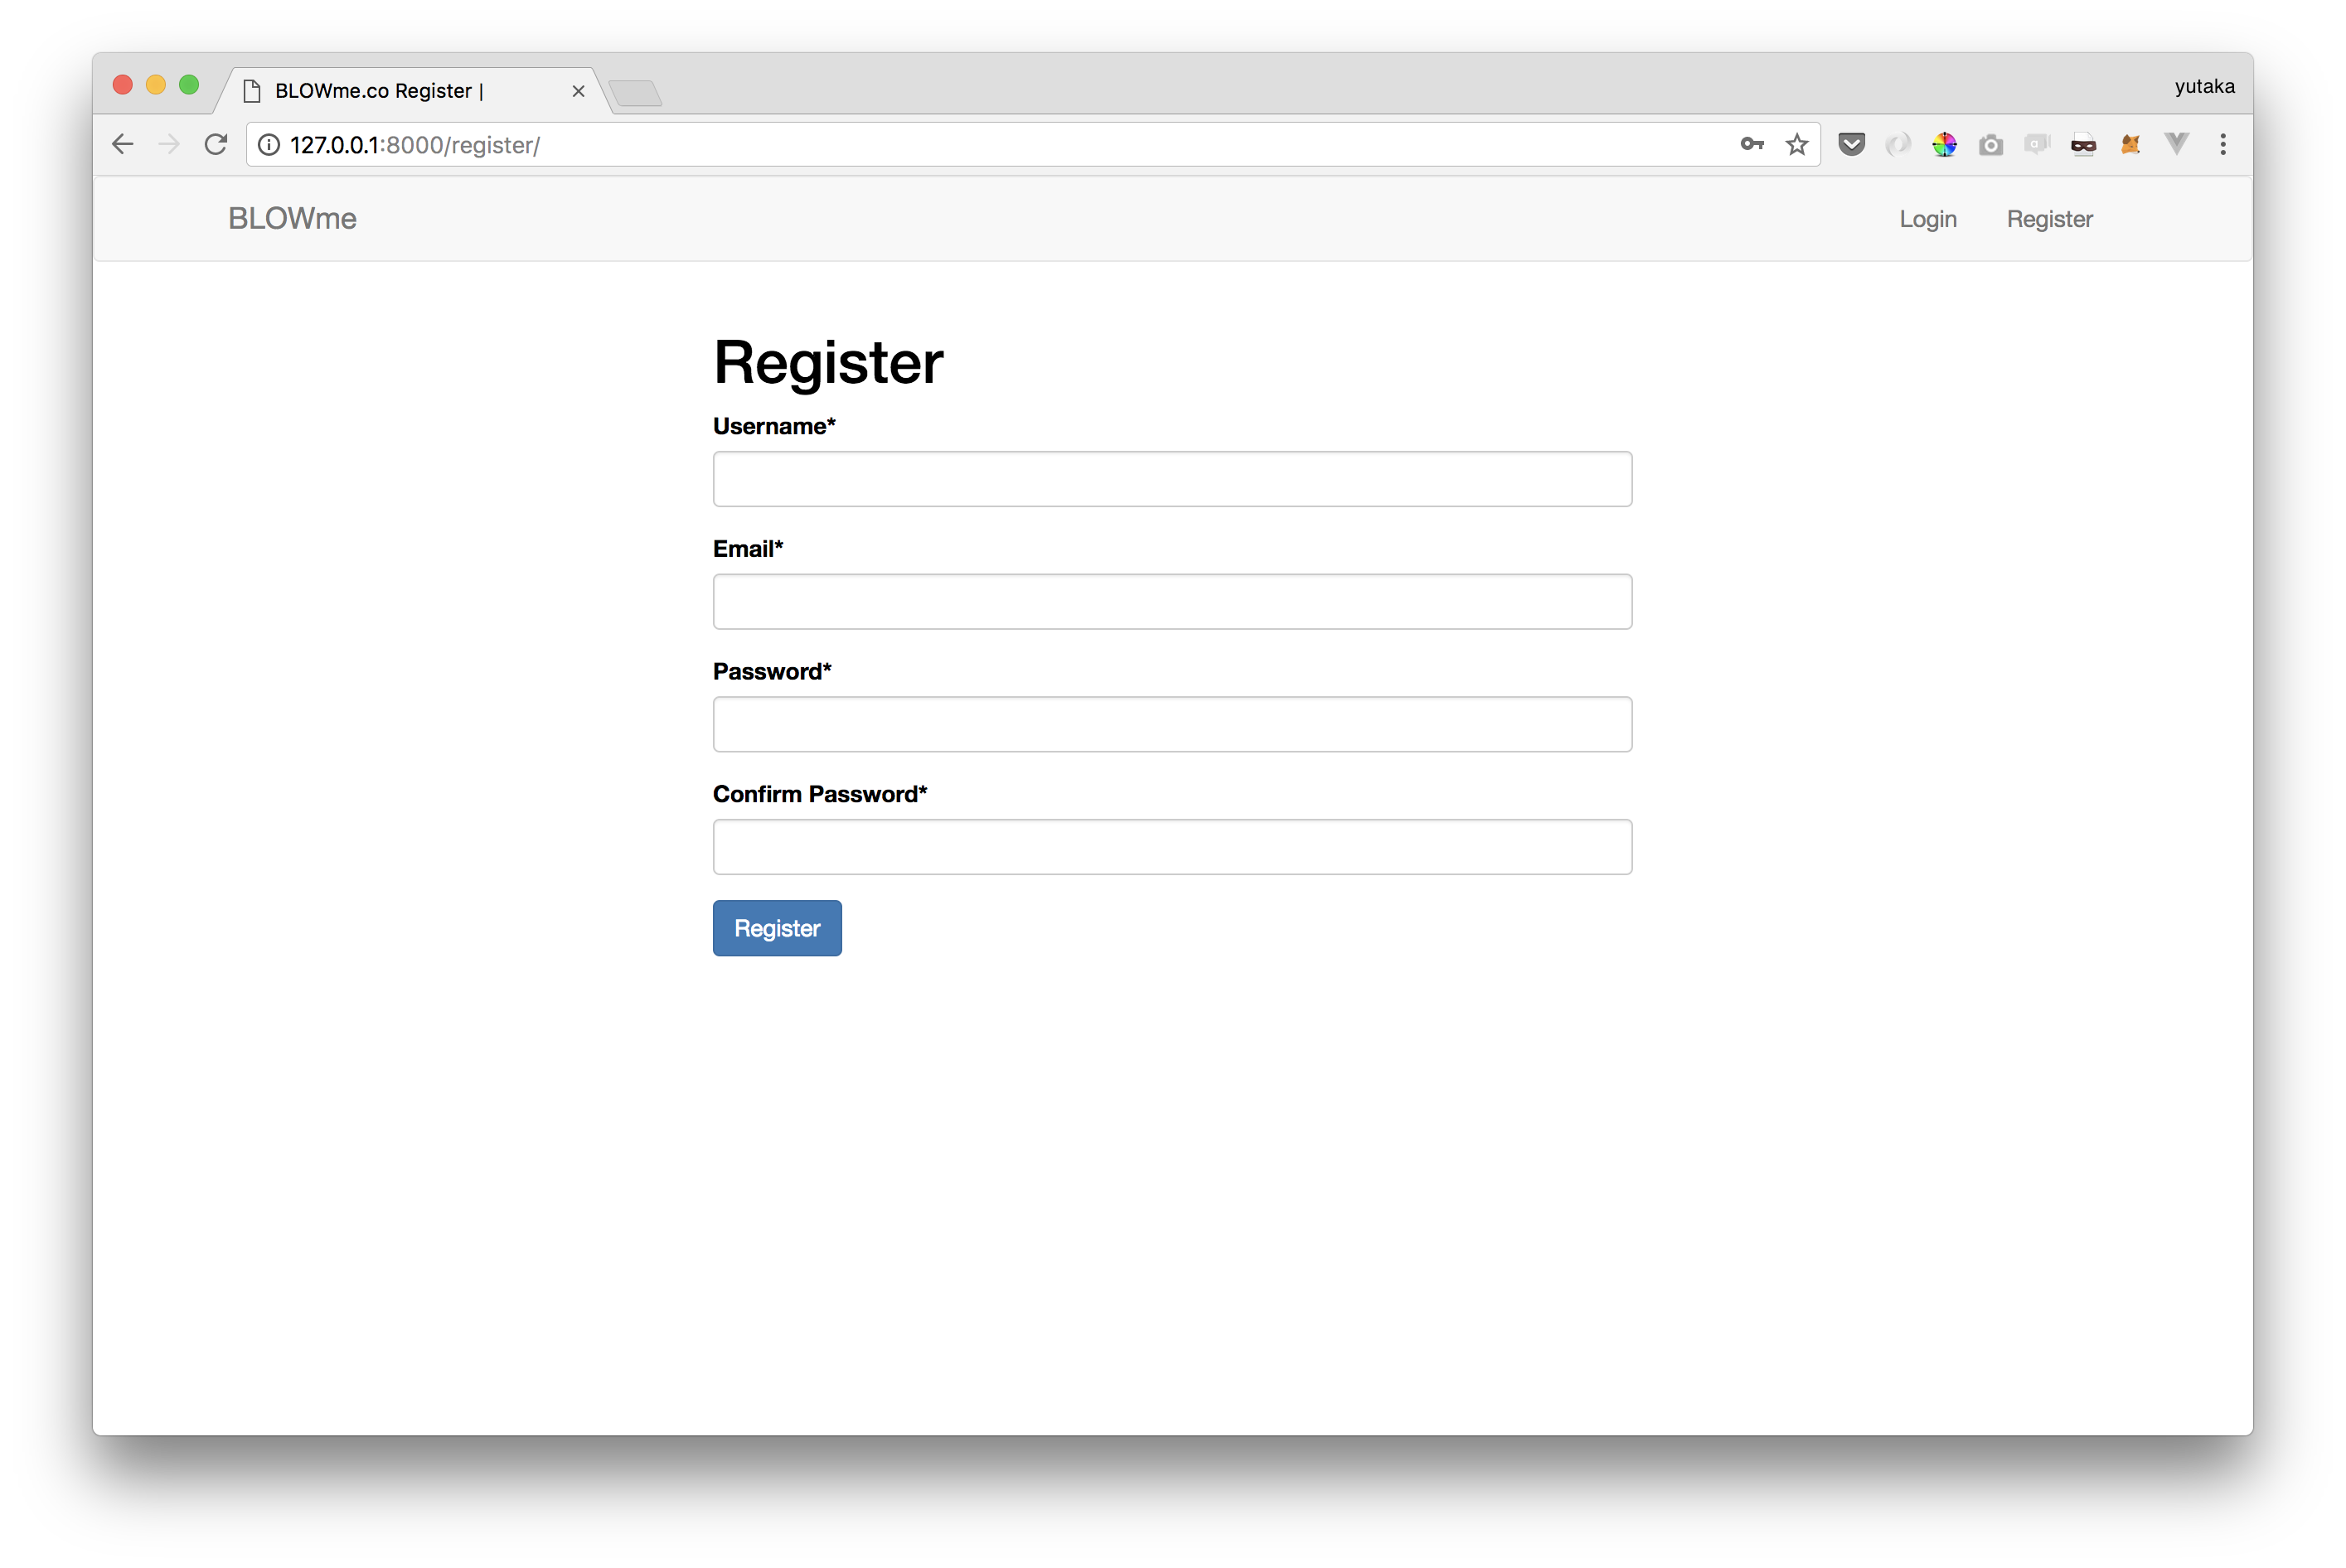
適当にアカウント作ってください。 geth立てた状態で アカウントレジスターしないとエラーになります。アカウント作る際にwalletも作るからです。geth立てていないと、djangoでアカウント作れても、walletを指すアドレスが発行できないのでエラーを吐くようにしてあります。
レジスターするときは、こんな感じ
    def form_valid(self, form):
        web3 = Web3(KeepAliveRPCProvider(host='localhost', port='8545'))
        if web3.isConnected():
            username = form.cleaned_data.get("username")
            email = form.cleaned_data.get("email")
            password = form.cleaned_data.get("password")
            new_user = User.objects.create(username=username, email=email)
            new_user.set_password(password)
            # host='localhost' port=8545 は geth のデフォルト値
            wallet_num = web3.personal.newAccount(username)
            # geth サーバーにアクセスしてwallet発行
            wallet = WalletProfile.objects.create(user=new_user)
            # Userモデルに格納するwalletオブジェクトを生成
            new_user.wallet.num = wallet_num
            wallet.save()
            # wallet.saveでuser.wallet.numにセーブ
            new_user.save()
            return super(UserRegisterView, self).form_valid(form)
        else:
            raise PermissionDenied
            return 0
売り買いの実験しないといけないので、ログアウトしてもう一つアカウントを作成しておいてください。
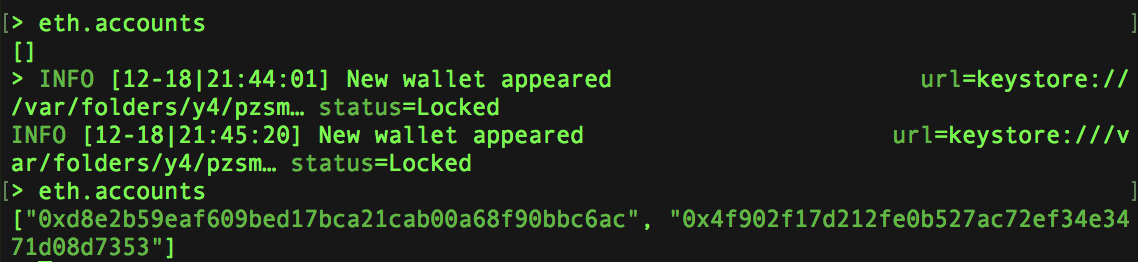
最初のRegister前に eth.accounts してもアドレスがないですが、Registerのたびに New wallet appeared となって、再び eth.accounts すると発行したアカウントアドレスがわかります。
もちろんこのままだとETHがないので何もできません。このネットワーク用のETHをそれぞれのアカウントにつけてあげましょう。
Miningしてprivate networkのETHを貯める
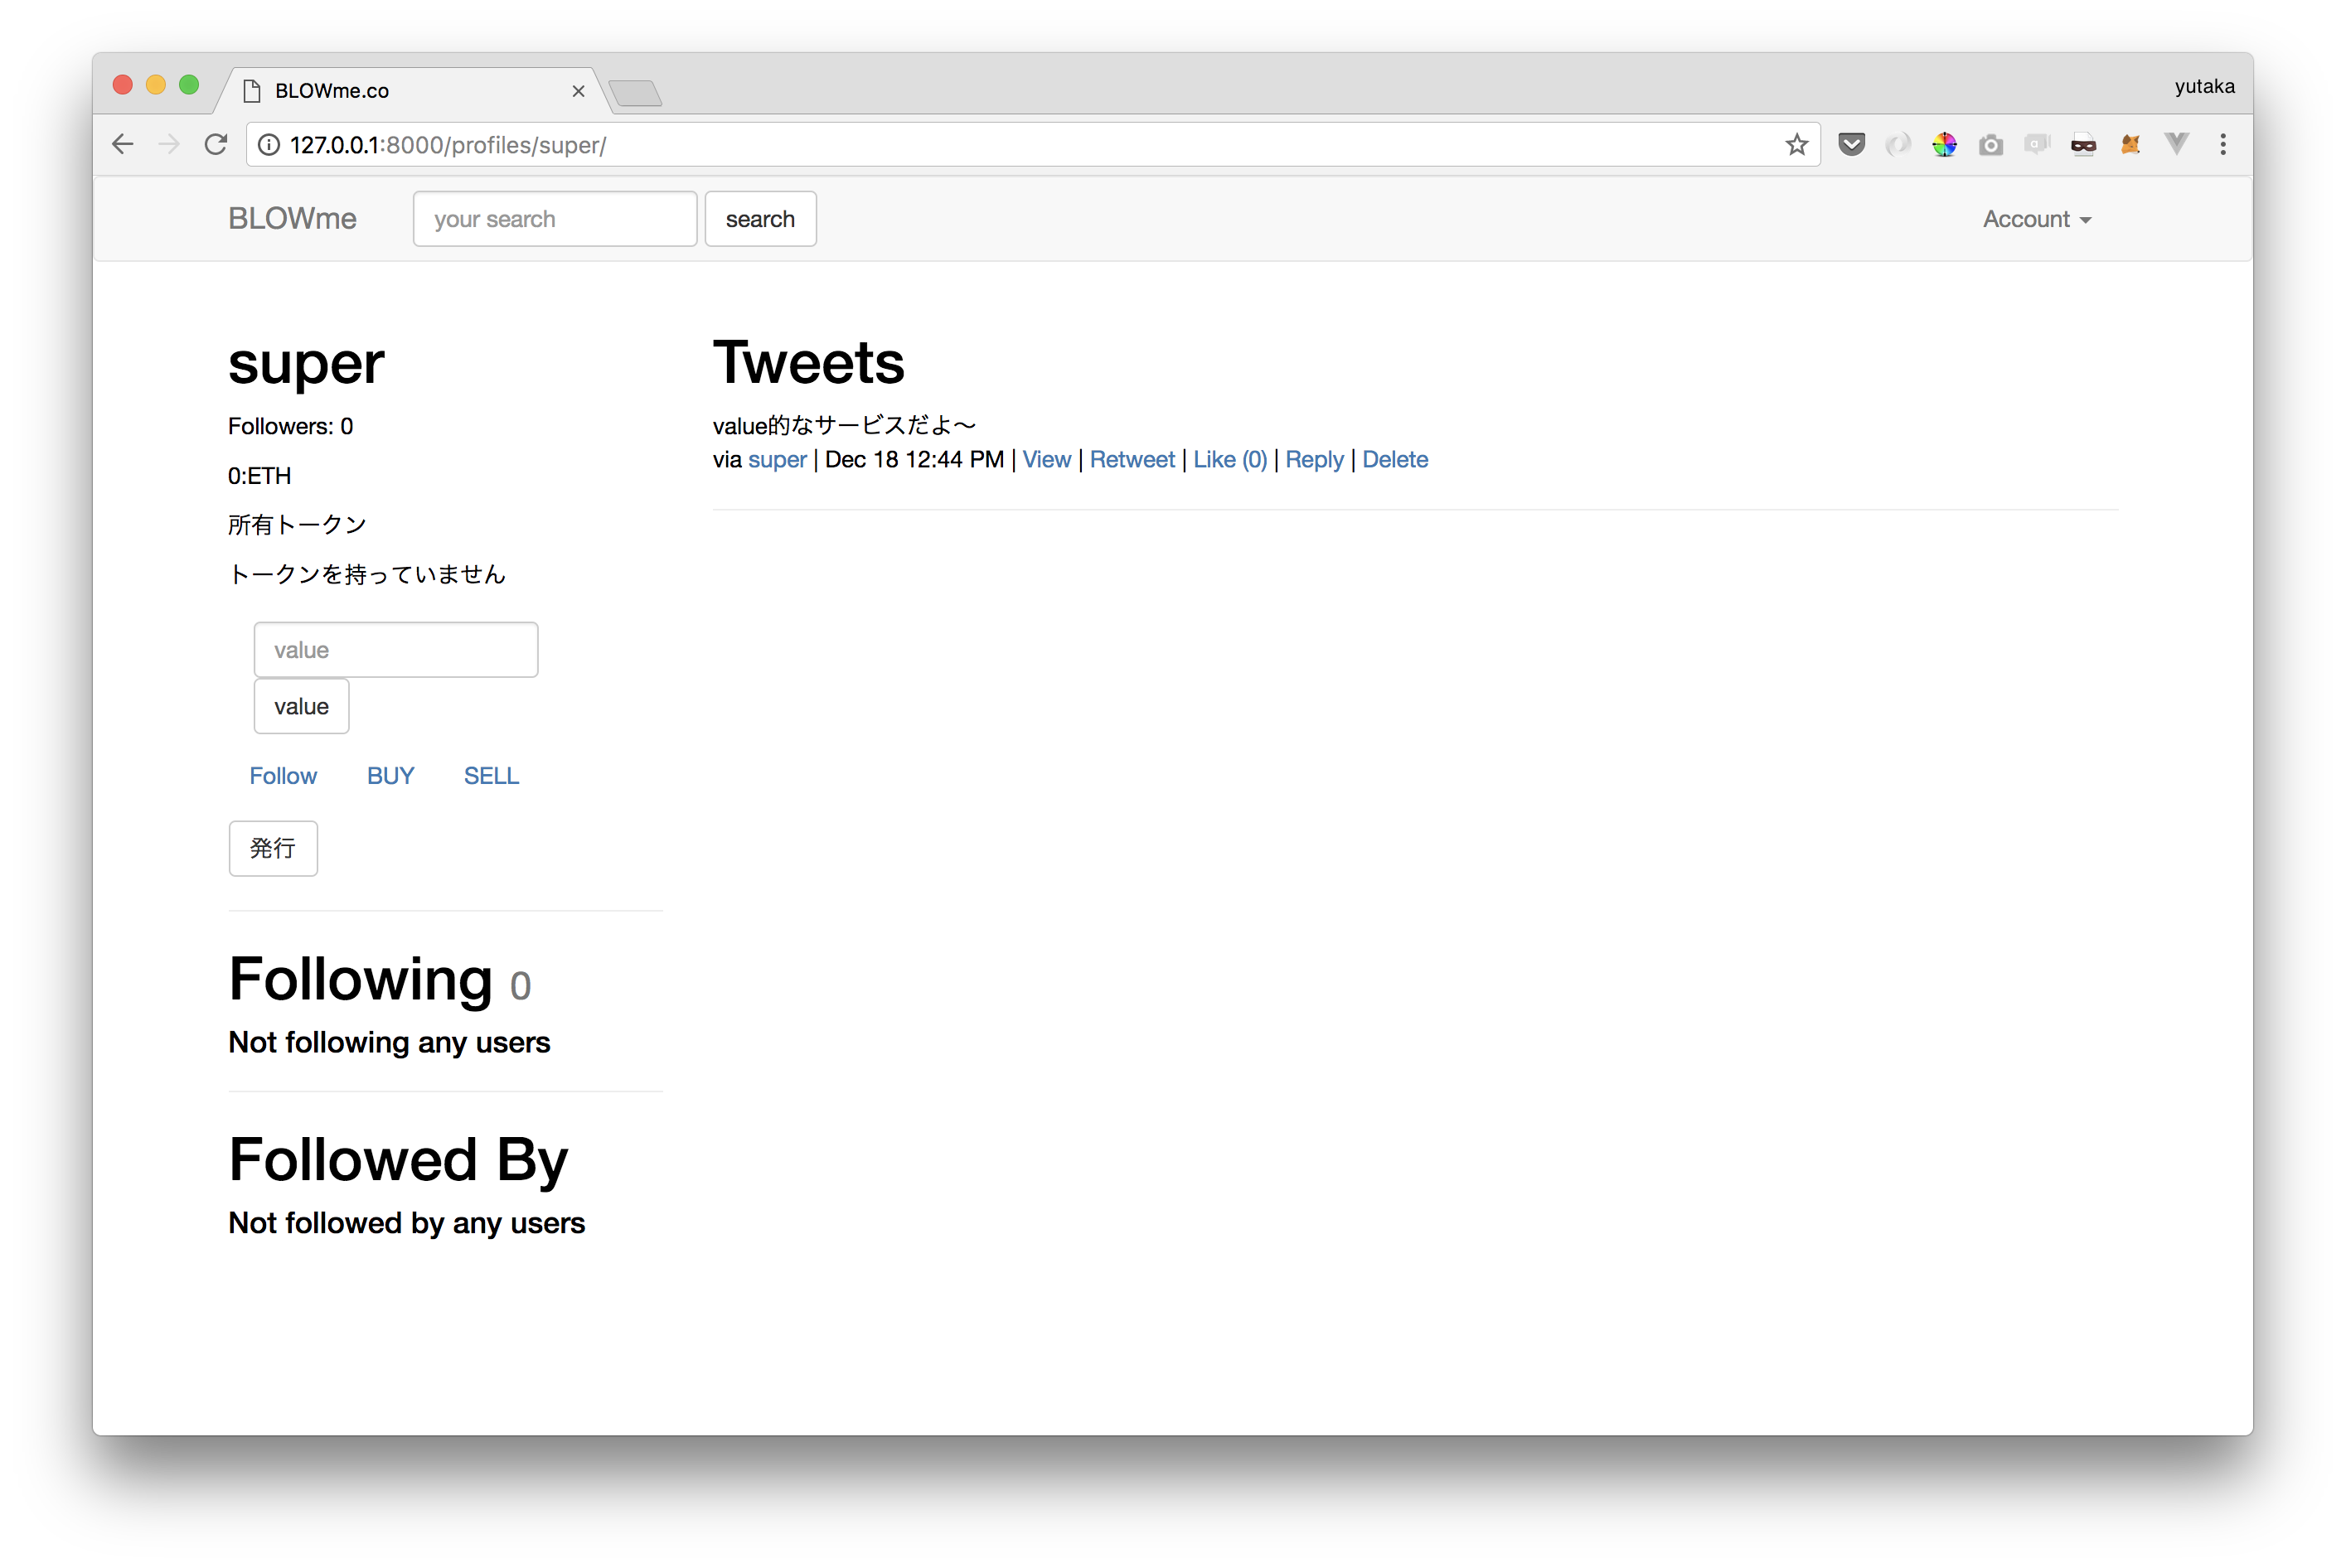
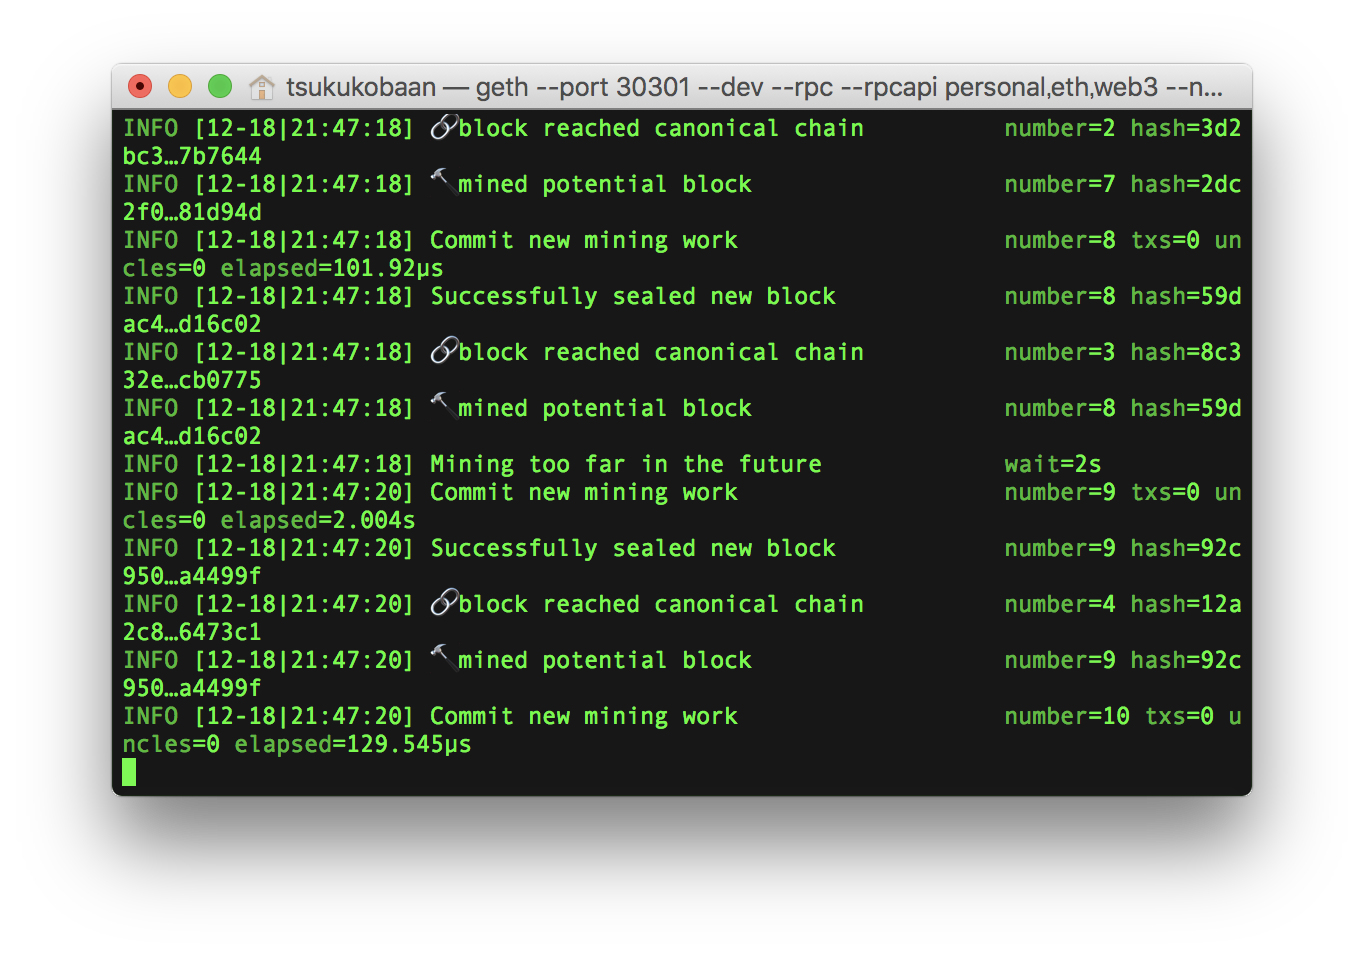
superというアカウントですが、見ての通り、所持しているのは0ETH。これではどうしようもないので、マイニングします。geth立てている方のターミナルで
miner.start()
単位はETHじゃなくて、ほんとはweiです。すごい大金持ってる風で嬉しくなりますね。
さて、もう一つ作ったアカウントにもETH欲しいので、sendするかminingするかします。
まずはminingしている方を止めて
miner.stop()
二つ目のアカウントeth.account[1]を指定。
miner.setEtherbase(eth.accounts[1])
そして再び
miner.start()
Profile画面から送金
という機能もつけました。valueフィールドに数値を入れて、valueボタンを押すとその人に送金されます。もちろん、どこかでminingしていないと動きません。
class SendTransactionView(View):
    def post(self, request, *args, **kwargs):
        if request.method == 'POST':
            query = request.POST.get("value")
            value = int(query) * 100000
            print(value)
            from_wallet = WalletProfile.objects.get(user=request.user)
            to_user = request.POST.get("username")
            to_user = User.objects.get(username=to_user)
            to_wallet = WalletProfile.objects.get(user=to_user)
            web3 = Web3(KeepAliveRPCProvider(host='localhost', port='8545'))

            transaction = formatters.input_transaction_formatter(web3.eth,
                                                                 {'to': to_wallet.num,
                                                                  'from': from_wallet.num,
                                                                  'value': value})

            web3.personal.signAndSendTransaction(transaction, request.user.username)

            return render(request, "home.html")
Tokenを発行する
tokenを発行するのは「発行」からできます。発行量は中で直打ちしています。
class TokenIssueView(View):
    def post(self, request, *args, **kwargs):
        if request.method == 'POST' and request.user.is_authenticated():
            to_user = User.objects.get(username=request.user.username)
            to_wallet = WalletProfile.objects.get(user=to_user)
            token_dir = '../contract/Token/FixedSupplyToken'
            # Tokenの発行量
            issue_lot = 1000000
            web3 = Web3(KeepAliveRPCProvider(host='localhost', port='8545'))
            token_binary = token_dir + '.bin'
            token_abi = token_dir + '.abi'
            binary = open(token_binary)
            abi = open(token_abi)
            abi = json.loads(abi.read())
            cnt = web3.eth.contract()
            cnt.bytecode = '0x' + binary.read()
            cnt.abi = abi
            admin = UserProfile.objects.first()
            unlock_validation(web3.eth.coinbase,admin.user.username,web3)
            transaction_hash = cnt.deploy(transaction={'from': web3.eth.coinbase, 'gas': 1000000})
            sleep(4)
            hash_detail = web3.eth.getTransactionReceipt(transaction_hash)
            token_address = hash_detail.contractAddress
            token_user = User.objects.get(username=request.user.username)
            token_user.profile.token_address = token_address
            token_user.profile.save()
            from_wallet = WalletProfile.objects.filter(num=web3.eth.coinbase).first()
            send_token_transaction(to_user, issue_lot, token_address, True, from_wallet.user)
            return redirect("home")
売り買いしてみる
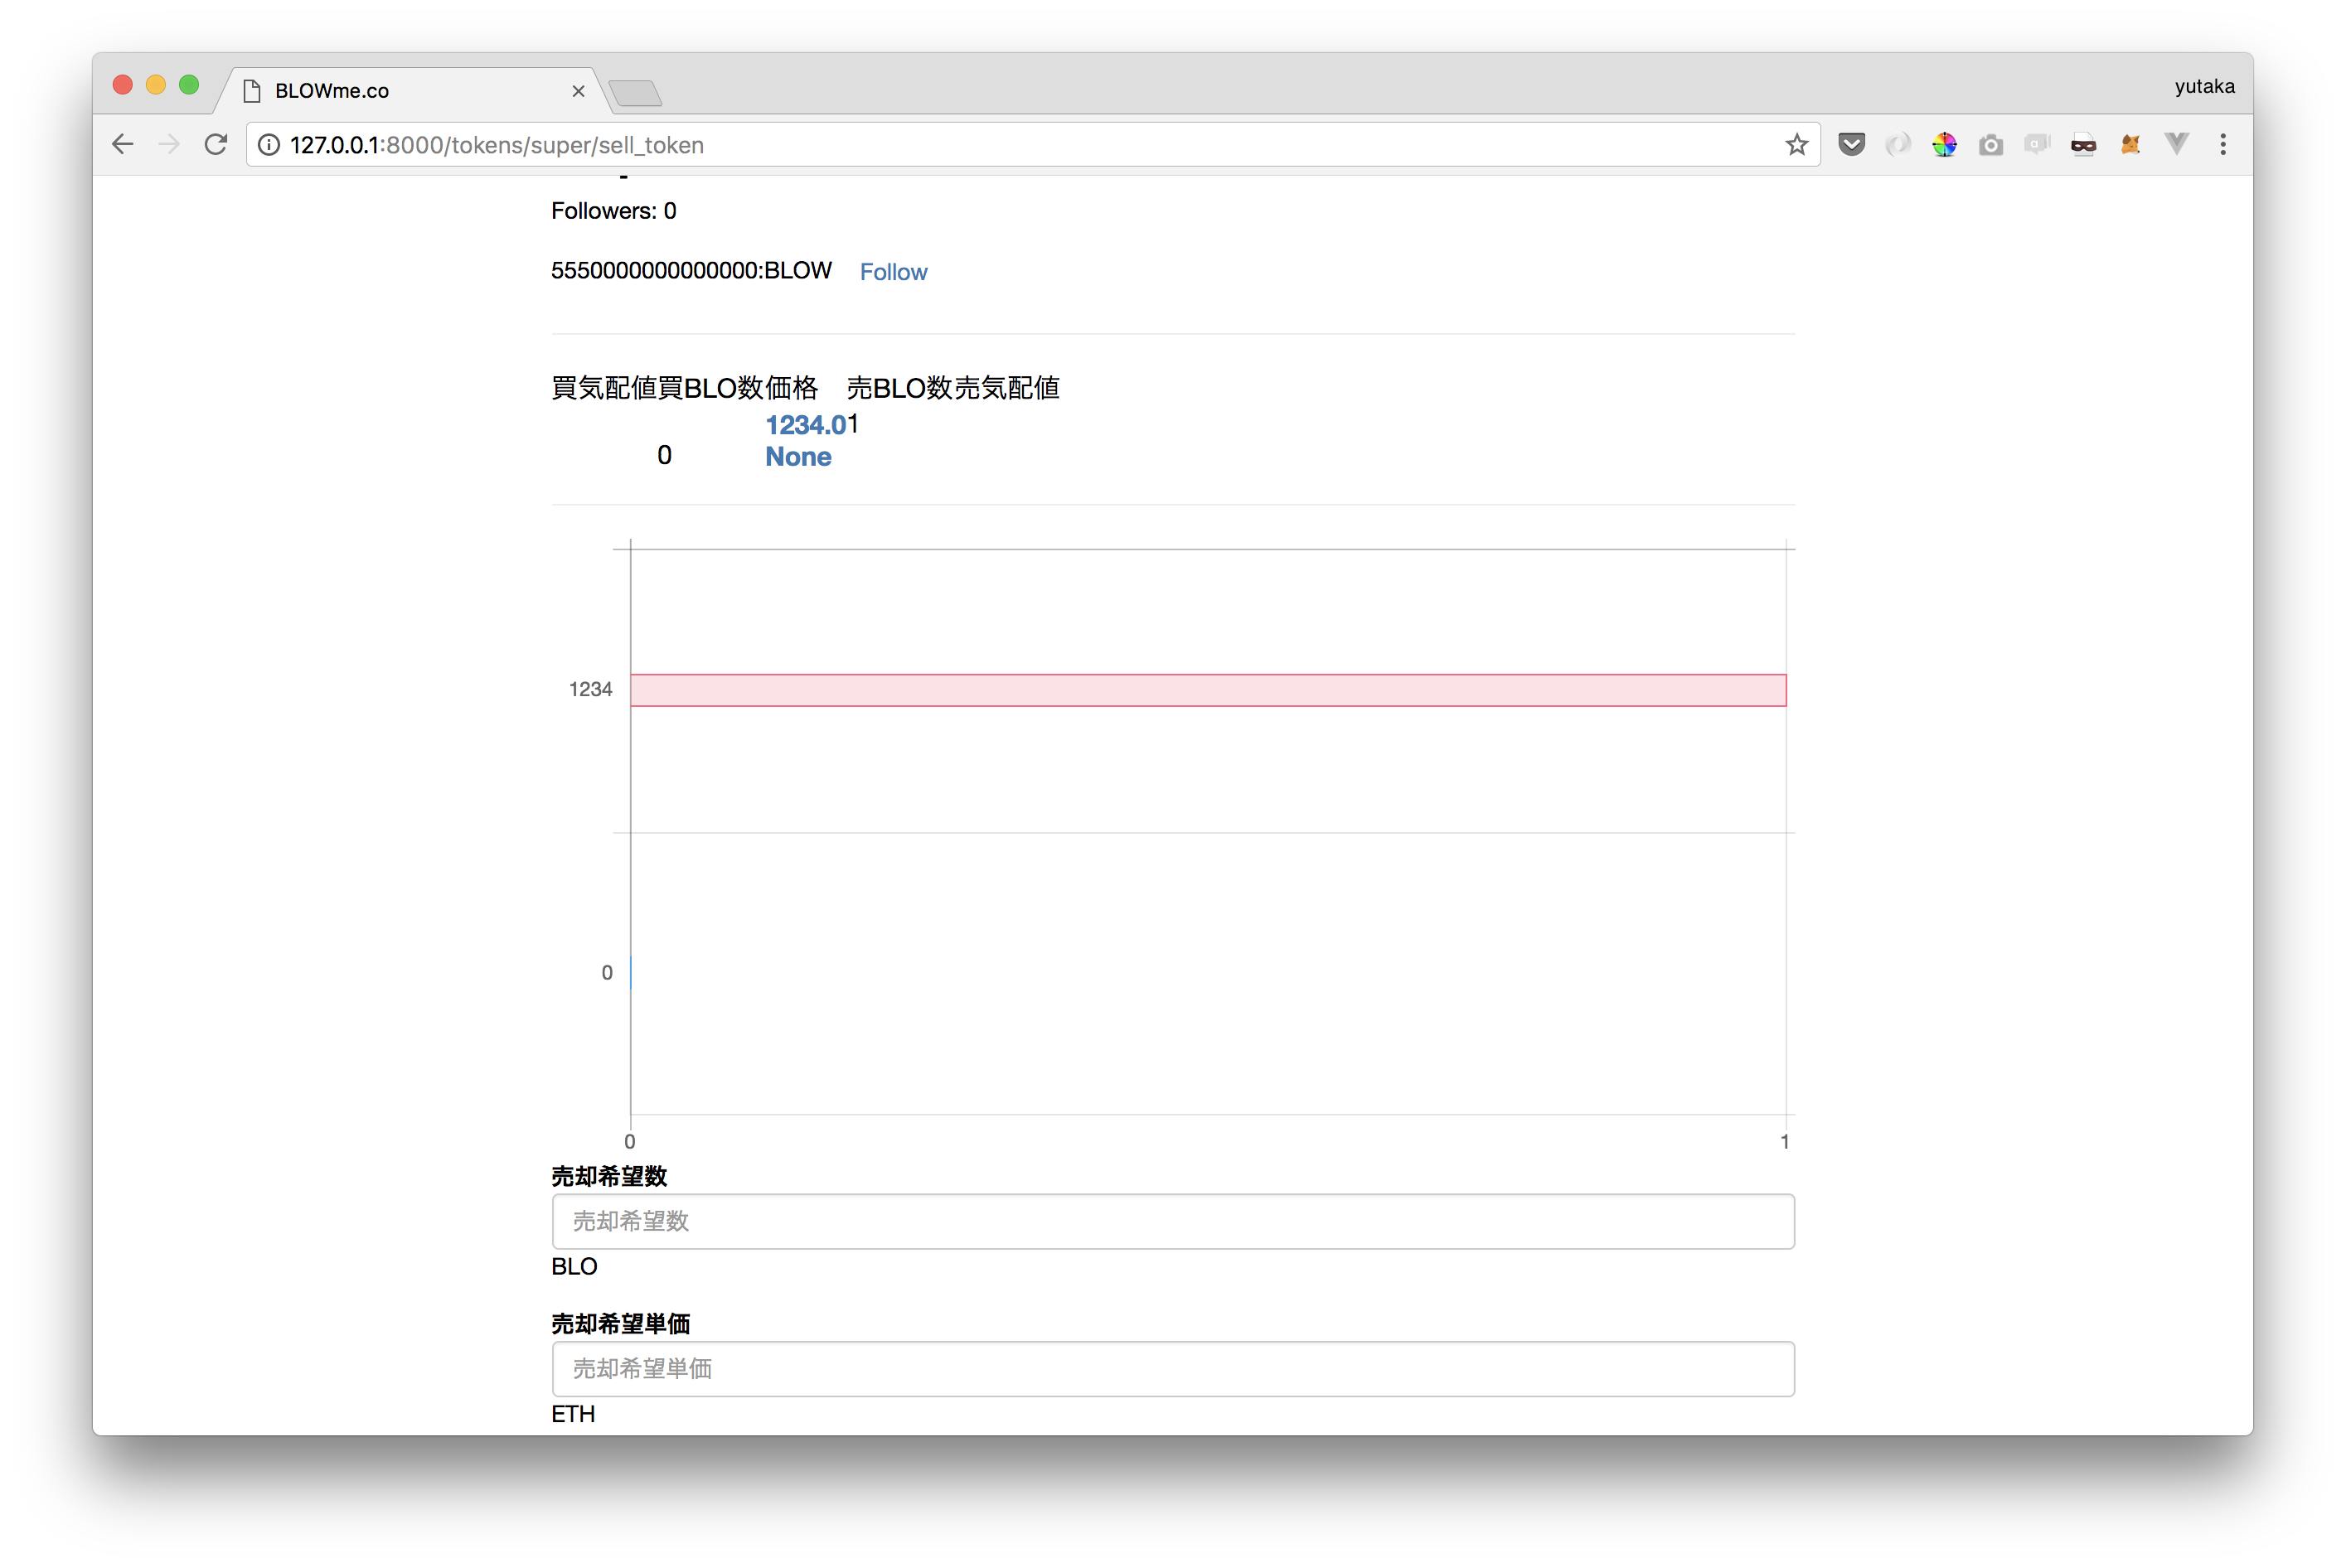
chart.jsをペリッと貼って売り買い板っぽくしてます。(表示崩れひどい)売り注文を出して、同じ価格で違うユーザーから買い注文を出す(ここまではdjangoでの操作)と、send_token_transactionが呼び出されます。
def send_token_transaction(buyer, lot, token_address, is_issue, *seller):

    seller = seller[0]
    web3 = Web3(KeepAliveRPCProvider(host='localhost', port='8545'))
    unlock_validation(seller.wallet.num, seller.username, web3)

    f = open("transactions/abi.json", 'r')
    abi = json.loads(f.read())
    # contractのアドレスはトークンごと abiは共通
    cnt = web3.eth.contract(abi, token_address)
    # print(seller)
    # print(seller.wallet.num)
    cnt.transact(transaction={'from': seller.wallet.num}).transfer(buyer.wallet.num, lot)
    buyer.wallet.token_balance = buyer.wallet.get_token_lot(token_address)
    if is_issue is True:
        buyer.profile.have_token.add(buyer)
    else:
        print("---------------")
        buyer.profile.have_token.add(seller)
        print(token_address)
    buyer.profile.save()
    print(buyer.have_token.all())
    buyer.wallet.save()
と、これでだいたい。
- Registerでアカウント発行
- ユーザー間でETH送金
- ユーザーのトークン発行
- (発行したトークンの表示)
- トークンの売買
ができました。