まず、初めにみなさんが見るのはGetting started with Raspberry Pi Picoだと思います。これは、その「Chapter8. Building on other platforms」の「8.2. Building on MS Windows」従って開発環境をインストールしたときのメモになります。
- 必要なもの
インストールする必要なプログラムは以下の通りです。
- ARM GCC Compilerをインストールする
まず、ホームページ にアクセスします。

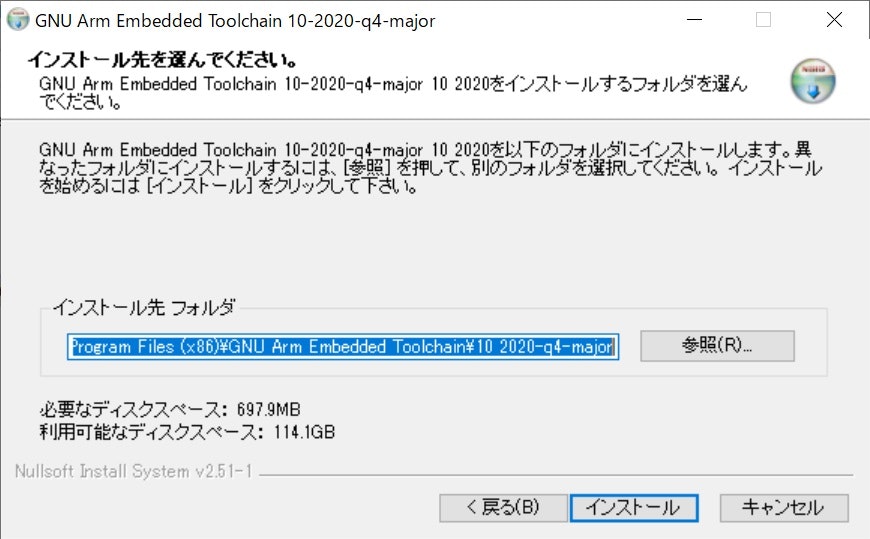
スクロールすると目的の「gcc-arm-none-eabi-10-2020-q4-major-win32.exe」がありますので、これをインストールします。
忘れずに「Add path to environment variable」にチェックを入れてください。

3.cmakeをインストールする
まず、ホームページにアクセスします。
「cmake-3.19.5-win64-x64.msi」をインストールしてます。インストーラが起動します。Nextをクリックします。
同意にチェックを入れて、ここでもNextをクリックします。
ここでは忘れずにPATHを通しました。「Add CMake to the system PATH for all users」を選択してます。そしてNextをクリックします。
ここはデフォルトのインストール先のままインストールしてます。そして、Nextをクリックします。
インストールできたのでFinishをクリックしてインストーラを終了します。

4.「Build Tools for Visual Studio 2019」のインストール
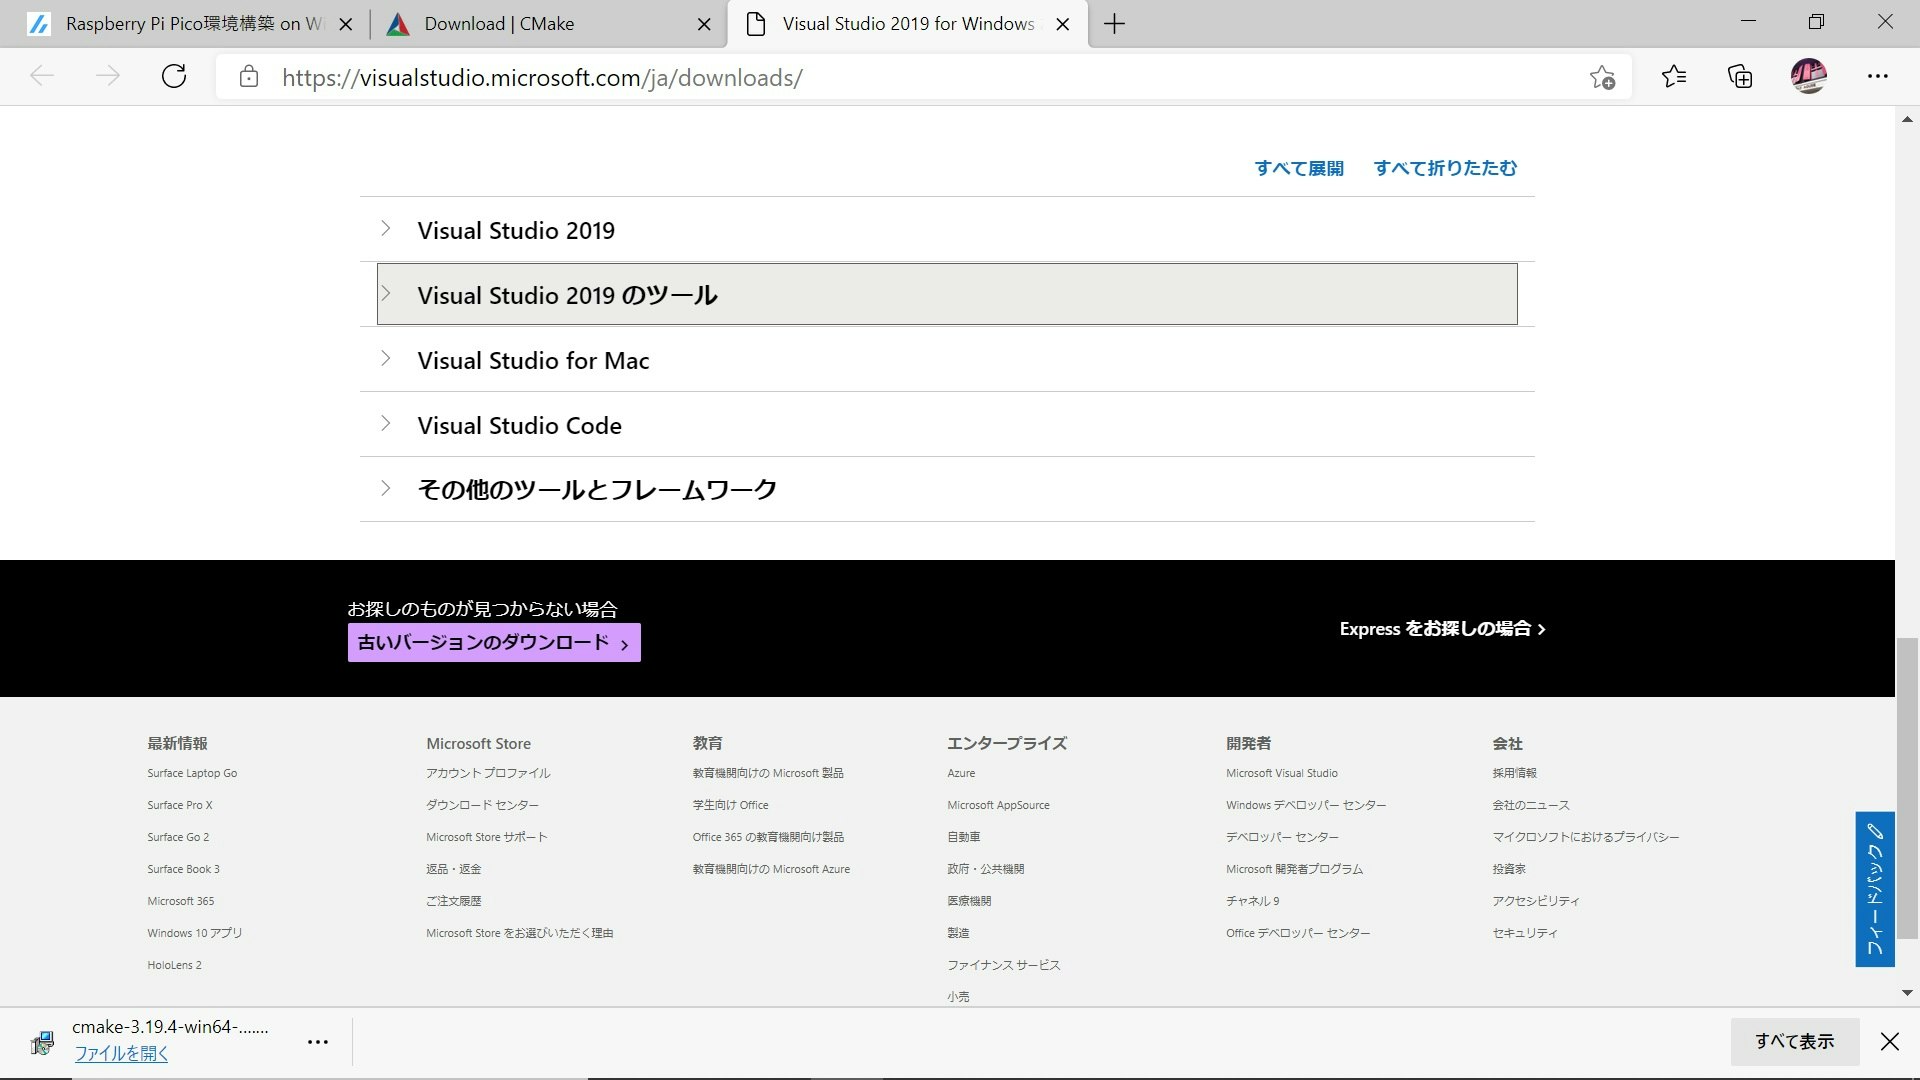
Visual Studio 2019のダウンロードのホームページに行きます。

下の方にスクロールさせますと「Visual Studio 2019のツール」があります。

「BUild Tools for Visual Studio 2019」が見えてきますのでこれをクリックしてダウンロードしインストールします。

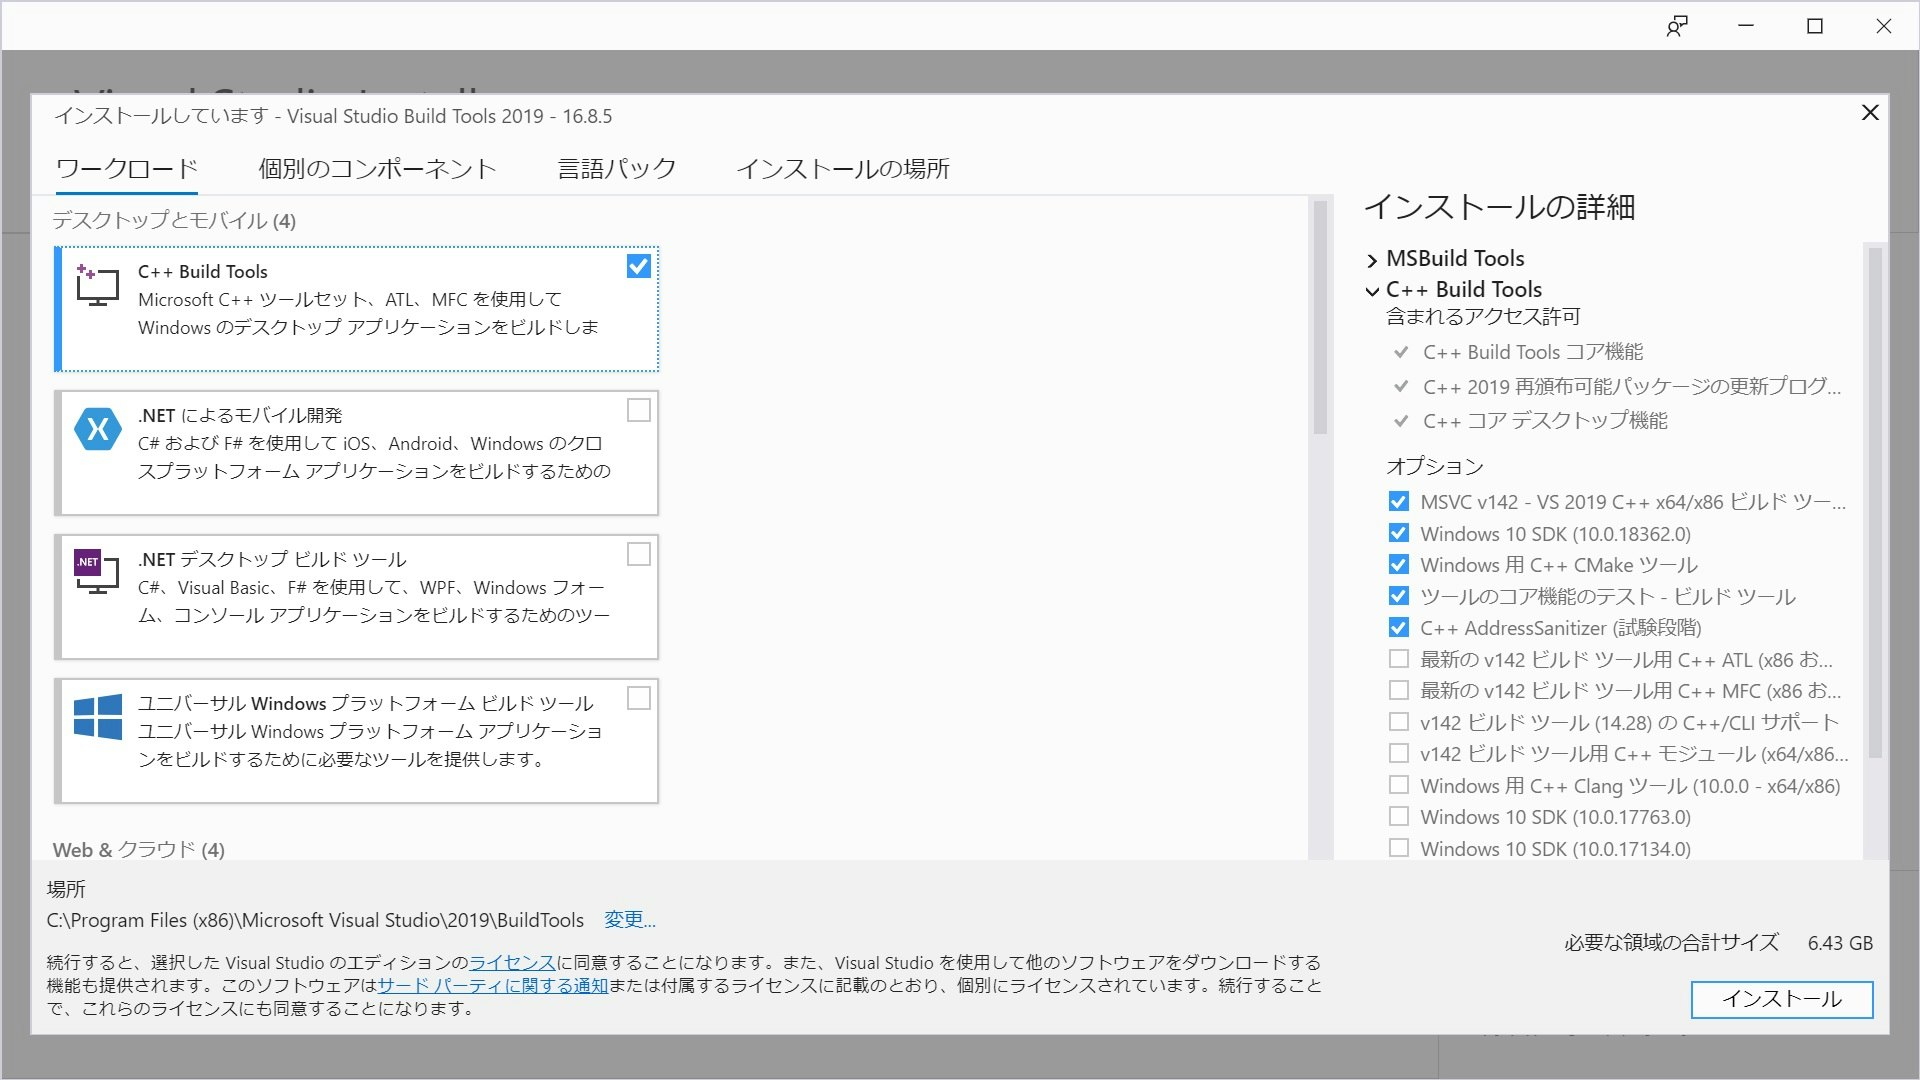
「C++ Build Tools」をチェックして、これをインストールしてください。

※ここではVisual Studio 2019のコミュニティ版を入れる必要が無く、「BUild Tools for Visual Studio 2019」をインストールすれば開発環境が動作することを確認しました。
- pytohn 3のインストール
Python 3のインストールは「Windows版Pythonのインストール」に従ってインストールしてください。
自分はAnaconda版のPythonをインストールしているためこのステップをとばしました(Microsoft版のstoreへのPythonのリンクが問題になる場合が出てきます。
- Gitのインストール
いろいろと聞いてくるので大変ですがインストールを頑張ってください。
特にでデフォルトでいいと思います。ただし、「Choosing the default editor used by Git」では「Use VIsual Studio Code as GIt's default editor」を選択しましたがコマンドラインでは特に使用していて問題は起きてません。
- Pico SDKとサンプルを取得する。
まず、コマンドプロンプトを起動します。場所は「Windows > Visual Studio 2019 > Developer Command Prompt」です。そして、「C:¥」に「pico」というディレクトリを作成して、ここに開発環境を置きます。
C:\Program Files (x86)\Microsoft Visual Studio\2019\BuildTools>mkdir C:\pico
C:\Program Files (x86)\Microsoft Visual Studio\2019\BuildTools>cd C:\pico

C:\pico> git clone -b master https://github.com/raspberrypi/pico-sdk.git
C:\pico> cd pico-sdk
C:\pico\pico-sdk> git submodule update --init
C:\pico\pico-sdk> cd ..
C:\pico> git clone -b master https://github.com/raspberrypi/pico-examples.git
開発環境へのPICO_SDK_PATHを通します。
setx PICO_SDK_PATH "..\..\pico-sdk"
サンプルコードを作成します。
C:\pico> cd pico-examples
C:\pico\pico-examples> mkdir build
C:\pico\pico-examples> cd build
C:\pico\pico-examples\build> cmake -G "NMake Makefiles" ..
C:\pico\pico-examples\build> nmake
ディレクトリbuild配下に各サンプルコードの拡張子がuf2のファイルがあます。blink(Lちか)の場合は「c:\pico\pico-examples\build\blink」にあります。blinkのコードは「c:\pico\pico-examples\blink」にあります。このファイルをRaspberry Pi Picoのホルダーに入れると実行できます。
以上


