概要
WildFlyにJDBCドライバを設定し、datasourceを作成する。
modulesディレクトリにjarを配置してxmlを編集する方法もあるが、WildFlyの推奨にしたがって、jarをデプロイする方法でやってみる。こうすることでdomainモードでも個々のサーバに設定する必要がなくなる。
環境
- Linux Mint 16 Petra
- WildFly 8.0.0.Final
- MySQL Connector/J 5.1.30
事前準備
MySql にexampleデータベースを作成しておく。
内容
- MySQLのJDBCドライバをダウンロードして解凍。
$ wget https://dev.mysql.com/get/Downloads/Connector-J/mysql-connector-java-5.1.30.zip
$ unzip mysql-connector-java-5.1.30.zip
- デプロイするためのファイルを作成。
(2014/4/17 追記 mysqlのjarにはすでにMETA-INF以下があるため、この作業とjarの更新は必要ないようです。jarをそのままデプロイするだけでよいです。)
$ cd mysql-connector-java-5.1.30
$ mkdir -p META-INF/services
$ vi META-INF/services/java.sql.Driver
META-INF/services/java.sql.Driver
com.mysql.jdbc.Driver
- jarを更新
$ jar \-uf mysql-connector-java-5.1.30-bin.jar META-INF/services/java.sql.Driver
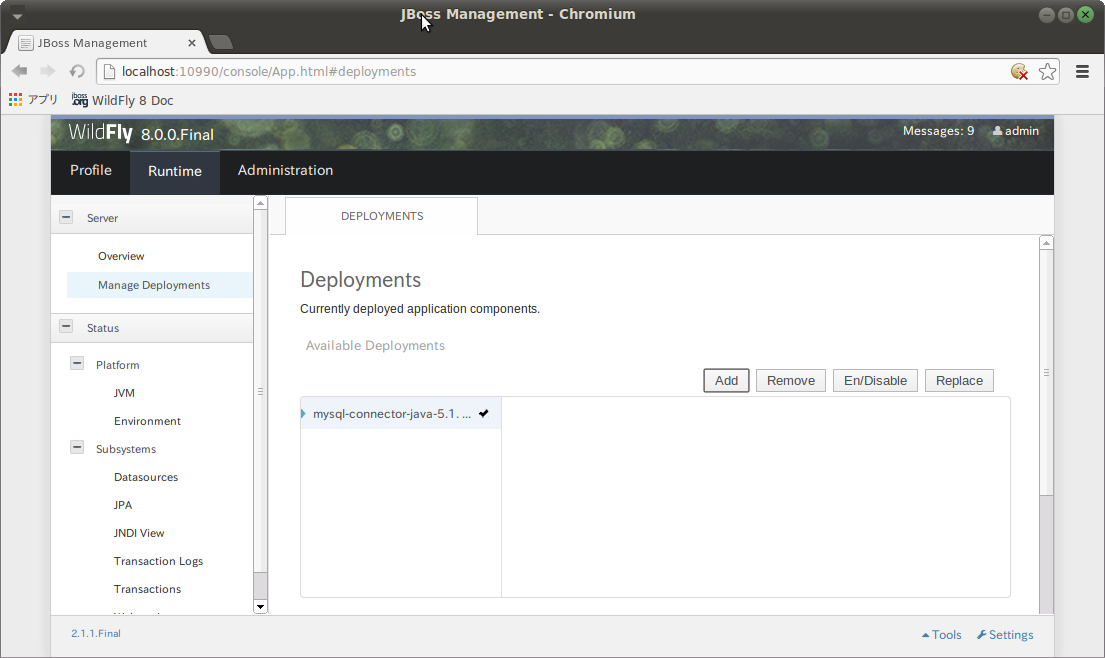
- 管理コンソールのRuntime -> Manage Deployments から先程更新したjarをデプロイする。デプロイ後にEn/Disableボタンを押して有効化しておく。
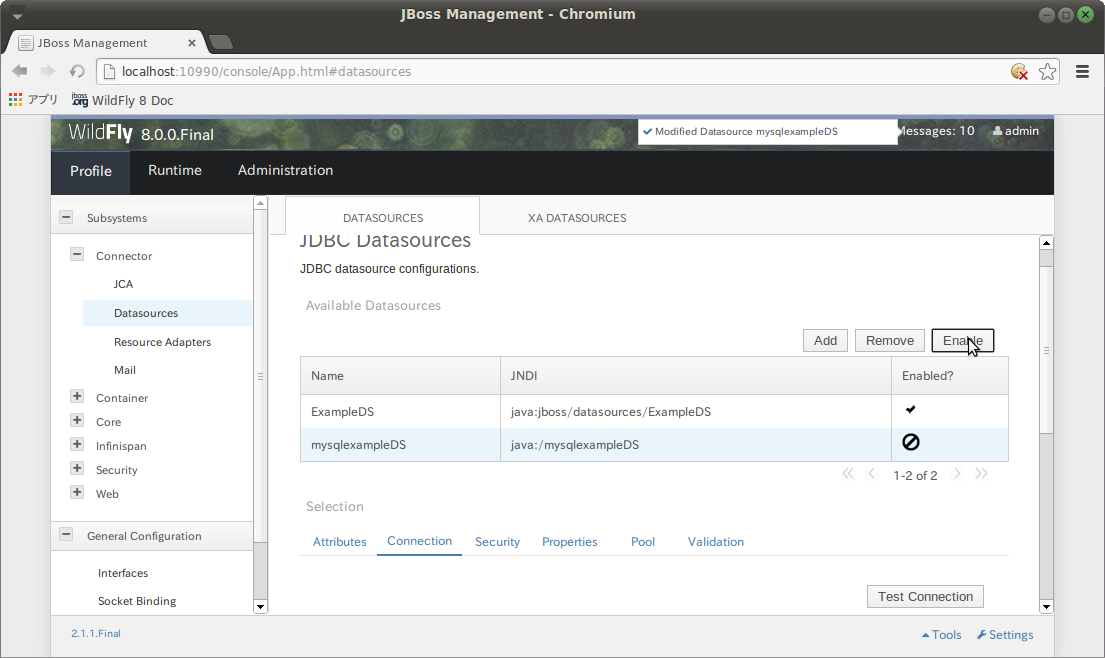
- 管理コンソールのProfile -> Datasrouces -> JDBC Datasources からdatasourceを追加する。
Step 1/3: Datasource Attributes

Name: mysqlexampleDS
JNDI Name: java:/mysqlexampleDS
Step 2/3: JDBC Driver

先程デプロイしたmysql-connector-java-5.1.30-bin.jarを選択する。
Step 3/3: Connection Settings
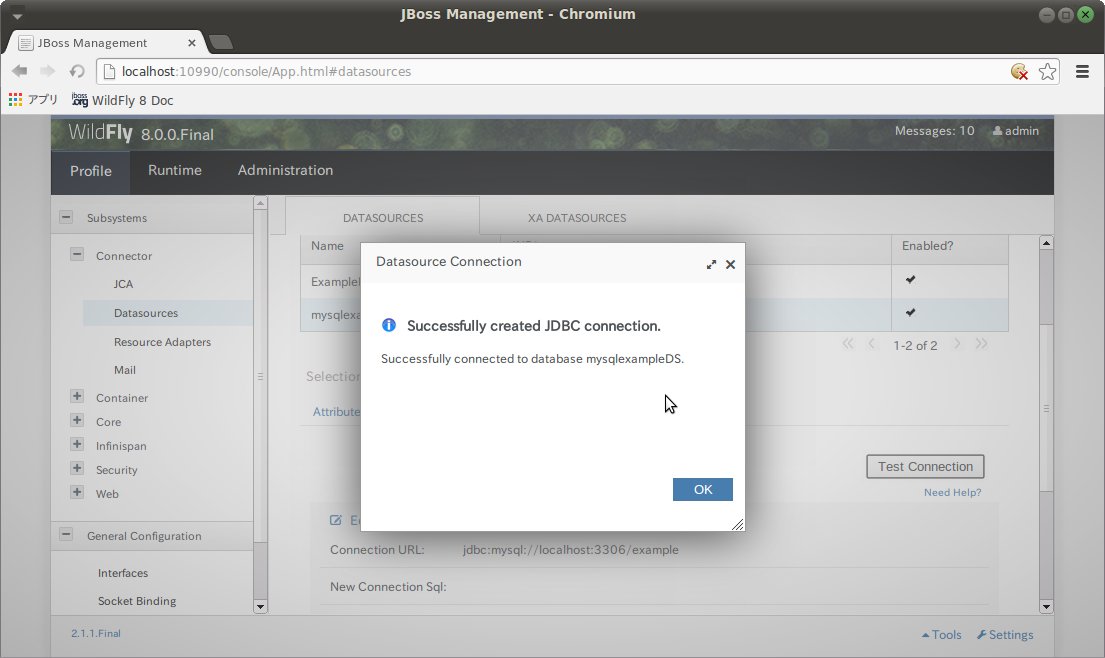
Connection URL: jdbc:mysql://localhost:3306/example
Username: example
Password: example
- 最後にEnableボタンを押して有効化する。
- 下の方にあるConnectionからTest Connectionを押して疎通することを確認する。
参考
-
JDBC Driver Installation https://docs.jboss.org/author/display/WFLY8/DataSource+configuration
-
MySQL Connector/J クラス名 http://dev.mysql.com/doc/refman/5.1/ja/connector-j-reference-configuration-properties.html