はじめに
iPhoneには多くのセンサが内蔵されていますが、どんな情報にアクセスできるかご存知ですか👀
私自身、センサを使ったアプリを作成するのですが、まだまだ知らなかったプロパティもありましたので、改めてここで整理したいと思います。
ということで、
1. どんなセンサ・プロパティにアクセスできるのか
2. どんな用途に利用されているのか
これらを、デモアプリを作りながら確認していきたいと思います。
それではみていきましょう!
前提条件
デモアプリでは以下の環境で動作を確認しています
- iOSバージョン:
14.2 - 端末:
iPhone 12 Pro - デモアプリの実装言語:
Swift 5
一覧
| 項番 | ページ内リンク |
|---|---|
| 1 | LiDARセンサ |
| 2 | モーションセンサ |
| 3 | 位置情報/GPSセンサ |
| 4 | 歩数センサ (Pedometer) |
| 5 | 標高/気圧センサ |
| 6 | 輝度センサ |
| 7 | 近接センサ |
| - | デモアプリについて |
各種センサ
LiDARセンサ
概要
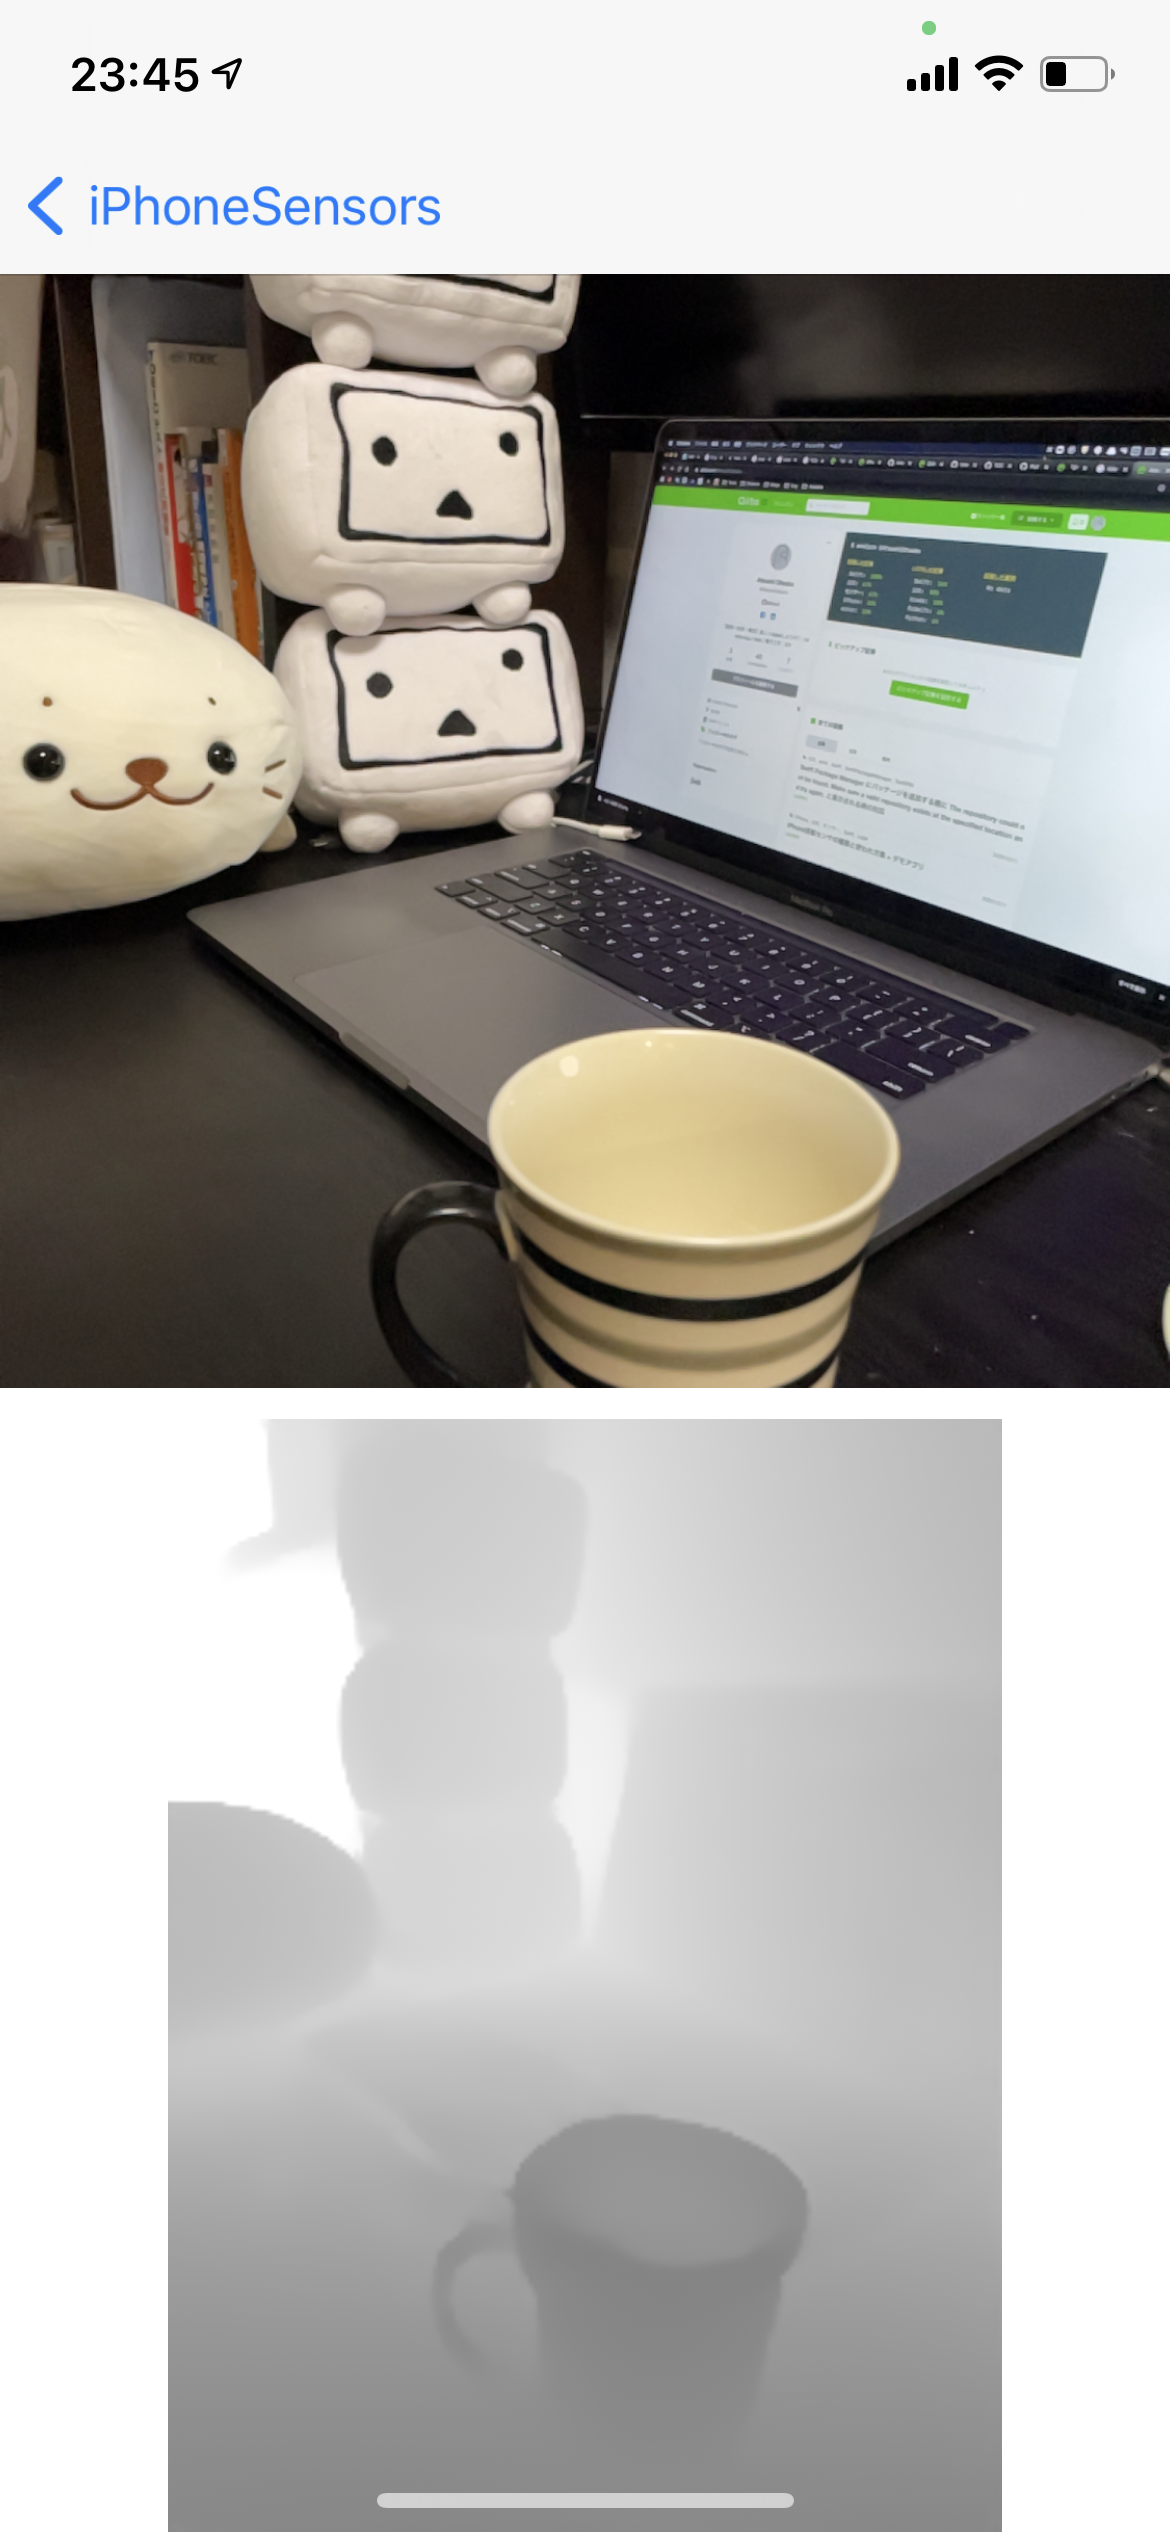
LiDAR は「Light Detection and Ranging」の略で、赤外線が対象物に反射して戻ってくるまでの時間を計測することにより、物体との距離を測る事ができます。
iPad Pro 第四世代、iPhone 12 Pro、Pro Maxから搭載された新しいセンサです。
取得できる値
| 取得できる値 | 説明 |
|---|---|
| デプスデータ | 物体との距離情報をピクセル毎に取得できる |
使用例
カメラ撮影時、暗所でオートフォーカスの高速化、暗い場所での撮影時でも背景を良い感じにボケさせるナイトポートレート写真の撮影などに活用されています。
最近では、LiDARを活用した部屋のスキャンが可能なアプリも登場しています。
サンプルコードはこちら
import UIKit
import ARKit
import RealityKit

class LiDARViewController: UIViewController {

    @IBOutlet weak var arView: ARView!
    @IBOutlet weak var imageView: UIImageView!

    override func viewDidLoad() {
        super.viewDidLoad()
        configureARView()
    }

    func configureARView() {
        arView.session.delegate = self
        arView.automaticallyConfigureSession = false
        let configuration = ARWorldTrackingConfiguration()
        configuration.sceneReconstruction = .mesh
        // sceneDepthオプションの利用可否チェック
        if type(of: configuration).supportsFrameSemantics(.sceneDepth) {
            // .sceneDepthオプションの指定でLiDAR由来のDepthデータが利用できる
            configuration.frameSemantics = .sceneDepth
        }
        arView.session.run(configuration)
    }
}

extension LiDARViewController: ARSessionDelegate {
    func session(_ session: ARSession, didUpdate frame: ARFrame) {
        guard let depthData = frame.sceneDepth else { return }
        let ciDepthMapImage = CIImage(cvPixelBuffer: depthData.depthMap)
        let orientation :CGImagePropertyOrientation = CGImagePropertyOrientation.right
        let orientedCIImage = ciDepthMapImage.oriented(orientation)
        imageView.image = UIImage(ciImage: orientedCIImage)
    }
}
※Info.plist に Privacy - Camera Usage Description の記載が必要です。
※LiDARセンサ搭載のiPhone, iPadのみ動作します
参考
モーションセンサ
概要
加速度センサ、ジャイロスコープ、地磁気センサなどを使って、本体の加速度や傾きを取得できます。
ユーザの動きを測るのに重宝する便利なセンサ達です。

取得できる値
| 取得できる値 | 単位 | 説明 |
|---|---|---|
| 加速度 (X/Y/Z) | G | 端末の受ける加速度 |
| 姿勢 (ピッチ/ロール/ヨー) | N/A | 端末の向き |
| 地磁気 (X/Y/Z) | N/A | 磁気を受ける向き |
| 重力 (X/Y/Z) | G | 重力を受ける向き |
使用例
スマホ画面の自動回転、カメラアプリでの端末の向き判断などに、傾き情報が使われています。
他にもナビアプリでの案内や、端末を動かして遊ぶゲームアプリなど挙げればキリがない程、様々なところで使われています。
また、歩数は専用のセンサ(Pedometer)から取得できますが、リアルタイムに一歩を検出したい場合は加速度センサを使うということもあります。(リアルタイムに一歩を検知するサンプル))
サンプルコードはこちら
import UIKit
import CoreMotion


class MotionViewController: UIViewController {

    var motionManager: CMMotionManager!

    var motionInfomations: [KeyValue] = [KeyValue(key: "", value: "値の取得中...")]

    override func viewDidLoad() {
        super.viewDidLoad()
        configureMotionManager()
    }

    private func configureMotionManager() {
        motionManager = CMMotionManager()
        guard let motionManager = motionManager else { return }
        // motionManager.deviceMotionUpdateInterval = 1
        if motionManager.isDeviceMotionAvailable {
            motionManager.startDeviceMotionUpdates(to: OperationQueue.current!, withHandler: { [weak self] (motion: CMDeviceMotion?, error: Error?) in
                guard let motion = motion else { return }
                self?.setMotionInfomation(motion)
            })
        }
    }

    func setMotionInfomation(_ deviceMotion: CMDeviceMotion) {
        print(deviceMotion.userAcceleration.x)
        print(deviceMotion.userAcceleration.y)
        print(deviceMotion.userAcceleration.z)
        print(deviceMotion.attitude.pitch)
        print(deviceMotion.attitude.roll)
        print(deviceMotion.attitude.yaw)
        print(deviceMotion.rotationRate.x)
        print(deviceMotion.rotationRate.y)
        print(deviceMotion.rotationRate.z)
        print(deviceMotion.gravity.x)
        print(deviceMotion.gravity.y)
        print(deviceMotion.gravity.z)
    }
}
位置情報/GPSセンサ
概要
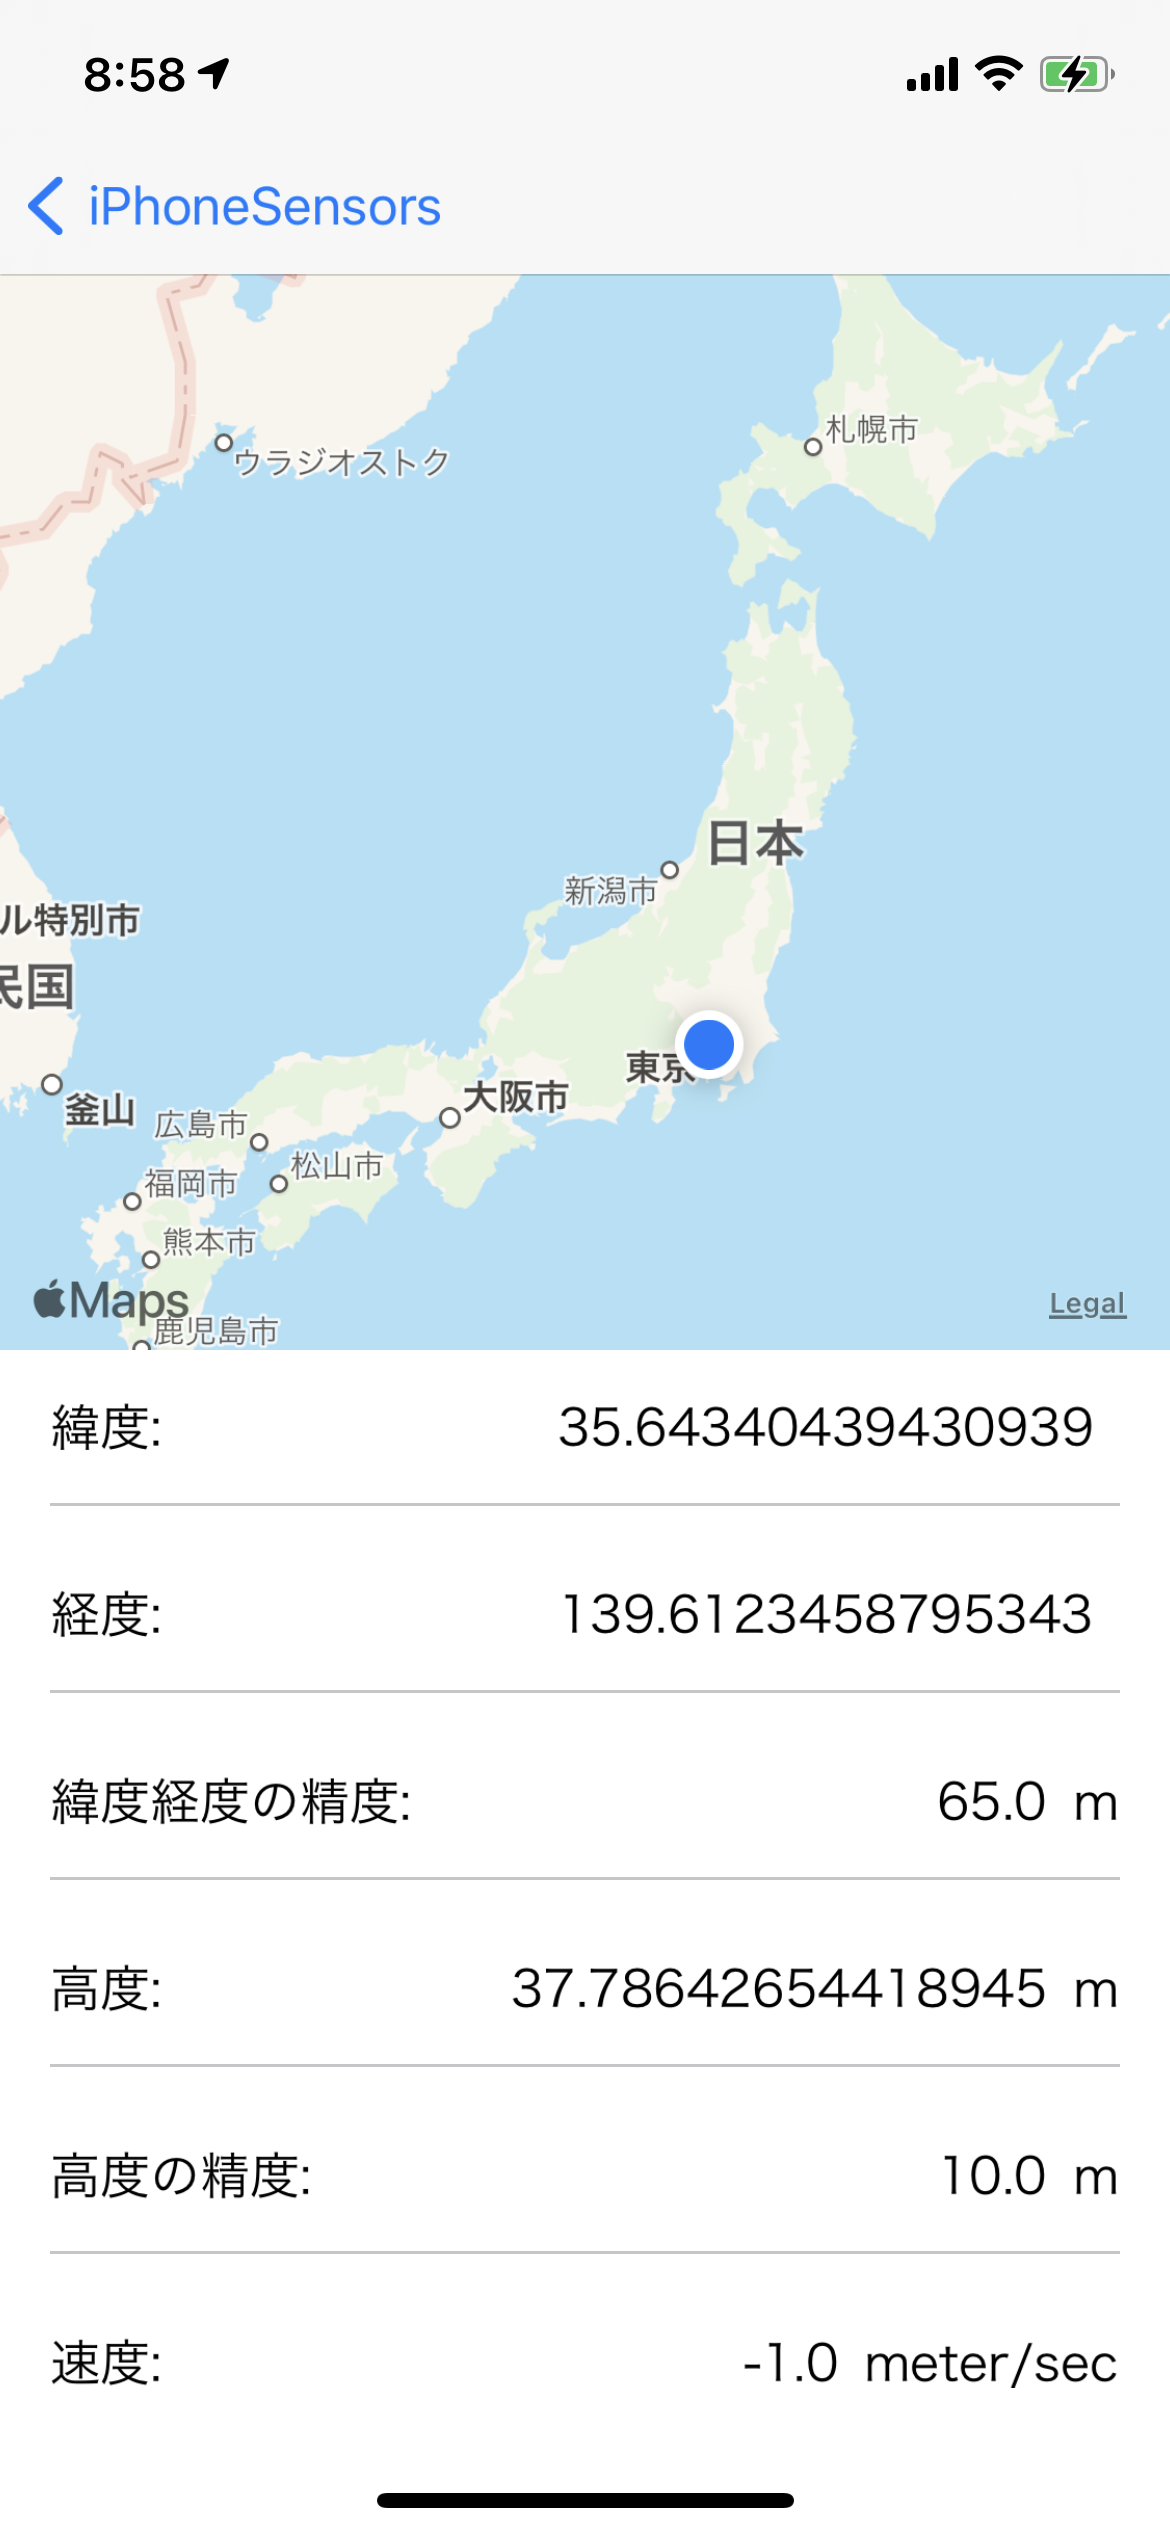
GPSデータを使って、緯度・経度情報など位置や移動に関する情報を取得できます。
取得できる値
| 取得できる値 | 単位 | 説明 |
|---|---|---|
| 緯度・経度 | N/A | GPSから求められる現在地の緯度・経度 |
| 標高 | メートル | GPSから求められる標高 |
| 移動速度 | メートル / 秒 | GPSから求められる端末の移動速度 |
| 階数 | 階 | 現在の高さが何階相当であるのか |
| 出発/到着時刻 | N/A | 現在地にどのくらい滞在したか |
使用例
マップ、位置情報ゲーム、ランニング記録アプリ、お店のクーポンアプリなど、あらゆるアプリに使われてますね!
移動速度・標高なども標準で取得できるため、スピードメータアプリや高度計アプリなんかも存在します。
個人的に階数というプロパティが用意されていることに驚きましたが、このプロパティどのくらい正確でどんなアプリに使われているのだろうか...。
サンプルコードはこちら
import UIKit
import CoreLocation

class LocationViewController: UIViewController {

    var locationManager: CLLocationManager!

    override func viewDidLoad() {
        super.viewDidLoad()
        configureLocationManager()
    }

    private func configureLocationManager() {
        locationManager = CLLocationManager()
        guard let locationManager = locationManager else { return }
        locationManager.requestWhenInUseAuthorization()
        locationManager.delegate = self
        locationManager.startUpdatingLocation()
    }

    // 位置情報が更新される度に呼ばれる
    func locationManager(_ manager: CLLocationManager, didUpdateLocations locations: [CLLocation]) {
        guard let location = locations.first else { return }
        print(location)
    }

    func locationManager(_ manager: CLLocationManager, didVisit visit: CLVisit) {
        print(visit)
    }
}
※ Info.plist に Privacy - Location When In Use Usage Description の記載が必要です。
歩数センサ
概要
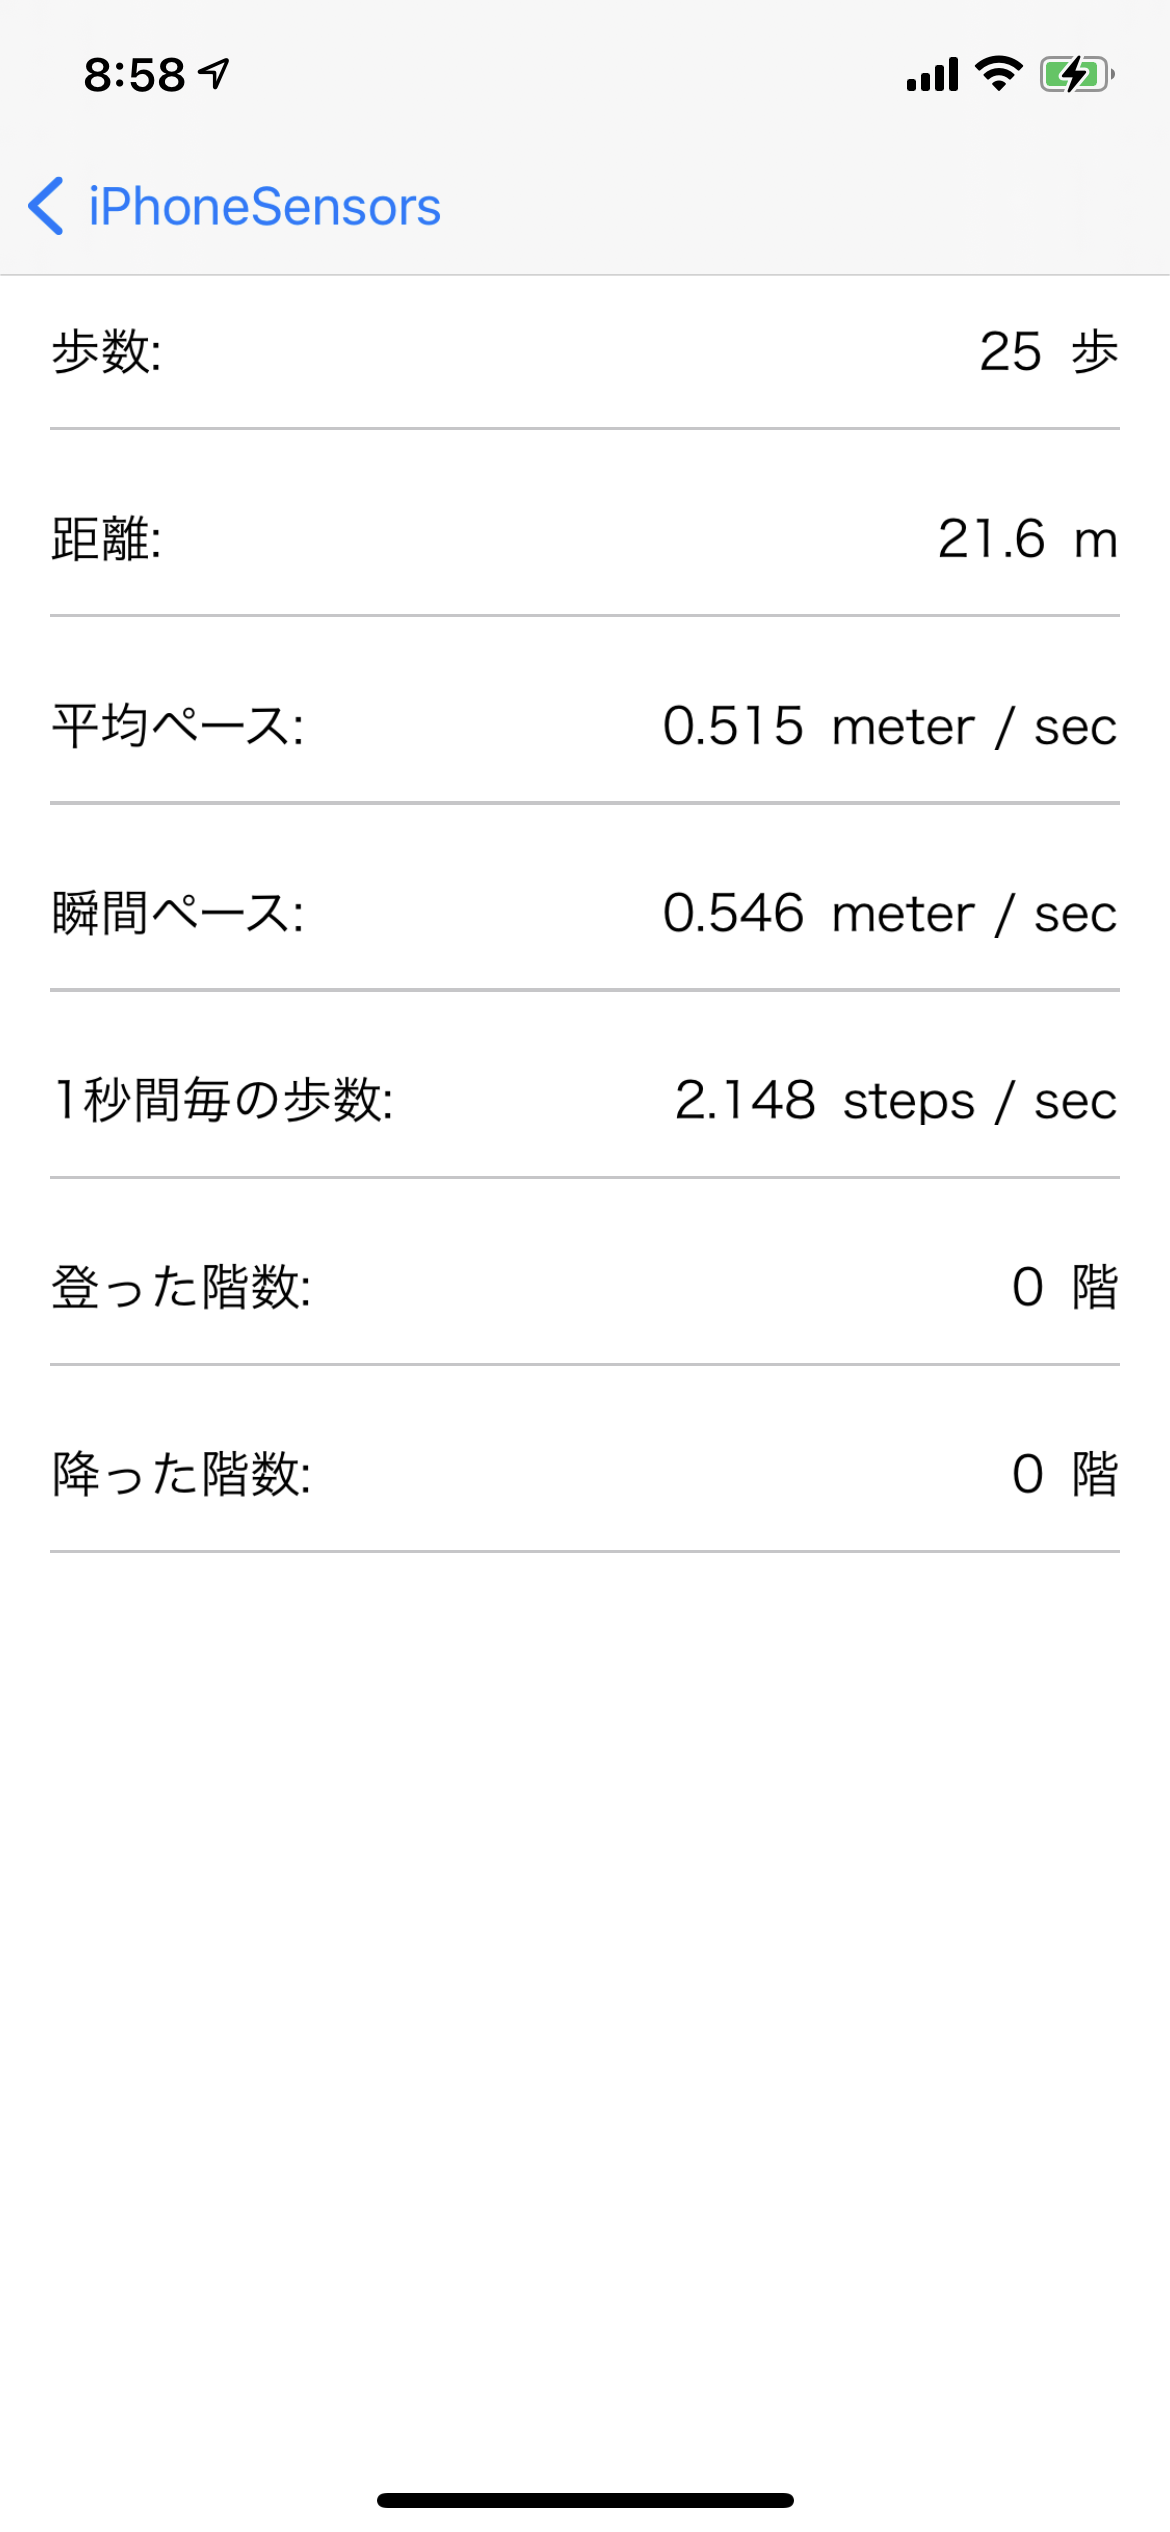
歩数に加えて、色々なウォーキングデータを取得できます。
加速度センサではなく、常時歩数を記録するための省電力なセンサ「モーションコアプロセッサ」を使って値が取得されているのが特徴になります。
取得できる値
| 取得できる値 | 単位 | 説明 |
|---|---|---|
| 歩数 | 歩 | |
| 距離 | メートル | ユーザが移動した推定距離 |
| 瞬間ペース | メートル / 秒 | |
| 平均ペース | メートル / 秒 | |
| ケイデンス | 歩 / 秒 | 1秒毎の歩数 |
| 登った階数 | 階 | 歩いて登ったおおよその階数 |
| 降った階数 | 階 | 歩いて降ったおおよその階数 |
使用例
ヘルスケアアプリや、ランニングの記録アプリなどで主に利用されています。
サンプルコードはこちら
import UIKit
import CoreMotion

class PedometerViewController: UIViewController {

    var pedometer: CMPedometer!
    var motionInfomations: [KeyValue] = []

    override func viewDidLoad() {
        super.viewDidLoad()
        configurePedometerManager()
    }

    private func configurePedometerManager() {
        pedometer = CMPedometer()
        guard let pedometer = pedometer else { return }
        if CMPedometer.isStepCountingAvailable() {

            // 1000秒前から現在までの値を取得する
            let from = Date(timeIntervalSinceNow: -1000)

            pedometer.startUpdates(from: from, withHandler: { [weak self] (pedometerData: CMPedometerData?, error: Error?) in
                guard let pedometerData = pedometerData else { return }
                DispatchQueue.main.async {
                    self?.setPedometerInfomation(pedometerData)
                }

            })
        }
    }

    func setPedometerInfomation(_ pedometerData: CMPedometerData) {
        print(pedometerData.numberOfSteps)
        print(pedometerData.distance)
        print(pedometerData.averageActivePace)
        print(pedometerData.currentPace)
        print(pedometerData.currentCadence)
        print(pedometerData.floorsAscended)
        print(pedometerData.floorsDescended)
   }
}
※ Info.plist に Privacy - Motion Usage Description の記載が必要です。
標高差/気圧センサ
概要
気圧センサが内蔵されており、計測開始時点からの標高の差を取得する事ができます。
これによって、GPSで計測した緯度経度の2次元情報に気圧によって高さの情報を加える事ができ、3次元的に現在地を取得する、なんて事が可能になっています。

取得できる値
| 取得できる値 | 単位 | 説明 |
|---|---|---|
| 高度 | メートル | 最初に記録された高度を0mとした時の、相対的な高度(絶対高度ではない) |
| 気圧 | kPa |
使用例
直接的には気圧計アプリや高度計アプリで利用されています。
車のナビゲーションアプリでも使われており、一般道と高架の判定に用いられています。
余談ですが、昨年のアドベントカレンダーでは気圧計を使って天気を予想するなんて使い方もしていました。
サンプルコードはこちら
import UIKit
import CoreMotion

class AltimeterViewController: UIViewController {

    var altimeter: CMAltimeter!
    var altimeterInfomations: [KeyValue] = []

    override func viewDidLoad() {
        super.viewDidLoad()
        configureAltimeterManager()
    }

    private func configureAltimeterManager() {
        altimeter = CMAltimeter()
        guard let altimeter = altimeter else { return }
        if CMAltimeter.isRelativeAltitudeAvailable() {

            altimeter.startRelativeAltitudeUpdates(to: OperationQueue.current!, withHandler: { [weak self] (altitudeData: CMAltitudeData?, error: Error?) in
                guard let altitudeData = altitudeData else { return }
                self?.setAltimeterInfomation(altitudeData)
            })
        }
    }

    func setAltimeterInfomation(_ altitudeData: CMAltitudeData) {
        print(altitudeData.relativeAltitude)
        print(altitudeData.pressure)
    }
}
輝度センサ
概要
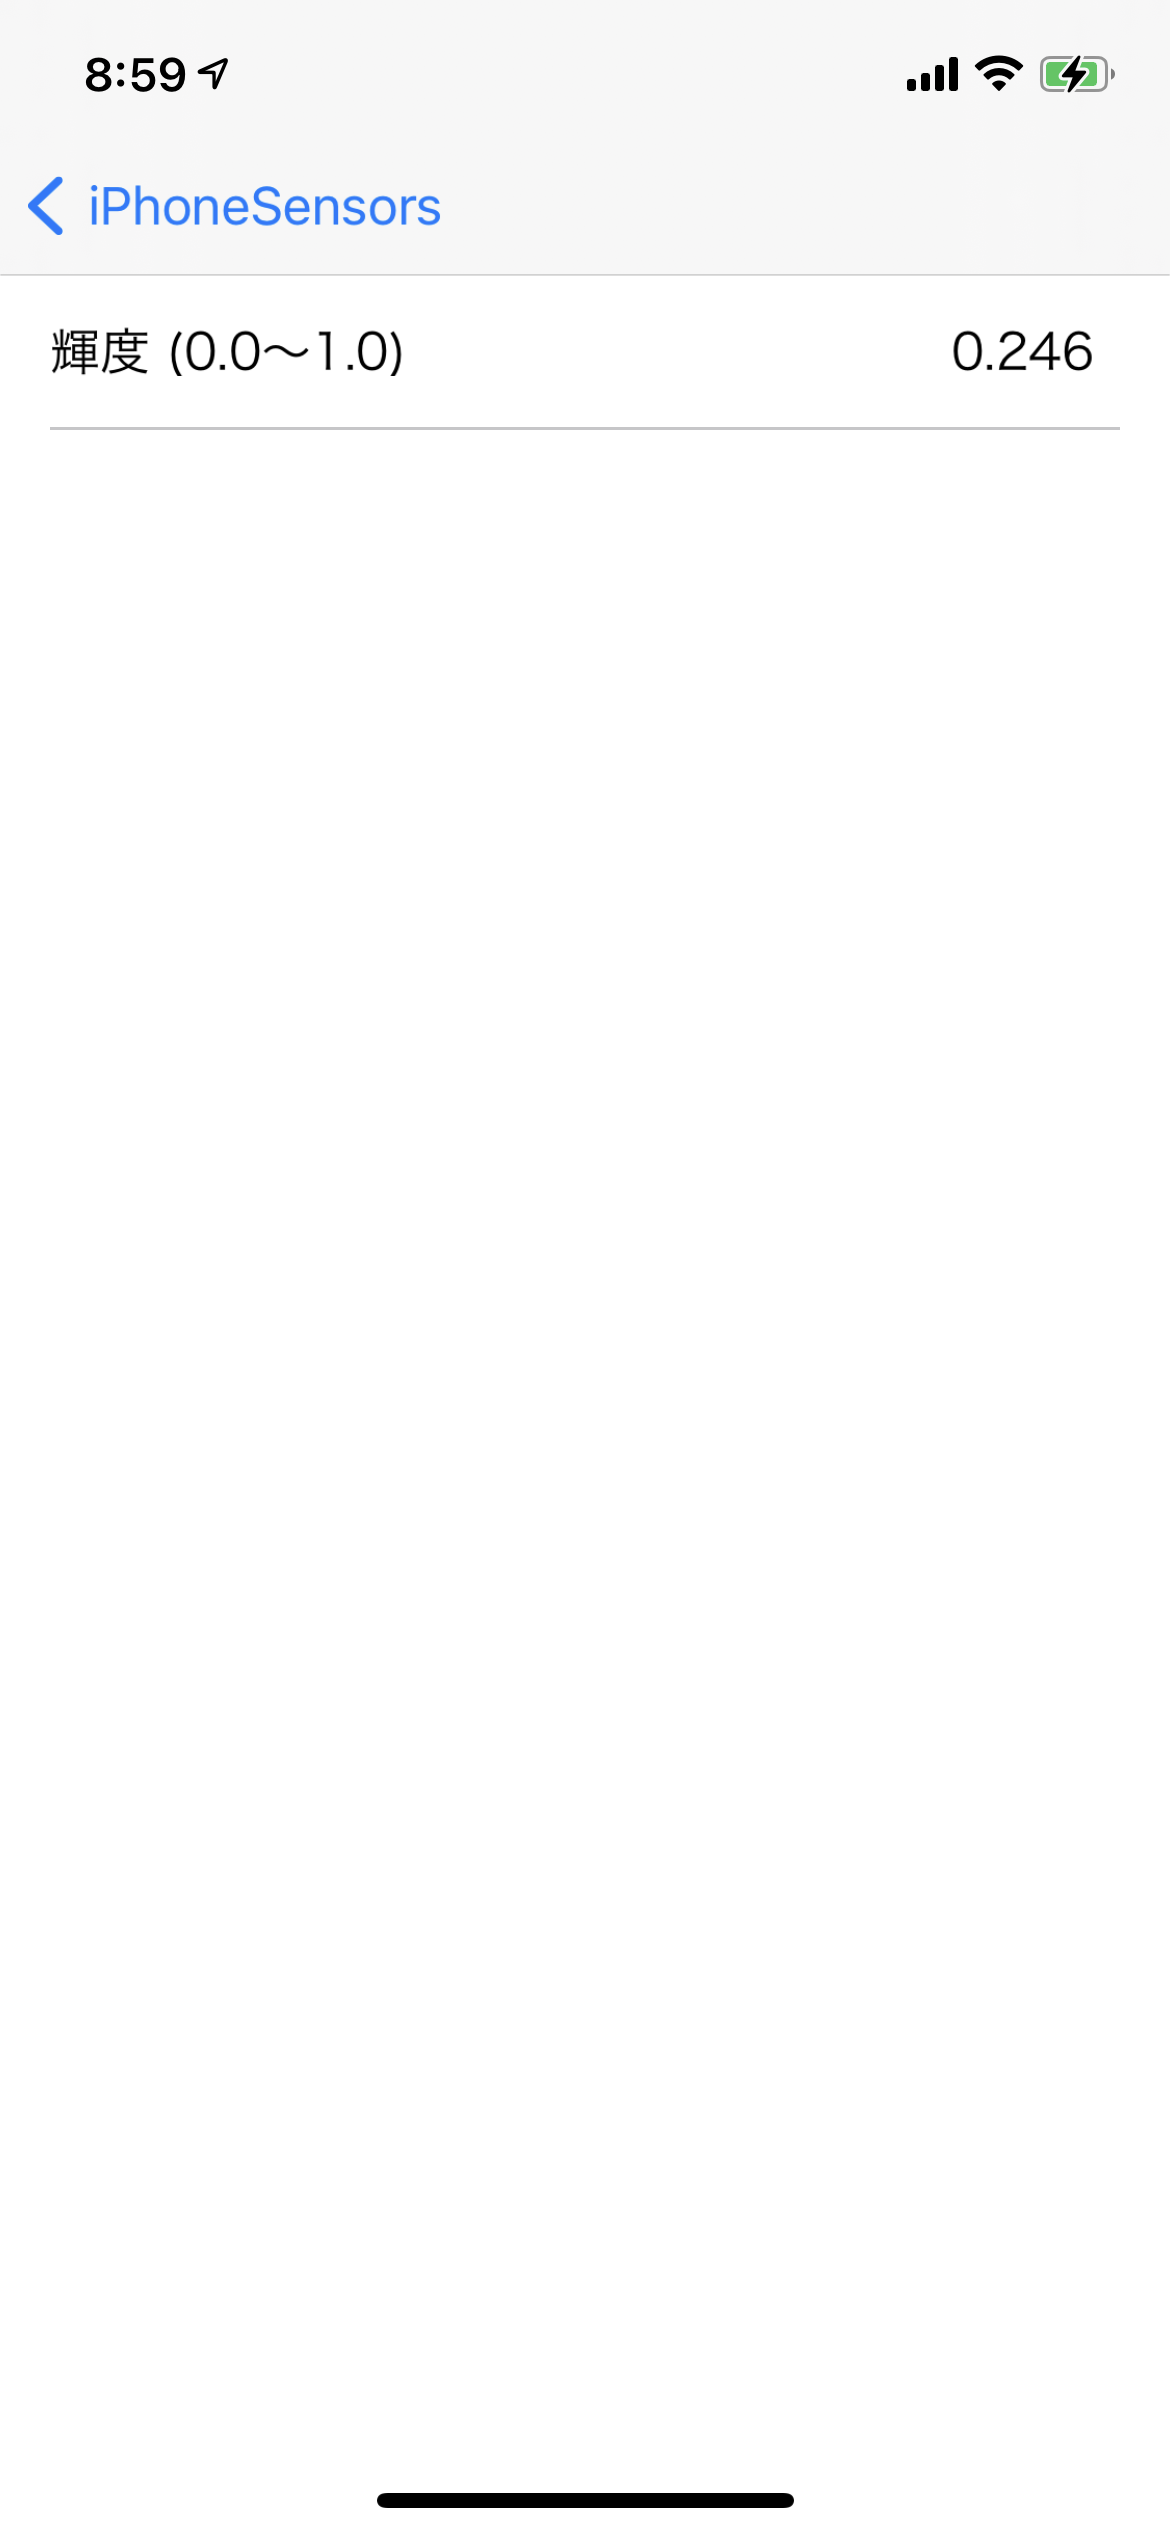
周囲の明るさと連動してスクリーンの輝度が変化するため、スクリーンの輝度を介して周囲の明るさを取得する事ができます。
取得できる値
| 取得できる値 | 説明 |
|---|---|
| 輝度 | 0.0(暗い) 〜 1.0(明るい)の範囲で取得できる |
使用例
そのままですが画面の明るさの自動調整に使われています。
このセンサ、面白い使われ方がされていまして、夜道の明るさを調査しようという研究1にも使われています。
サンプルコードはこちら
import UIKit

class BrightnessViewController: UIViewController {

    var brightnessInfomations: [KeyValue] = [KeyValue(key: "", value: "値の取得中...")]

    override func viewDidLoad() {
        super.viewDidLoad()
        configureBrightness()
    }

    override func viewDidDisappear(_ animated: Bool) {
        super.viewDidDisappear(animated)
        NotificationCenter.default.removeObserver(self,
                                                  name: UIScreen.brightnessDidChangeNotification,
                                                  object: nil)
    }

    private func configureBrightness() {
        NotificationCenter.default.addObserver(self,
                                               selector: #selector(brightnessChanged(_:)),
                                               name: UIScreen.brightnessDidChangeNotification,
                                               object: nil)
    }

    @objc func brightnessChanged(_ notification: Notification) {
        if let screenObject = notification.object {
            let brightness = (screenObject as AnyObject).brightness
            print(brightness)
        }
    }
}
brightnessDidChangeNotification
近接センサ
概要
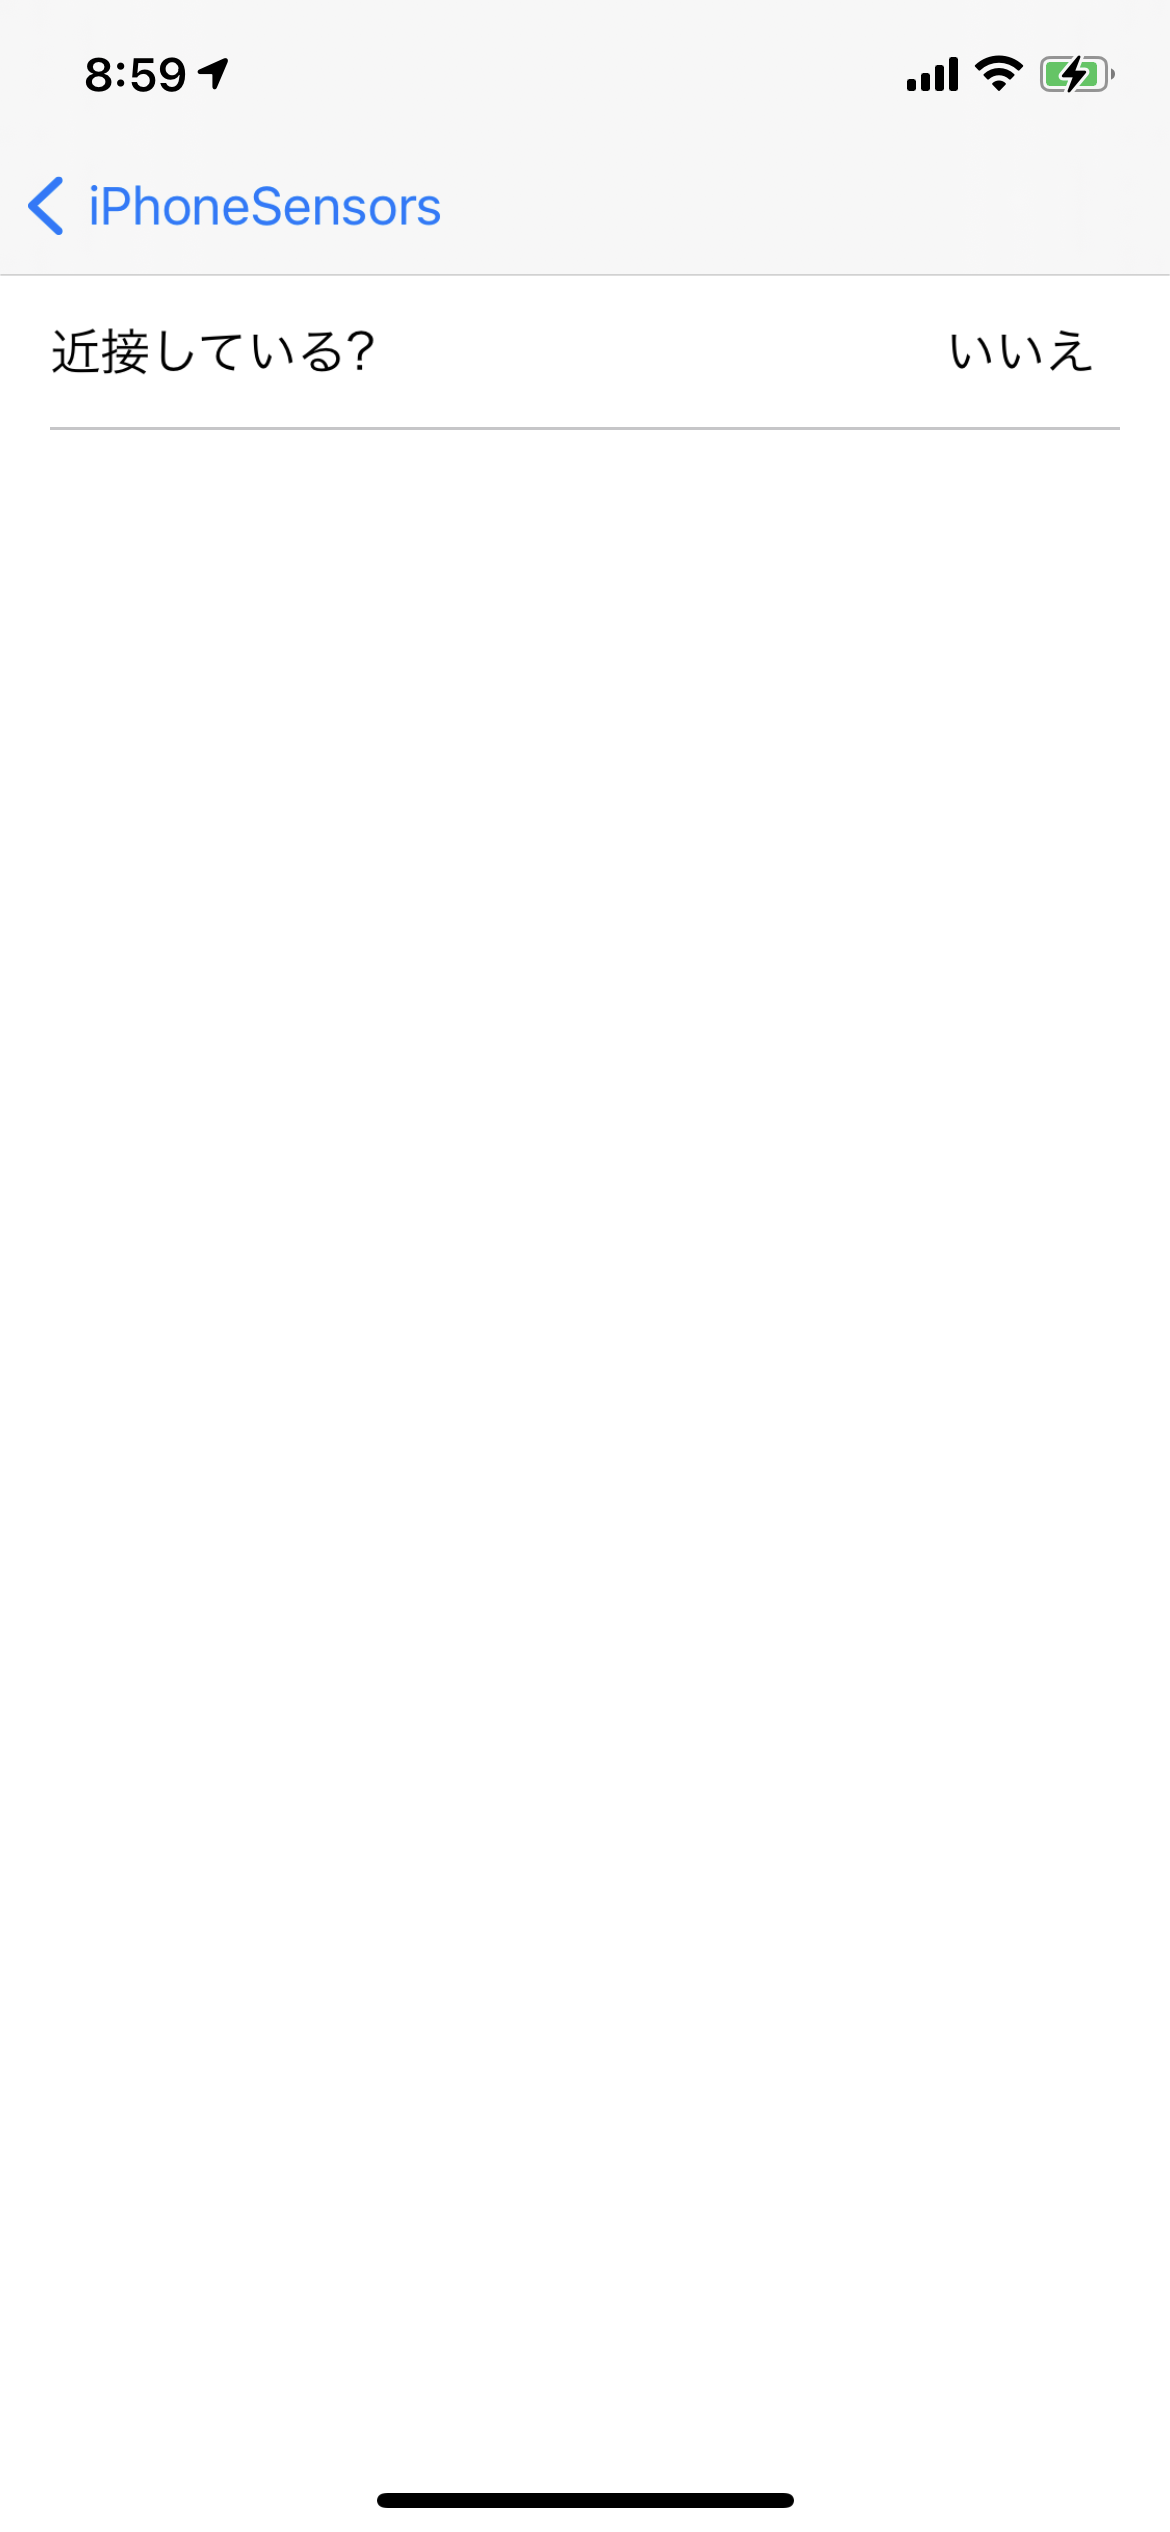
物体との近接状態を取得できる。(ディスプレイ側)
手元で試してみたところ、約4cm前後で近接/非近接の判定がされている模様。
取得できる値
| 取得できる値 | 説明 |
|---|---|
| 近接しているか | 近接しているかが、Bool値で返される。 |
使用例
通話中に端末を耳に当てている時は画面の操作をロックするという事が主な用途です。
実は、腕立て伏せ記録アプリでも利用されていて、端末を床に起き、顔が近づくことを検知して1回の腕立てを検知するというユニークな使われ方をしています。
サンプルコードはこちら
import UIKit

class ProximityViewController: UIViewController {

    var proximityInfomations: [KeyValue] = [KeyValue(key: "", value: "値の取得中...")]

    override func viewDidLoad() {
        super.viewDidLoad()
        configureProximity()
    }

    override func viewDidDisappear(_ animated: Bool) {
        super.viewDidDisappear(animated)
        NotificationCenter.default.removeObserver(self,
                                                  name: UIDevice.proximityStateDidChangeNotification,
                                                  object: nil)
    }

    private func configureProximity() {
        UIDevice.current.isProximityMonitoringEnabled = true
        NotificationCenter.default.addObserver(self,
                                               selector: #selector(proximityChanged(_:)),
                                               name: UIDevice.proximityStateDidChangeNotification,
                                               object: nil)
    }

    @objc func proximityChanged(_ notification: Notification) {
            let proximityState = (uiDeviceObject as AnyObject).proximityState ?? false
            print(proximityState)
        }
    }
}
proximityStateDidChangeNotification
デモアプリについて
上記のセンサが動作するデモアプリをGitHubに公開していますので、何らかのセンサの値を利用される場合の参考になれば幸いです。こちら、適宜アップデートを入れていきたいと思います。

おわりに
スマートフォンは様々な入出力に富んでおり、これらを使うとユニークな体験を届けることができるということがシェアできれば幸いです。
便利なWebサービス・APIもどんどん登場していますが、オフラインである端末内蔵センサも上手く活用すると、面白いものづくりができそうですね!
また DeNA 公式 Twitter アカウント @DeNAxTech では、 Blog記事だけでなく色々な勉強会での登壇資料も発信してます。ぜひフォローして下さい!
Follow @DeNAxTech
-
スマートフォン搭載照度センサの個体差に対応した夜道における街灯照度推定値校正手法の提案, https://ci.nii.ac.jp/naid/170000130857/ ↩