こんにちは!
現在インターン中の大学三回生です。
今回はDockerでWagtailの開発環境?を構築する方法を紹介します。
ファイル・ディレクトリの準備
まず、ファイルとディレクトリの準備をしましょう。
一つディレクトリを作成してそのなかに以下の3つのファイルを作ってください。
Dockerfile
docker-compose.yml
requirements.txt
以上を完了すると以下のような状態になります。
.
├── Dockerfile
├── docker-compose.yml
└── requirements.txt
そしてファイルの中身を以下のように書いていきます
Dockerfile
FROM python:3
 ENV PYTHONUNBUFFERED 1
 RUN mkdir /code
 WORKDIR /code
 ADD requirements.txt /code/
 RUN pip install -r requirements.txt
 ADD . /code/
docker-compose.yml
version: '3'

services:
  db:
    image: postgres
  web:
    build: .
    volumes:
      - .:/code
    ports:
      - "8000:8000"
    stdin_open: true
    tty: true
    depends_on:
      - db
requirements.txt
wagtail
psycopg2
Dockerコンテナを起動させて開発環境構築
はい、上記に書いたことまた、今から書くことはコピペなので全然わからないです。笑
とりあえず書いていきます!
-
docker-compose up -dでコンテナを起動させます。 -
sudo docker exec -i -t コンテナ名 bashでコンテナの中に入ります。 -
wagtail start mysiteでmysiteというプロジェクトが作成されます。 -
python manage.py migrateでデフォルトのデータベースを作成できます。 -
python manage.py createsuperuserでスーパーユーザーを作ります。 -
python manage.py runserver 0.0.0.0:8000で開発用のサーバーを立ち上げて完了です。
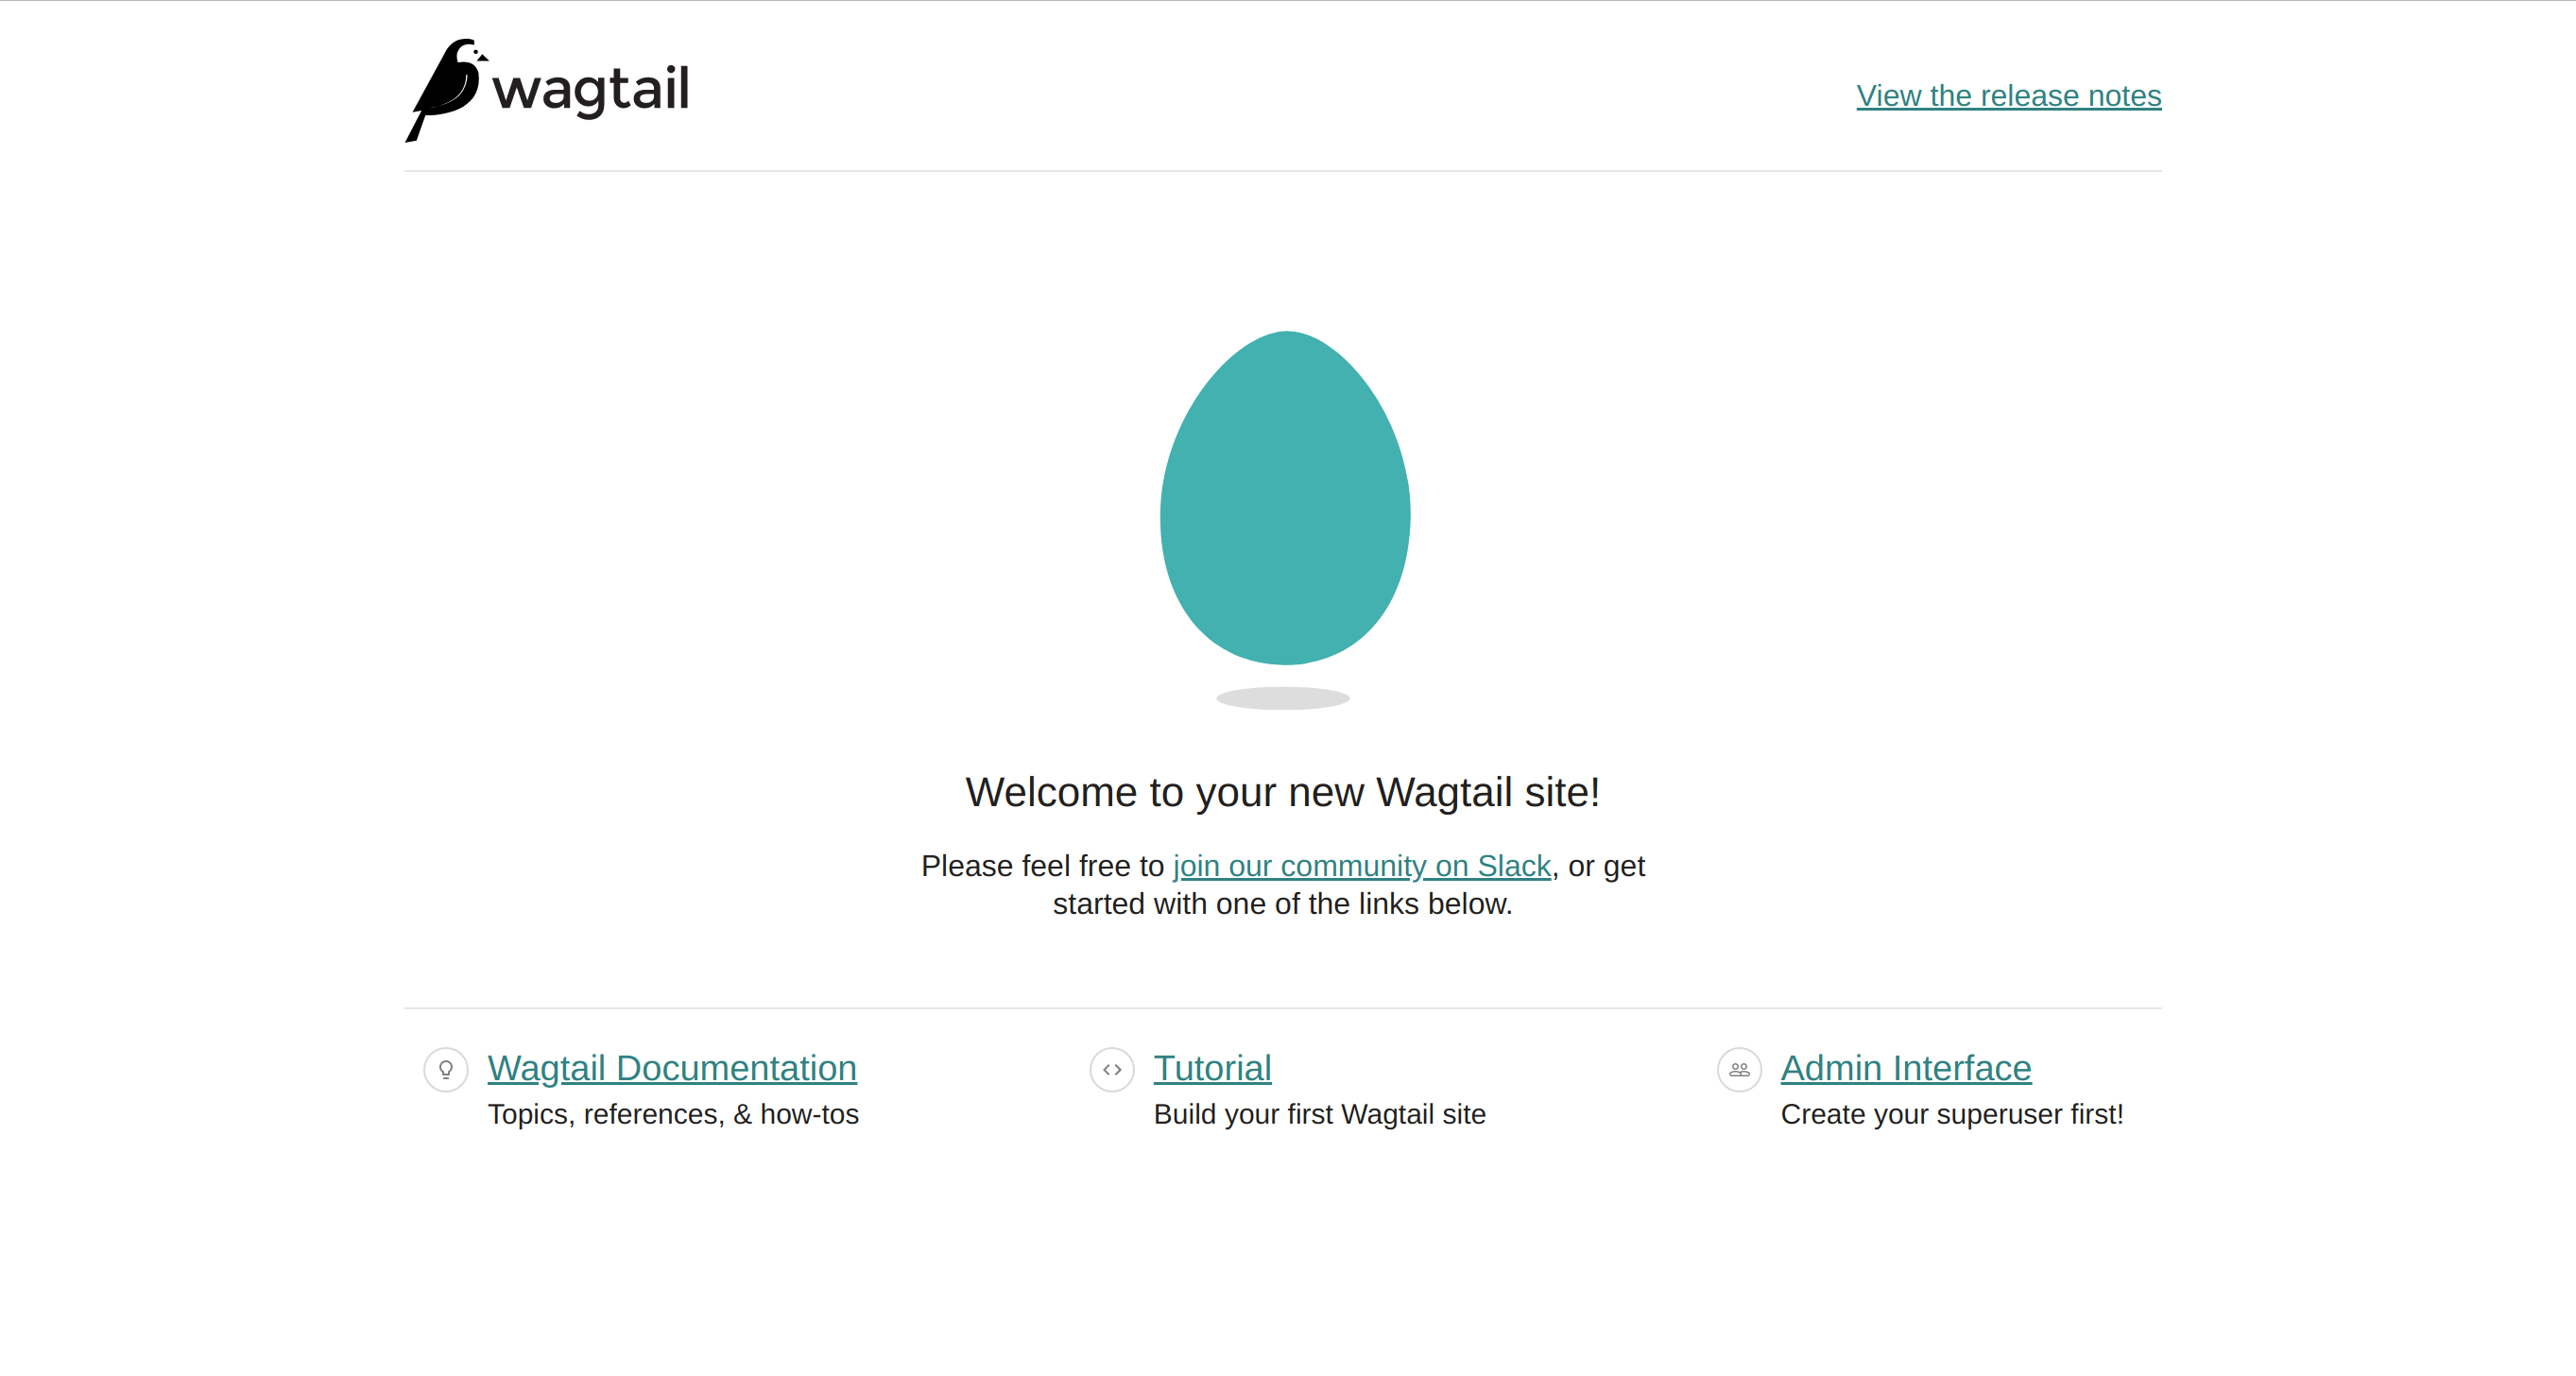
にアクセスすると以下のような画面になります。
最後まで読んでいただきありがとうございます。
今回の内容は参考文献に乗せているものをそのまま書いただけなので参考文献もぜひみてください。