目標

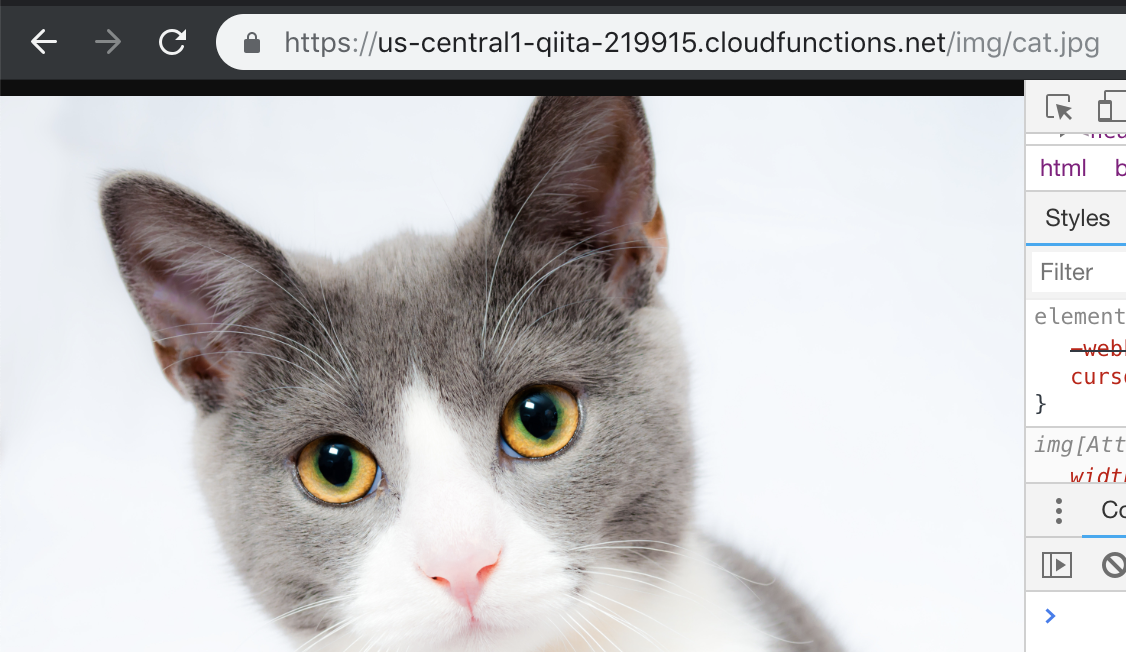
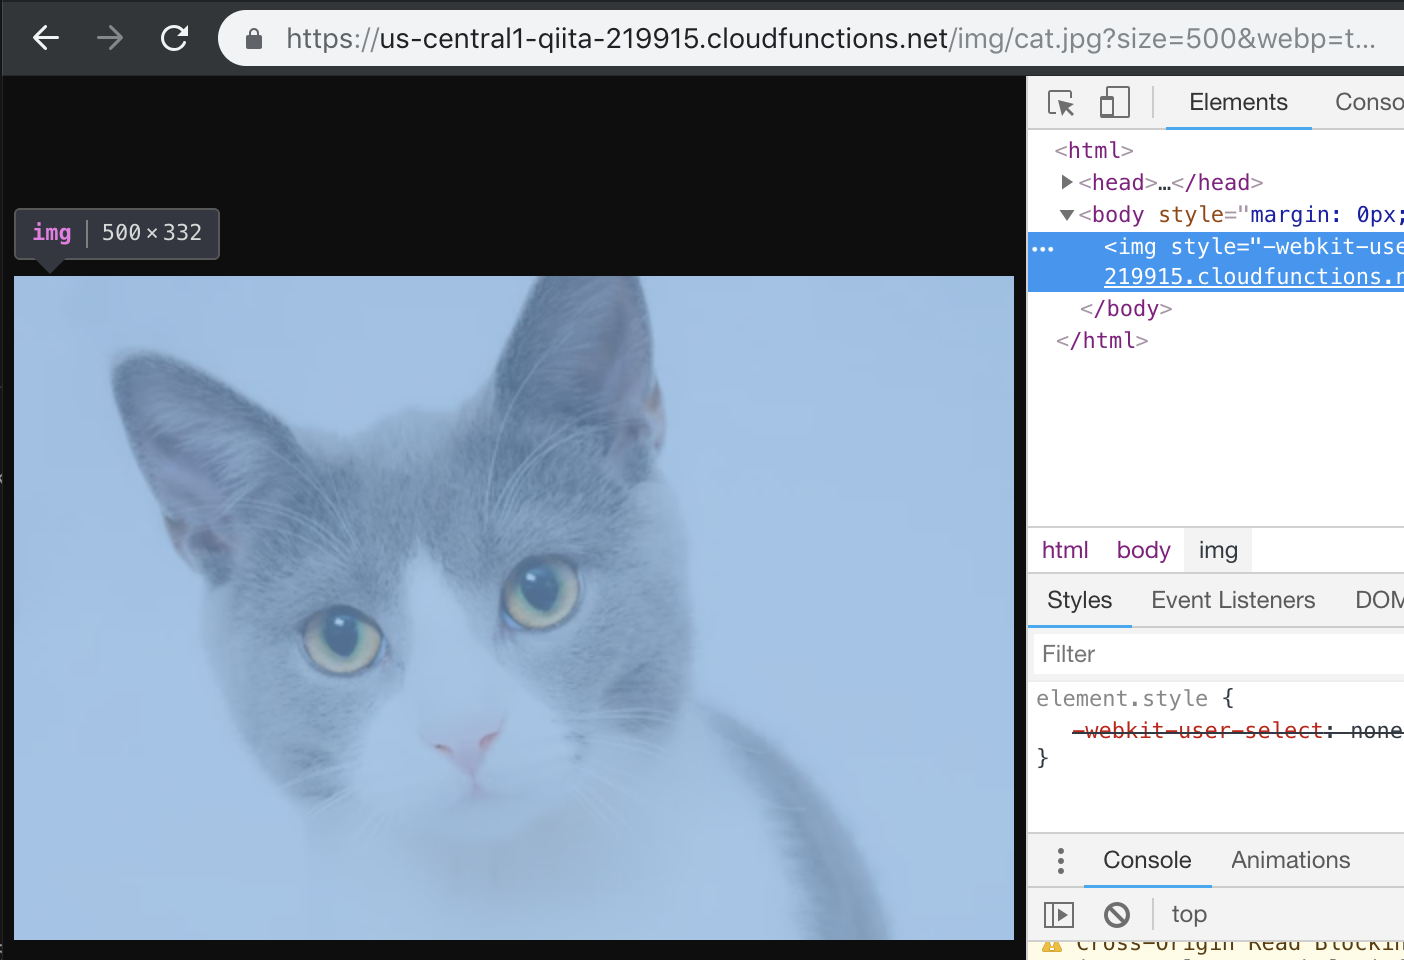
↑こういう画像をcat.jpg?size=1000とかcat.jpg?encode=webpとかでサイズ変換したり、webpにエンコードしたりして配信できるようにする。
ちなみにこの猫画像はpexelsでcatと検索したら一番上に出てきたものです。
準備
当たり前ですがGCPを使うのでgcloudをインストールしておきます。
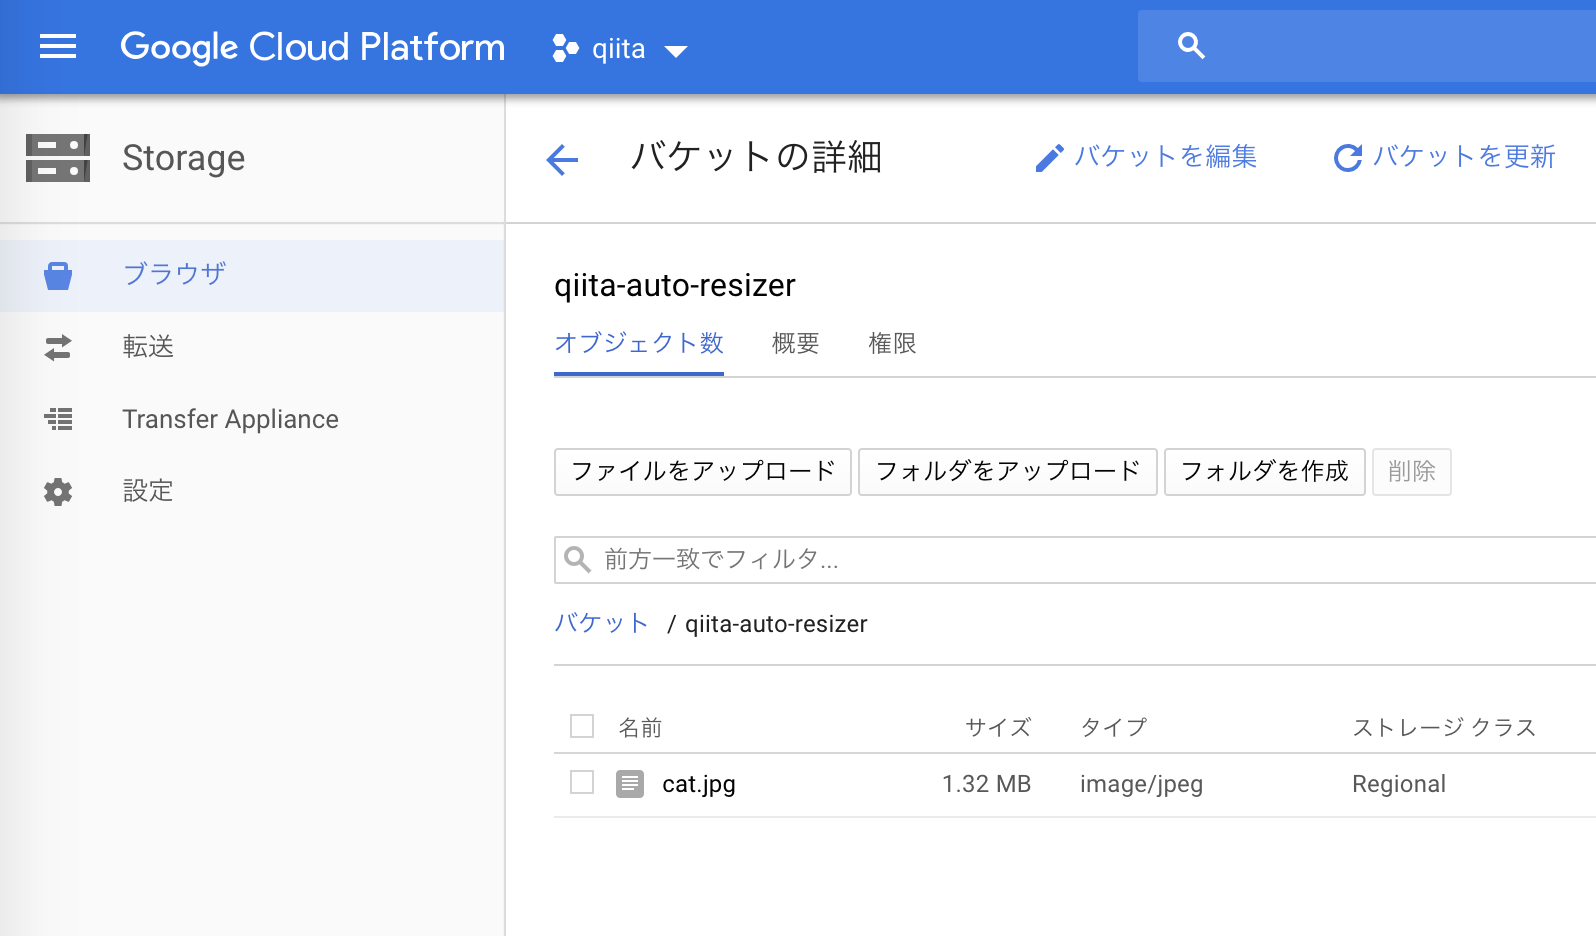
あとGCPのプロジェクトをセットアップして、適当にバケットを作成しておきます。

関数をデプロイしてみる
まず公式チュートリアルにもあるHello World!だけを返す関数をデプロイしてみます。
exports.helloGET = (req, res) => {
  res.send('Hello World!');
};
適当なフォルダにindex.jsを作成し、上のように書きます。そのままシェルで
gcloud functions deploy helloGET --runtime nodejs6 --trigger-http
と入力するとCloudFunctionsにデプロイできます。
デプロイした関数のURLはこんな感じ↓で、アクセスしてみると「Hello World!」と表示されます。
https://us-central1-qiita-219915.cloudfunctions.net/helloGET

必要なライブラリを追加
yarn init -y
yarn add @google-cloud/storage fs-extra sharp imagemin imagemin-mozjpeg imagemin-pngquant
@google-cloud/storage
GCPのStorageにアクセスするのに使います。
fs-extra
普段使っているので。ensureDirが便利。
sharp
imagemin
画像を圧縮してくれます。圧縮しないなら不要。
それぞれの形式にあったプラグインと共に使用します。今回はjpgとpng用のものを用意。
GCS
とりあえずGCSからファイルを読み込んでそのまま送り返してみます。
const {Storage} = require('@google-cloud/storage');
const os = require('os');
const path = require('path');
const fs = require('fs-extra');

const gcs = new Storage();
const bucket = gcs.bucket('qiita-auto-resizer');

exports.resizeImg = async (req, res) => {
  /**
   * 例えば
   * cloudfunctions.net/resizeImg/a/b/cat.jpg
   * にアクセスした場合は
   * path: '/a/b/cat.jpg'
   * name: 'cat.jpg'
   * となる。
   */
  const requestData = {
    path: req.path,
    name: req.path.split('/').pop()
  }

  /**
   * tmp/workspaceを使う。
   */
  const workDir = path.join(os.tmpdir(), 'workspace');

  /**
   * tmp/workspaceがない場合は作成
   */
  await fs.ensureDir(workDir);

  /**
   * Storageから
   * tmp/workspace/ファイル名
   * にファイルをダウンロードする。
   */
  const tmpfile = path.join(workDir, requestData.name);
  const file = bucket.file(requestData.path);
  await file.download({
    destination: tmpfile
  });

  /**
   * ここで加工
   */

  /**
   * 加工したファイルを読み込んで送信
   */
  const responseImg = await fs.readFile(tmpfile);
  res.send(responseImg);
};
gcloud functions deploy img --entry-point resizeImg --runtime nodejs8 --trigger-http
--entry-pointを指定することでアクセスする際のurlの見た目を整えられます。
今回は/img/になるようにしてみました。アクセスする際は↓のようになります。
~~~~.cloudfunctions.net/img/cat.jpg
あとasync awaitを使うために--runtime nodejs8を指定しました。
 ↑アクセスするとファイルが降ってきます💧
@@ -42,6 +42,9 @@ exports.resizeImg = async (req, res) => {
     destination: tmpfile
   });

+  const metadata = await file.getMetadata();
+  const contentType = metadata[0].contentType;
+
   /**
    * ここで加工
    */
@@ -50,5 +53,7 @@ exports.resizeImg = async (req, res) => {
    * 加工したファイルを読み込んで送信
    */
   const responseImg = await fs.readFile(tmpfile);
+
+  res.set('Content-Type', contentType);
   res.send(responseImg);
 };
画像加工
今回使用するライブラリの「sharp」は色々機能が付いていますが、とりあえずリサイズとwebp変換を実装してみます。
@@ -2,6 +2,7 @@ const {Storage} = require('@google-cloud/storage');
 const os = require('os');
 const path = require('path');
 const fs = require('fs-extra');
+const sharp = require('sharp');

 const gcs = new Storage();
 const bucket = gcs.bucket('qiita-auto-resizer');
@@ -18,7 +19,11 @@ exports.resizeImg = async (req, res) => {
    */
   const requestData = {
     path: req.path,
-    name: req.path.split('/').pop()
+    name: req.path.split('/').pop(),
+    query: {
+      size: req.query.size,
+      webp: req.query.webp
+    }
   }

@@ -43,17 +48,24 @@ exports.resizeImg = async (req, res) => {
   });

   const metadata = await file.getMetadata();
-  const contentType = metadata[0].contentType;
+  let contentType = metadata[0].contentType;

-  /**
-   * ここで加工
-   */
+  let buffer = await sharp(tmpfile);
+
+  if(requestData.query.size){
+    const size = parseInt(requestData.query.size);
+    buffer = await buffer.resize(size, size).max().withoutEnlargement();
+  }
+  if(requestData.query.webp){
+    buffer = await buffer.webp();
+    contentType = 'image/webp';
+  }
+  buffer = await buffer.toBuffer();

   /**
    * 加工したファイルを読み込んで送信
    */
-  const responseImg = await fs.readFile(tmpfile);

   res.set('Content-Type', contentType);
-  res.send(responseImg);
+  res.send(buffer);
 };
ちなみにサイズはjpgが16.6KBでwebpが11.1KBでした。
オリジナルの5360x3560サイズの場合だとjpgが1MBなのに対してwebpは442KBです。
大きいサイズの画像を変換しているとcloudfunctionsのメモリが足りなくて怒られるので適当にサイズを増やしました。
gcloud functions deploy img --entry-point resizeImg --runtime nodejs8 --trigger-http --memory 512MB
キャッシュを効かせる
毎回アクセスがあるたびに変換を行うのは時間もお金もかかります。ナンセンスです。
@@ -67,5 +67,6 @@ exports.resizeImg = async (req, res) => {
    */

   res.set('Content-Type', contentType);
+  res.set('cache-control', 'public, max-age=3600');
   res.send(buffer);
 };
レスポンスヘッダーにcache-controlを追加するだけでGCPのエッジキャッシュを利用できます。同じURLへのアクセスが同じものを返す時は基本的にオンにしておくべきです。
圧縮
imageminを使って圧縮してみます。
@@ -3,6 +3,9 @@ const os = require('os');
 const path = require('path');
 const fs = require('fs-extra');
 const sharp = require('sharp');
+const imagemin = require('imagemin');
+const imageminMozjpeg = require('imagemin-mozjpeg');
+const imageminPngquant = require('imagemin-pngquant');

 const gcs = new Storage();
 const bucket = gcs.bucket('qiita-auto-resizer');
@@ -63,8 +66,15 @@ exports.resizeImg = async (req, res) => {
   buffer = await buffer.toBuffer();

   /**
-   * 加工したファイルを読み込んで送信
+   * 圧縮
    */
+  buffer = await imagemin.buffer(buffer,
+    {
+      plugins: [
+        imageminMozjpeg({quality:80}),
+        imageminPngquant({quality: '75-90'})
+      ]
+    });

   res.set('Content-Type', contentType);
   res.set('cache-control', 'public, max-age=3600');
オリジナルの5360x3560サイズで1MB→882KBになりました。微妙...。
終わりに
今回作ったfunctionsは↓のURLで確かめられます。
https://us-central1-qiita-219915.cloudfunctions.net/img/cat.jpg

