この記事は株式会社富士通システムズウェブテクノロジーが企画するいのべこ夏休みアドベントカレンダー 2020の5日目の記事です。本記事の掲載内容は私自身の見解であり、所属する組織を代表するものではありません。
はじめに
7月末で約4か月の研修が終わり、8月から配属となった新人がSlackで遊んでみました。
Slackのコマンドやbotを作ったことが無い、GASを触ったことが無い状態でも簡単に作成できたので作成手順をまとめてみます。
今回やってみたこと
コマンド作成
ボタン選択式botの作成
ボタンに合わせた画像表示
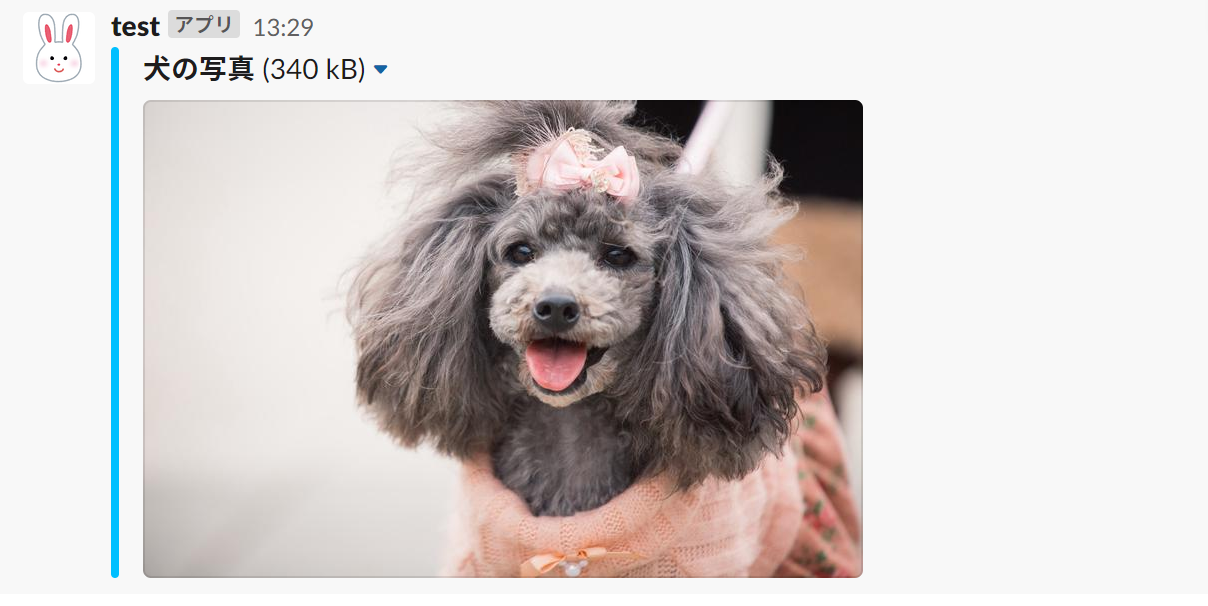
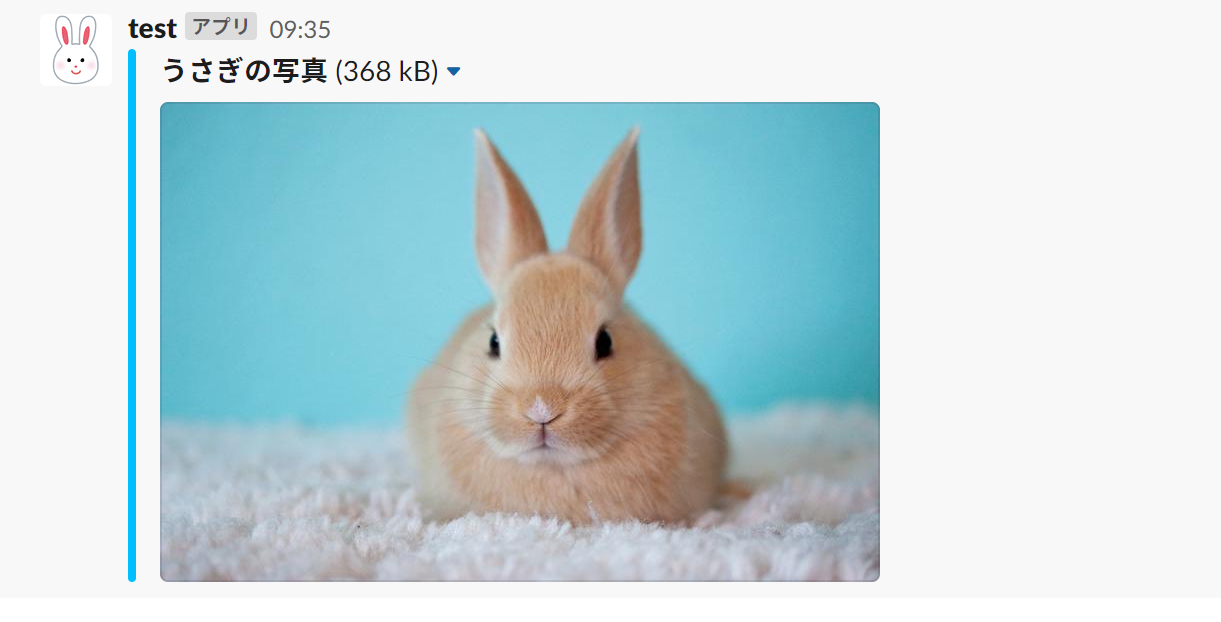
コマンドを叩くとボタン選択式botが出現し、ボタンによって表示される画像を変えています。
AWS LambdaやGoogle Cloud Functionsなどの有料サービスでも作成できますが、今回は無料で手軽に使えるGASを選びました。
手順
- Slack Appの作成
- GoogleDriveの設定
- GASでスクリプトを2つ作成
- Slack AppとGASを連携
Slack Appの作成
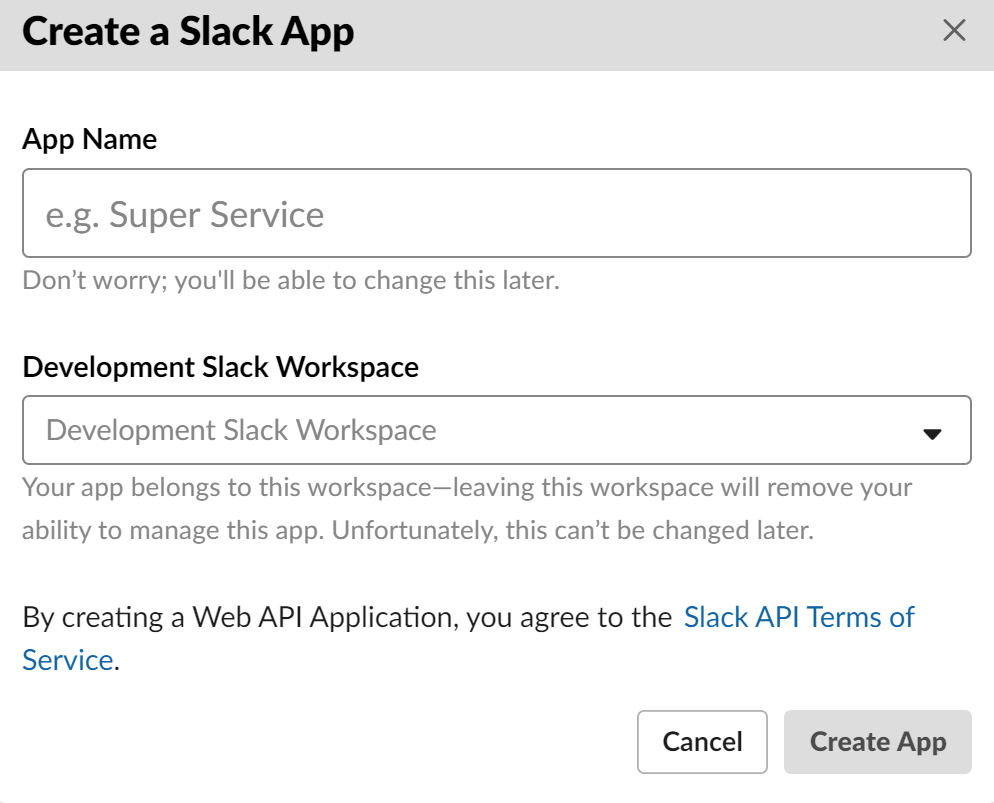
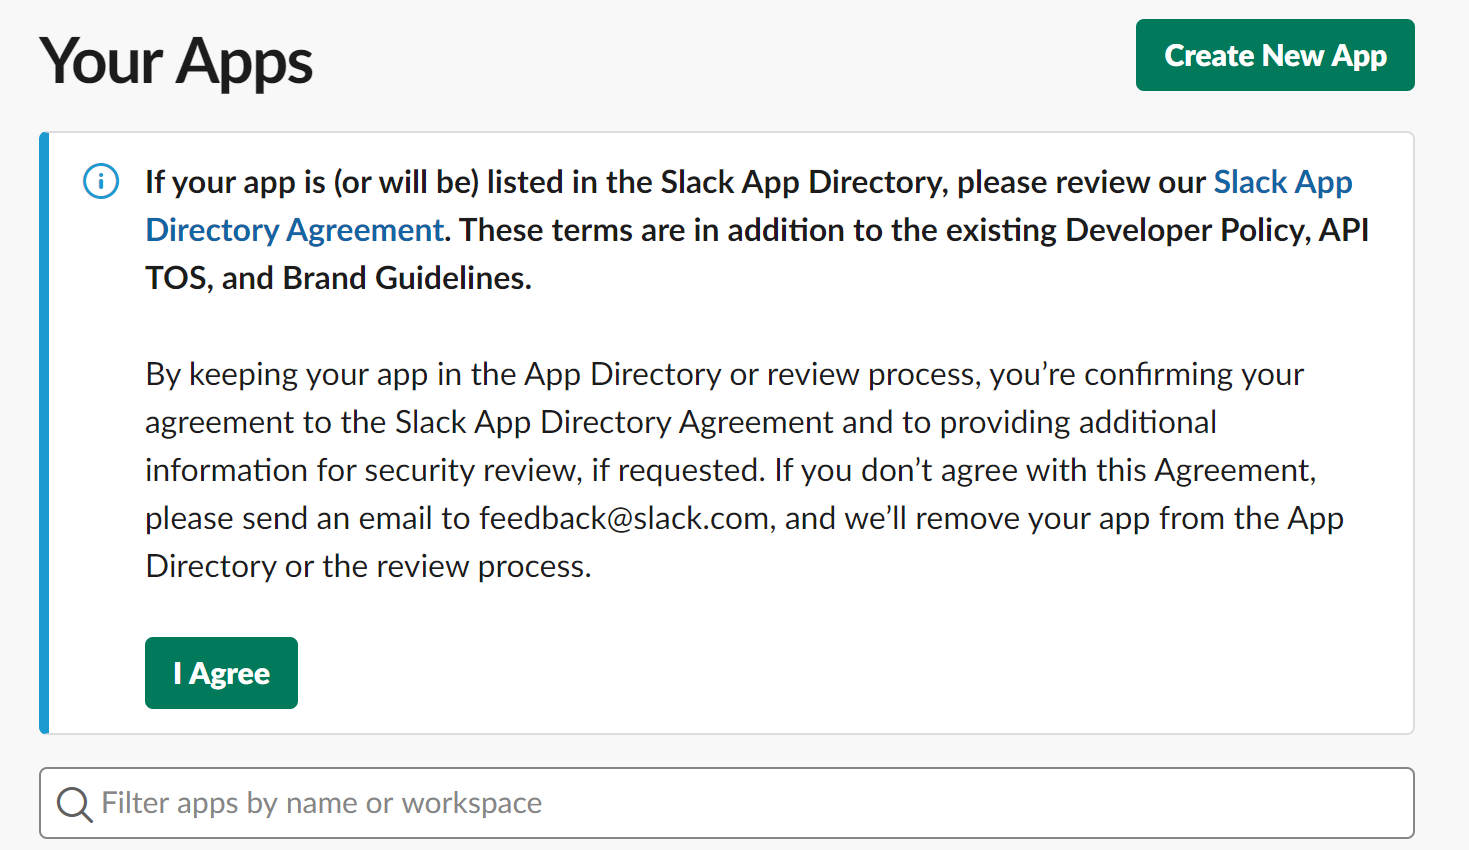
SlackAPIへアクセスし、Create New Appをクリックします。
権限の設定
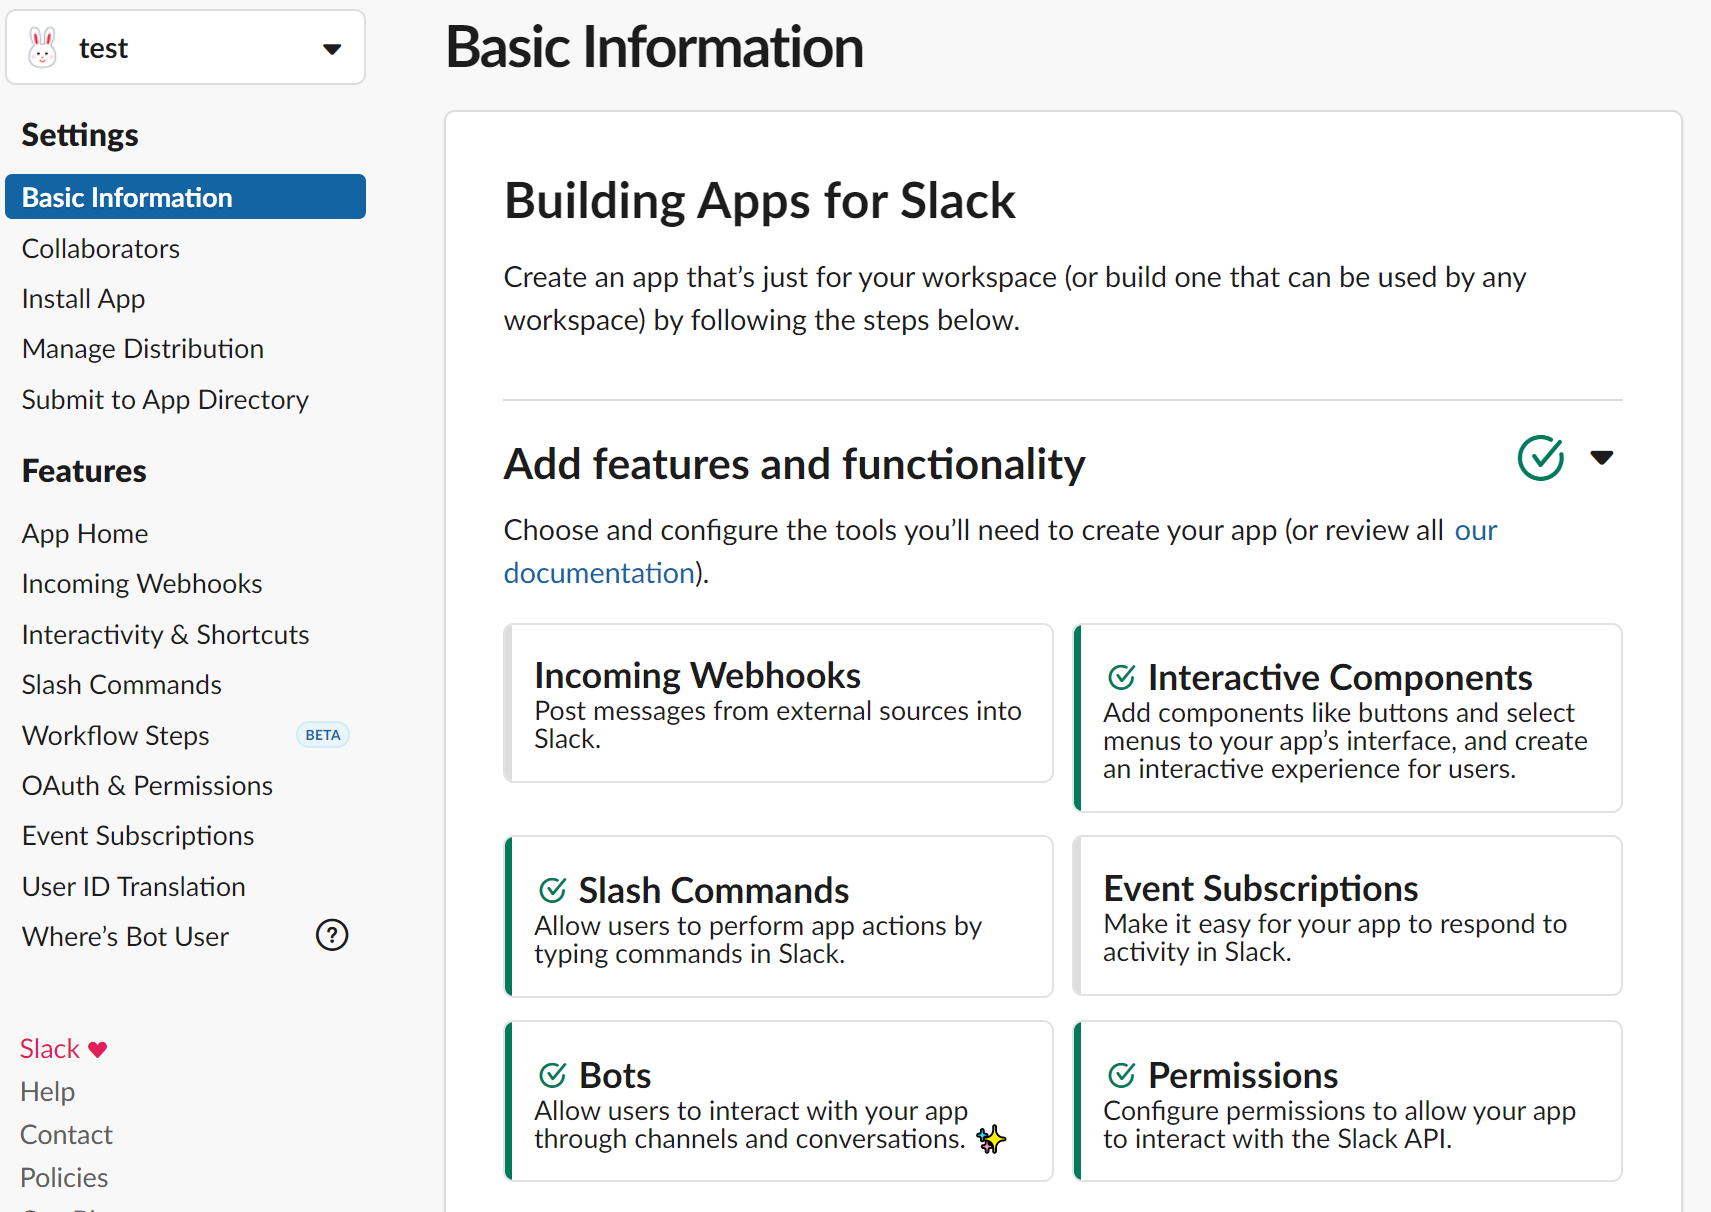
Basic Informationの右下にあるPermissionsをクリックします。
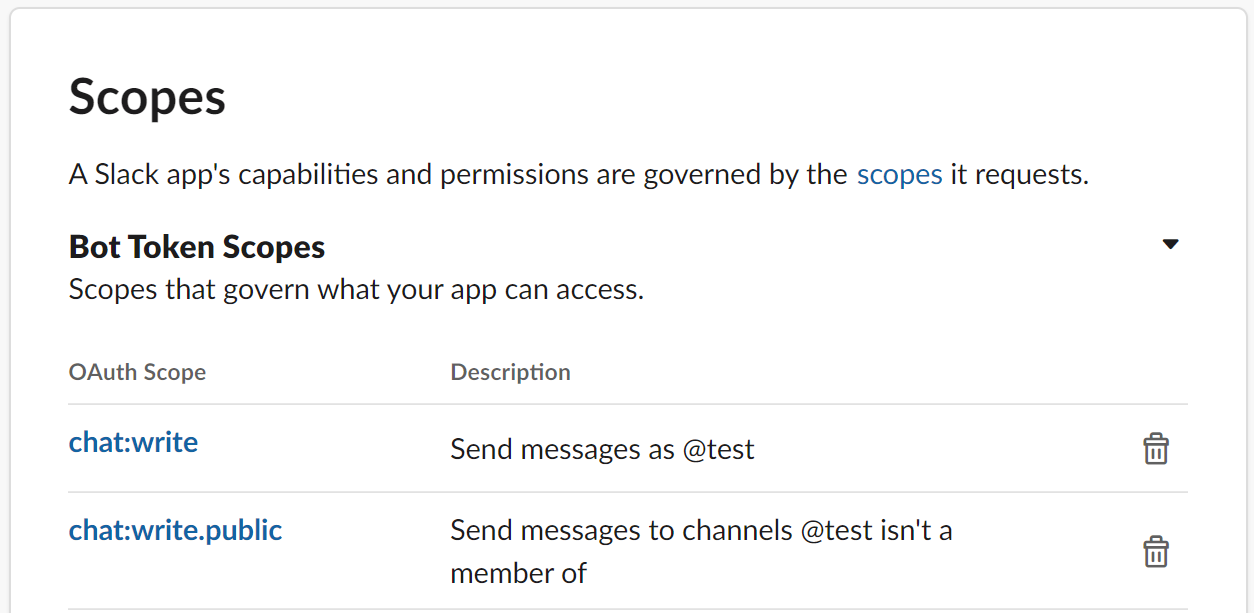
Bot Token Scopesにchat:writeとchat:write.publicを追加します。
トークンの取得
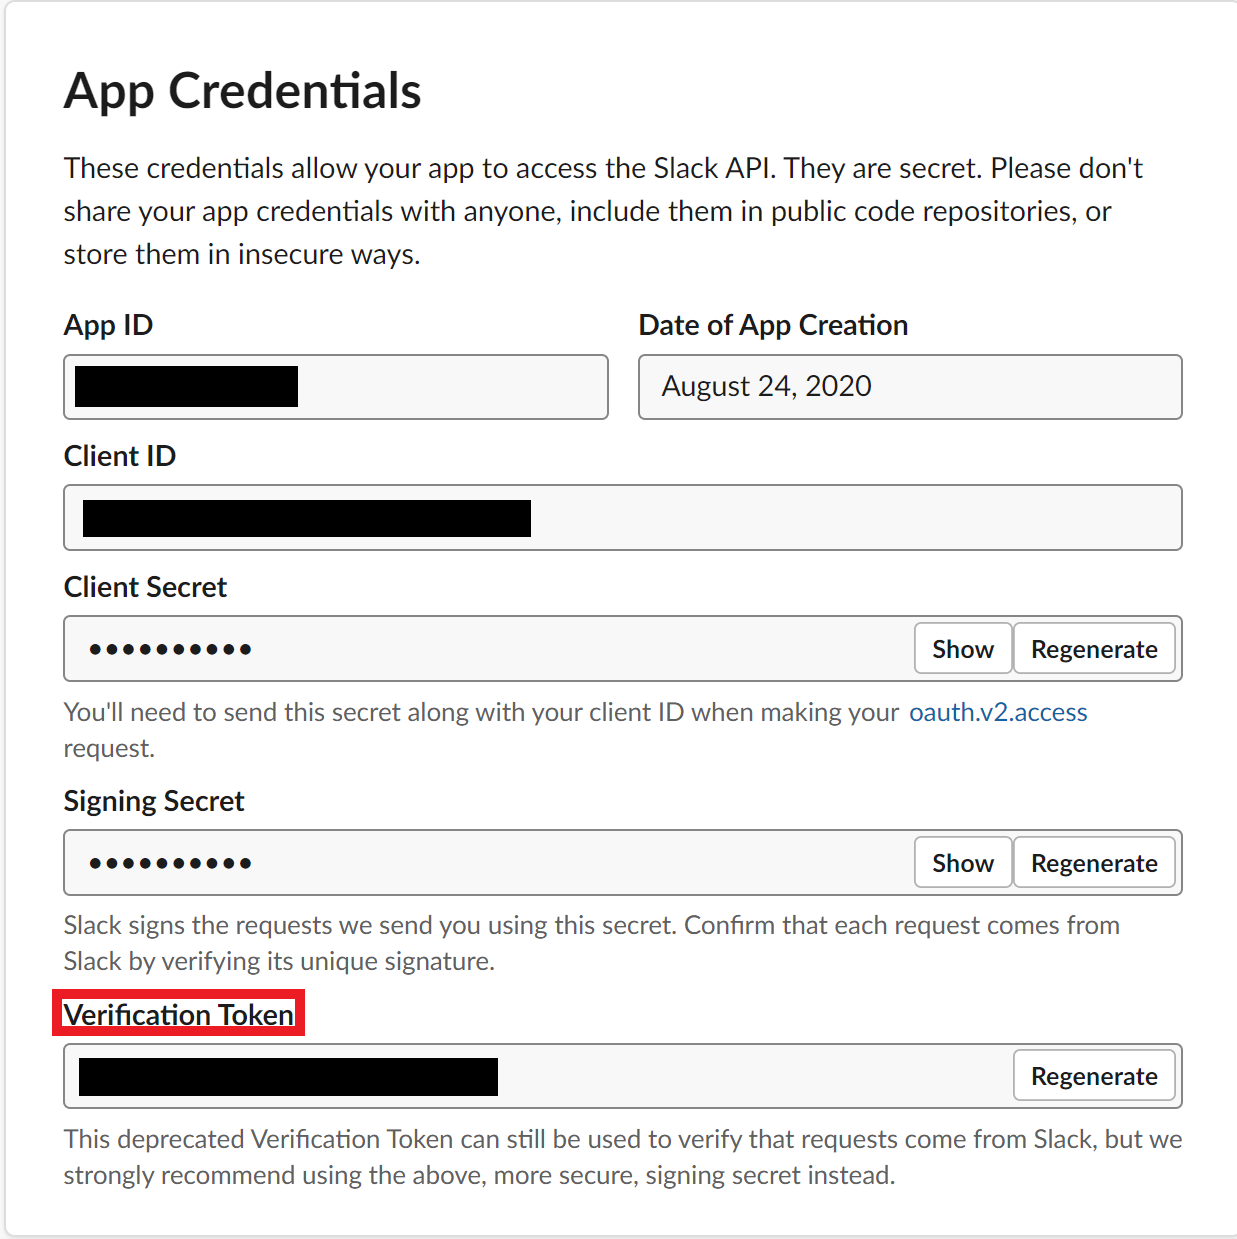
Basic Informationの真ん中あたりにApp Credentialsがあります。
その中のVerification Tokenをコピーしてメモに残しておきます。
これでSlack Appの作成は完了です!
GoogleDriveの設定
今回は選択したボタンに応じて画像を表示させたいので、あらかじめGoogleDriveに画像を保存しておきます。
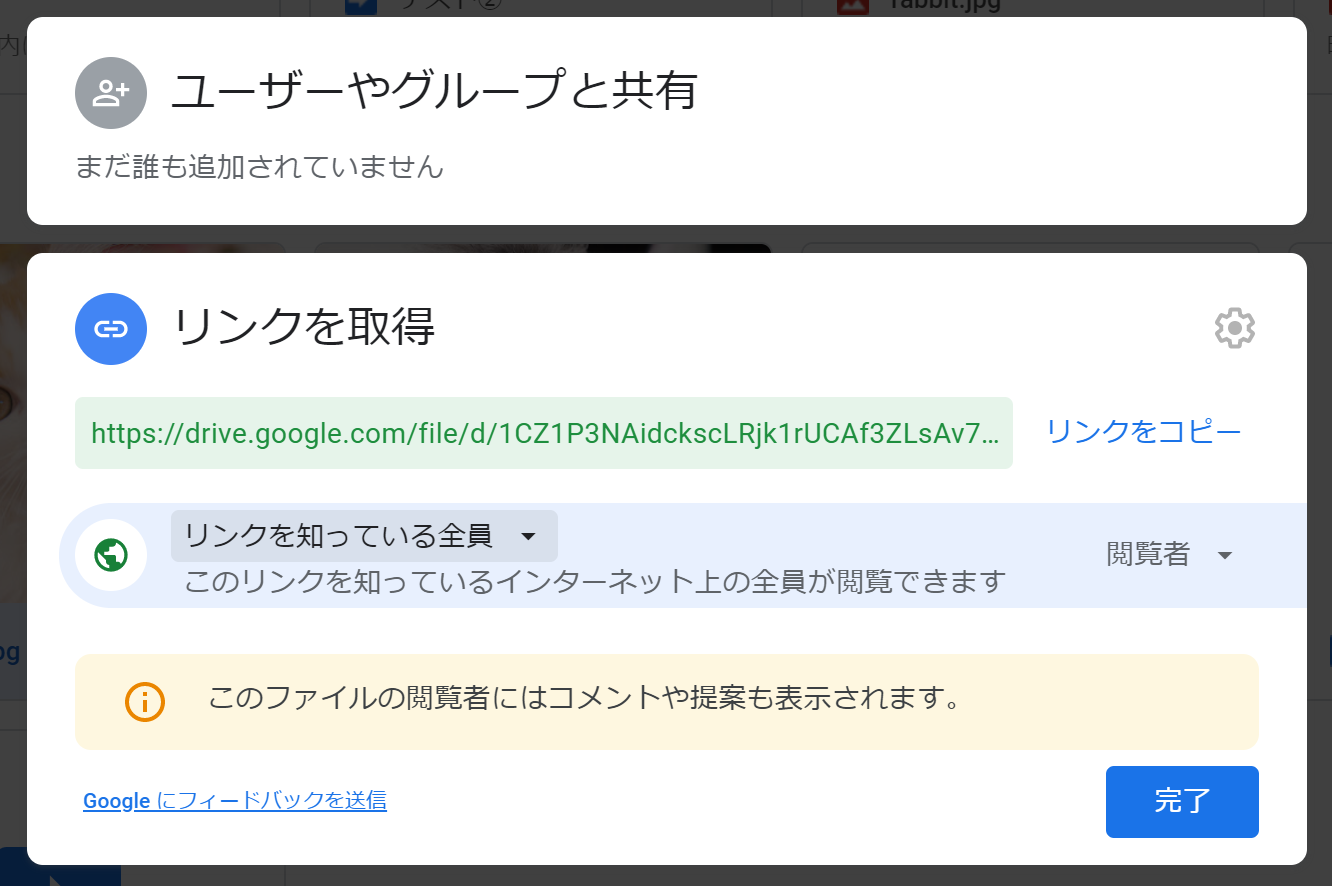
公開用URLの取得
botで画像を表示させるためには公開用URLの取得が必要になります。
参照用URLの作成
先ほど取得した公開用URLを使用してもSlackで画像が表示されません。
そのため、メモに残しておいた公開用URLを参照用URLに書き換えます。
参照用URLの作成は以下の記事を参考にしました。
Google Drive上のファイルに直接アクセスする
Google App Scriptでスクリプトを作成
スクリプト1を作成
GASにアクセスし、新規プロジェクト作成します。
以下のコードを入力してください。
※★の部分には、Slack App作成時にコピーしておいたTokenを入力
スクリプト1のコード(クリックして開く)
function doPost(e) {
  var slack_token = '★'; //Verification Token

  if (slack_token != e.parameter.token) {
    throw new Error(e.parameter.token);
  }

  var data = {
    "response_type":"in_channel",
    //アタッチメント部分
    "attachments": [{
      "title": "好きな動物を選んでください",
      "text": "Please select animals.",
      "fallback": "animal",
      "callback_id": "callback_button",
      "color": "#00bfff",
      "attachment_type": "default",
      "actions": [
        {
          "name": "dog",
          "text": "犬",
          "type": "button",
          "value": "dog"
        },
        {
          "name": "cat",
          "text": "猫",
          "type": "button",
          "value": "cat"
        },
        {
          "name": "rabbit",
          "text": "うさぎ",
          "type": "button",
          "value": "rabbit"
        }
        ]
      }]
  };
  return ContentService.createTextOutput(JSON.stringify(data)).setMimeType(ContentService.MimeType.JSON);
}
GASを公開
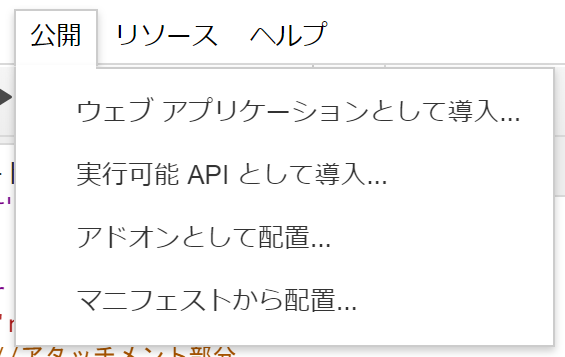
コードの入力が終わったら公開→ウェブアプリケーションとして導入を選択
Deploy as web app画面で以下を選択します。
Project version→New
Excecute the app as→Me(メールアドレス)
Who has access to the app→Anyone, even anonymous
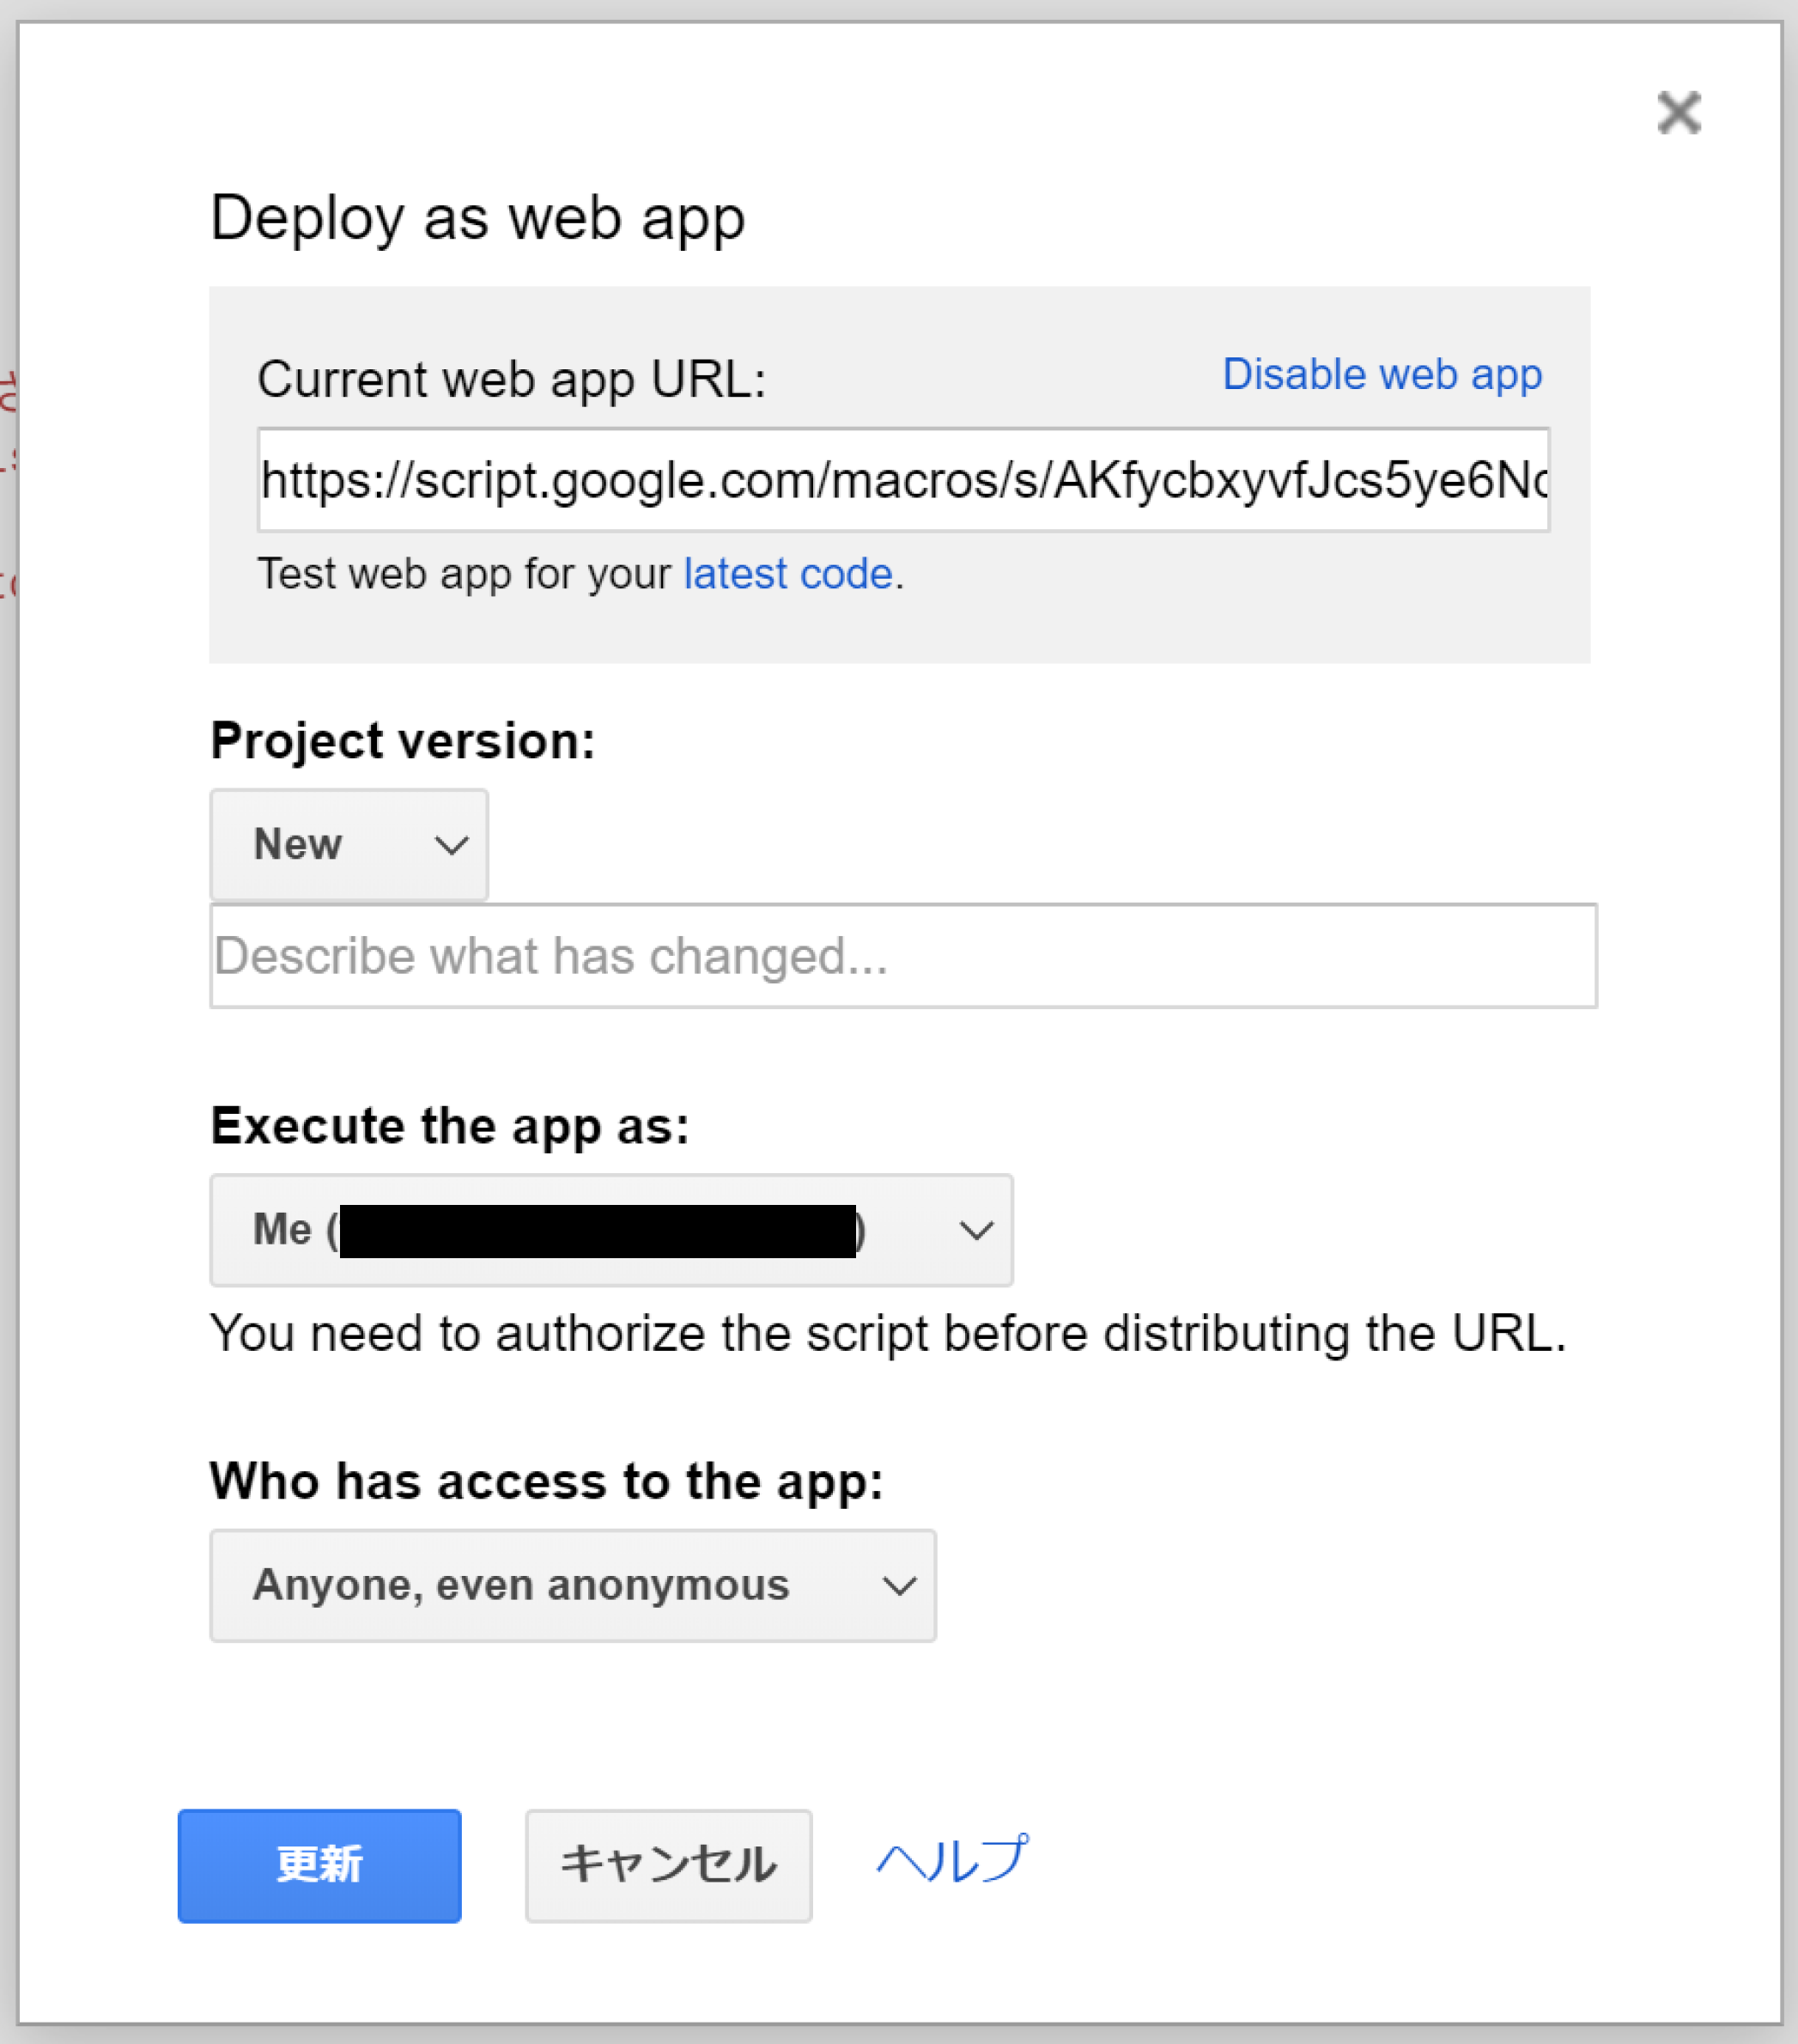
Deploy または 更新をクリック後、表示されたURLをコピーしてメモに残しておきます。
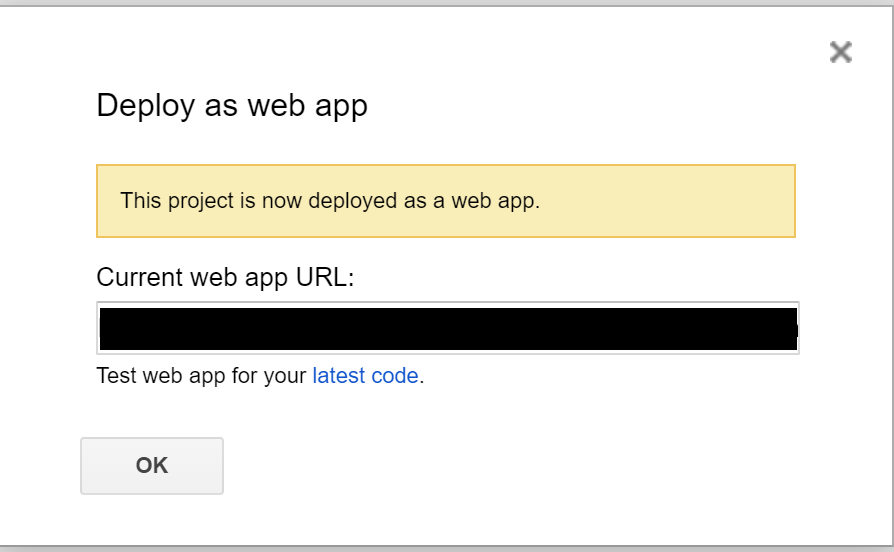
これで1つ目のスクリプトが完成です!
スクリプト2を作成
2つ目のスクリプト作成のため、再度GASで新規プロジェクトを作成します。
以下のコードを入力してください。
※☆にはGoogleDriveの参照用URLを入力
スクリプト2のコード(クリックして開く)
function doPost(e) {
  var payload = JSON.parse(e["parameter"]["payload"]);
  var value = payload["actions"][0]["value"];
  var dog = "☆"; //参照用URL
  var cat = "☆"; //参照用URL
  var rabbit = "☆"; //参照用URL

  if (value == "dog"){
    var reply = {
      "attachments": [
        {
        "title": "犬の写真",
        "fallback": "dog",
        "callback_id": "callback_button",
        "image_url": dog,
        "color": "#00bfff",
        "attachment_type": "default",
        }
      ]
    };
  }

  if (value == "cat"){
    var reply = {
      "attachments": [
        {
        "title": "猫の写真",
        "fallback": "cat",
        "callback_id": "callback_button",
        "image_url": cat,
        "color": "#00bfff",
        "attachment_type": "default",
        }
      ]
    };
  }

  if (value == "rabbit"){
    var reply = {
      "attachments": [
        {
        "title": "うさぎの写真",
        "fallback": "rabbit",
        "callback_id": "callback_button",
        "image_url": rabbit,
        "color": "#00bfff",
        "attachment_type": "default",
        }
      ]
    };
  }
    return ContentService.createTextOutput(JSON.stringify(reply)).setMimeType(ContentService.MimeType.JSON);
}
1つ目のスクリプトと同様に、Deploy→URLをコピーしておきます。
これで2つ目のスクリプトも完成です!
Slack AppとGASを連携
Slash Commandsの作成
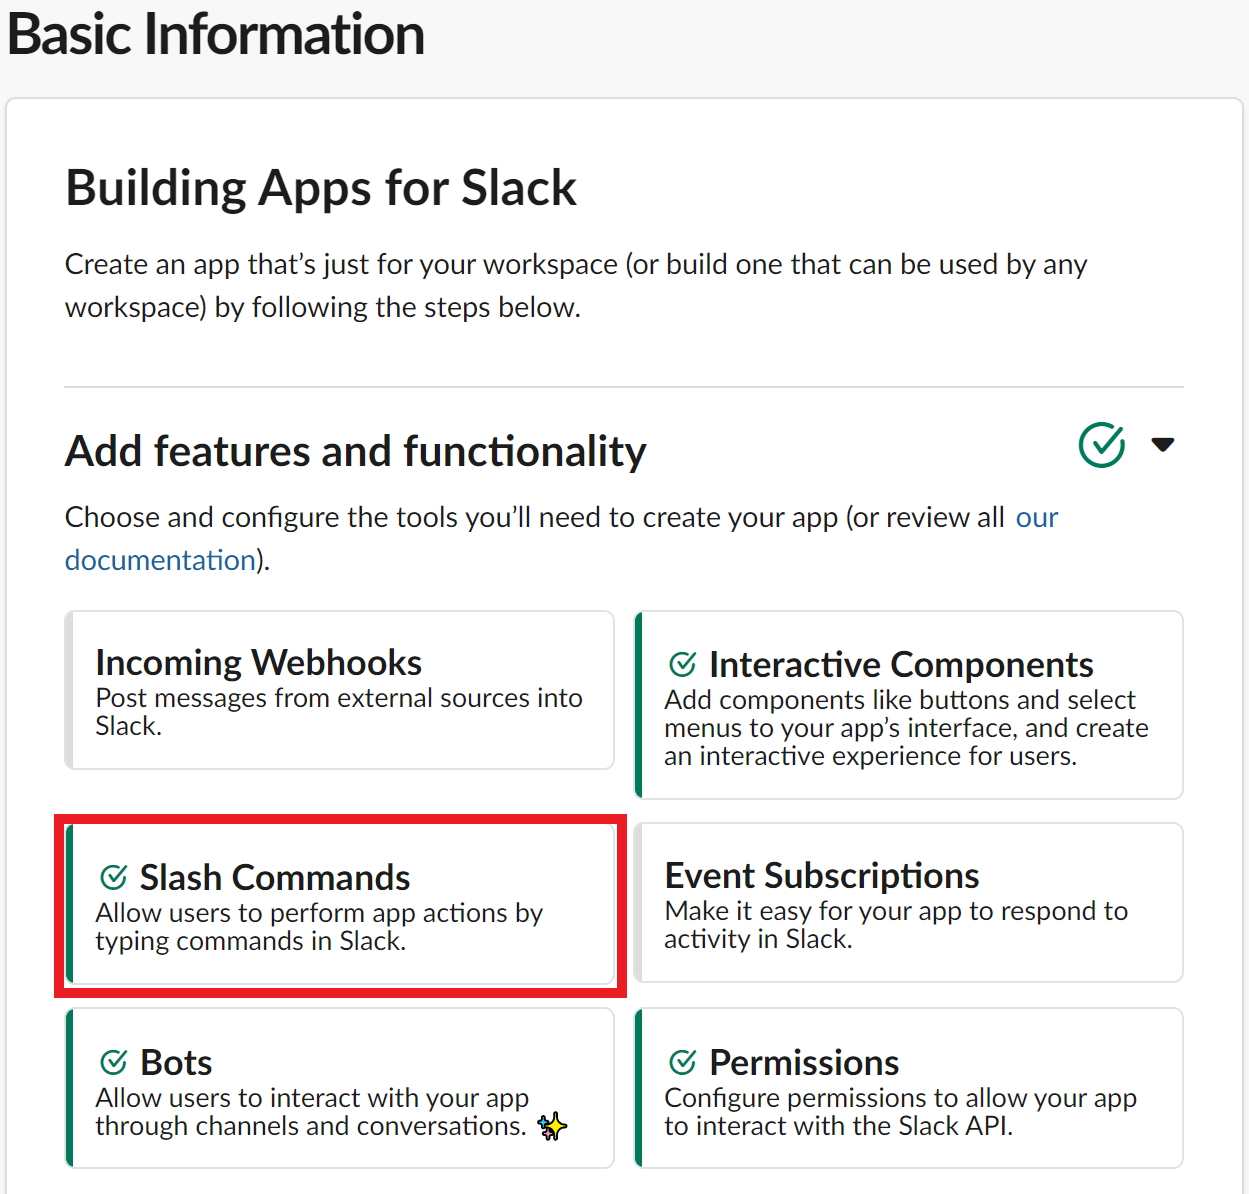
Basic InformationのSlash Commandsをクリックします。
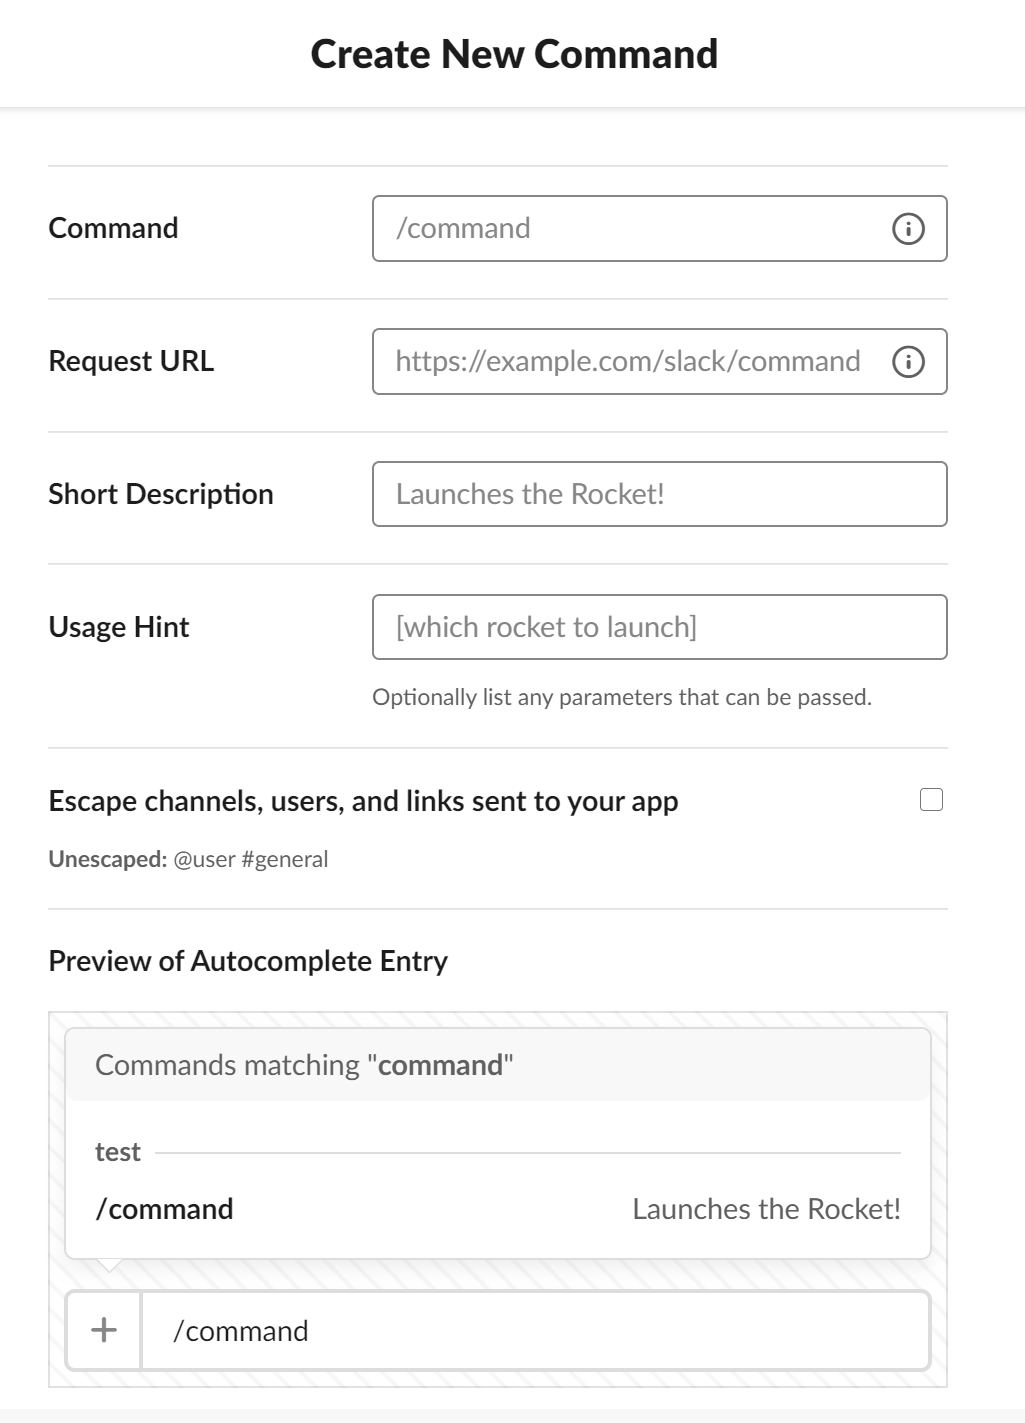
Create New Command画面でコマンドの名前や説明文を入力します。
※RequestURLにはコピーしておいたスクリプト1のURLを入力
Interactive Componentsの設定
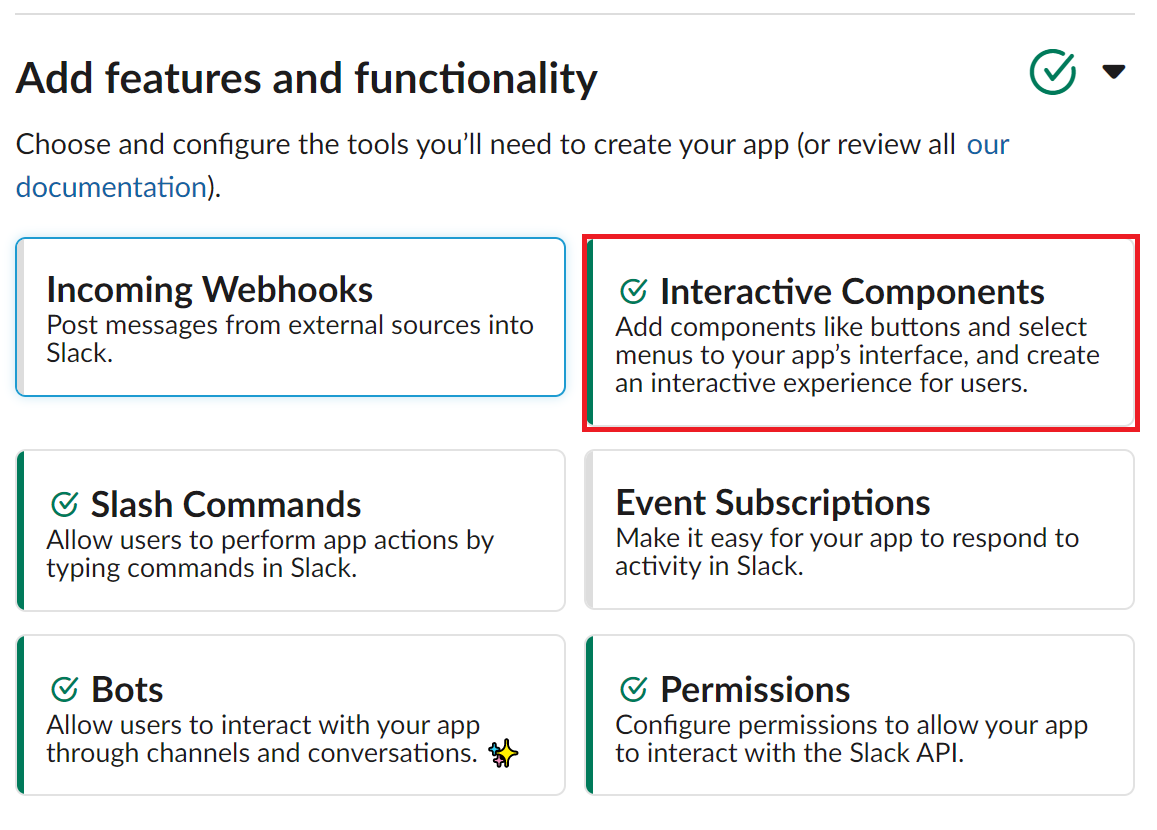
Basic Information内のInteractive Componentsをクリックします。
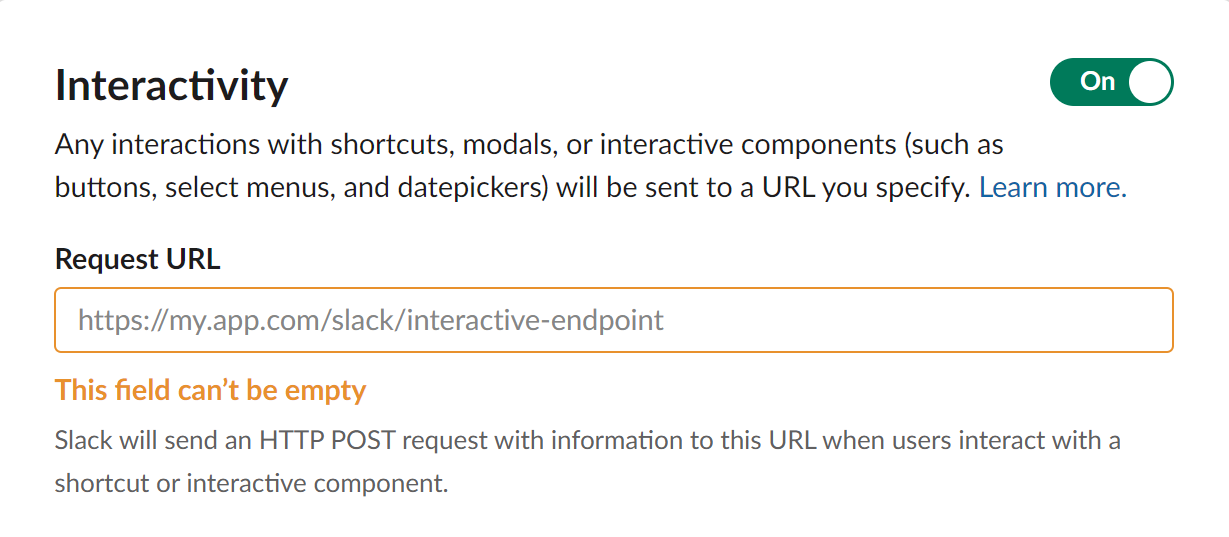
Interactive ComponentsをONにします。
※RequestURLにコピーしておいたスクリプト2のURLを入力
ワークスペースにAppをインストール
Basic InformationでInstall App to Workspaceをクリックします。
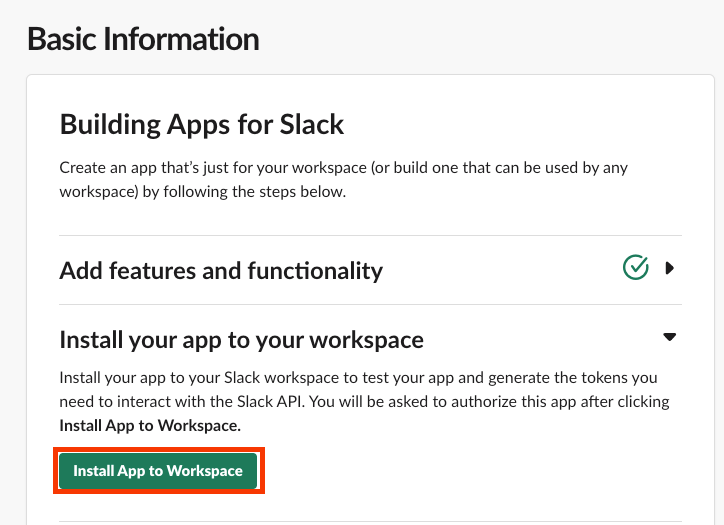
確認画面が出てくるので許可するをクリックすれば完成です!
動作確認
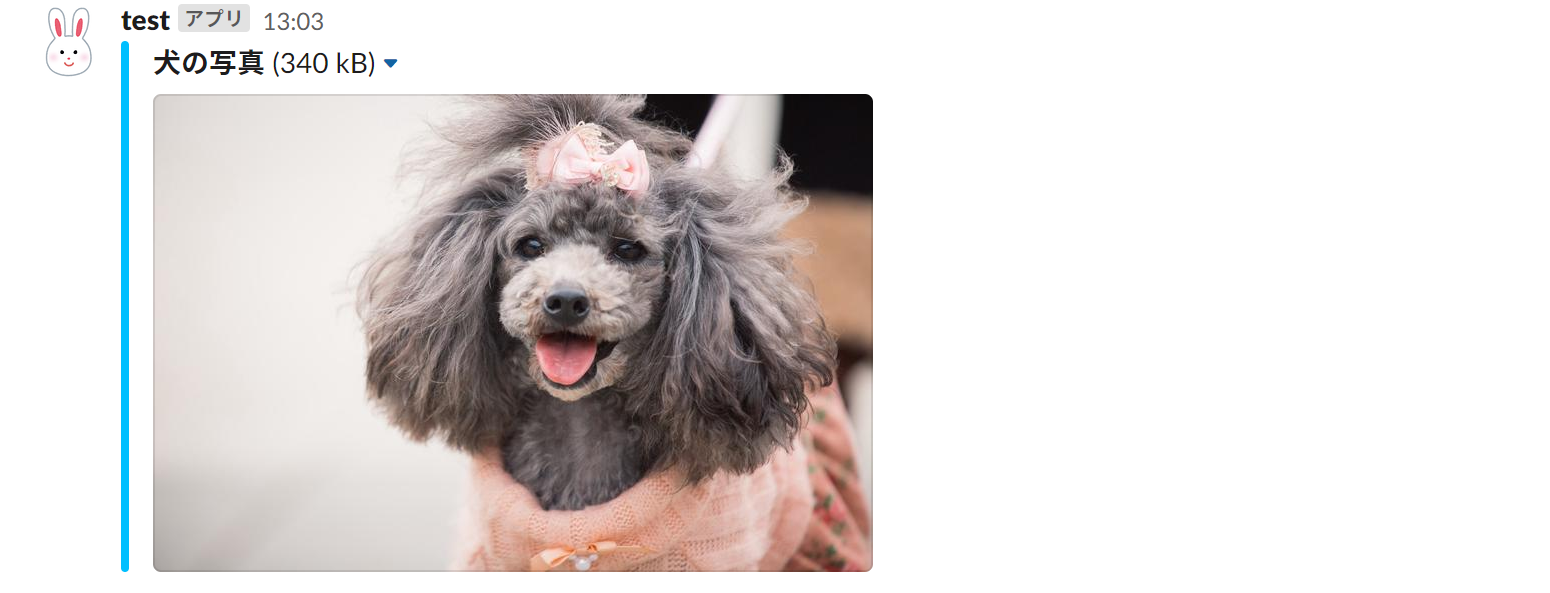
画像が表示されました!
再度コマンドを叩いて、猫をクリックしてみます。
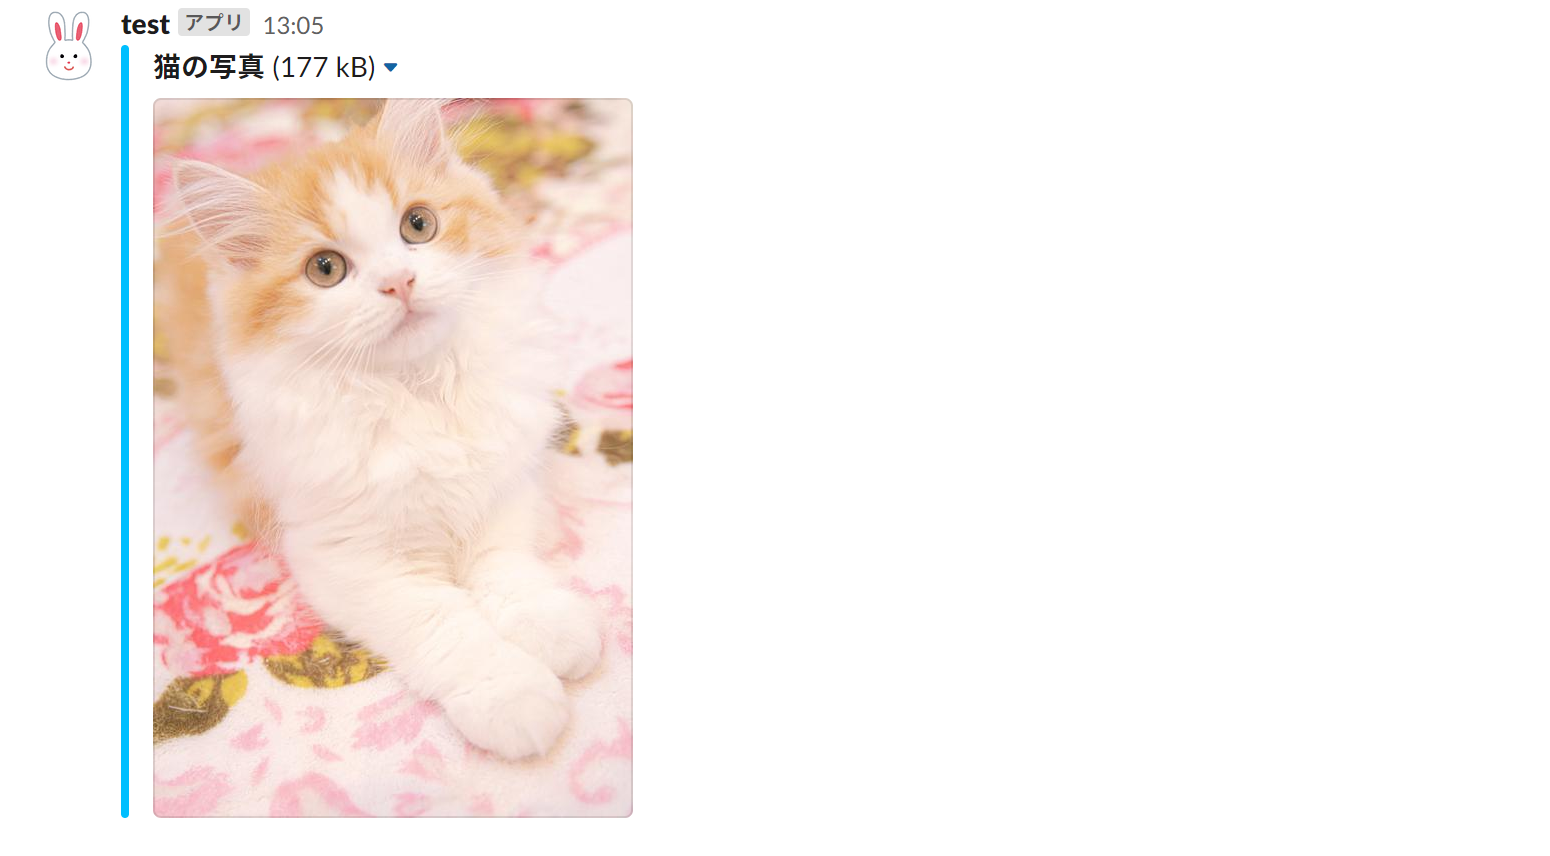
猫の画像が表示されました!
終わりに
初めてSlackのコマンド・bot作成をしてみましたが、思っていたよりサクッと作れました。
今後はもう少し機能拡充したbotも作成してみたいです。


