この記事はWSL2を使ったDockerのインストール方法を記載しています。
Docker初学者向けの内容であり、自分もかなり苦労したので、備忘録として残します。
注意事項
- この情報は2022年9月2日時点のものです。
- 以下の内容には誤りが含まれる可能性があります。
- 間違っている部分などがあれば、コメントお願いします。
今回インストールした環境
| 項目 | バージョン |
|---|---|
| OS | Windows 11 Home |
| Docker | 20.10.17 |
| Linux | Ubuntu(20.04.4 LTS) |
事前準備
WSL2のインストール(既にインストール済みの方は不要)
- こちらの記事が分かりやすいです。
Windows Homeを使用している方はHyper-V機能が搭載されていませんが、有効化しなくても問題ありません。
どうしても、Hyper-Vを使用したい方はこちらの記事を参考にしてください。
Ubuntuをインストール(すでにインストール済みの方は不要)
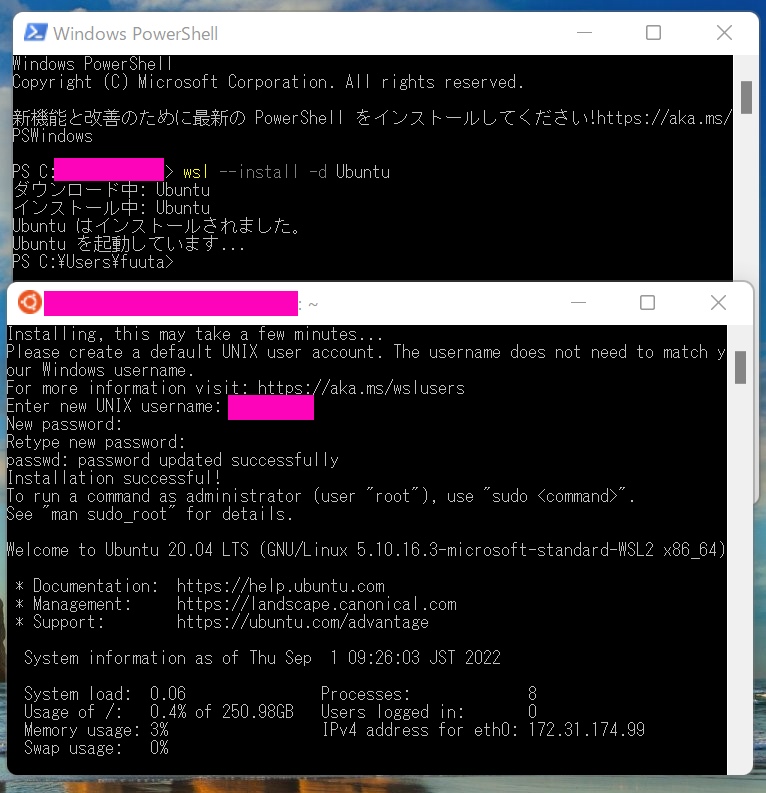
- PowerShellを起動して以下のコマンドを実行します。
wsl --install -d ubuntu
- Ubuntuが起動したらOKです。任意のユーザ名とパスワードを設定してください。
Dockerのインストール
こちらの記事を参考にしています。(Dockerインストール時に大変お世話になりました。)
以降の操作はすべてUbuntuターミナルで実施します。
1. Ubuntuのリポジトリをセットアップする
$sudo apt update

$sudo apt install -y apt-transport-https
コマンド実行途中で「Do you want to continue?(Y/N?)」と聞かれるので、yと入力してください。
2. Dockerの公式GPGキーを追加する3
$curl -fsSL https://download.docker.com/linux/ubuntu/gpg | sudo gpg --dearmor -o /usr/share/keyrings/docker-archive-keyring.gpg
3. リポジトリを設定する
$echo \
“deb [arch=$(dpkg --print-architecture) signed-by=/usr/share/keyrings/docker-archive-keyring.gpg] https://download.docker.com/linux/ubuntu \$(lsb_release -cs) stable” | sudo tee /etc/apt/sources.list.d/docker.list > /dev/null
4. Docker Engineをインストールする4
$sudo apt update

$sudo apt install docker-ce
5. dockerのデーモンを起動する
通常のLinuxだと、上記の手順でdockerデーモンは自動的に起動しますが、
WSL2では、Systemdが無効化されています。
以下のコマンドを実行し、Dockerデーモンを手動で起動します。
$sudo /etc/init.d/docker start
それでもPID1が起動しない場合
上記操作を行っても「System has not been booted with systemd as init system (PID 1)」が出る場合は、
こちらの記事を参照してください。(私も以前、ここでハマっていましたが、この記事で解決しました。)
① unshareコマンドで簡易コンテナを作る
$sudo daemonize /usr/bin/unshare --fork --pid --mount-proc /lib/systemd/systemd --system-unit=basic.target
② nsenterコマンドで簡易コンテナの中に入る
$exec sudo nsenter --target $(pidof systemd) --all su - $LOGNAME
再度デーモン起動 もしくは、hello-worldイメージを実行して起動できればOKです。
6. Dockerのインストール確認
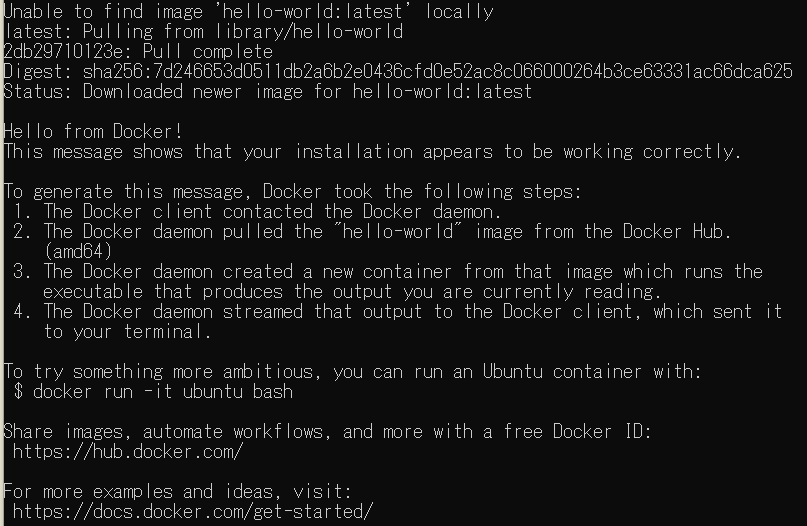
- hello-worldイメージを実行し、インストールが正常におこなわれているか確認
$sudo docker run hello-world
以下のような画面が出れば、インストール成功です。
7. Dockerをユーザ設定で使用できるようにする
Dockerコマンドを使用する時に、「毎回"sudo"って書くの手間がかかるから、省きたいな~」という方は、以下のコマンドして、一般ユーザ(上記で登録したユーザ)をdockerグループに所属させてください。
$sudo usermod -aG docker $USERNAME(自身で設定したもの)
【番外】JenkinsをDocker内で起動してみる
Dockerを使って、Jenkinsを起動します。
$sudo mkdir /var/jenkins_home

$sudo chown 1000:1000 /var/jenkins_home

$sudo docker run -p 8080:8080 -v /var/jenkins_home:/var/jenkins_home jenkins/jenkins:lts
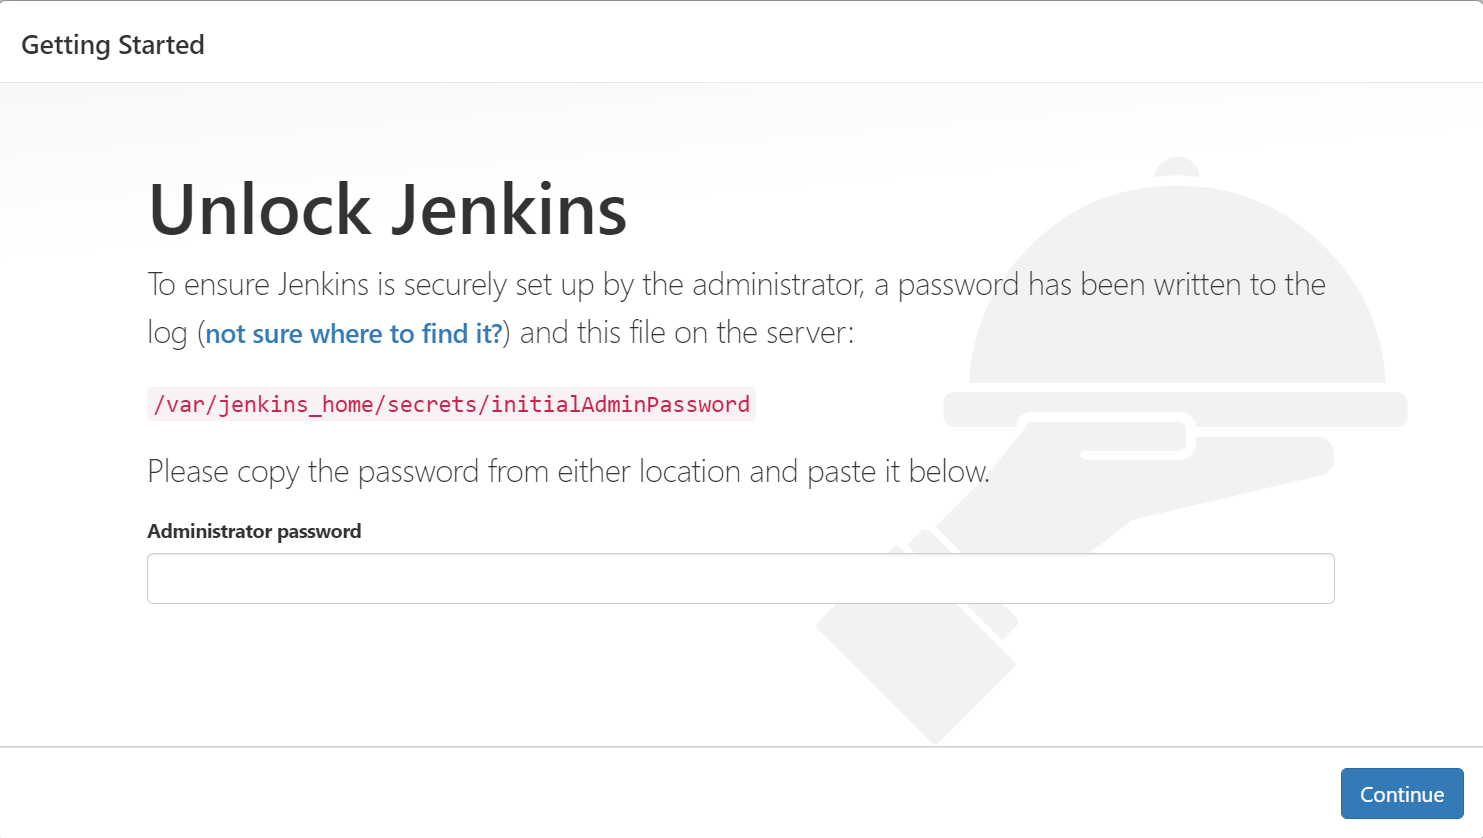
コマンド実行後、http:localhost:8080/にアクセスし、以下のJenkins画面が表示されればOKです。
最後に
今回はwsl2を使ったDockerインストール方法を記載しました。
wsl2を用いると所々ハマるポイントがあるなという印象を持ったので、wsl2についての勉強もしていきたいと思います。
参考資料
- WSL2のインストールと更新方法
- Install Docker Engine on Ubuntu
- WSL2でSystemdを使うハック
- WSL2 Ubuntu に Docker 導入(Docker Desktop for Windows に変えて)
- apt-keyはなぜ廃止予定となったのか
-
Dockerの公式ページでは、apt-getを用いているが、非推奨となっているため、aptを使用 ↩
-
Dockerの公式ページには、ca-certificates、curl、gnupg、lsb-releaseもインストールする必要がありますが、Ubuntu-20.04ですでに導入済みのため、不要です。 ↩
-
Dockerインストール手順が記載されている記事や書籍の中には、apt-keyやadd-apt-repositoryを使う記事もありますが、apt-key非推奨であり、2022年中ごろで削除予定のため、注意が必要 ↩
-
Dockerの公式ページには、docker-ce-cliとcontainerd.ioも記載されているが、この2つはdocker-ceに依存しているため、記載不要 ↩


