ハイサイ!オースティンやいびーん。
概要
Svelte ComponentsでWeb Componentsを簡単に作れる機能を紹介します。
Web Componentsとは
Web Componentsはブラウザの標準機能で開発者が独自のHTML要素を作らせてくれる技術です。HTML要素のタグをJavaScriptで定義して、HTMLドキュメントでは普通の要素として再利用可能です。
Web Components APIは、三つの主要機能を含めています:
- カスタム要素(任意のタグ名で部品を作ること)
- シャドウDOM(CSS等を閉鎖する環境)
- HTMLテンプレート(<slot>でカスタム要素の中に通常のHTML要素を差し込む技術)
Web Componentsの概念と実装は随分前から存在していたのですが、最近は、全てのEvergreenブラウザが完全にサポートするようになったので改めて注目されています。
はじめに:ViteでSvelte環境をセットアップする
まず、ViteでSvelteプロジェクトを作っておきます。SvelteKitだと、SSRなど、要らない機能が入るので、Viteを使いましょう。
yarn create vite svelte-components --template svelte
# OR
npm create vite@latest svelte-components --template svelte
作成されたプロジェクトに入ってパッケージをインストールします。
yarn install
# OR
npm install
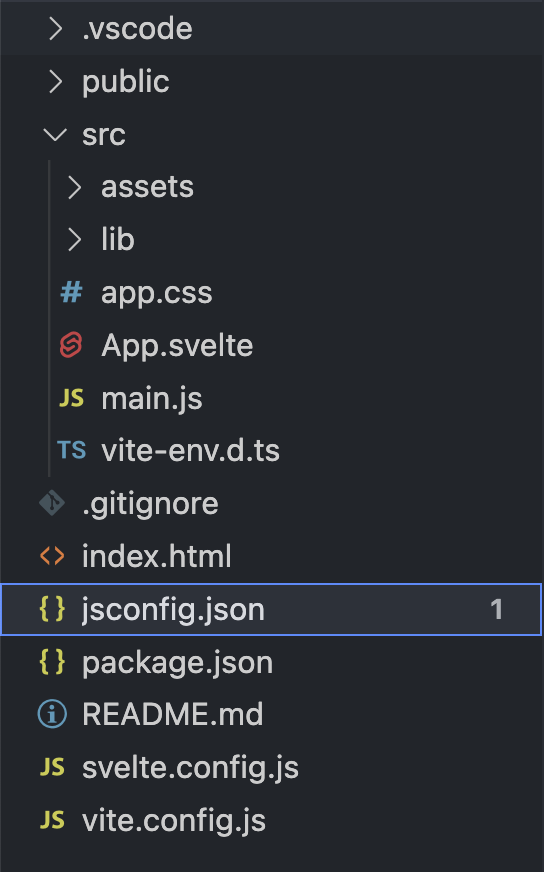
IDEでそのダイレクトリーを開くと以下のような構成になっているかと思います。
要らないファイルを削除する
以下のファイルを削除します:
src/App.sveltesrc/app.csssrc/main.jssrc/assets/svelte.svg
Web ComponentsがビルドできるようにViteの設定を変更する
初期設定のままだと、SvelteはWeb Componentsにビルドされません。Svelte PluginのCustom Elementsの設定を有効にする必要があります。
vite.config.jsを開いて以下のように編集しましょう。
import { defineConfig } from "vite";
import { svelte } from "@sveltejs/vite-plugin-svelte";

// https://vitejs.dev/config/
export default defineConfig({
  plugins: [svelte({ compilerOptions: { customElement: true } })],
});
SvelteのWeb Componentを作る
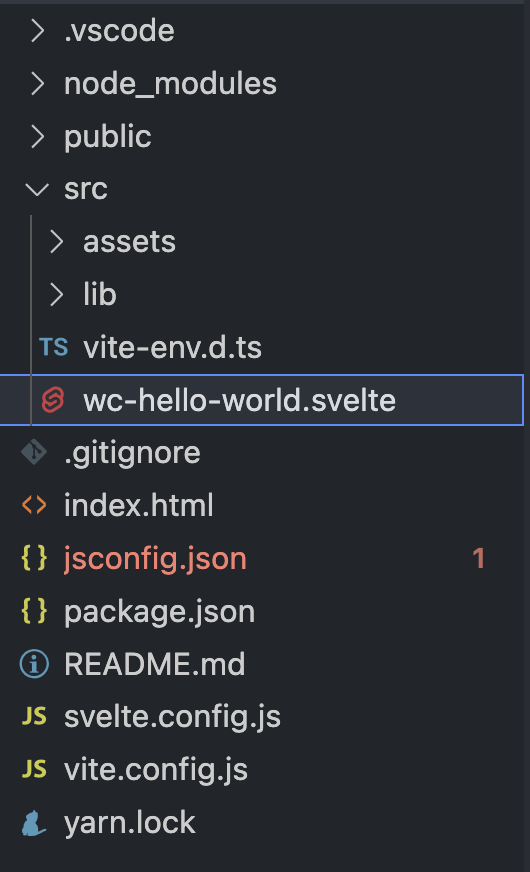
次、srcに今回作るWeb Componentの.svelteファイルをおきます。
このSvelte Componentの中にまず、入れなければならない要素があります。それは<svelte:options>の要素です。
この<svelte:options>要素でWeb Componentのカスタム要素タグ名を指定します。
<svelte:options tag="wc-hello-world" />
それから好きなSvelteのロジックとCSS、HTML要素等を入れるといいです。
<svelte:options tag="wc-hello-world" />

<script>
  export let name = "User";
</script>

<h1>Welcome to Svelte: Web Components</h1>
<p>Hello {name}, your journey starts now.</p>

<style>
  :host {
    display: block;
    background-color: white;
    border: 1px solid white;
    border-radius: 4px;
    box-shadow: 0 0 10px rgba(0, 0, 0, 0.2);
    width: 90%;
    max-width: 600px;
    margin: auto;
  }

  * {
    box-sizing: border-box;
  }

  h1 {
    text-align: center;
  }
</style>
上記の<script>要素にexport let name = "user";と書いていますが、これはWeb Componentのname属性で外部から変数を渡すための書き方です。Svelteを使っている人なら非常に合理的でわかりやすくWeb ComponentとSvelteを繋いでいることがわかります。
Vite設定にWeb Componentのエントリーポイントを追加する
Viteが単独のWeb Componentをコンパイルしてくれるように、上記のwc-hello-world.svelteをエントリーポイントとして追加する必要があります。
import { defineConfig } from "vite";
import { svelte } from "@sveltejs/vite-plugin-svelte";

// https://vitejs.dev/config/
export default defineConfig({
  build: {
    lib: {
      entry: ["./src/wc-hello-world.svelte"],
      formats: ["es"],
    },
  },
  plugins: [svelte({ compilerOptions: { customElement: true } })],
});
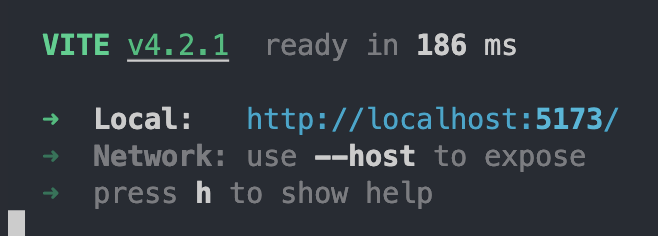
これでViteのDevサーバーを立ち上げておいても大丈夫です!
npm run dev
無事に設定できたら以下の表示が出力されるはずです。
index.htmlに<wc-hello-world>を追加して奇跡を体験する
これで最後の段取りになりますが、Viteのindex.htmlに上記のSvelte Componentのタグ名を追加する必要があります。
また、main.jsをインポートしていた<script>要素のsrc属性を/src/wc-hello-world.svelteに変える必要もあります。
<!DOCTYPE html>
<html lang="en">
  <head>
    <meta charset="UTF-8" />
    <link rel="icon" type="image/svg+xml" href="/vite.svg" />
    <meta name="viewport" content="width=device-width, initial-scale=1.0" />
    <title>Vite + Svelte</title>
  </head>
  <body>
    <wc-hello-world></wc-hello-world>
    <script type="module" src="/src/wc-hello-world.svelte"></script>
  </body>
</html>
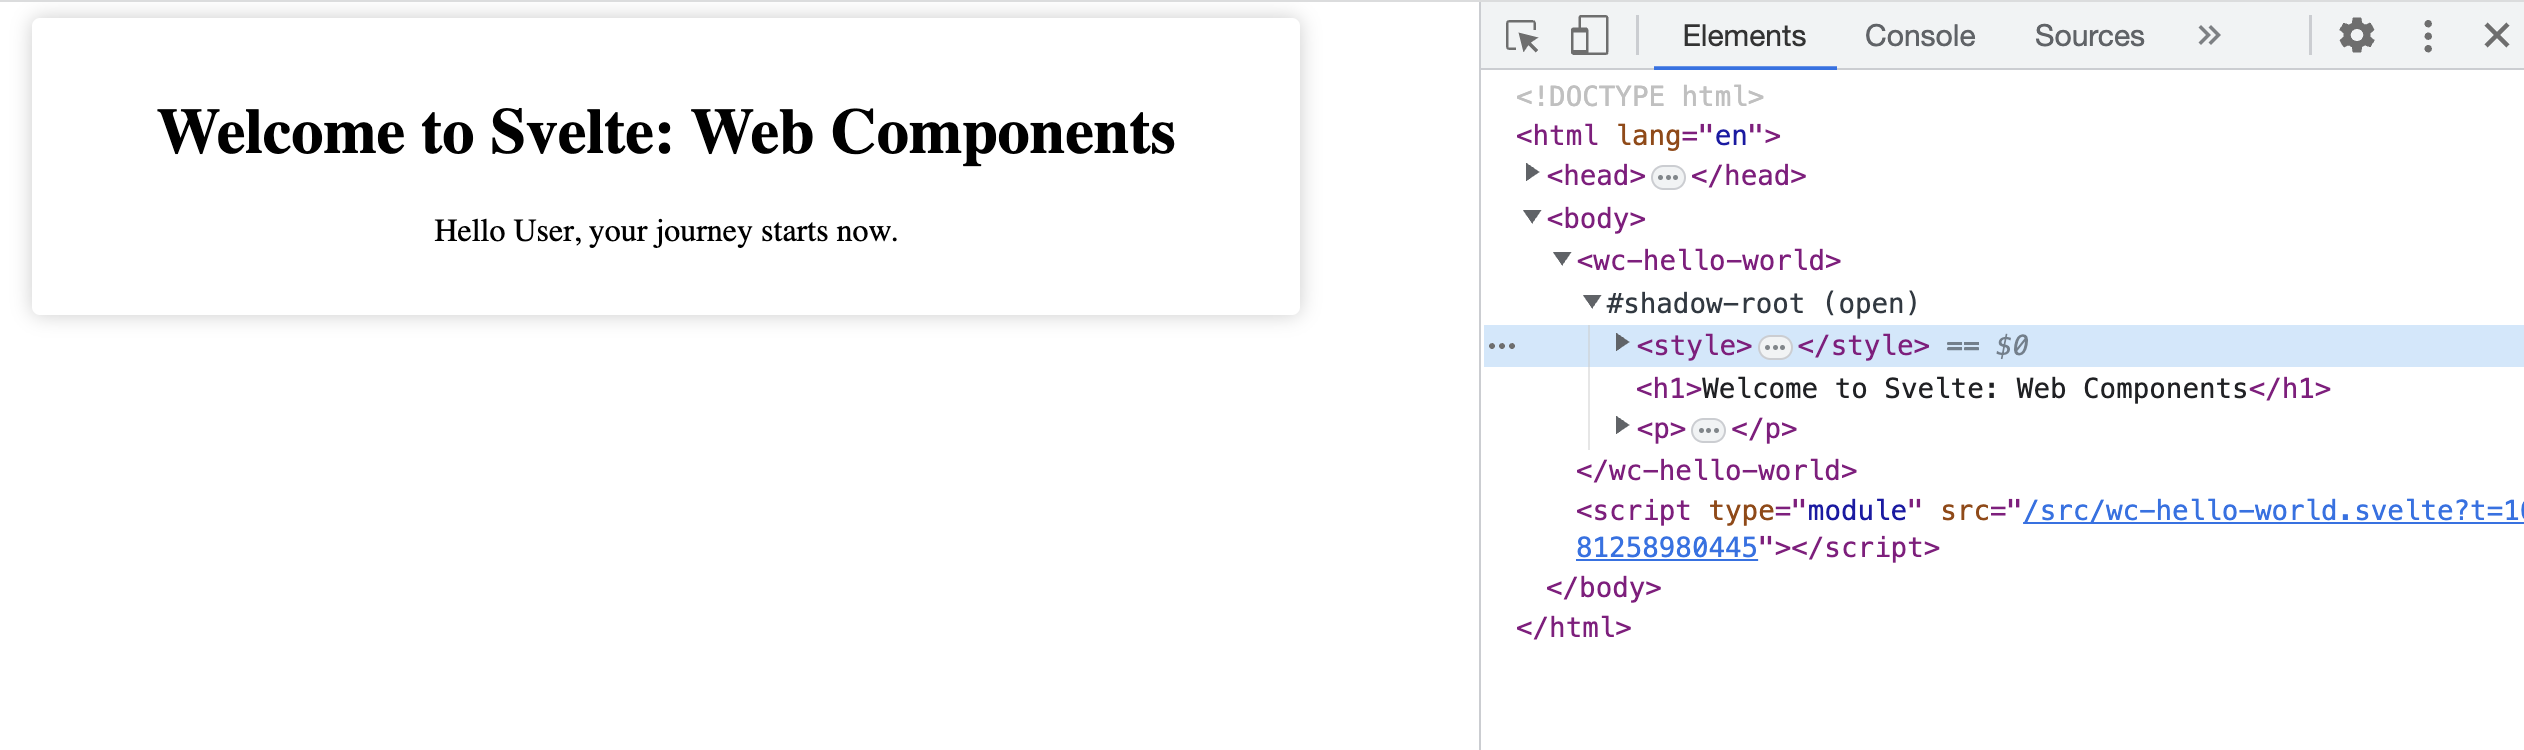
これでlocalhostを開けば、以下のように読み込まれるはずです!
index.htmlでname属性を追加すると文言を変えられます。
<body>
  <wc-hello-world name="Austin"></wc-hello-world>
  <script type="module" src="/src/wc-hello-world.svelte"></script>
</body>
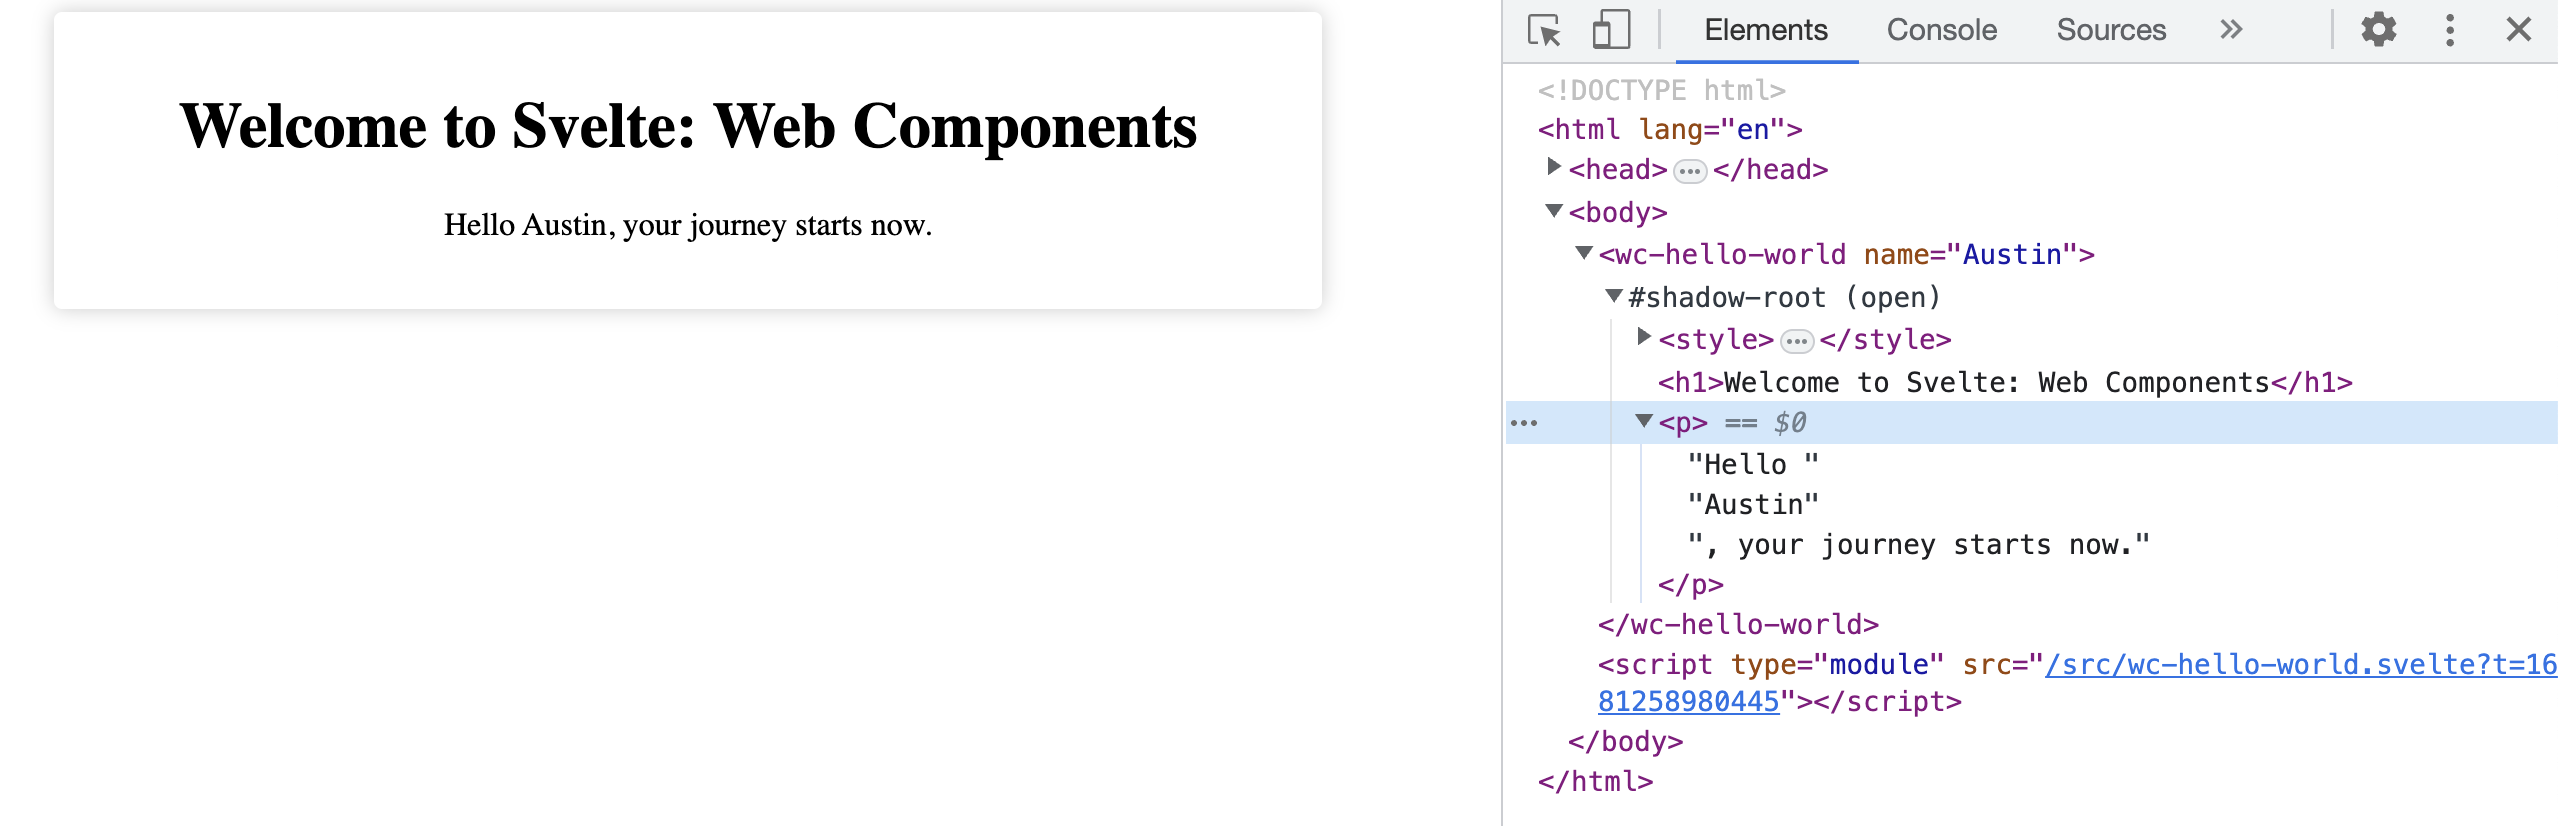
素晴らしい!
ビルドする
実際にどこかのページに組み込みたい時はnpm run buildで出力できます。
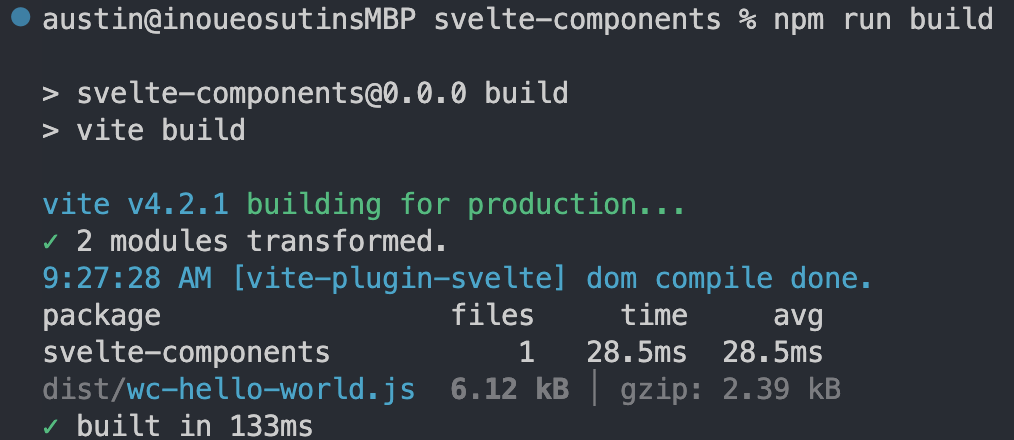
このwc-hello-world.jsを<script type="module" src="/assets/wc-hello-world.js">みたいに読み込んでおけばHTML要素として使えます!
まとめ
これでSvelteでWeb Componentsを作る方法を紹介してきましたがいかがでしょうか?
Web Componentsは難しいけれど、Svelteを通してやると、より簡単に作れるかと思います。
ぜひWeb Componentsを広めていきましょう!