はいさい、ちゅらデータぬオースティンやいびーん。うちなー や、すぃだく なちょーん どー!
概要
今日は、GoogleさんのWeb ComponentライブラリLitを使って、Markdownの文字列をHTMLにレンダーする方法を紹介したいと思います。
実は、LitでMarkdownをレンダーするためには、いくつか工夫が必要なので、筆者は苦労したのです。
しかし、Web ComponentsでMarkdownをレンダーできると、Shadow DOMを使ったスタイリングでその部分だけに適応されるCSSを簡単に書けるのでメリットが大きいです。
環境構築
今回の環境構築にはViteを使います。
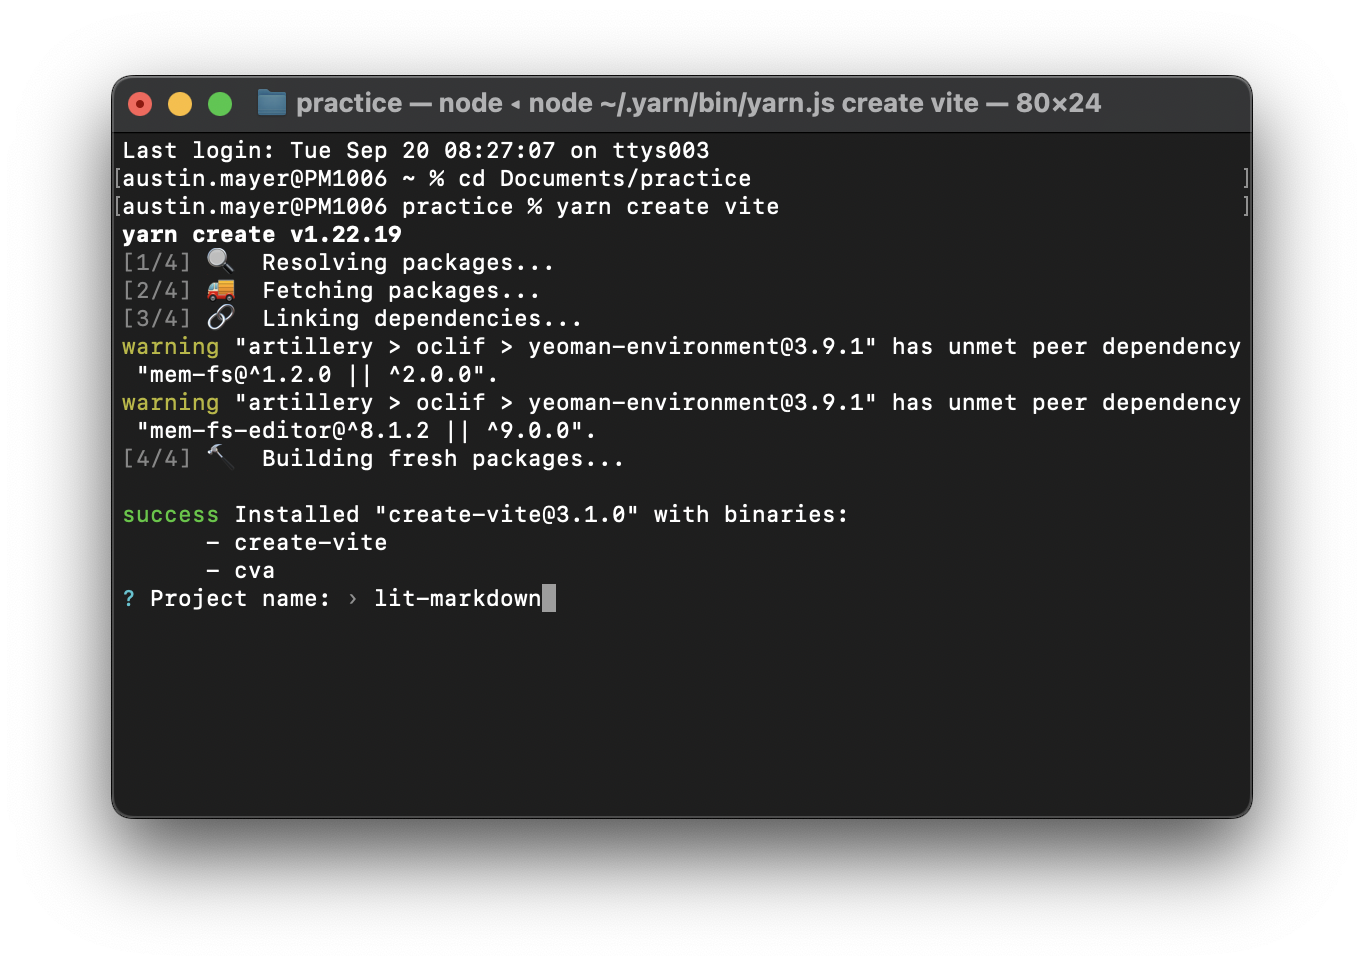
yarn create vite
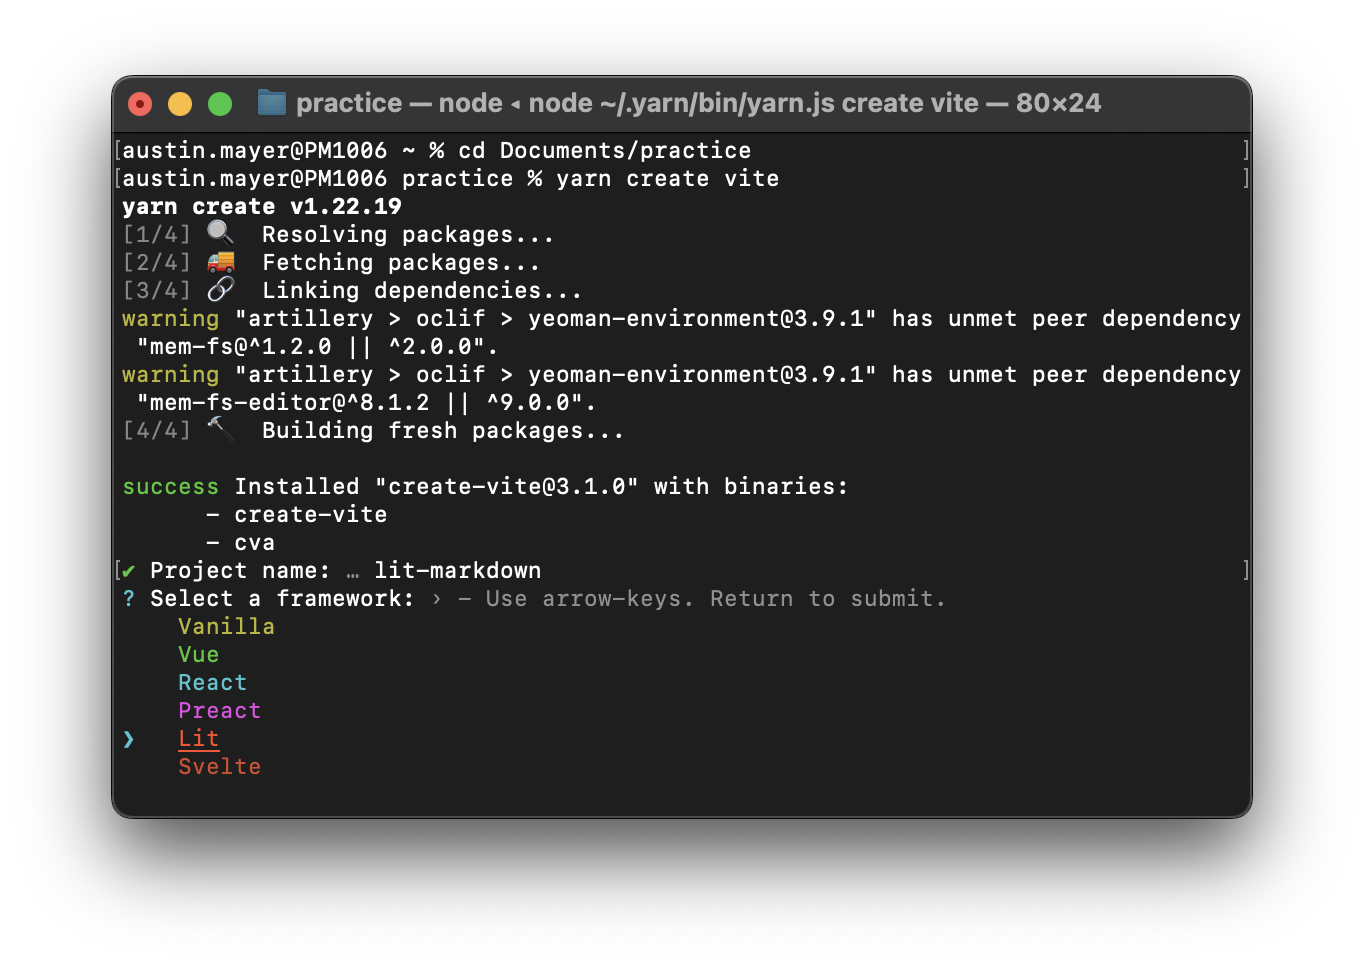
実行するとプロジェクト名を聞かれるのでlit-markdownと書きましょう。
Viteは最近、Litのプロジェクトを新規作成でセットアップしてくれるようになったのです!Litが主流になりつつある証ですぞ!
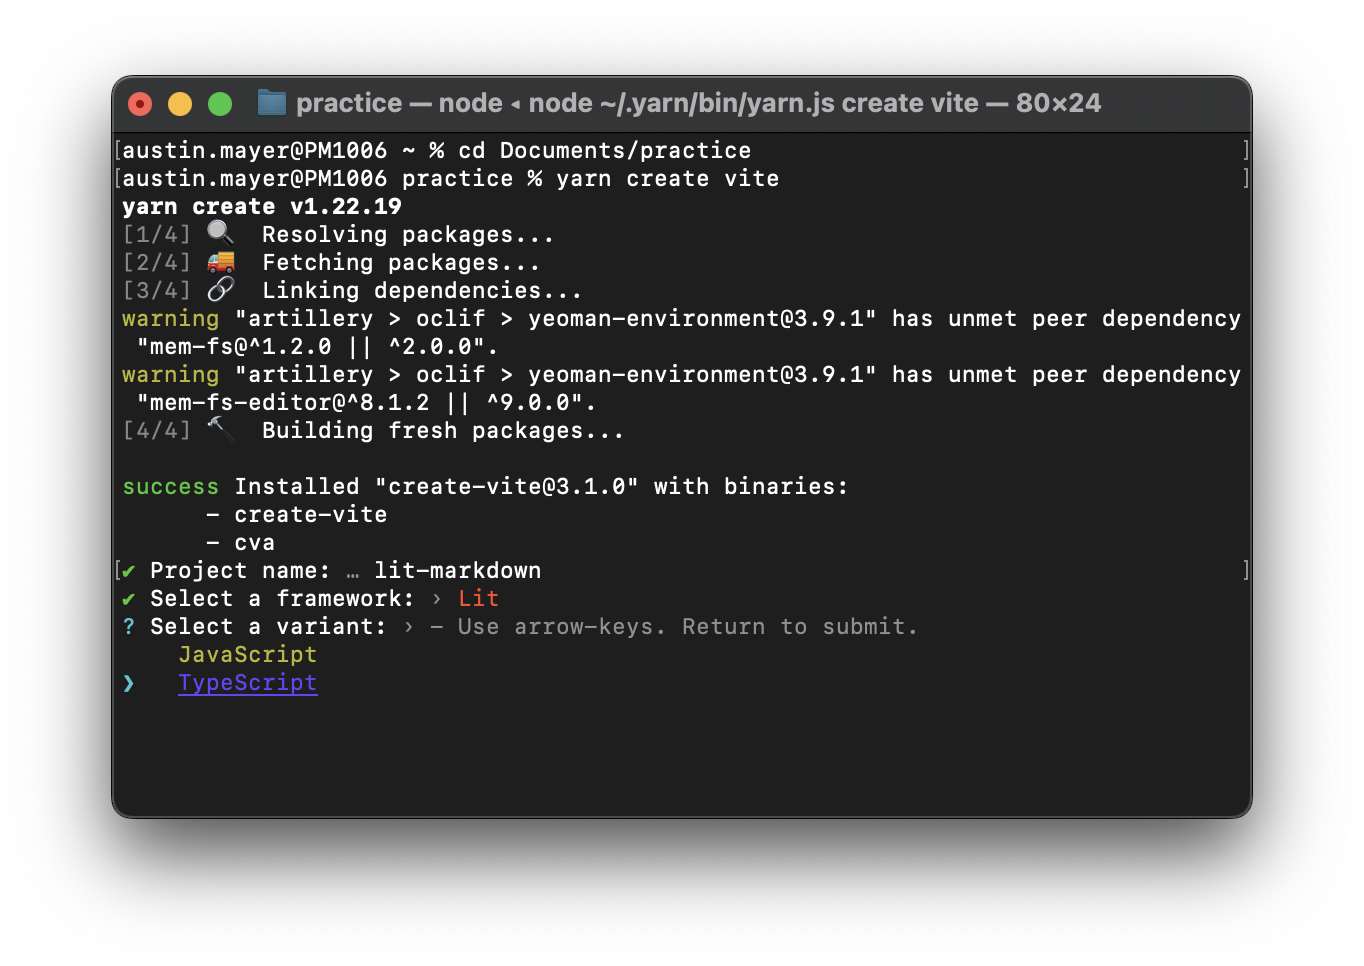
もちろん、TypeScriptも使いましょう。
終わったら、以下のコマンドを実行して準備します。
cd lit-markdown
yarn install
yarn dev
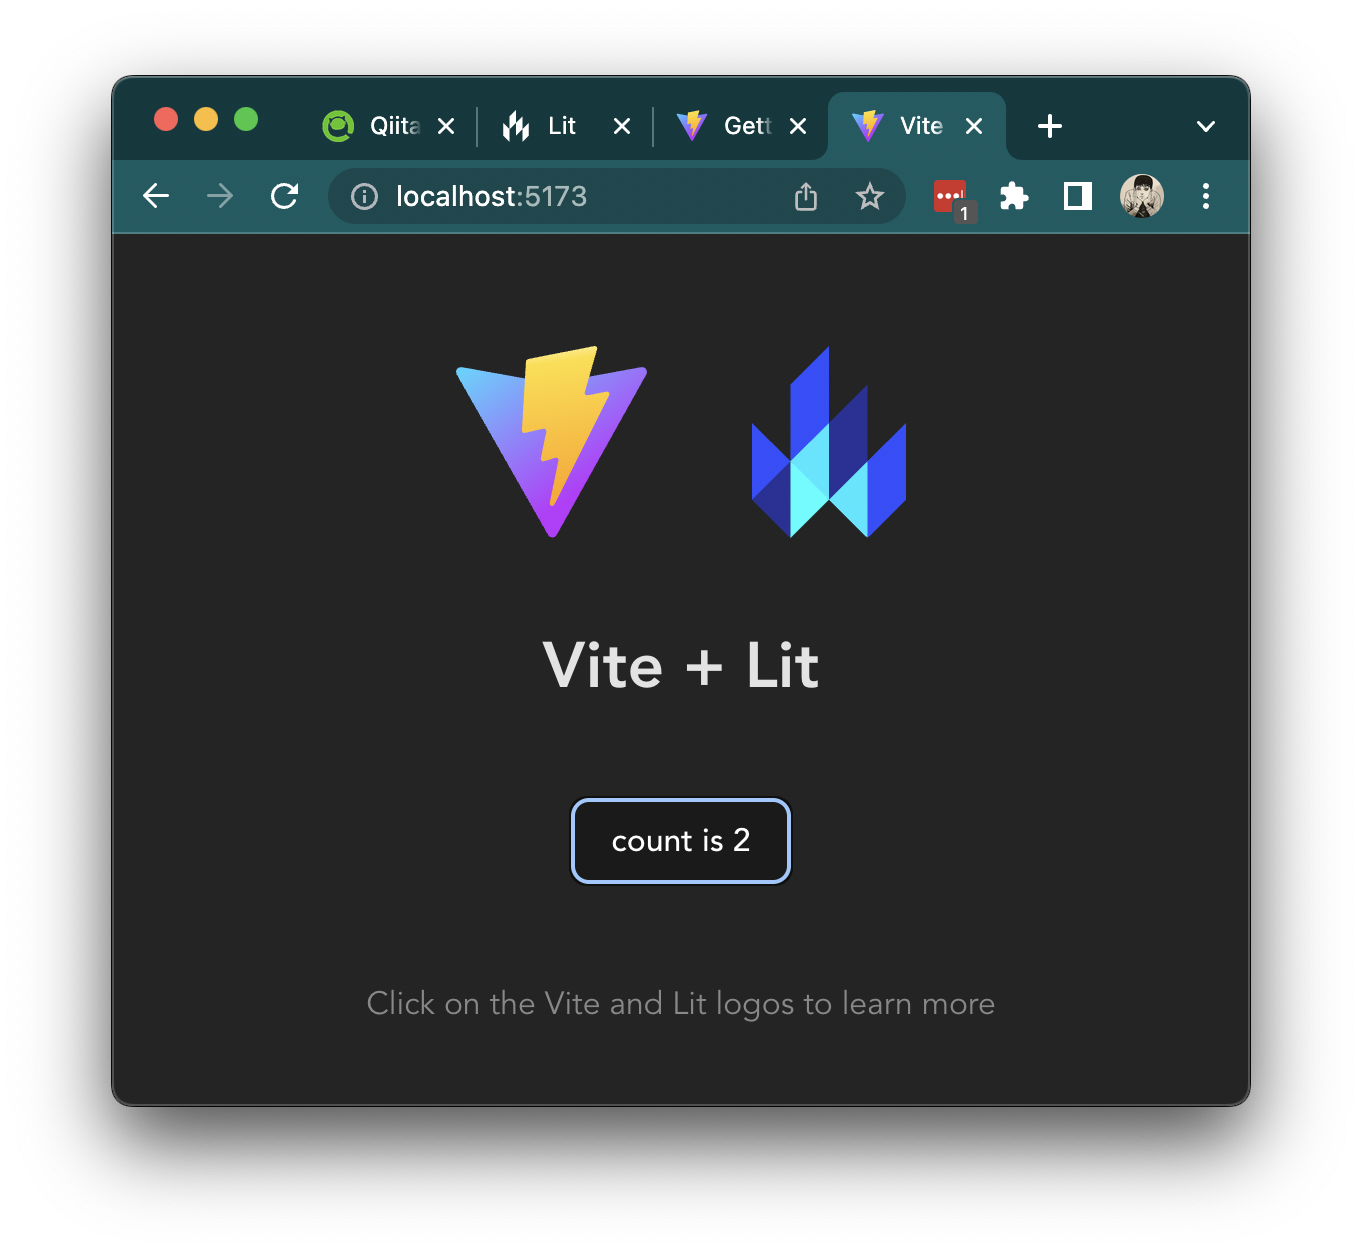
そしたら、Viteが正しく作動していることを確認しましょう。
Markedをインストールする
今回のプロジェクトにはLit以外にも、もう一つのnpmパッケージが必要です。Markedです。
頻繁に更新されており、使っても安全なパッケージだと筆者は考えます。
以下のコマンドを実行してインストールしましょう。
yarn add marked
yarn add -D @types/marked
これで下ごしらえはOKです!
LitのDirectivesを使って、MarkdownをレンダーするDirectiveを作る
Markdownの文字列をLitのhtmlテンプレートの中でレンダーするためにカスタムDirectiveを作る必要があります。
Directivesとは
まず、公式ドキュメントの説明を引用します。
Directives are functions that can extend Lit by customizing the way an expression renders.
日本語に簡単に訳すと以下のような説明になります。
Directives(指令)は、テンプレートがどのようにレンダーされるかを変えることでLitの機能を拡張させる関数です。
つまり、LitElementのrender関数で使われるhtmlのテンプレートリテラルの中で使う関数です。
既存のDirective : unsafeHTML
今回のプロジェクトに必要な既存Directiveは、unsafeHTMLです。
Litのhtmlテンプレートの中で、HTMLらしき文字列を代入すると、全てがエスケープされてしまう仕様になっております。
実際、上記のViteプロジェクトのmy-element.tsのrender関数を以下のようにしてみると、
  render() {
    const rawHTMLString = "<h1>Hello World</h1>";

    return html`<div>${rawHTMLString}</div>`;
  }
以下のようにレンダーされます。
これは、コードインジェクションXSS攻撃を防ぐためです。
基本的に、テンプレートエンジンは、出どころのわからないHTML文字列を注入してレンダーすることがセキュリティ上のリスクだという認識で設計されているので、このような安全機能が実装されています。
しかし、今回のMardownレンダーでは、MarkdownをHTML文字列に変えるので、HTML文字列をそれでも注入しないといけないのです。
こういう時は、unsafeHTML(安全じゃないHTML)の機能を使います。
注意点 : MarkdownのHTMLをHTMLサニタイズ化する必要がある
HTMLから不安全な要素(<script>, <object>, <embed>, <link>など)を除去することをHTMLサニタイズ化と呼びます。
ユーザーから入力されるMarkdownは全て危険でサニタイズ化が必要だと考えましょう。
今回の記事では紹介しませんが、npmパッケージでもできます。
ブラウザAPIも開発されているようで待ち遠しい!
unsafeHTMLの使い方
さて、unsafeHTMLを使ってみましょう。
上記のmy-element.tsで書いたrawHTMLStringをもう一度レンダーしてみましょう。
import { LitElement, html } from "lit";
import { customElement } from "lit/decorators.js";
import { unsafeHTML } from "lit/directives/unsafe-html.js";

import { homeStyles } from "./styles";

/**
 * An example element.
 */
@customElement("my-element")
export class MyElement extends LitElement {
  render() {
    const rawHTMLString = "<h1>Hello World</h1>";

    return html`<div>${unsafeHTML(rawHTMLString)}</div>`;
  }

  static styles = [homeStyles];
}
こうして使うと、以下のように、ちゃんとHTMLとしてレンダーされます。
これでよしと!
カスタムDirective
既存Directivesの他に、自作で作れるカスタムDirectiveがあります。
既存Directiveにない機能を追加したい時はこちらを使います。
以下のように簡単なDirectiveを作ります。文字列を<p>要素で包むものです。
import { Directive, directive } from "lit/directive.js";
import { unsafeHTML } from "lit/directives/unsafe-html.js";

// クラス継承でDirectiveを定義する
class SimpleDirective extends Directive {
  render(text: string) {
    return unsafeHTML(`<p>${text}</p>`);
  }
}

// html``の中で使うDirective関数
export const simpleDirective = directive(SimpleDirective);
my-element.tsでは以下のような使い方をします。
import { LitElement, html } from "lit";
import { customElement } from "lit/decorators.js";
import { unsafeHTML } from "lit/directives/unsafe-html.js";
import { simpleDirective } from "./directives/simple-directive";

import { homeStyles } from "./styles";

@customElement("my-element")
export class MyElement extends LitElement {
  render() {
    const rawHTMLString = "<h1>Hello World</h1>";

    return html`<div>
      ${unsafeHTML(rawHTMLString)}
      ${simpleDirective("My name is Austin.")}
    </div>`;
  }

  static styles = [homeStyles];
}

declare global {
  interface HTMLElementTagNameMap {
    "my-element": MyElement;
  }
}
レンダーされた結果は以下のようになります。
Directiveの中でも文字列を返すと、HTMLだとエスケープされてしまうことに留意しましょう!
非同期Directives
カスタムDirectiveの中にも、非同期処理が必要な場合に使うAsyncDirectiveというDirectiveクラスを継承する必要があります。
今回のMarkdownのレンダー処理は、非同期処理になるので、このAsyncDirectiveを使います。
非同期Directiveの基本的な書き方は以下の通りです。上記のSimpleDirectiveを非同期処理風に書き直してみましょう。
import { directive } from "lit/directive.js";
import { AsyncDirective } from "lit/async-directive.js";
import { unsafeHTML } from "lit/directives/unsafe-html.js";

// クラス継承でAsyncDirectiveを定義する
class SimpleAsyncDirective extends AsyncDirective {
  render(promise: Promise<string>) {
    Promise.resolve(promise).then((result) =>
      this.setValue(unsafeHTML(`<p>${result}</p>`))
    );

    return "Loading...";
  }
}

// html``の中で使うDirective関数
export const loadParagragh = directive(
  SimpleAsyncDirective
);
AsyncDirectiveで変わったことをいえば、まず、renderでは、Loading...という仮の値を返していることと、Promiseの処理が終わった後に、this.setValueで非同期処理の結果を使って、レンダーされる値を代入していることです。
一旦、Loading...が表示されてから、Promiseが解決され、<p>Hoge Hoge</p>がHTMLとして代入される流れです。
実際、my-element.tsで使ってみましょう。
import { LitElement, html } from "lit";
import { customElement } from "lit/decorators.js";
import { unsafeHTML } from "lit/directives/unsafe-html.js";
import { loadParagragh } from "./directives/simple-async-directive";

import { homeStyles } from "./styles";

@customElement("my-element")
export class MyElement extends LitElement {
  render() {
    const rawHTMLString = "<h1>Hello World</h1>";
    const textPromise = new Promise<string>(
      (resolve) =>
        setTimeout(
          () => resolve("My name is Austin."),
          2000
        )
    );

    return html`<div>
      ${unsafeHTML(rawHTMLString)}
      ${loadParagragh(textPromise)}
    </div>`;
  }

  static styles = [homeStyles];
}
結果:
このように、AsyncDirectiveを使って非同期処理のレンダーを簡単にできます!
MarkdownをレンダーするDirectiveを作成する
上記の知識を活かして、MarkdownをレンダーするDirectiveを書きましょう!
Markedの使い方
まずMarkedの使い方を説明します。
今回は、Markedのparse関数を使います。marked.parseは、引数には、Markdownの文字列と、処理が終わった時のコールバック関数を渡します。
import { marked } from "marked";

const markdownRaw = `
# Hello World

My Name is Austin
`;

marked.parse(markdownRaw, (error, result) => {
  console.log(result); // "<h1>Hello world</h1><p>My...
});
これをPromise化すれば、以下のような書き方ができます。
   new Promise<string>((resolve, reject) => {
      marked.parse(raw, (error, result) => {
        if (error) return reject(error);
        resolve(result);
      });
    })
非同期Directive化する
次は、AsyncDirectiveクラスを上記のロジックをDirective化します。
import { directive } from "lit/directive.js";
import { unsafeHTML } from "lit/directives/unsafe-html.js";
import { AsyncDirective } from "lit/async-directive.js";
import { marked } from "marked";

class MarkdownDirective extends AsyncDirective {
  render(rawMarkdown: string) {
    new Promise<string>((resolve, reject) => {
      marked.parse(rawMarkdown, (error, result) => {
        if (error) return reject(error);
        resolve(result);
      });
    }).then((rawHTML) => {
      const renderedUnsafeHTML = unsafeHTML(rawHTML);
      this.setValue(renderedUnsafeHTML);
    });

    return "Loading...";
  }
}

export const resolveMarkdown = directive(MarkdownDirective);
本来だったら、こちらのrawHTMLはまたサニタイズ化するべきところなのですが、本投稿ではしません。
これでMarkdownの文字列をレンダーするDirectiveができたので、my-element.tsで使ってみましょう!
<textarea>のMarkdownをレンダーする
最後に、<textarea>の入力を上記のMarkdownDirectiveを使ってレンダーするようにします。
Litのバグ - <textarea>にEventListenerを付けられない
バグなのか、僕の使い方が間違っているのかわかりませんが、通常のhtml <textarea @input=${() => console.log("callback")}></textarea>の書き方では、inputのEventListenerを追加することがどうもできないようです。
解決策として、LitElementのライフサイクルのfirstUpdatedのコールバックで手動でaddEventListenerを実行することができます。
LitElementのライフサイクルについては、下記のリンクで確認していただけます。
import { LitElement, html, PropertyValueMap } from "lit";
import { customElement, query } from "lit/decorators.js";

import { homeStyles } from "./styles";

@customElement("my-element")
export class MyElement extends LitElement {
  @query("textarea")
  private textarea!: HTMLTextAreaElement;

  firstUpdated(
    _changedProperties: PropertyValueMap<unknown> | Map<PropertyKey, unknown>
  ) {
    super.firstUpdated(_changedProperties);
    this.textarea.addEventListener("input", this.handleTextareaInput);
  }

  private handleTextareaInput: EventListener = () => {
    console.log("input");
  };

  render() {
    return html`<textarea name="markdown" id="markdown"></textarea>`;
  }

  static styles = [homeStyles];
}
<textarea>の入力をレンダーする
ここで魔法が始まります。ここまで培ったものが実るのです。
まず、Litのstate装飾関数を使い、rawという文字列のクラス変数を追加します。そして上記で付けたhandleTextareaInputのEventListenerでは、<textarea>の中身をthis.rawに保存させます。
最後に、<article>要素の中にresolveMarkdownのdirective関数を入れて、引数にthis.rawを渡します。
import { LitElement, html, PropertyValueMap } from "lit";
import { customElement, query, state } from "lit/decorators.js";
import { resolveMarkdown } from "./directives/markdown-directive";

import { homeStyles } from "./styles";

@customElement("my-element")
export class MyElement extends LitElement {
  @query("textarea")
  private textarea!: HTMLTextAreaElement;
  @state()
  private raw = "";

  firstUpdated(
    _changedProperties: PropertyValueMap<unknown> | Map<PropertyKey, unknown>
  ) {
    super.firstUpdated(_changedProperties);
    this.textarea.addEventListener("input", this.handleTextareaInput);
  }

  private handleTextareaInput: EventListener = () => {
    const { value } = this.textarea;
    if (!value) return;
    this.raw = value.trim();
  };

  render() {
    return html`<label for="markdown">Input</label
      ><textarea name="markdown" id="markdown"></textarea>
      <p>Output</p>
      <article>${resolveMarkdown(this.raw)}</article>`;
  }

  static styles = [homeStyles];
}
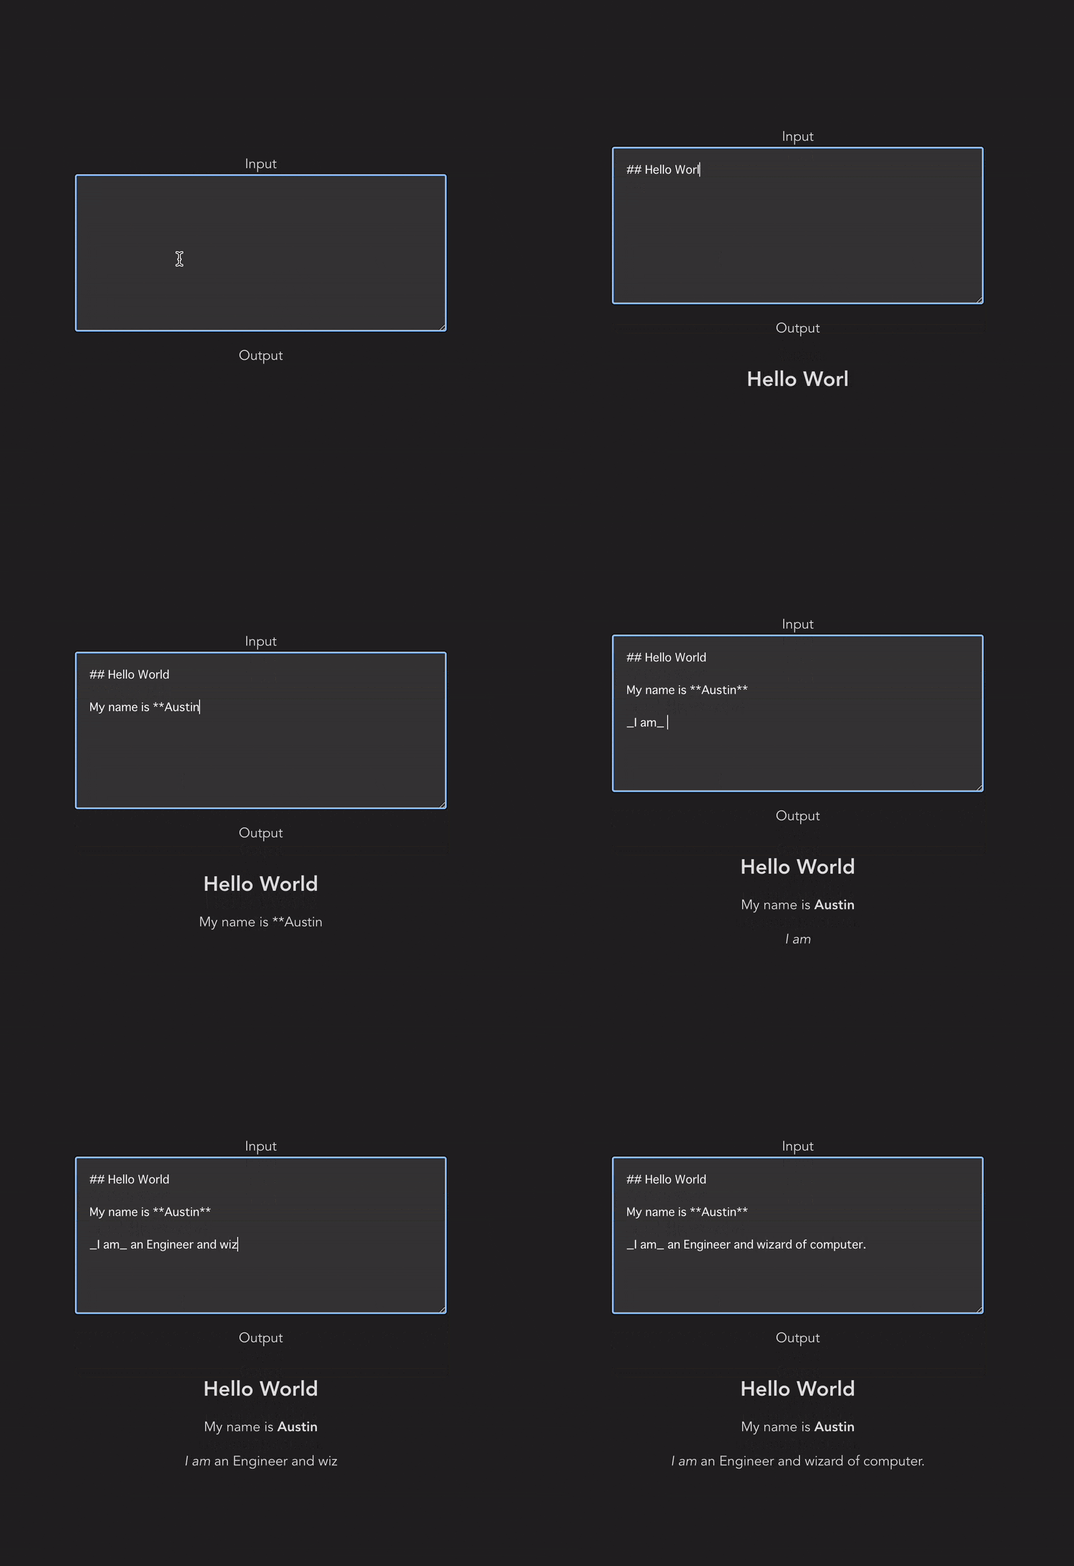
結果
綺麗にレンダーできています!
まとめ
ここまで、LitのWeb Componentで綺麗にMarkdownをレンダーする方法を紹介してきましたが、いかがでしょうか?
Markdown入力を可能にすると、一気にユーザーの表現力を高めることができます。
その反面、レンダーするロジックも必要です。
また、レンダーすることによるパフォーマンスの問題もありますので、こういうプレビューなら問題ないでしょうが、大きなブログだと、SSR(サーバーでレンダーしておく)ことも良いかと思います。
本投稿で、Litの力もまた実感していただけたら嬉しいなと思います。
