初めに
DartのMinxinをご存知ですか?
聞いたことあるけど、実際に使ったことがないという人も多いと思います。
今回は、簡単な例ですが活用する場面があったので記事に残そうと思います。
Mixinとは
公式ページのMinxinに関しての説明を見てみましょう。
Mixins are a way of reusing a class’s code in multiple class hierarchies.
DeepLさんに聞いてみると、
Mixinsは、クラスのコードを複数のクラス階層で再利用するための方法です。
と翻訳してくれましたが、これだけではextendsで継承することと何が違うのかいまいちわかりませんでした。
次に具体例を見てみましょう。
class Musician extends Performer with Musical {
  // ···
}

class Maestro extends Person with Musical, Aggressive, Demented {
  Maestro(String maestroName) {
    name = maestroName;
    canConduct = true;
  }
}

mixin Musical {
  bool canPlayPiano = false;
  bool canCompose = false;
  bool canConduct = false;

  void entertainMe() {
    if (canPlayPiano) {
      print('Playing piano');
    } else if (canConduct) {
      print('Waving hands');
    } else {
      print('Humming to self');
    }
  }
}
なるほど。
extendsは、1つのクラスしか継承できませんが、withを使うと、複数のmixinを継承できるみたいです。
また、以下のようにonで継承できるクラスを限定することもできるようです。
class Musician {
  // ...
}
mixin MusicalPerformer on Musician {
  // ...
}
class SingerDancer extends Musician with MusicalPerformer {
  // ...
}
実際に書いてみる(Dartプログラム)
公式ドキュメントだけで十分理解できた人もいるかと思われますが、
実際に手を動かしたかったということと、もう少し自分にわかりやすい例を作りたいという理由で実際に書いてみました。
テレビでW杯が盛り上がっているので、ForwardクラスとGoalKeeperクラスを作ってみることにします。
まずは、nameとintroduceMyself()を保持するHumanクラスを作成します。
class Human {
  Human({required name}) : _name = name;

  final String _name;

  void introduceMyself() {
    print('hello. I\'m $_name');
  }
}
次にHumanクラスを継承したAthleteクラスを作成します。
class Athlete extends Human {
const Athlete({required super.name});
@override
void introduceMyself() {
super.introduceMyself();
print('I \'m an Athlete!🏃♂️');
}
}
Mixinを作成していきます。
mixin Aggressive on Human {
  @override
  void introduceMyself() {
    super.introduceMyself();
    print('Get out !!!!!!!💢');
  }
}

mixin SoccerPlayer on Athlete {
  bool canPowerfulShot = false;
  bool canThoroughDefense = false;

  @override
  void introduceMyself() {
    super.introduceMyself();
    print('I \'m a soccer player!⚽️');
    if (canPowerfulShot) {
      print('I can be a powerful shooter!');
    }
    if (canThoroughDefense) {
      print('I have the ability to absolutely stop a shot.');
    }
  }
}
最後にForwardクラスとGoalKeeperクラスを作成します。
class Goalkeeper extends Athlete with SoccerPlayer {
  Goalkeeper({required super.name});
  @override
  bool get canThoroughDefense => true;
}

class Forward extends Athlete with SoccerPlayer, Aggressive {
  Forward({required super.name});
  @override
  bool get canPowerfulShot => true;
}
実行結果
void main() {
const human = Human(name: 'Taro');
human.introduceMyself();
// hello. I'm Taro
const Athlete = Athlete(name: 'Ken');
Athlete.introduceMyself();
// hello. I'm Ken
// I 'm an Athlete!🏃♂️
final forward = Forward(name: 'Kesuke');
forward.introduceMyself();
// hello. I'm Kesuke
// I 'm an Athlete!🏃♂️
// I 'm a soccer player!⚽️
// I can be a powerful shooter!
// Get out !!!!!!!💢
final goalkeeper = Goalkeeper(name: 'Gonda');
goalkeeper.introduceMyself();
// hello. I'm Gonda
// I 'm an Athlete!🏃♂️
// I 'm a soccer player!⚽️
// I have the ability to absolutely stop a shot.
}
withで複数のクラスを継承できるのは非常に便利ですね!
Flutterで使う場面は?
以下の2つのページを作成しようと思います。
- 呼び出されると、ダイアログを表示するページ。
- ダイアログでは、画面上のアイコンをDashのアイコンに変えるか尋ねます。
- 呼び出されると、カレンダーを表示するページ。
ダイアログを表示するページの実装
先にお伝えすると、この実装ではエラーになってしまいます。なぜかわかりますか?
class DialogPage extends StatefulWidget {
  const DialogPage({super.key});

  @override
  State<DialogPage> createState() => _DialogPageState();
}

class _DialogPageState extends State<DialogPage> {
  IconData icon = Icons.circle_outlined;
  @override
  void initState() {
    showDialog(
      context: context,
      builder: (context) => AlertDialog(
        title: const Text('Want to see dash?'),
        actions: [
          TextButton(
            onPressed: () {
              Navigator.of(context).pop();
            },
            child: const Text(
              'No',
              style: TextStyle(color: Colors.red),
            ),
          ),
          TextButton(
            onPressed: () {
              setState(() {
                icon = Icons.flutter_dash;
              });
              Navigator.of(context).pop();
            },
            child: const Text('Yes!'),
          ),
        ],
      ),
    );
    super.initState();
  }

  @override
  Widget build(BuildContext context) {
    return Scaffold(
      appBar: AppBar(title: const Text('Dialog')),
      body: Align(
        alignment: Alignment.topCenter,
        child: FittedBox(
          child: Icon(
            icon,
            size: 300,
          ),
        ),
      ),
    );
  }
}
エラーとなる原因は、 DialogPageの描画が完了する前に、ダイアログを表示しようとしているからです。
では、描画の完了を待ってからダイアログを表示するにはどうすればいいのでしょうか?
WidgetsBinding.instance.endOfFrameを利用すると、描画の完了を待つことができます。戻り値がFuture<void>なので、thenの中に処理を書けば良さそうです。
class DialogPage extends StatefulWidget {
      :
  // 省略
      :
}

class _DialogPageState extends State<DialogPage> {
  @override
  void initState() {
    WidgetsBinding.instance.endOfFrame.then((_) {
      showDialog(
          :
      // 省略
          :
      );
    });
    super.initState();
  }

  @override
  Widget build(BuildContext context) {
      :
  // 省略
      :
  }
}
カレンダーを表示するページの実装の前に
もうお気づきの方もおられるおもしれませんが、カレンダーページの方も描画の完了を待つ処理が必要そうですね。
今回もWidgetsBinding.instance.endOfFrameで対応してもいいのですが、少しでもコード量を減らしたいですよね。。
そこでMixinを活用しましょう!
mixin AfterLayoutMixin<T extends StatefulWidget> on State<T> {
  @override
  void initState() {
    super.initState();
    WidgetsBinding.instance.endOfFrame.then((_) {
      if (mounted) {
        afterFirstLayout();
      }
    });
  }

  void afterFirstLayout() {}
}
このMixinを利用して先ほどのDialogPageを書き換えてみます。
class DialogPage extends StatefulWidget {
  const DialogPage({super.key});

  @override
  State<DialogPage> createState() => _DialogPageState();
}
                                               // ↓↓ここでmixinを使用↓↓
class _DialogPageState extends State<DialogPage> with AfterLayoutMixin {
  IconData icon = Icons.circle_outlined;

  @override
  void afterFirstLayout() {
    showDialog(
      :
  // 省略
      :
    );
    super.afterFirstLayout();
  }

  @override
  Widget build(BuildContext context) {
      :
  // 省略
      :
  }
}
カレンダーを表示するページの実装
class CalenderPage extends StatefulWidget {
  const CalenderPage({super.key});

  @override
  State<CalenderPage> createState() => _CalenderPageState();
}

class _CalenderPageState extends State<CalenderPage> with AfterLayoutMixin {
  DateTimeRange? dateTimeRange;
  @override
  void afterFirstLayout() async {
    final selectedDateTimeRange = await showDateRangePicker(
      context: context,
      firstDate: DateTime(2022, 04, 01),
      lastDate: DateTime(2023, 3, 31),
    );
    if (selectedDateTimeRange != null) {
      setState(() {
        dateTimeRange = selectedDateTimeRange;
      });
    }
    super.afterFirstLayout();
  }

  @override
  Widget build(BuildContext context) {
    return Scaffold(
      appBar: AppBar(title: const Text('Calender')),
      body: Center(
        child: FittedBox(
          fit: BoxFit.contain,
          child: Text(
            dateTimeRange != null
                ? '${dateTimeRange!.start} ~ ${dateTimeRange!.end}'
                : 'not selected',
          ),
        ),
      ),
    );
  }
}
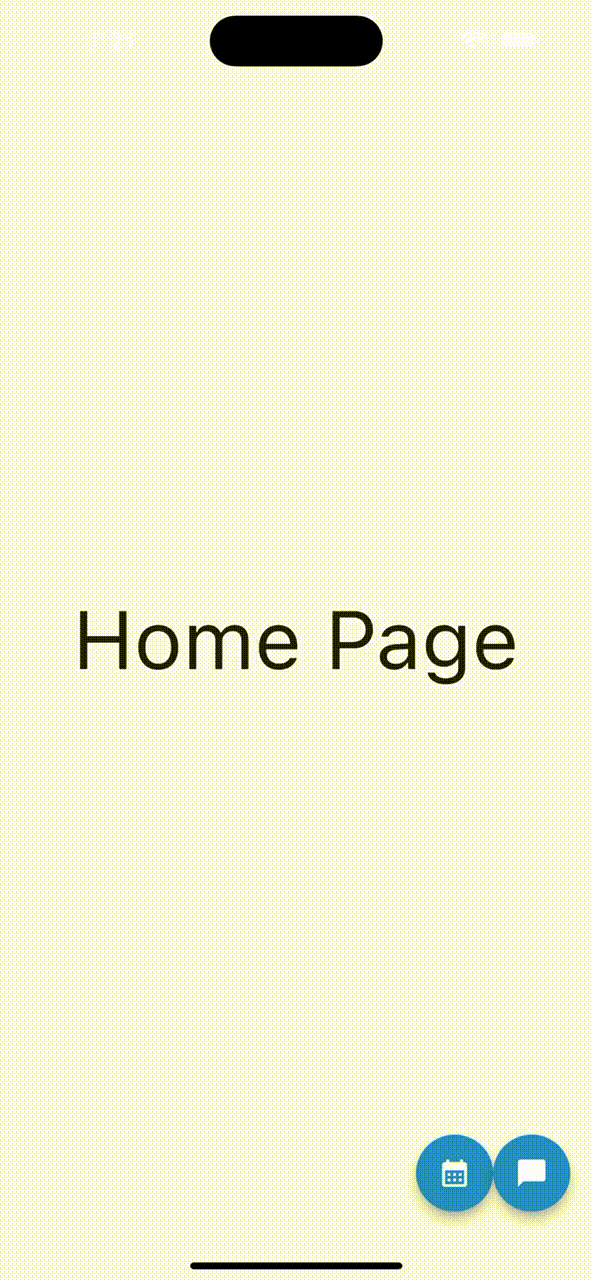
動作
パッケージ
実は今回作成したMixinは after_layout というパッケージで公開されているんです!
LIKESやPOPULARITYを見てみると、支持が高いことがわかりますね〜。
最後に
今回は、FlutterでMixinを使う場面についてご紹介しました。
複数箇所で使いそうなロジックをMixinで作成してあげると、コード量が減り、ロジックの責務も分割できるので
じゃんじゃん使っていきましょう〜。
サンプルコード
import 'package:flutter/material.dart';

mixin AfterLayoutMixin<T extends StatefulWidget> on State<T> {
  @override
  void initState() {
    super.initState();
    WidgetsBinding.instance.endOfFrame.then((_) {
      if (mounted) {
        afterFirstLayout();
      }
    });
  }

  void afterFirstLayout() {}
}

void main() {
  runApp(const App());
}

class App extends StatelessWidget {
  const App({super.key});

  @override
  Widget build(BuildContext context) {
    return MaterialApp(
      title: 'Mixin Sample',
      debugShowCheckedModeBanner: false,
      theme: ThemeData(
        primarySwatch: Colors.blue,
      ),
      home: const HomePage(),
    );
  }
}

class HomePage extends StatelessWidget {
  const HomePage({super.key});

  @override
  Widget build(BuildContext context) {
    return Scaffold(
      body: const Center(
        child: FittedBox(
          fit: BoxFit.contain,
          child: Text(
            'Home Page',
            style: TextStyle(fontSize: 60),
          ),
        ),
      ),
      floatingActionButton: Row(
        mainAxisAlignment: MainAxisAlignment.center,
        children: [
          FloatingActionButton(
            heroTag: 'go to show dialog page',
            onPressed: () {
              Navigator.of(context).push(
                MaterialPageRoute(
                  builder: (context) => const CalenderPage(),
                ),
              );
            },
            child: const Icon(
              Icons.calendar_month,
            ),
          ),
          FloatingActionButton(
            heroTag: 'go to calender page',
            onPressed: () {
              Navigator.of(context).push(
                MaterialPageRoute(
                  builder: (context) => const DialogPage(),
                ),
              );
            },
            child: const Icon(Icons.chat_bubble),
          ),
        ],
      ),
    );
  }
}

class CalenderPage extends StatefulWidget {
  const CalenderPage({super.key});

  @override
  State<CalenderPage> createState() => _CalenderPageState();
}

class _CalenderPageState extends State<CalenderPage> with AfterLayoutMixin {
  DateTimeRange? dateTimeRange;
  @override
  void afterFirstLayout() async {
    final selectedDateTimeRange = await showDateRangePicker(
      context: context,
      firstDate: DateTime(2022, 04, 01),
      lastDate: DateTime(2023, 3, 31),
    );
    if (selectedDateTimeRange != null) {
      setState(() {
        dateTimeRange = selectedDateTimeRange;
      });
    }
    super.afterFirstLayout();
  }

  @override
  Widget build(BuildContext context) {
    return Scaffold(
      appBar: AppBar(title: const Text('Calender')),
      body: Center(
        child: FittedBox(
          fit: BoxFit.contain,
          child: Text(
            dateTimeRange != null
                ? '${dateTimeRange!.start} ~ ${dateTimeRange!.end}'
                : 'not selected',
          ),
        ),
      ),
    );
  }
}

class DialogPage extends StatefulWidget {
  const DialogPage({super.key});

  @override
  State<DialogPage> createState() => _DialogPageState();
}

class _DialogPageState extends State<DialogPage> with AfterLayoutMixin {
  IconData icon = Icons.circle_outlined;

  @override
  void afterFirstLayout() {
    showDialog(
      context: context,
      builder: (context) => AlertDialog(
        title: const Text('Want to see dash?'),
        actions: [
          TextButton(
            onPressed: () {
              Navigator.of(context).pop();
            },
            child: const Text(
              'No',
              style: TextStyle(color: Colors.red),
            ),
          ),
          TextButton(
            onPressed: () {
              setState(() {
                icon = Icons.flutter_dash;
              });
              Navigator.of(context).pop();
            },
            child: const Text('Yes!'),
          ),
        ],
      ),
    );
    super.afterFirstLayout();
  }

  @override
  Widget build(BuildContext context) {
    return Scaffold(
      appBar: AppBar(title: const Text('Dialog')),
      body: Align(
        alignment: Alignment.topCenter,
        child: FittedBox(
          child: Icon(
            icon,
            size: 300,
          ),
        ),
      ),
    );
  }
}
参考
A tour of the Dart language
[Flutter] WidgetsBindingとは何か?
【Dart】abstract,mixin,extends,implements,with等の使い方基礎