hi
はろー
現役JKのTrimscashだぞ
今日はこんな感じの定期的に出さなきゃいけないFormsを自動的に出して幸せになるぞ
2段階認証の必要なサービスも自動化可能
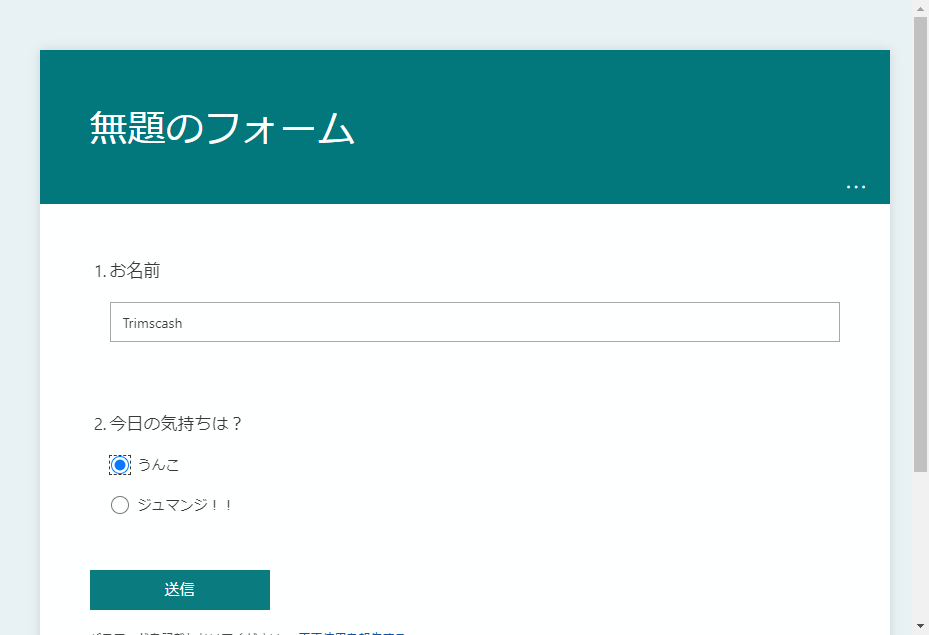
サンプルフォーム

環境構築
まずPython3でChromeの自動操作をするには,
- Selenium
- Chrome
- ChromeDriver
が必要です.
Chromeは入ってるとして,,,
Slenium
Seleniumはpipで一発でげす
>pip install selenium
ChromeDriver
ChromeDriverはいろいろ方法はありますが今日はここからダウンロードしましょう.
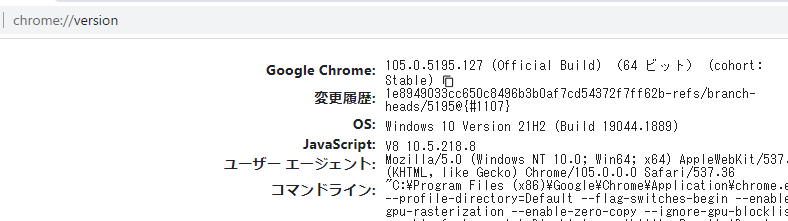
ここでChromeDriverのVersionですがこれはChromeのVersionと近いものをダウンロードしてください
ChromeのVersionは検索ボックスにchrome://versionと打ち込んで確認できます.
ChromeDriverのパスを通す.
ChromeDriverは任意の場所においてそのディレクトリのパスを通しておいてください
Profileの設定
Profileの設定をしてそのProfileで使用したいサービスにログインしておけば二段階認証の必要なサービスも自動化できます.
今回は必要ないですが実装しておきます.
まず
"C:\Program Files (x86)\Google\Chrome\Application\chrome.exe" --user-data-dir="任意のprofileのディレクトリ\profile"
を実行して,任意のディレクトリにProfileを作ります.
--user-data-dir="任意のディレクトリ\profile"
この引数が新しく作る自動操作用Profileが保存されるディレクトリです.なぜ保存される場所を変更しなければならないかと言うと,普段使うProfileの入ったディレクトリに自動操作用Profileを作るとエラーが出るからです.
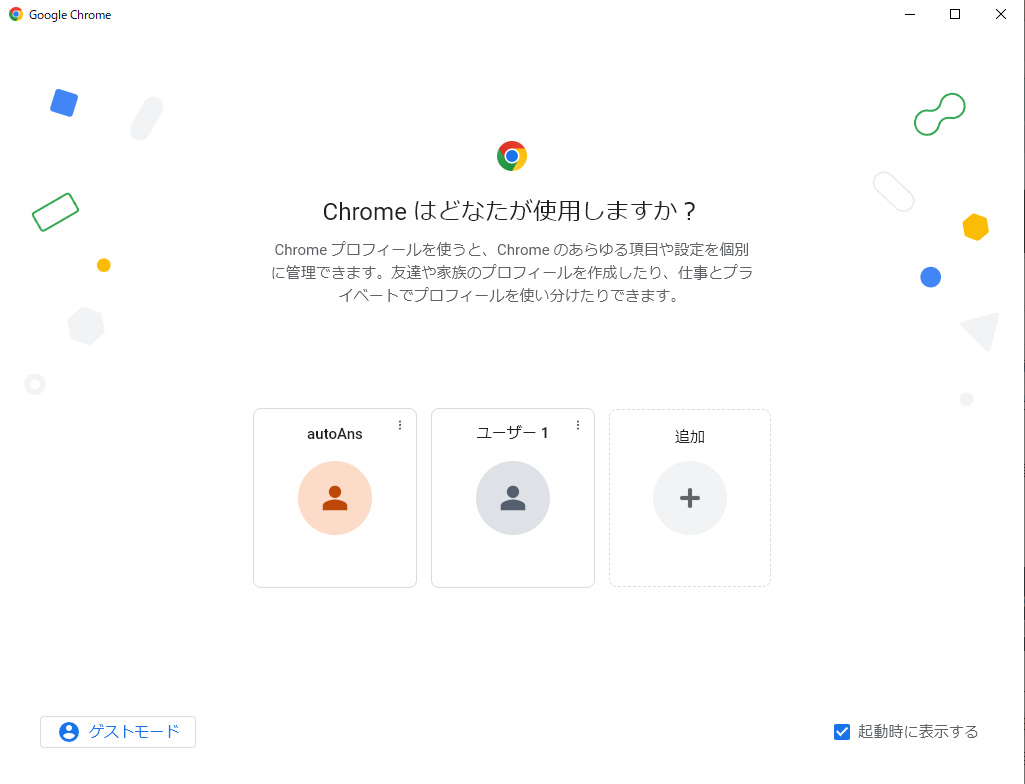
こんな感じで今回はautoAnsと言うProfileを作りました.
次にそのProfileのProfile名を確認しておきます
chrome://version
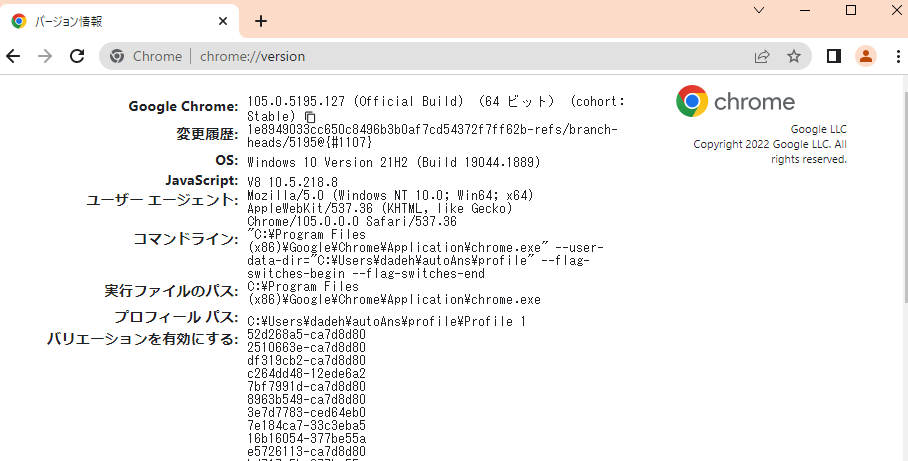
プロフィール パスってとこですね.この例でいうとProfile 1がProfile名です.
LetsCoding!!!!!!
ではやってこう!
とりあえずコードの全体を見せときます.(汚くてすみません許してください
import time
import datetime
import os
import random
import math
from selenium import webdriver
from selenium.webdriver.common.by import By
from selenium.webdriver.chrome.options import Options


#toukou jikann ni random sei wo motaseru tame
# time.sleep(360*random.random())

nowDate=datetime.datetime.now()
folderName="./"+nowDate.strftime('%m月%d日%H時%M分')
os.makedirs(folderName,exist_ok=True)

print(folderName)

profilePath="{任意のプロフィールディレクトリ}/profile/"
profile="Profile 1"#Profile名
link="https://forms.office.com/Pages/ResponsePage.aspx?id=XYP-cpVeEkWK4KezivJfyH11yZXFh-dKnUF3d_rMgjRUOEozUDRWODBHMDBNRkNCOExOUlFYNUtWNS4u"

#name question
nameQuestionAriaLabelledby='aria-labelledby="QuestionId_rd5122c3902a84a83ba6f5b44c4950c70 QuestionInfo_rd5122c3902a84a83ba6f5b44c4950c70"'

yourName="Trimscash"
feeling="うんこ"

sendButtonTitle="送信"

options = Options()
# options.add_argument('--headless')
options.add_argument('--user-data-dir=' + profilePath)
options.add_argument('--profile-directory='+profile)
driver = webdriver.Chrome(options=options)
driver.get(link)


time.sleep(2)

#name question
question1 = driver.find_element(By.CSS_SELECTOR,"["+nameQuestionAriaLabelledby+"]")
question1.clear()#最初に文字列が入っている場合があるのでクリア
question1.send_keys(yourName)#文字列を入力
time.sleep(2)#kaitoujikan no chousei


#feeling question
radio1=driver.find_element(By.XPATH,"//input[@value='"+feeling+"']")
radio1.click()
time.sleep(1+random.random()*2)


driver.save_screenshot(folderName+'/inputCheck.png')

sendButton=driver.find_element(By.XPATH,"//button[@title='"+sendButtonTitle+"']")
sendButton.click()

time.sleep(1)
driver.get_screenshot_as_file(folderName+'/postCheck.png')


driver.quit()
設定等
環境構築で設定しておいたProfileの名前とそれが保存されているディレクトリを指定したり,アクセスするリンクを指定します
profilePath="{任意のプロフィールのディレクトリ}/profile/"#
profile="Profile 1" #Profile名
link="https://forms.office.com/Pages/ResponsePage.aspx?id=XYP-cpVeEkWK4KezivJfyH11yZXFh-dKnUF3d_rMgjRUOEozUDRWODBHMDBNRkNCOExOUlFYNUtWNS4u"

#~中略~

options = Options()
# options.add_argument('--headless')
options.add_argument('--user-data-dir=' + profilePath)
options.add_argument('--profile-directory='+profile)
driver = webdriver.Chrome(options=options)
driver.get(link)
options.add_argument('--user-data-dir=' + profilePath)
options.add_argument('--profile-directory='+profile)
の--user-data-dir=はProfileのディレクトリを指定する引数です.
任意のプロフィールのディレクトリをぶち込みましょう
--profile-directory=は使うProfileを指定する引数です.
確認したプロフィール名をぶち込みましょう
driver = webdriver.Chrome(options=options)
でdriverをoption付きで作って
driver.get(link)
でlinkのページにアクセスしています
TextBox(input)
まずはFormの解析から.
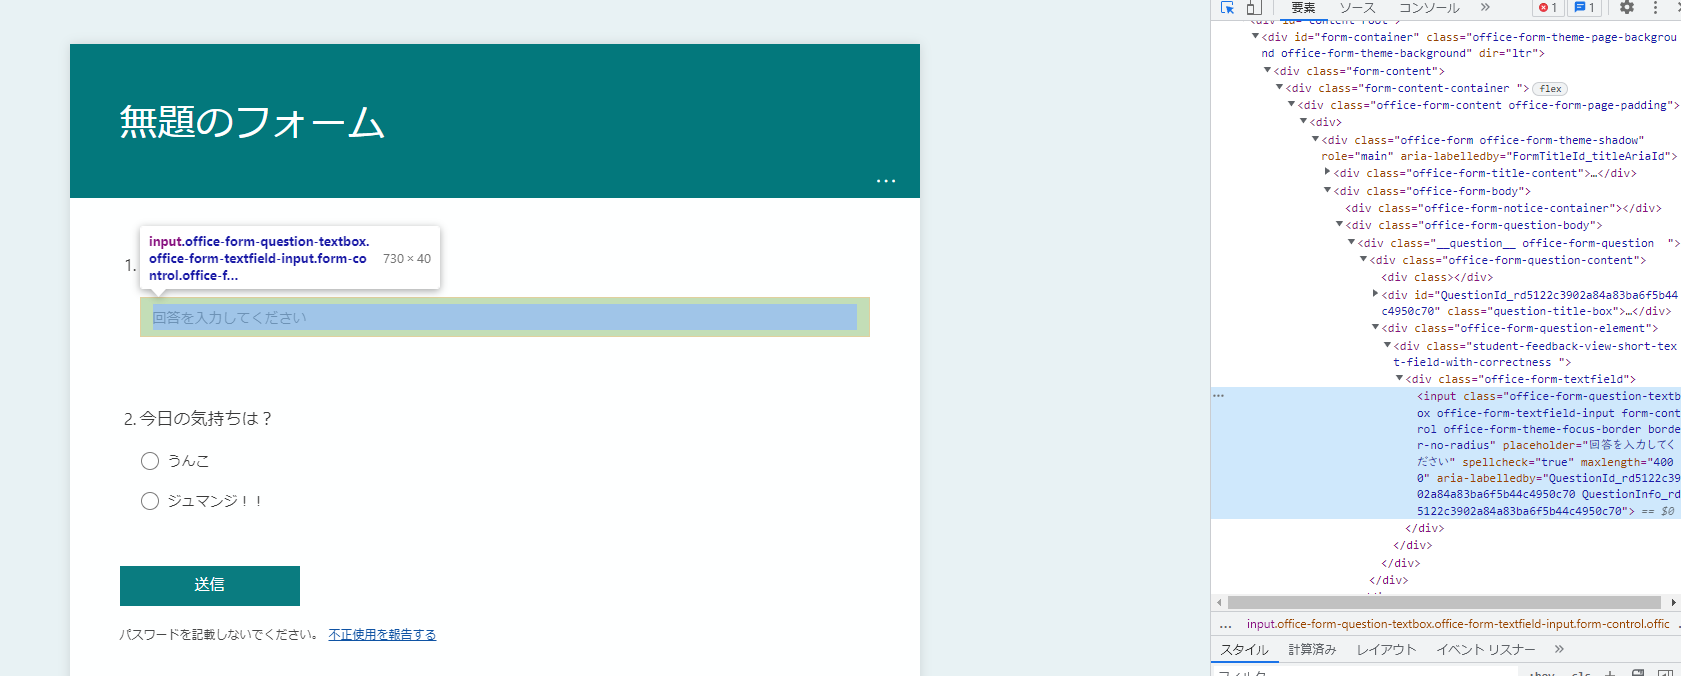
TextBoxはinputにつけられているaria-labelledbyを丸々コピーします.
このaria-labelledbyによってTextBoxの要素を特定させます

from selenium import webdriver
from selenium.webdriver.common.by import By

nameQuestionAriaLabelledby='aria-labelledby="QuestionId_r0b3e84d33fd04dbcb325d06a3d4726be QuestionInfo_r0b3e84d33fd04dbcb325d06a3d4726be"'

#~(中略)~

question1 = driver.find_element(By.CSS_SELECTOR,"["+nameQuestionAriaLabelledby+"]")
question1.clear()
question1.send_keys(yourName)
コピーした
aria-labelledby="QuestionId_r0b3e84d33fd04dbcb325d06a3d4726be QuestionInfo_r0b3e84d33fd04dbcb325d06a3d4726be"
を
driver.find_element(By.CSS_SELECTOR,"["+nameQuestionAriaLabelledby+"]")
によって検索し要素を特定しています.
そしてそののちの
question1.clear()#最初に文字列が入っている場合があるのでクリア
question1.send_keys(yourName)#文字列を入力
によっていったん入力内容をクリアしてから入力させています.
Radio Button(input)
こちらはRadioボタンのvalueに入った値によって要素を特定していきます.
一つのフォームに同じvalueが入っていた場合ちょっとやり方を変える必要がありますが,ひとまずこんなんでいけます
feeling="うんこ"

#~中略~

radio1=driver.find_element(By.XPATH,"//input[@value='"+feeling+"']")
radio1.click()
feelingの値は押したいRadioボタン(input)のvalueの値つまり下でいう
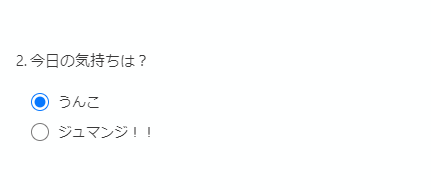
”うんこ”です!
そしてそれを
radio1=driver.find_element(By.XPATH,"//input[@value='"+feeling+"']")
radio1.click()#ボタンを押す
で特定し押してます
find_elementの
"//input[@value='"+feeling+"']"
はinputという要素のvalueにfeelingの値が入ってるやつを特定するって感じです.
送信
送信は以下のように
sendButtonTitle="送信"
sendButton=driver.find_element(By.XPATH,"//button[@title='"+sendButtonTitle+"']")
sendButton.click()
送信というTitleのついたボタンをfind_element(By.XPATH,"//button[@title='"+sendButtonTitle+"']")
で特定してclick()で押しています
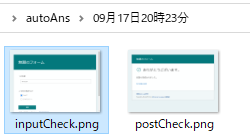
スクショ
ほんとに送信されたか後々確認するためにスクショを取っておきましょう.
まず現在日時を名前としたディレクトリを作ります
import datetime
import os

nowDate=datetime.datetime.now()
folderName="./"+nowDate.strftime('%m月%d日%H時%M分')
os.makedirs(folderName,exist_ok=True)
そして
#送信前のスクショ
driver.save_screenshot(folderName+'/inputCheck.png')

#送信
sendButton=driver.find_element(By.XPATH,"//button[@title='"+sendButtonTitle+"']")
sendButton.click()

#送信後のスクショ
driver.get_screenshot_as_file(folderName+'/postCheck.png')
のようにディレクトリを指定してスクショを取ります.
完成
完成しました.
試しに実行してみましょう.
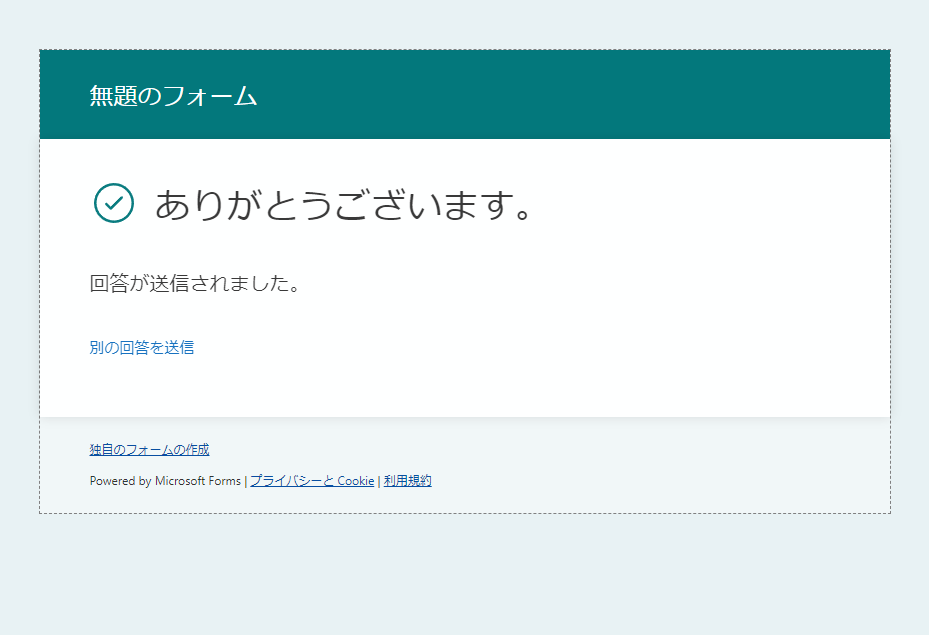
yatta~いけました上の画像はスクリプトによって取られたスクショです
では次にこれを毎朝実行するようにしましょう!
タスクスケジューラ
まあWin10なのでタスクスケジューラを使います,linuxとかの人はcronを使ってルーティン化してもいいでしょう.
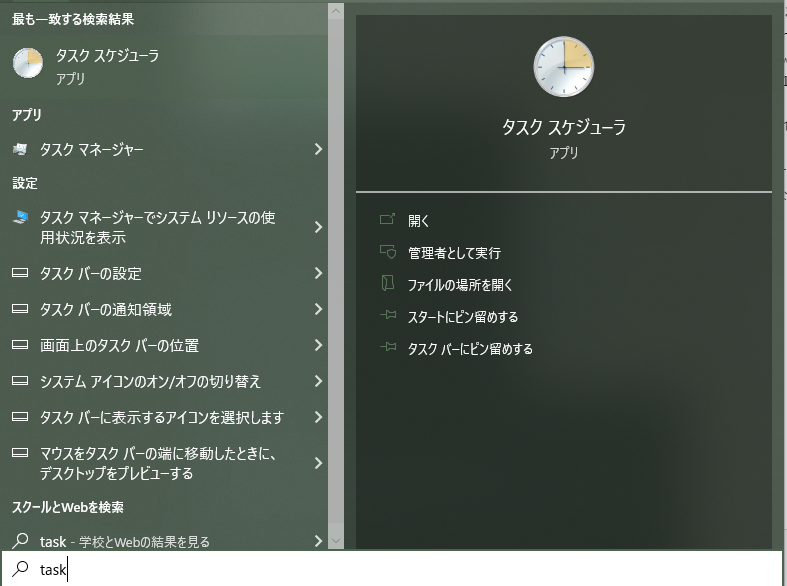
で開いて,
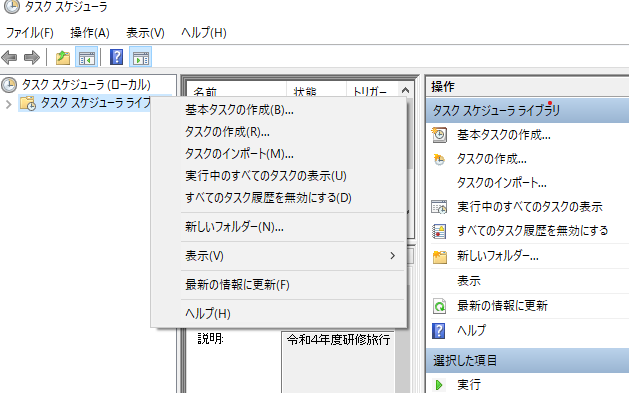
右クリから”基本タスクの作成”を押してください.
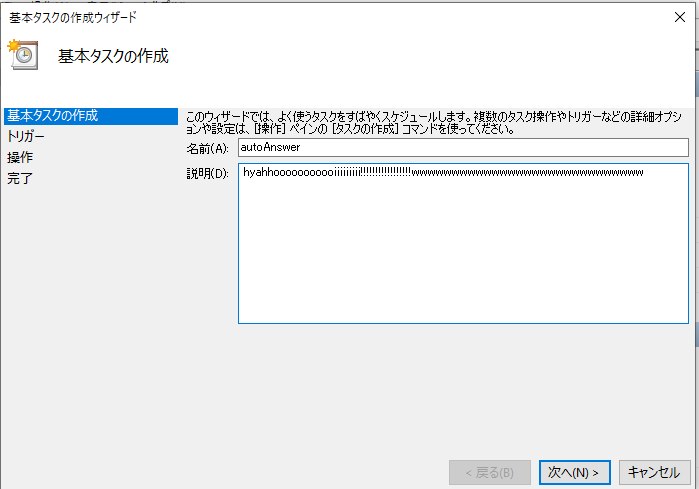
するといろいろ設定できるので適当に設定していきましょう.するとやがて以下のような画面が表示されるでしょう.
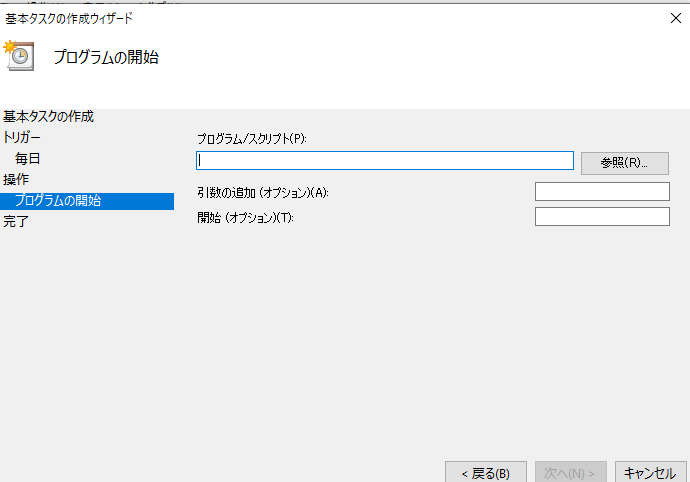
ここでは何を実行するか設定できます.
僕は以下のように設定しました.
プログラム/スクリプト
{python3のディレクトリ}\python3.exe
引数の追加
{スクリプトのディレクトリ}\autoAns.py
開始
作業ディレクトリ
{スクリプトのディレクトリ}\
これで設定した時間になると実行されるはずです..!!
終
おしまいじゃ
うひうひひひひひひ
これで煩わしい定期回答から解放じゃ!!!!!!!!!!!!!!!!
誤り等あったら教えてください,すみません
ちなみにわしはJK(情報工学科高専生)だお
いじょうありがとうございました