はじめに
本日 2020年05月28日に Windows10 2004 May 2020 Update が正式に来たみたいですね😊
最近 PC を購入し、Linuxをデュアルブートでインストールしようと考えていたのですが、WSL2がもうすぐ来るというので待っていました。
今回の Windows Update で WSL2 が使えるようになるということだったので、「Ubuntu 20.04 LTS」を WSL2 で動かし、Docker をインストールして動作確認まで行いたいと思います🙆♀️
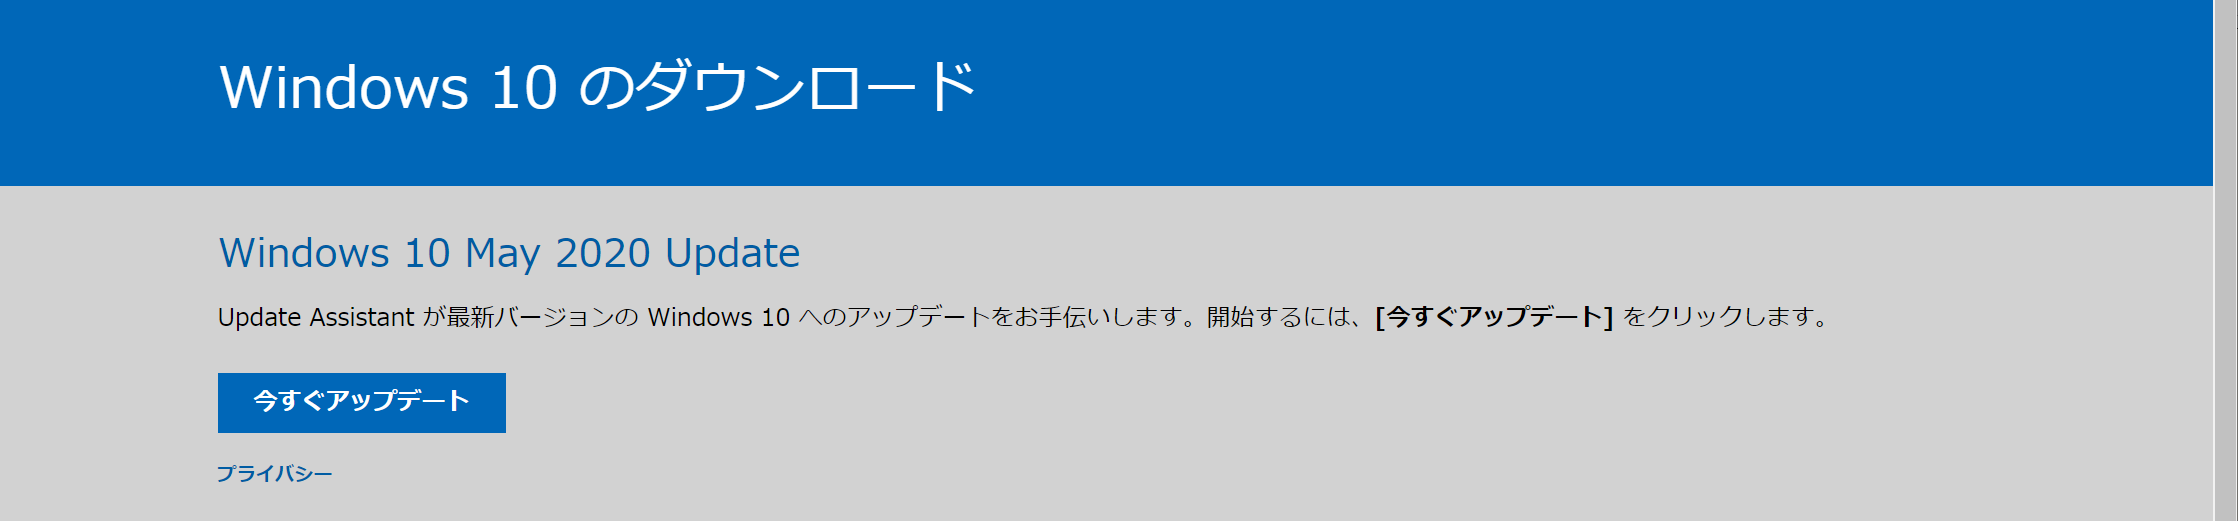
Windows10 2004 May 2020 Update
もう少し待てば Windows Update の更新確認にも出てくると思いますが、今回は Windows 10 のダウンロード サイトで更新しいています。
WSL2 のインストール
Windows PowerShell を管理者権限で実行します。
「Linux 用 Windows サブシステム」と「仮想マシンプラットホーム」の有効化
dism.exe /online /enable-feature /featurename:Microsoft-Windows-Subsystem-Linux /all /norestart
dism.exe /online /enable-feature /featurename:VirtualMachinePlatform /all /norestart
WSL 2 Linux カーネルの更新
WSL 2 Linux カーネルの更新
で 最新の WSL2 Linux カーネル更新プログラム パッケージをダウンロード しインストール
WSLのデフォルトをWSL2に設定
wsl --set-default-version 2
Ubuntu 20.04 LTS のダウンロード
Microsoft Storeで linux と検索し「Ubuntu 20.04 LTS」をインストール

バージョン確認
wsl --list --verbose
バージョンが2になっていたらOK
Ubuntu 20.04 LTS の 起動
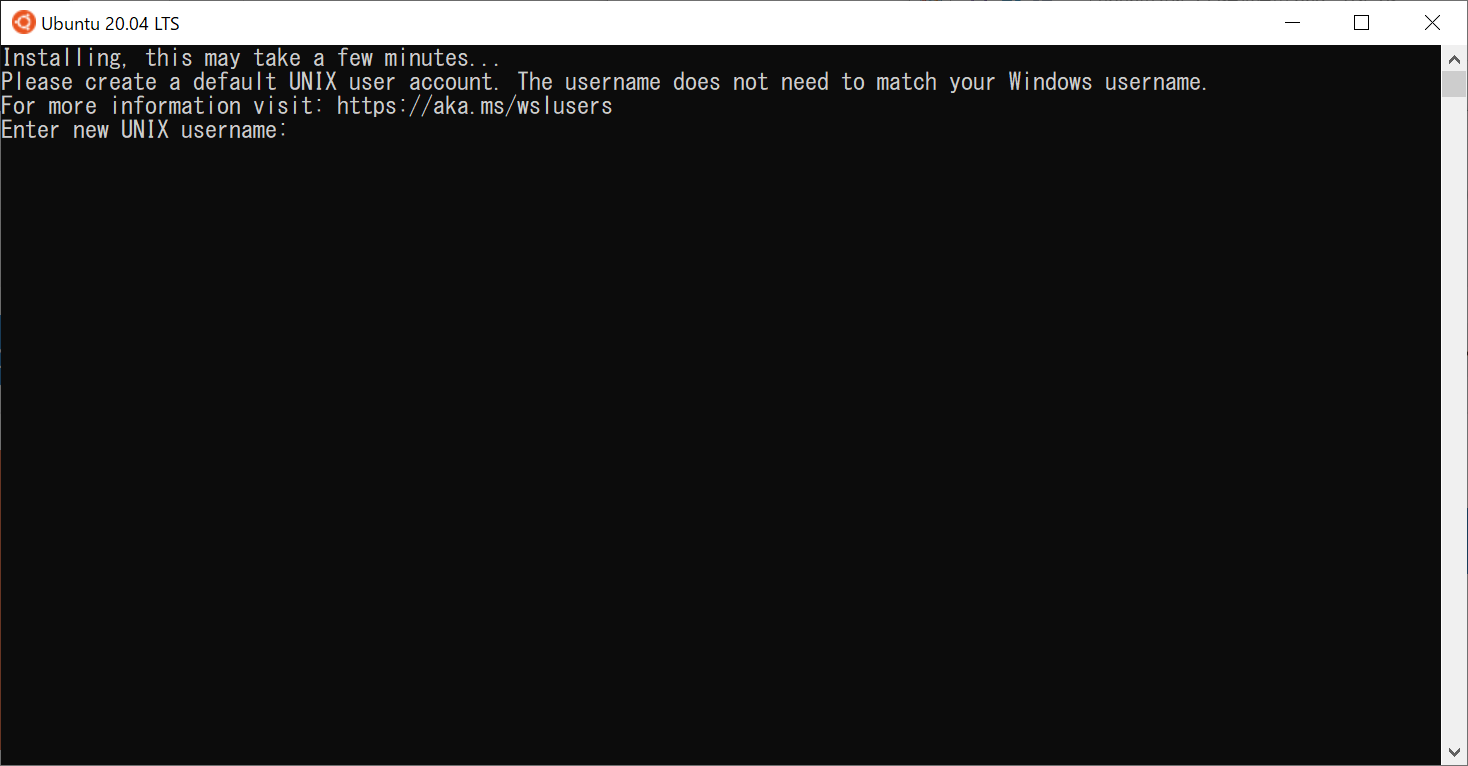
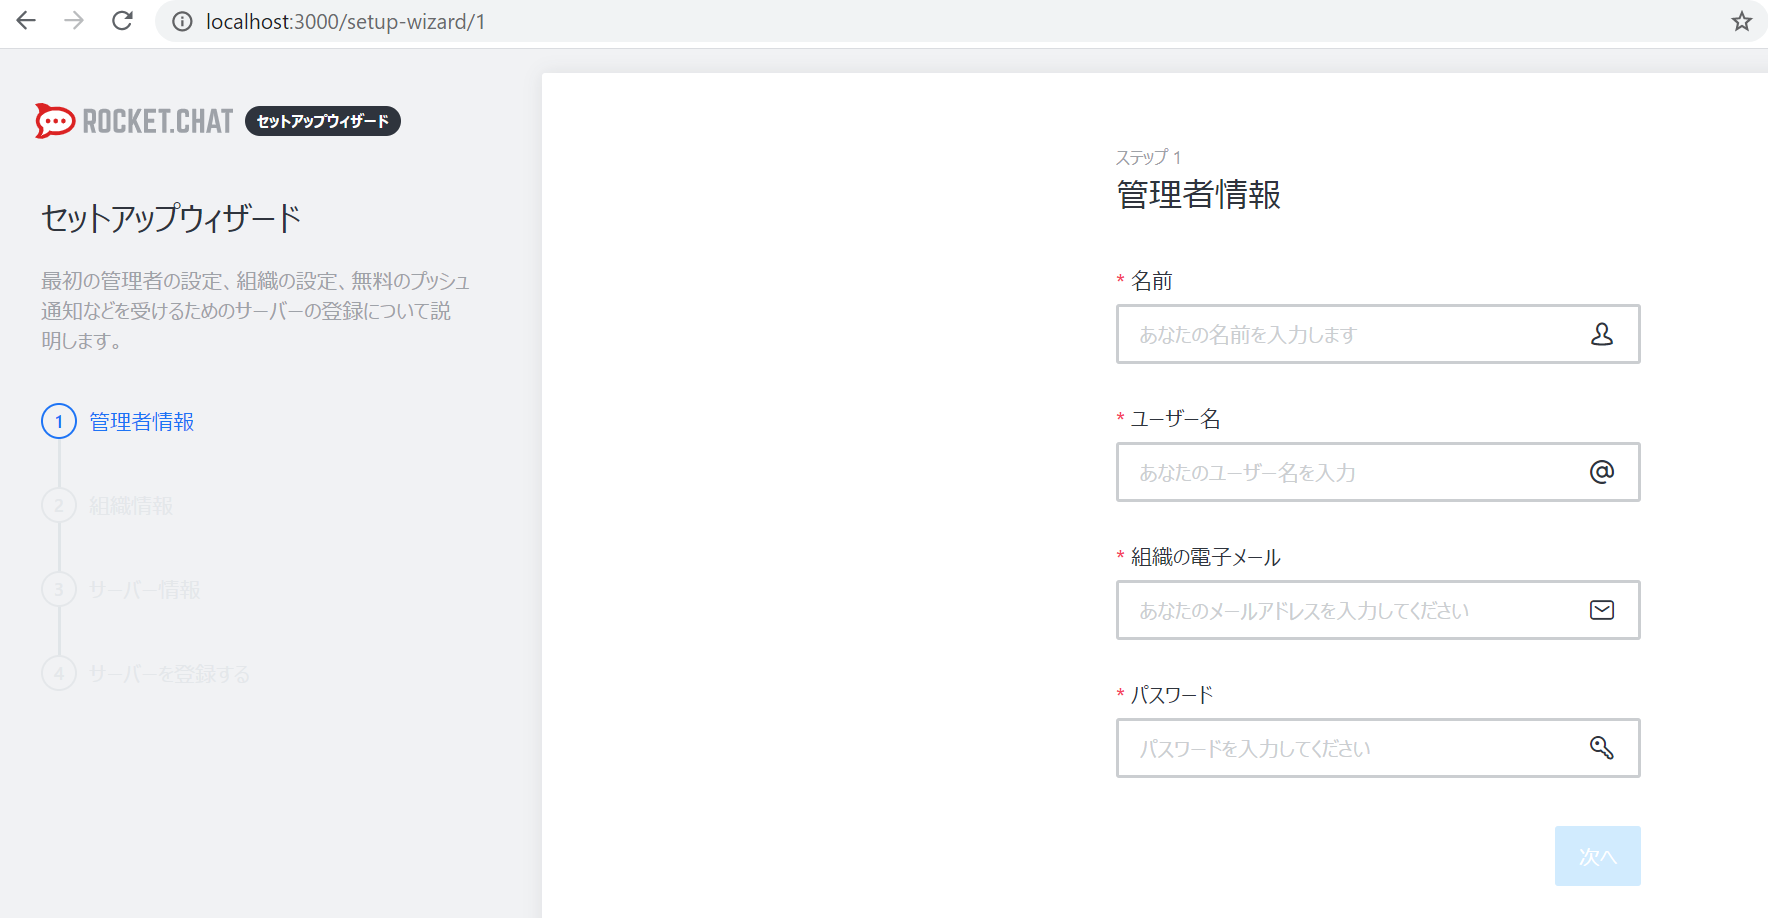
起動するとこの画面が出るのでユーザを登録すれば完了です。
Docker のインストール
Ubuntuにdockerをインストールする
を参考にしながらインストールしてみます。
まず最新にします
sudo apt update
sudo apt upgrade -y
前提ソフトウェアをインストール
sudo apt install -y apt-transport-https ca-certificates curl software-properties-common
docker公式のGPG公開鍵をインストール
curl -fsSL https://download.docker.com/linux/ubuntu/gpg | sudo apt-key add -
aptリポジトリの設定
sudo add-apt-repository "deb [arch=amd64] https://download.docker.com/linux/ubuntu $(lsb_release -cs) stable"
docker と docker-compose インストール
sudo apt install -y docker-ce docker-compose
すると GRUB install devices の確認画面が出ました
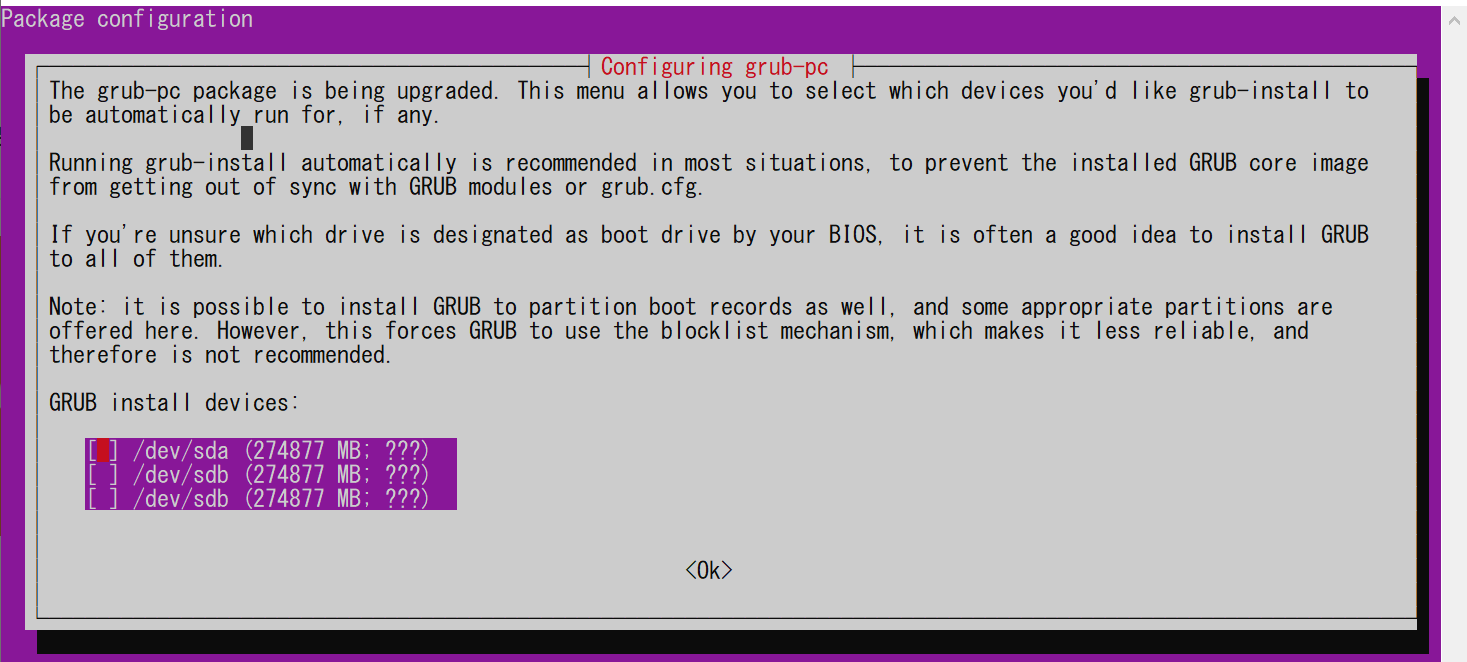
Vagrant環境でUbuntuをupgradeした際に起きるGRUBの問い合わせ
を確認してみましたが問題なさそうなのでそのまま Enter
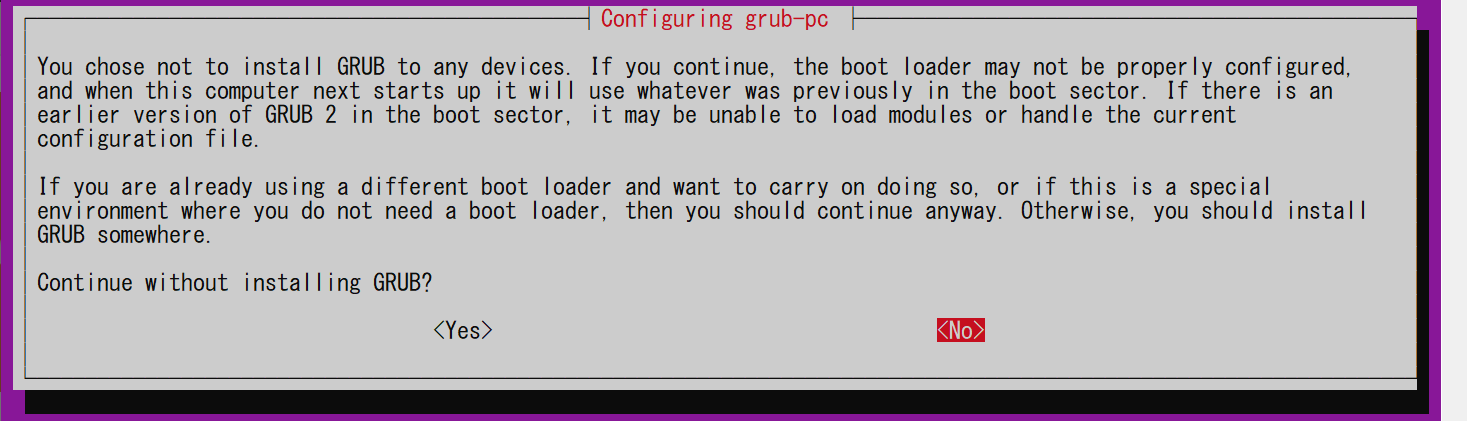
Yesを選択で インストールは完了しました
docker daemon を起動
sudo service docker start
dockerグループに追加
sudo usermod -aG docker $USER
グループ反映のため一度再起動します
起動確認
$ docker ps
CONTAINER ID        IMAGE               COMMAND             CREATED             STATUS              PORTS               NAMES
t
docker ps で上記のようにエラーがなければ インストール完了です。
動作確認をしてみます
ここは実際には行わなくても大丈夫です。
以前 Docker Desktop for Windows で Rocket.Chatを動かすと MongoDB が動かなくてエラーになっていたので、Rocket.Chatで確認してみたいと思います。
mkdir -p docker/rocketchat
cd docker/rocketchat/
curl -L https://raw.githubusercontent.com/RocketChat/Rocket.Chat/develop/docker-compose.yml -o docker-compose.yml
docker-compose.ymlの中身を確認
version: '2'

services:
  rocketchat:
    image: rocketchat/rocket.chat:latest
    command: >
      bash -c
        "for i in `seq 1 30`; do
          node main.js &&
          s=$$? && break || s=$$?;
          echo \"Tried $$i times. Waiting 5 secs...\";
          sleep 5;
        done; (exit $$s)"
    restart: unless-stopped
    volumes:
      - ./uploads:/app/uploads
    environment:
      - PORT=3000
      - ROOT_URL=http://localhost:3000
      - MONGO_URL=mongodb://mongo:27017/rocketchat
      - MONGO_OPLOG_URL=mongodb://mongo:27017/local
      - MAIL_URL=smtp://smtp.email
#       - HTTP_PROXY=http://proxy.domain.com
#       - HTTPS_PROXY=http://proxy.domain.com
    depends_on:
      - mongo
    ports:
      - 3000:3000
    labels:
      - "traefik.backend=rocketchat"
      - "traefik.frontend.rule=Host: your.domain.tld"

  mongo:
    image: mongo:4.0
    restart: unless-stopped
    volumes:
     - ./data/db:/data/db
     #- ./data/dump:/dump
    command: mongod --smallfiles --oplogSize 128 --replSet rs0 --storageEngine=mmapv1
    labels:
      - "traefik.enable=false"

  # this container's job is just run the command to initialize the replica set.
  # it will run the command and remove himself (it will not stay running)
  mongo-init-replica:
    image: mongo:4.0
    command: >
      bash -c
        "for i in `seq 1 30`; do
          mongo mongo/rocketchat --eval \"
            rs.initiate({
              _id: 'rs0',
              members: [ { _id: 0, host: 'localhost:27017' } ]})\" &&
          s=$$? && break || s=$$?;
          echo \"Tried $$i times. Waiting 5 secs...\";
          sleep 5;
        done; (exit $$s)"
    depends_on:
      - mongo

  # hubot, the popular chatbot (add the bot user first and change the password before starting this image)
  hubot:
    image: rocketchat/hubot-rocketchat:latest
    restart: unless-stopped
    environment:
      - ROCKETCHAT_URL=rocketchat:3000
      - ROCKETCHAT_ROOM=GENERAL
      - ROCKETCHAT_USER=bot
      - ROCKETCHAT_PASSWORD=botpassword
      - BOT_NAME=bot
  # you can add more scripts as you'd like here, they need to be installable by npm
      - EXTERNAL_SCRIPTS=hubot-help,hubot-seen,hubot-links,hubot-diagnostics
    depends_on:
      - rocketchat
    labels:
      - "traefik.enable=false"
    volumes:
      - ./scripts:/home/hubot/scripts
  # this is used to expose the hubot port for notifications on the host on port 3001, e.g. for hubot-jenkins-notifier
    ports:
      - 3001:8080

  #traefik:
  #  image: traefik:latest
  #  restart: unless-stopped
  #  command: >
  #    traefik
  #     --docker
  #     --acme=true
  #     --acme.domains='your.domain.tld'
  #     --acme.email='your@email.tld'
  #     --acme.entrypoint=https
  #     --acme.storagefile=acme.json
  #     --defaultentrypoints=http
  #     --defaultentrypoints=https
  #     --entryPoints='Name:http Address::80 Redirect.EntryPoint:https'
  #     --entryPoints='Name:https Address::443 TLS.Certificates:'
  #  ports:
  #    - 80:80
  #    - 443:443
  #  volumes:
  #    - /var/run/docker.sock:/var/run/docker.sock
そのまま実行してみます
docker-compose up -d
動きましたね!!
まとめ
WSL2 で問題なく Docker が動かせそうですね。
MongoDB がいつから出来るようになったのかはよくわかっていませんが、とりあえず動いてよかったです😊
Docker Desktop for Windows だと docker-compose.yml に書くパスを c:\ などと Windows 形式の絶対パスで書かないといけませんでしたが、WSL2 上で動かすと Linux 同様に書けて相対パスもいけるので、定義ファイルを分ける必要がなくなりましたね。
「Windwsキー」 + 「.」
で絵文字が打てるようになったのも少し面白いですね🤣🤣🤣