目的
UIView,UIButtonなどの角丸、枠線やUITextFieldのPlaceholderの色などは通常Storyboardから値を設定することができず、コードで書くことが多いと思いますが、できることならStoryboard上で見た目を確認しながら設定できると、いちいちビルドしなくてもいいし楽。
そこで、今回は通常Storyboardから編集できないものを@IBDesignable,@IBInspectableを使って編集できる、かつリアルタイムで見た目を確認できる方法をメモしたいと思います
@IBDesignable,@IBInspectableとは
| @IBDesignable | @IBInspectable |
|---|---|
| クラスの前に付ける修飾子 | プロパティの前に付ける修飾子 |
| IBInspectableが指定されているプロパティに変化があった場合、それを反映させる | Storyboard上から値を変更できるようにする |
-
@IBInspectableを使用できる型
- Bool
- Int
- CGFloat
- Double
- String
- CGPoint
- CGSize
- CGRect
- UIColor
- UIImage
UIFontが指定できないのが残念。
方法
UIView, UIButtonなどを継承したカスタムクラスを作成します。
CustomView
import UIKit

@IBDesignable class CustomView: UIView {

    @IBInspectable var cornerRadius: CGFloat = 0.0 {
        didSet {
            self.layer.cornerRadius = self.cornerRadius
            self.clipsToBounds = (self.cornerRadius > 0)
        }
    }

    @IBInspectable var borderColor: UIColor = UIColor.clearColor() {
        didSet {
            self.layer.borderColor = self.borderColor.CGColor
        }
    }

    @IBInspectable var borderWidth: CGFloat = 0.0 {
        didSet {
            self.layer.borderWidth = self.borderWidth
        }
    }
}
下記のようにも書ける
CustomView
import UIKit

@IBDesignable class CustomView: UIView {

    @IBInspectable var cornerRadius: CGFloat = 0.0
    @IBInspectable var borderColor: UIColor = UIColor.clearColor()
    @IBInspectable var borderWidth: CGFloat = 0.0

    override func drawRect(rect: CGRect) {
        self.layer.cornerRadius = cornerRadius
        self.clipsToBounds = (cornerRadius > 0)

        self.layer.borderColor = borderColor.CGColor
        self.layer.borderWidth = borderWidth

        super.drawRect(rect)
    }
}
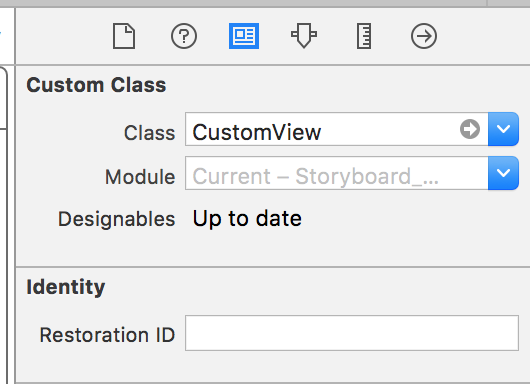
UIViewを配置して、CustomViewと結びつける
Designablesが"Up to date"になればOK
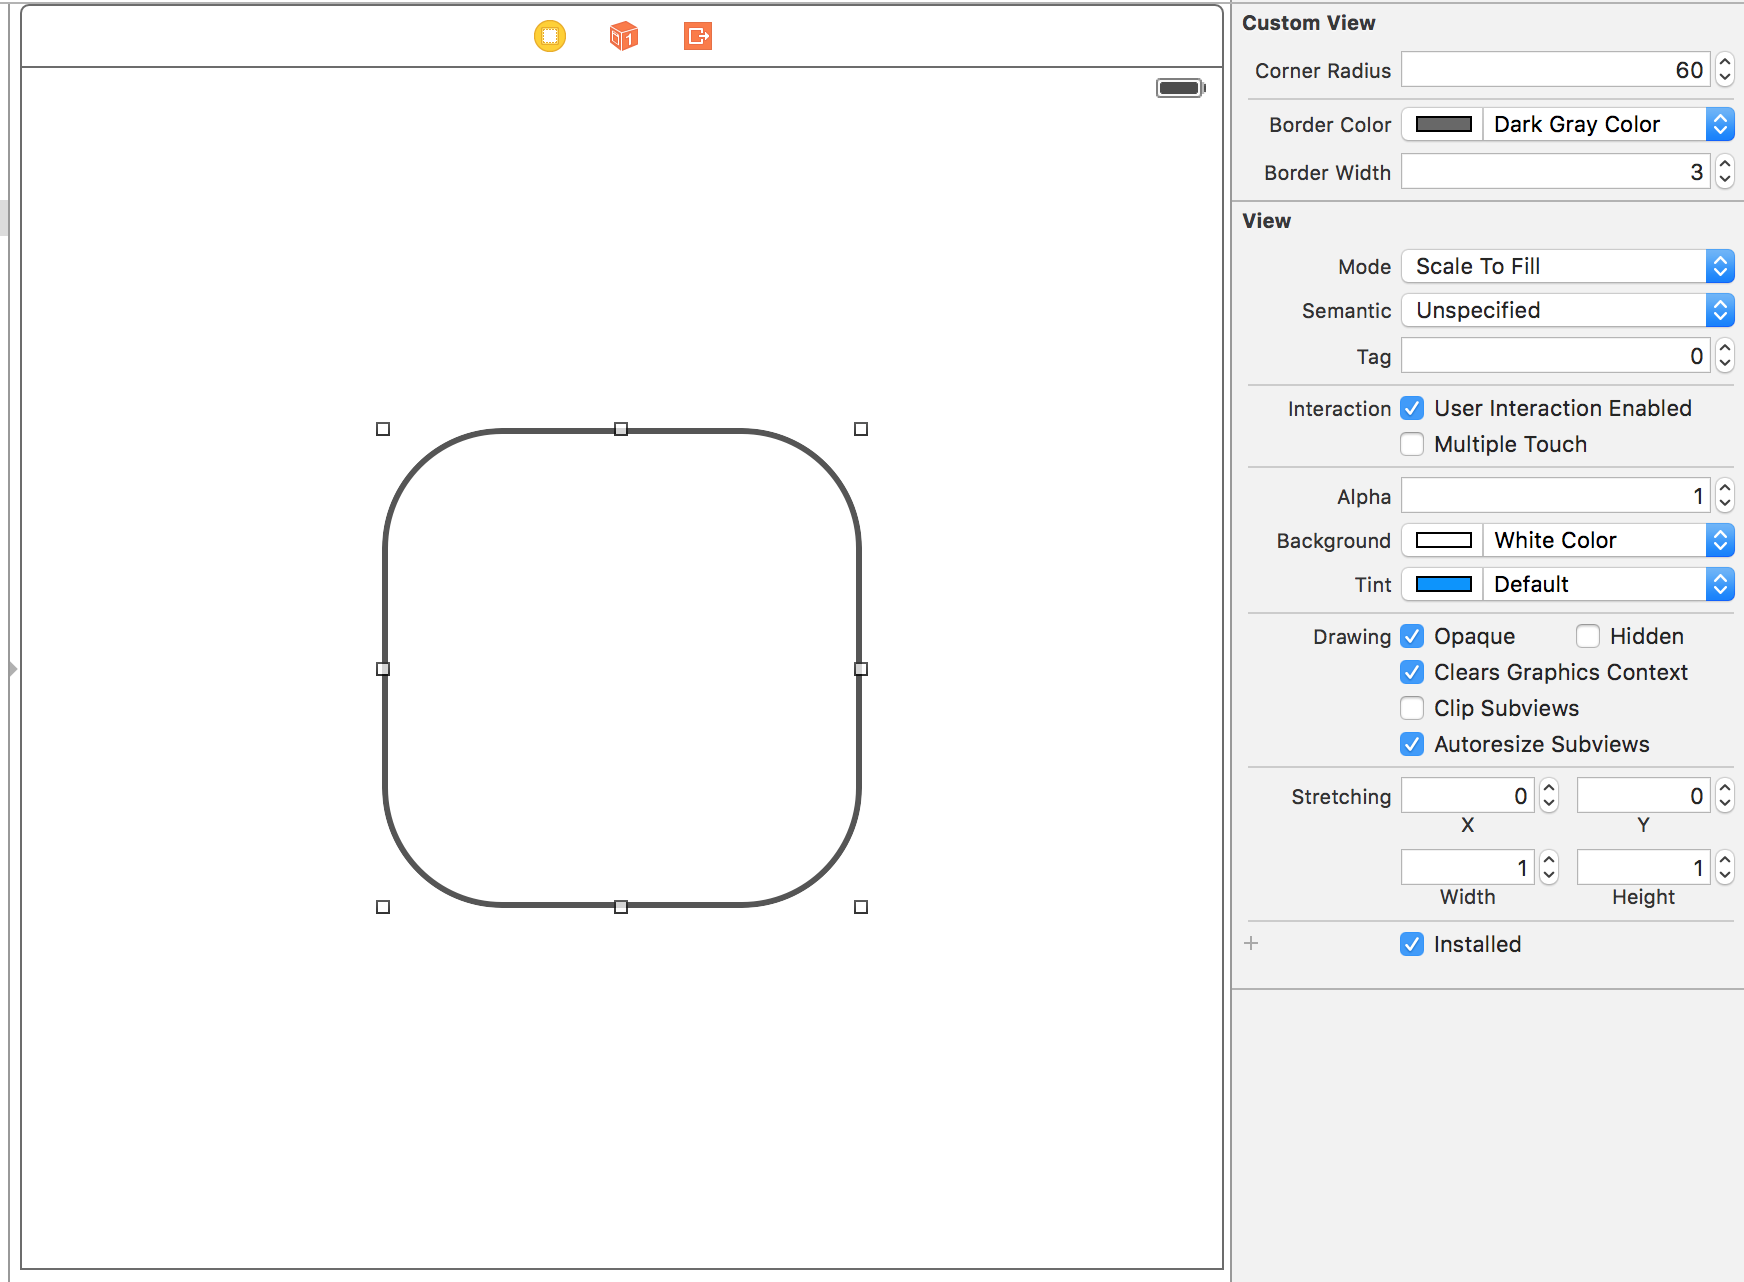
後は、Storyboard上から編集できるようになっているので適当に値を入れる。
するとリアルタイムで見た目が更新されていく!
次は、UITextFieldのPlaceholderの色を変えてみる
CustomTextField
import UIKit

@IBDesignable class CustomTextField: UITextField {

    @IBInspectable var placeholderColor: UIColor = UIColor(red: 199/255, green: 199/255, blue: 205/255, alpha: 1)

    override func drawRect(rect: CGRect) {

        if self.placeholderColor != UIColor(red: 199/255, green: 199/255, blue: 205/255, alpha: 1), let placeholder = self.placeholder {
            let attributesColor = [NSForegroundColorAttributeName: self.placeholderColor]
            self.attributedPlaceholder = NSAttributedString.init(string: placeholder, attributes: attributesColor)
        }

        super.drawRect(rect)
    }
}

最後に
- 惜しいのは、カスタムクラスを作らないといけないところ。extensionで@IBDesignable,@IBInspectableが設定できると嬉しいんだけれど。
- 使い方次第では色々なことができそうで面白い。