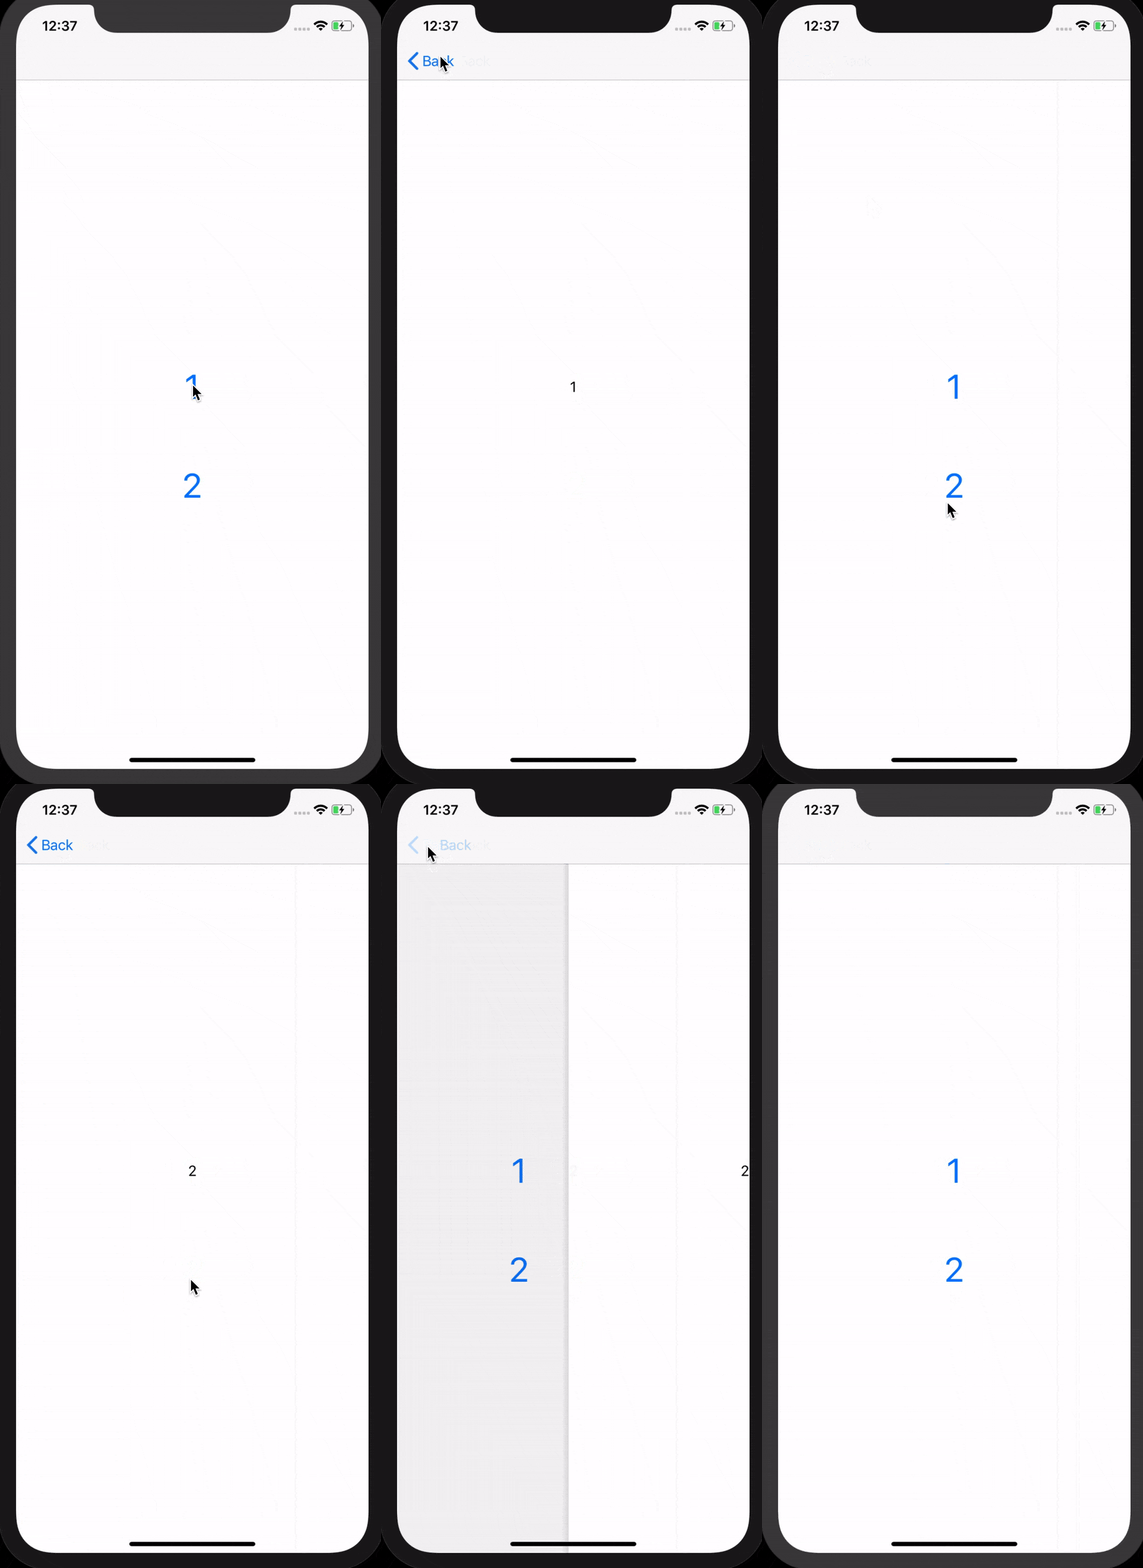
こんな感じにストーリボード上でセグエを引かなくでも画面遷移ができるようにしたい
とりあえず今回は「1」のボタンを押せば「1」が、「2」を押せば「2」が遷移先のラベルに表示するようにする
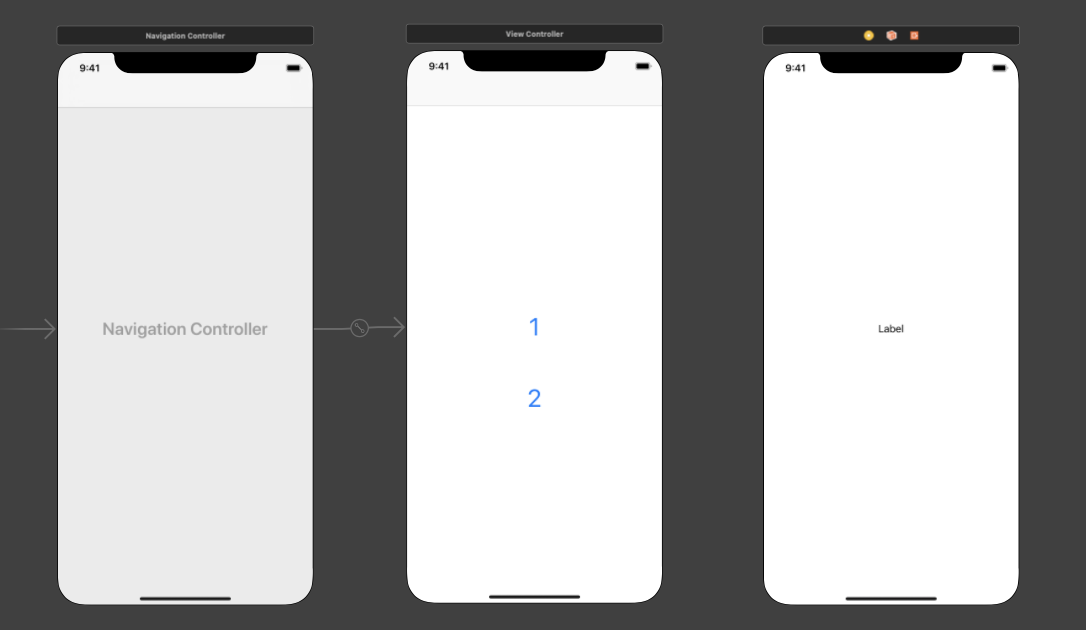
~準備~
コードをいじる前の準備
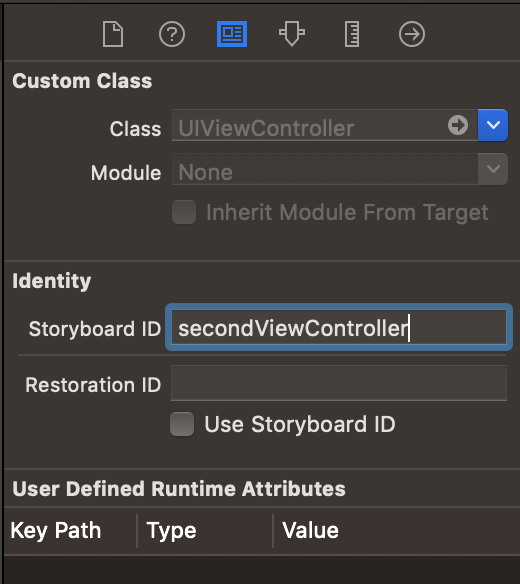
遷移先のViewControllerにIDをつける
まず最初に遷移先のViewControllerのStoryboardIdを決める
遷移先のViewController用のファイルを作る
⌘+nで新規ファイルを作る。
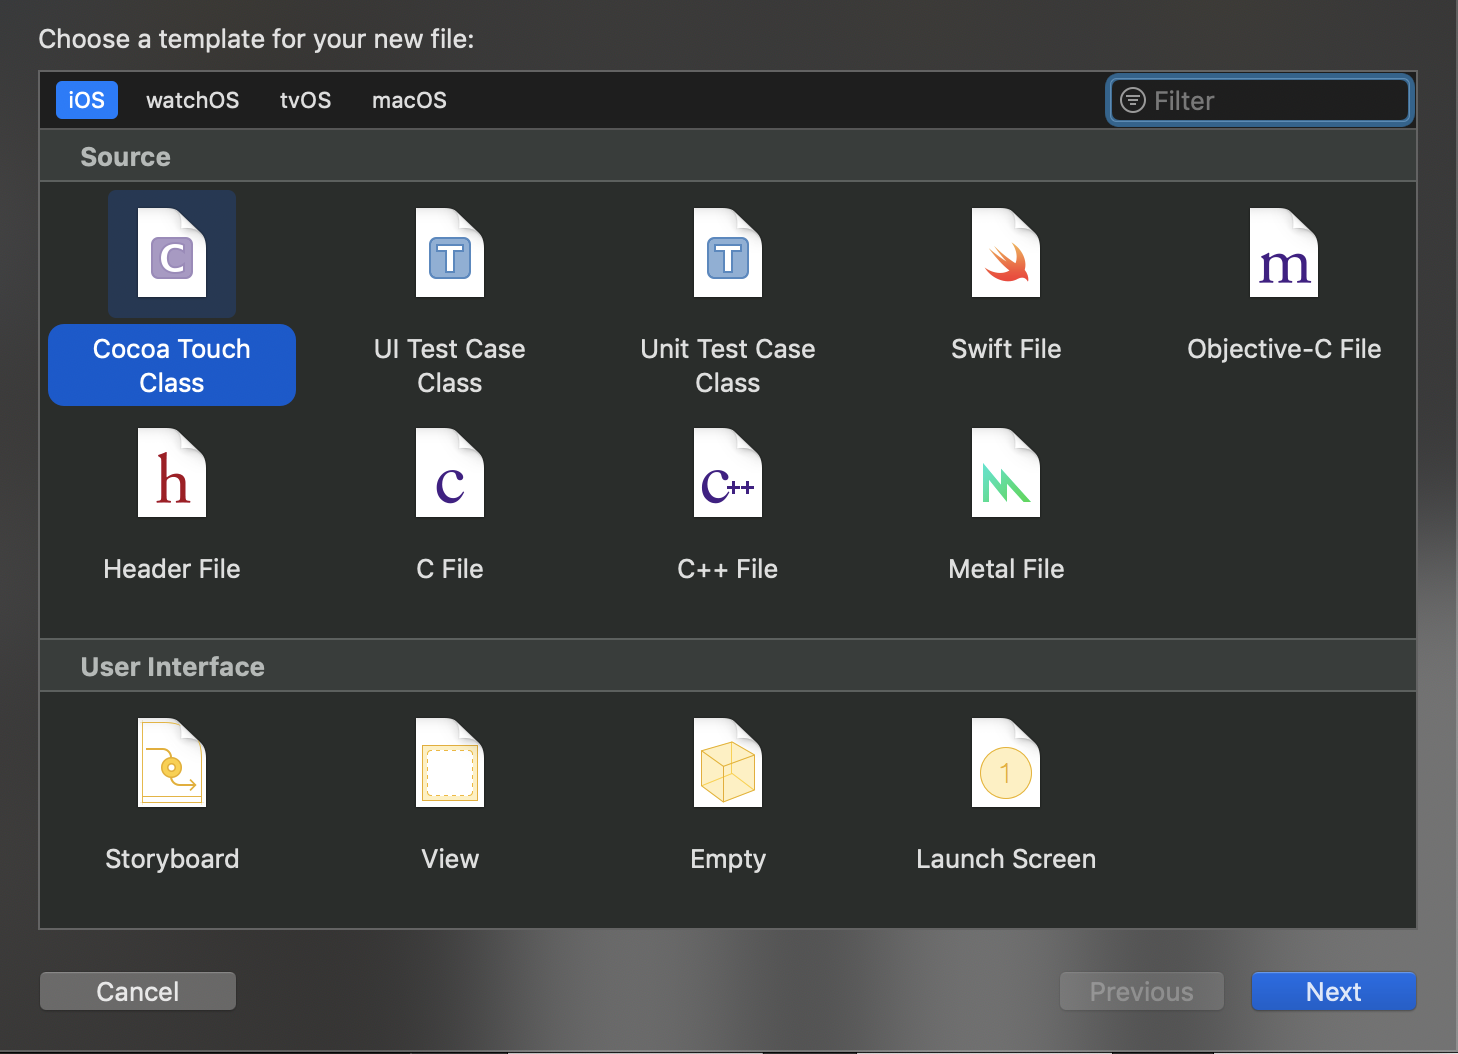
「Cocoa Touch Class」を選択
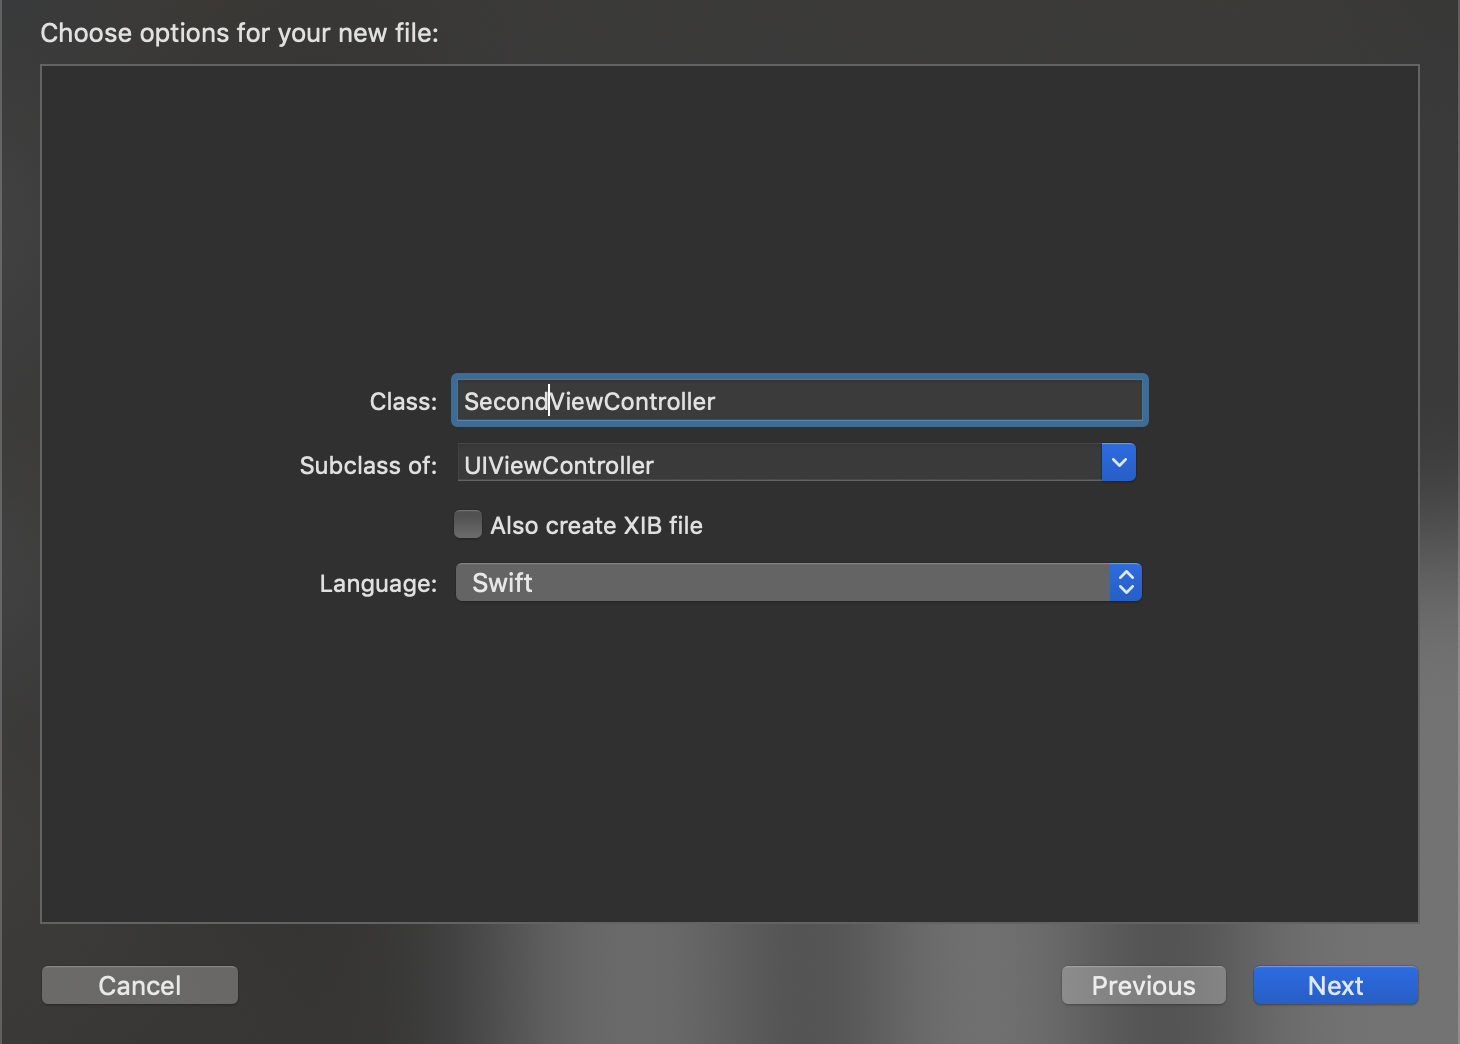
今回はSubclassを「UIViewController」と選択する。
Class欄は自由にどうぞ
遷移元、遷移先それぞれのファイルを設定する
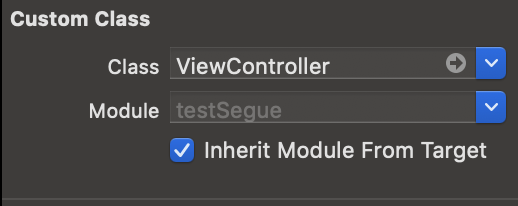
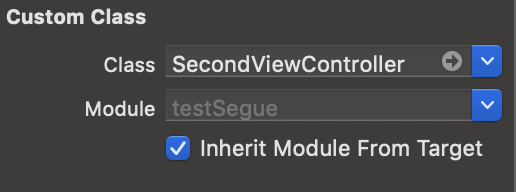
今回は遷移元を「ViewController.swift」、遷移先を「SecondViewController.swift」とした。
・遷移元
・遷移先
準備終了。ようやくコードをいじる
ファイルをいじる
遷移元
ボタンとコードを結びつける
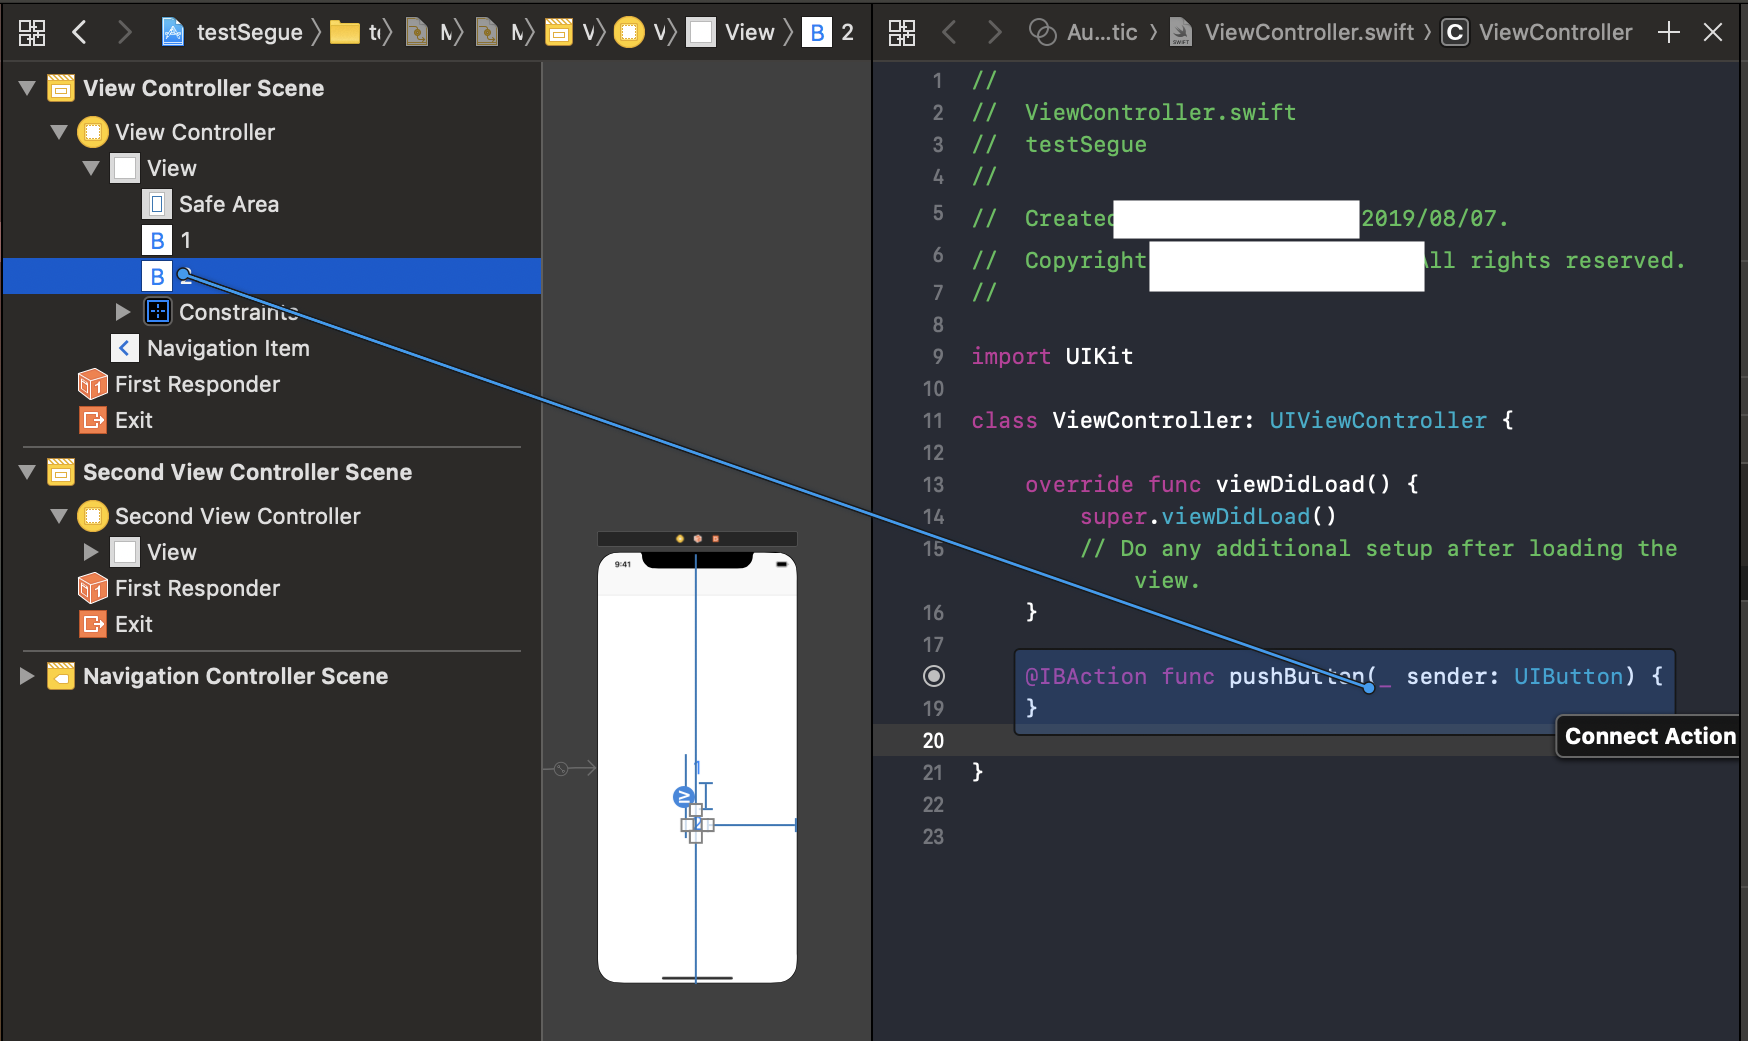
今回はConnectionをAction
TypeをUIButtonとして結びつけた。
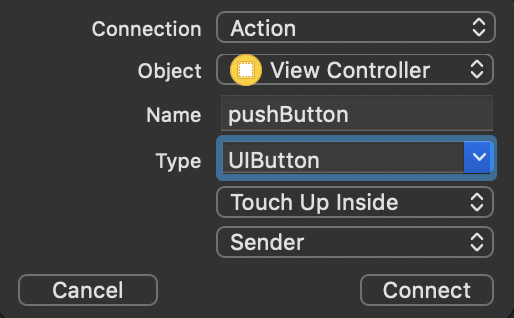
二個目以降は、下の画像みたいにすでに結びつけたボタンアクションの上に、別のボタンを持っていくと複数のボタンを同じアクションでまとめることができる。
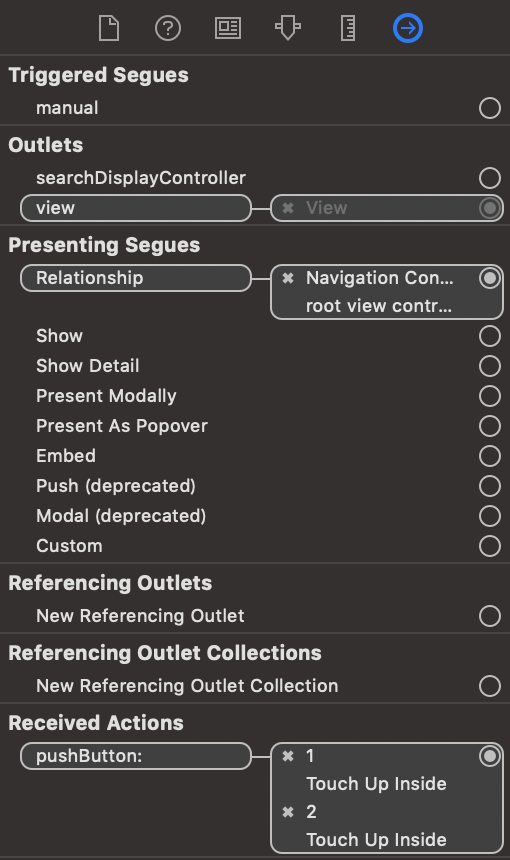
ViewControllerを選択してConnection inspectorを覗くと「Received Actions」でちゃんと2つとも繋がっていることが確認できる
遷移元のコードをいじっていく
ここからコードをゴリゴリ書いていく
まずは遷移元のコードから
import UIKit

class ViewController: UIViewController {

    override func viewDidLoad() {
        super.viewDidLoad()
    }

    // どちらかのボタンを押した時に動く
    @IBAction func pushButton(_ sender: UIButton) {

        // 押されたボタンを格納
        let button: UIButton = sender

        // ボタンのタイトルを取得
        guard let giveValue = button.currentTitle else {
            return
        }

        // 以下、遷移に関する処理
        // 自身のストリーボードを格納
        let selfStoryboard: UIStoryboard = self.storyboard!

        // 画面の遷移
        let nextView = selfStoryboard.instantiateViewController(withIdentifier: "secondViewController")
        navigationController?.pushViewController(nextView, animated: true)

        // SecondViewController型のViewControllerを格納
        let nextVC: SecondViewController = nextView as! SecondViewController
        // 遷移先に値を渡す
        nextVC.receiveValue = giveValue
    }
}
説明(みたいなもの)
上から順に軽く説明すると以下のことをしている(と思われる・・・)
- ボタンを押した時、
senderに押したボタンオブジェクトが丸々乗っかる - それをUIButton型の定数
buttonに代入する(ボタンとコードを結びつけた時TypeをUIButtonにしたのはこのため) -
buttonのタイトル(取得したい値)をoptional bindingしながらgiveValueに格納(optional bindingしたのでgiveValueは単純なString型) -
selfStoryboardにはViewController(遷移元)のストーリボードを格納(していると思われる。) -
selfStoryboard.instantiateViewController(withIdentifier: "secondViewController")
の"secondViewController"には一番最初に決めたStoryboardのIDを書く -
SecondViewController型のnextVCには次に表示したいViewControllerが入っている。 -
nextVC(SecondViewController型)の変数receiveValueにボタンのタイトルが入っているgiveValueを代入する。
これで画面遷移した時に、ボタンのタイトルが遷移先に渡されるようになったはず
遷移先
ここからSecondViewController.swiftで作業するよ
ラベルとコードを結びつける
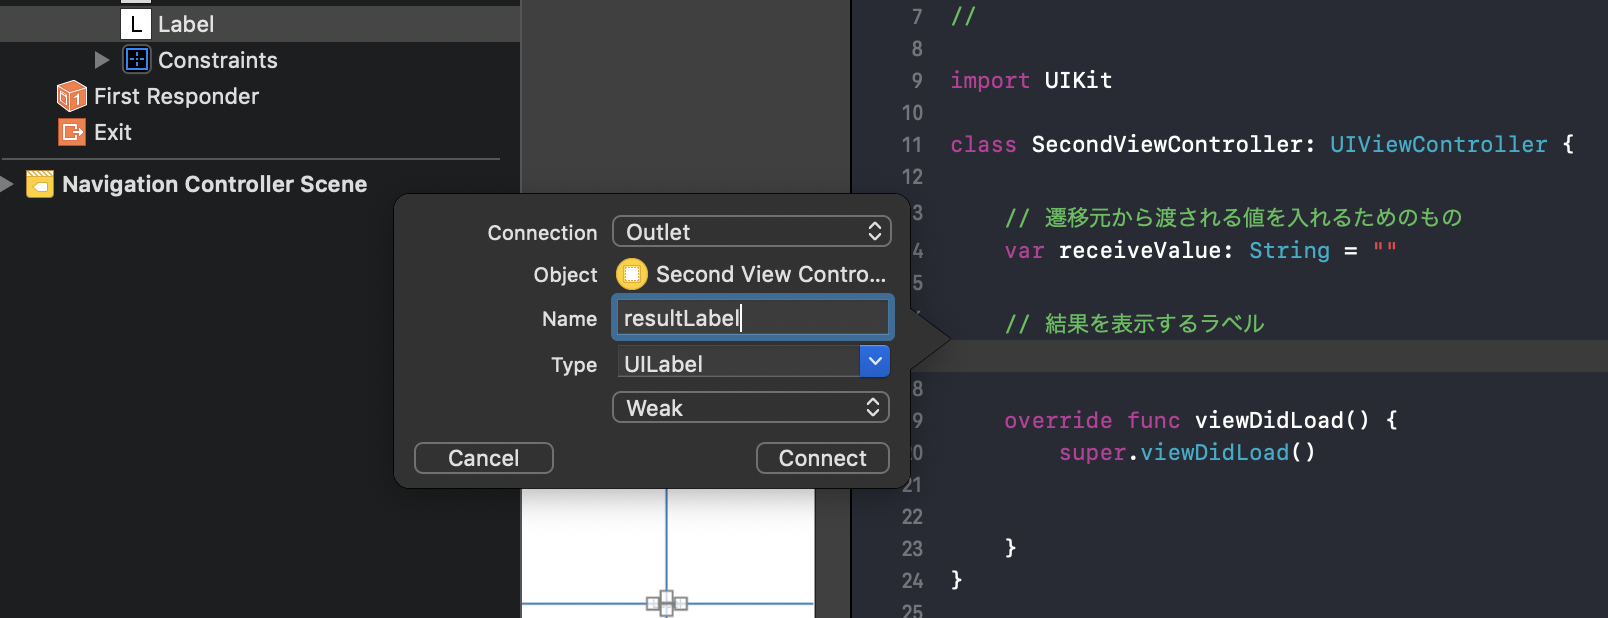
コードをちょっと書く
まじで少しだけ
少し過ぎてビビる
import UIKit

class SecondViewController: UIViewController {

    // 遷移元から渡される値を入れるためのもの
    var receiveValue: String = ""

    // 結果を表示するラベル
    @IBOutlet weak var resultLabel: UILabel!

    override func viewDidLoad() {
        super.viewDidLoad()

         // ラベルに受け取った値を表示させる
        resultLabel.text = receiveValue

    }
}
説明(みたいなもの)
-
receiveValue:遷移元で受け取る情報を入れてもらうための変数。 -
resultLabelの中身(テキスト)を受け取ったreceiveValueにする。
