以下の記事を手元でやってみた時のメモです
今日から始めるPrometheusによるシステム監視(3) 〜Prometheusを使ってみよう〜
詳細は上記のほうが詳しく、本記事は自分用作業メモです
前提
- 環境は EC2
- 利用した OS は AmazonLinux 2
- 利用した Prometheus のバージョンは「2.33.1」
Prometheus のインストール
現在の最新版を見る
Releases · prometheus/prometheus
https://github.com/prometheus/prometheus/releases
prometheus-2.33.1.linux-amd64.tar.gz
今回の環境は上記バイナリを使う
wget https://github.com/prometheus/prometheus/releases/download/v2.33.1/prometheus-2.33.1.linux-amd64.tar.gz

tar zxvf prometheus-2.33.1.linux-amd64.tar.gz

cd prometheus-2.33.1.linux-amd64/

 ls -laf
.   consoles           prometheus.yml  NOTICE      promtool
..  console_libraries  LICENSE         prometheus

./prometheus
接続確認
[ec2-user@ip-172-31-7-253 ~]$ curl http://localhost:9090/
<a href="/graph">Found</a>.
OK
リバースプロキシを使って 80番ポートでアクセスさせる
80番ポートでアクセスしたいのでリバースプロキシを使う
Apache 2.4 で リバースプロキシの設定 - Qiita
sudo yum install httpd -y
ただ、本環境では httpd.conf にはもモジュールは書いてないなく、00-proxy.conf に書いてあった
cat /etc/httpd/conf.modules.d/00-proxy.conf |grep mod_proxy
LoadModule proxy_module modules/mod_proxy.so
LoadModule proxy_ajp_module modules/mod_proxy_ajp.so
LoadModule proxy_balancer_module modules/mod_proxy_balancer.so
LoadModule proxy_connect_module modules/mod_proxy_connect.so
LoadModule proxy_express_module modules/mod_proxy_express.so
LoadModule proxy_fcgi_module modules/mod_proxy_fcgi.so
LoadModule proxy_fdpass_module modules/mod_proxy_fdpass.so
LoadModule proxy_ftp_module modules/mod_proxy_ftp.so
LoadModule proxy_http_module modules/mod_proxy_http.so
LoadModule proxy_hcheck_module modules/mod_proxy_hcheck.so
LoadModule proxy_scgi_module modules/mod_proxy_scgi.so
LoadModule proxy_uwsgi_module modules/mod_proxy_uwsgi.so
LoadModule proxy_wstunnel_module modules/mod_proxy_wstunnel.so
00-proxy.conf の末尾に以下を追記
ProxyRequests Off
ProxyPass / http://localhost:9090/
ProxyPassReverse / http://localhost:9090/
sudo service httpd restart
Redirecting to /bin/systemctl restart httpd.service
確認
[ec2-user@ip-172-31-7-253 ~]$ curl http://localhost/
<a href="/graph">Found</a>.
OK
これで Public IP にアクセスすると式ブラウザ(expression browser)が見えた
Node Exporterの利用
この状態では何も監視していないので Node Exporter を使う
wget https://github.com/prometheus/node_exporter/releases/download/v1.3.1/node_exporter-1.3.1.linux-amd64.tar.gz

tar -zxvf node_exporter-1.3.1.linux-amd64.tar.gz

cd node_exporter-1.3.1.linux-amd64/

./node_exporter
以下のようなログが出ていれば OK
ts=2022-02-10T22:24:33.633Z caller=node_exporter.go:199 level=info msg="Listening on" address=:9100
ts=2022-02-10T22:24:33.633Z caller=tls_config.go:195 level=info msg="TLS is disabled." http2=false
次に Prometheus 側の設定として、Node Exporter の情報を見れるようにする為に prometheus.yml を編集する
# backup
cp prometheus.yml prometheus.yml.back

vi prometheus.yml
scrape_configs に target として Node Exporter(localhost:9100) を追加する。
scrape_configs:
  - job_name: 'prometheus'
    static_configs:
    - targets: ['localhost:9090']
  - job_name: 'node'
    static_configs:
    - targets: ['localhost:9100']
その後、Prometheus を改めて起動
# Prometheus を一旦強制停止
kill -KILL 1181

# 改めて起動
./prometheus
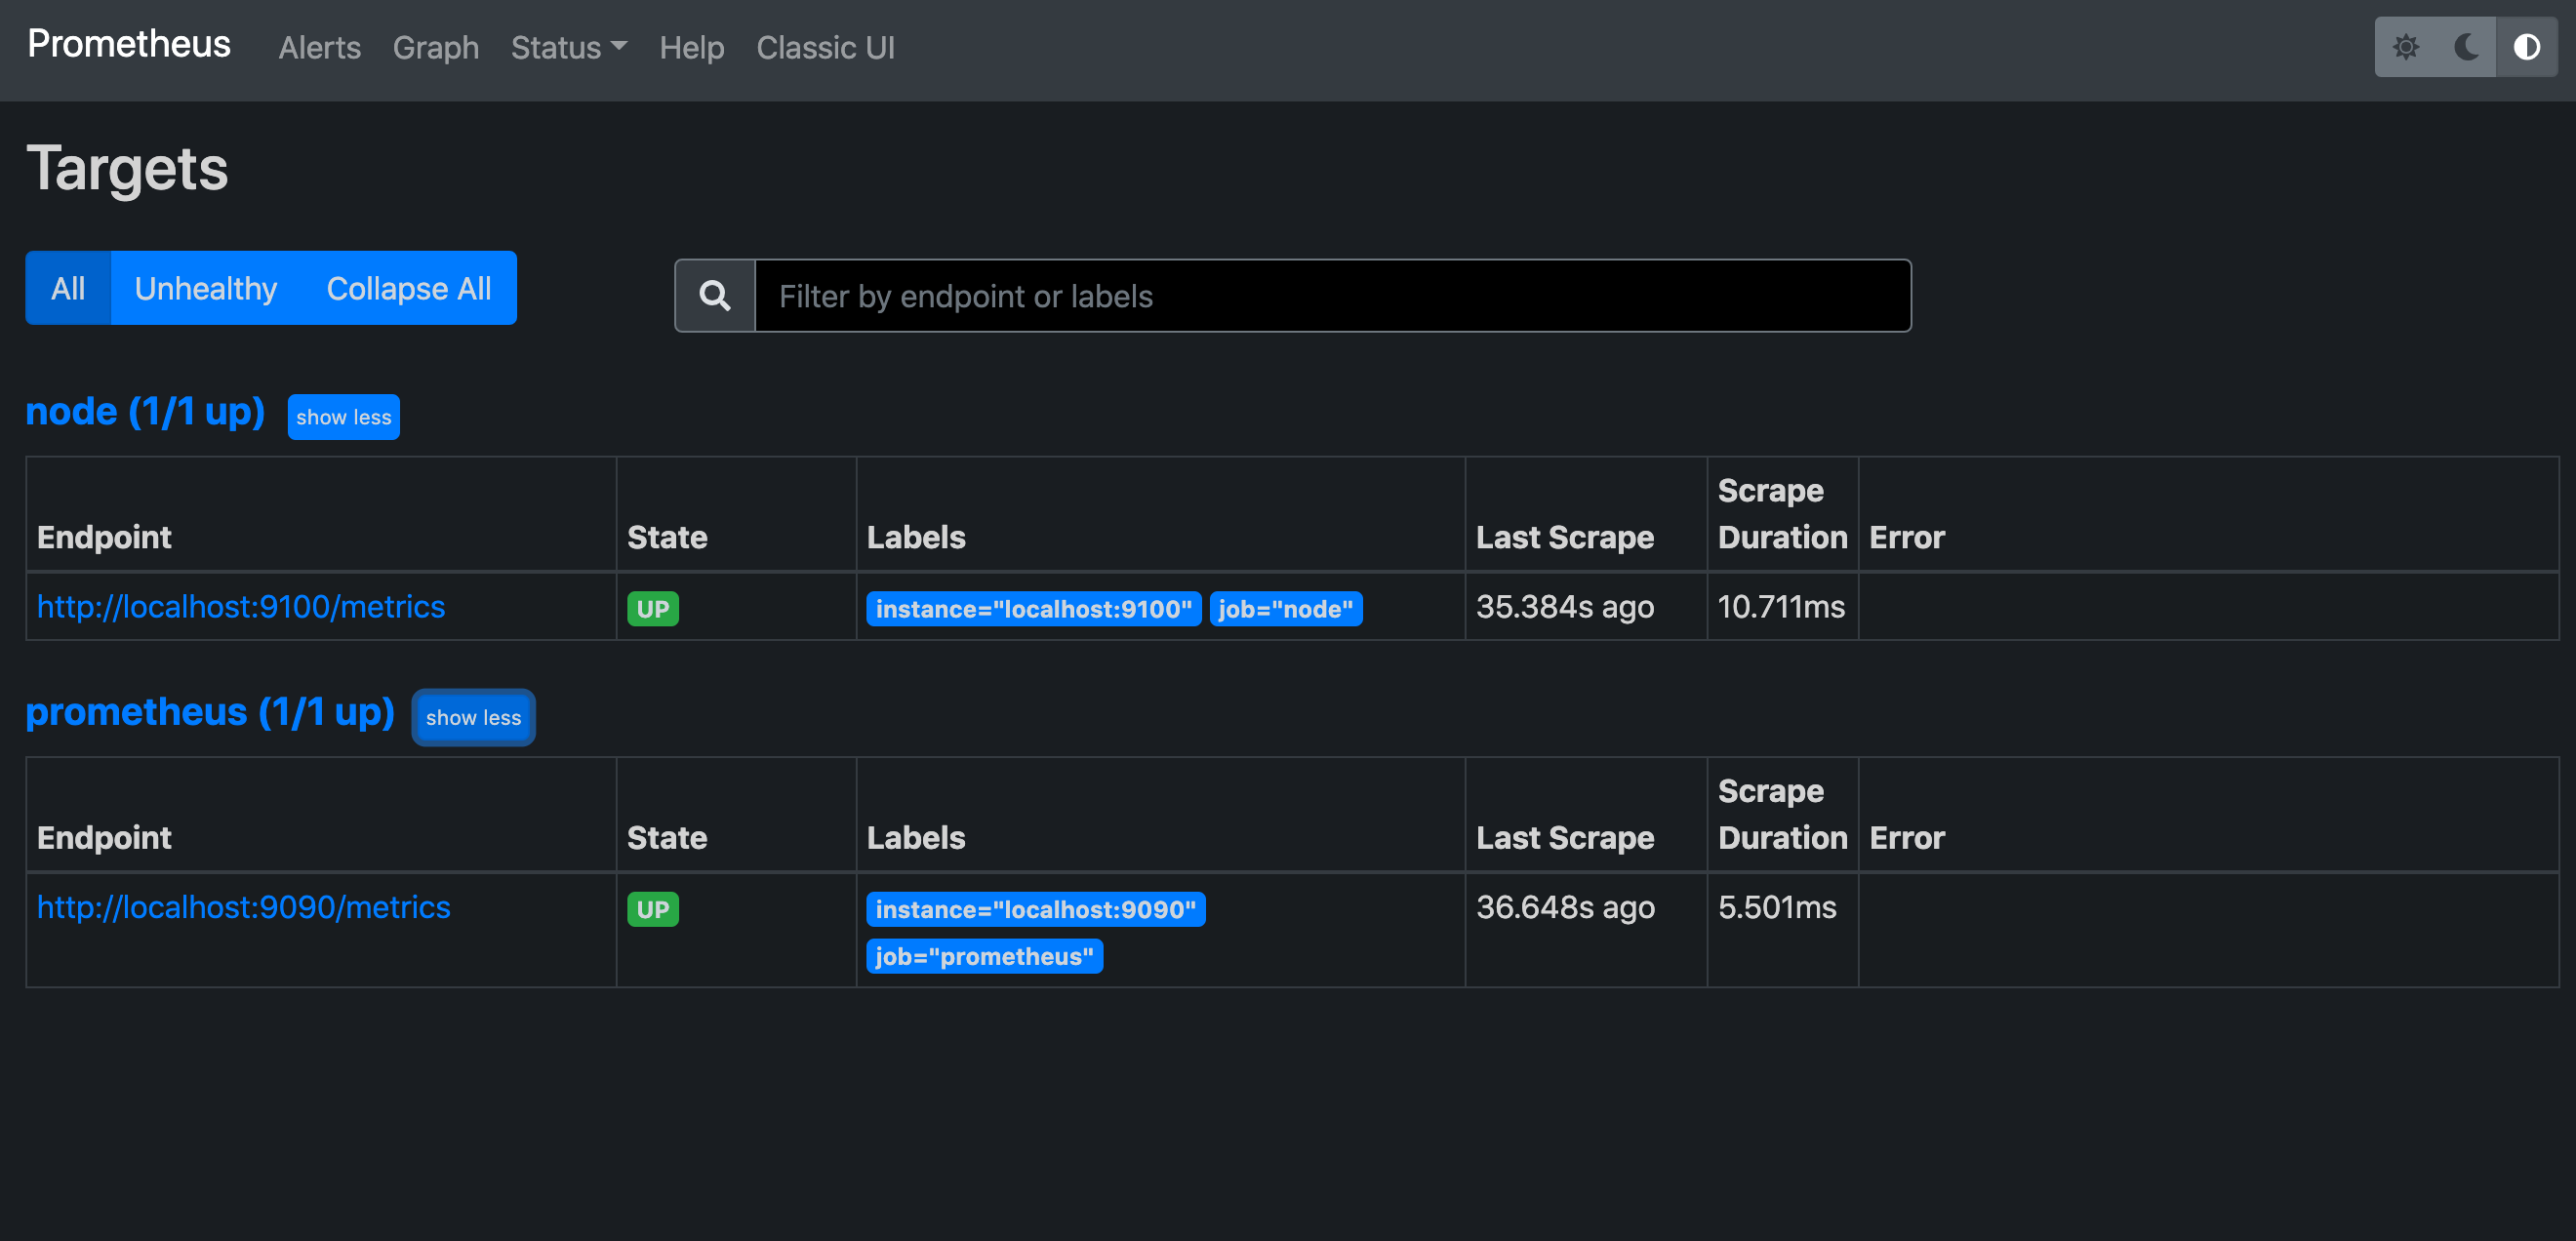
これで Target を見るとエンドポイントとして Node Exporter が見える。
また、prometheus は自分自身(localhost:9090/metrics) で自分も監視している事が分かる。
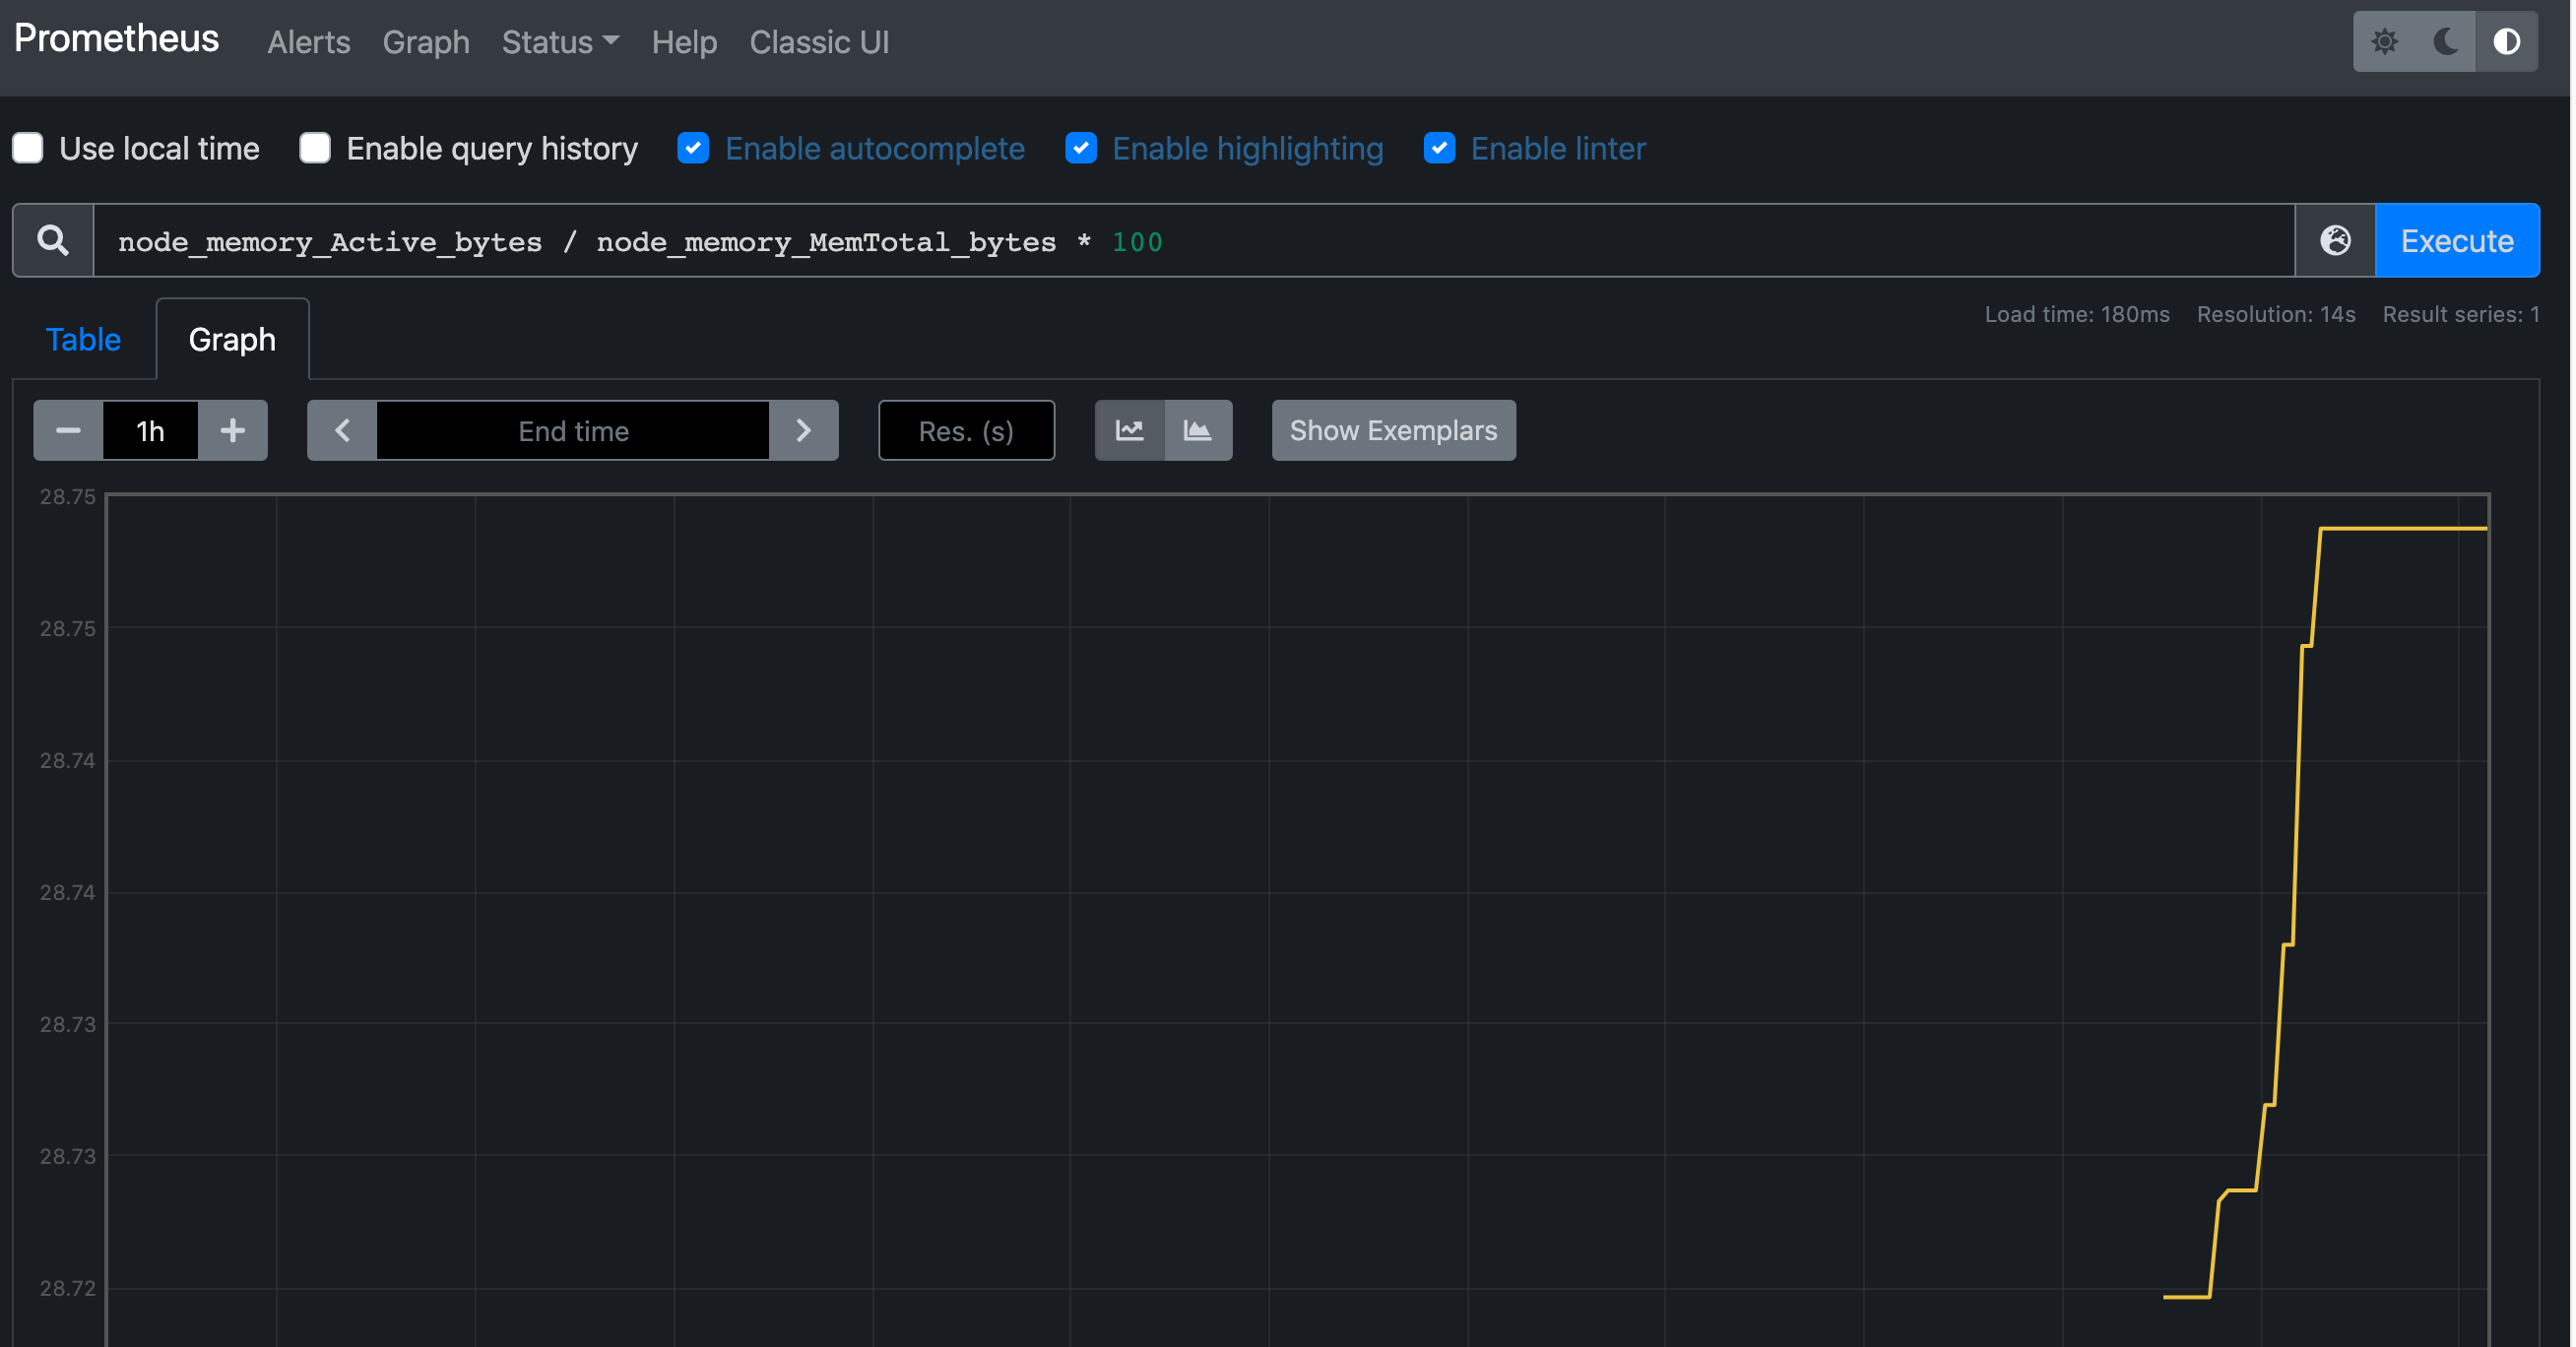
次に記事と同じようにうメモリなどの情報が確認出来た。


