こんにちは、ネクストスケープ配信事業本部のAppleTV担当こと鈴木こと @toshi0383 です。
今回はtvOSのUICollectionViewのフォーカスとスクロールについてです。
年末なのでたまには腰を据えてチュートリアル方式で書いてみようと思います。
腕に覚えがある方は「要件」だけみて実装してみるのも面白いかもしれません。
結構簡単そうだと思ったでしょ?フッフッフッ。。
要件
以下の仕様を満たすtvOSアプリを作ってください。
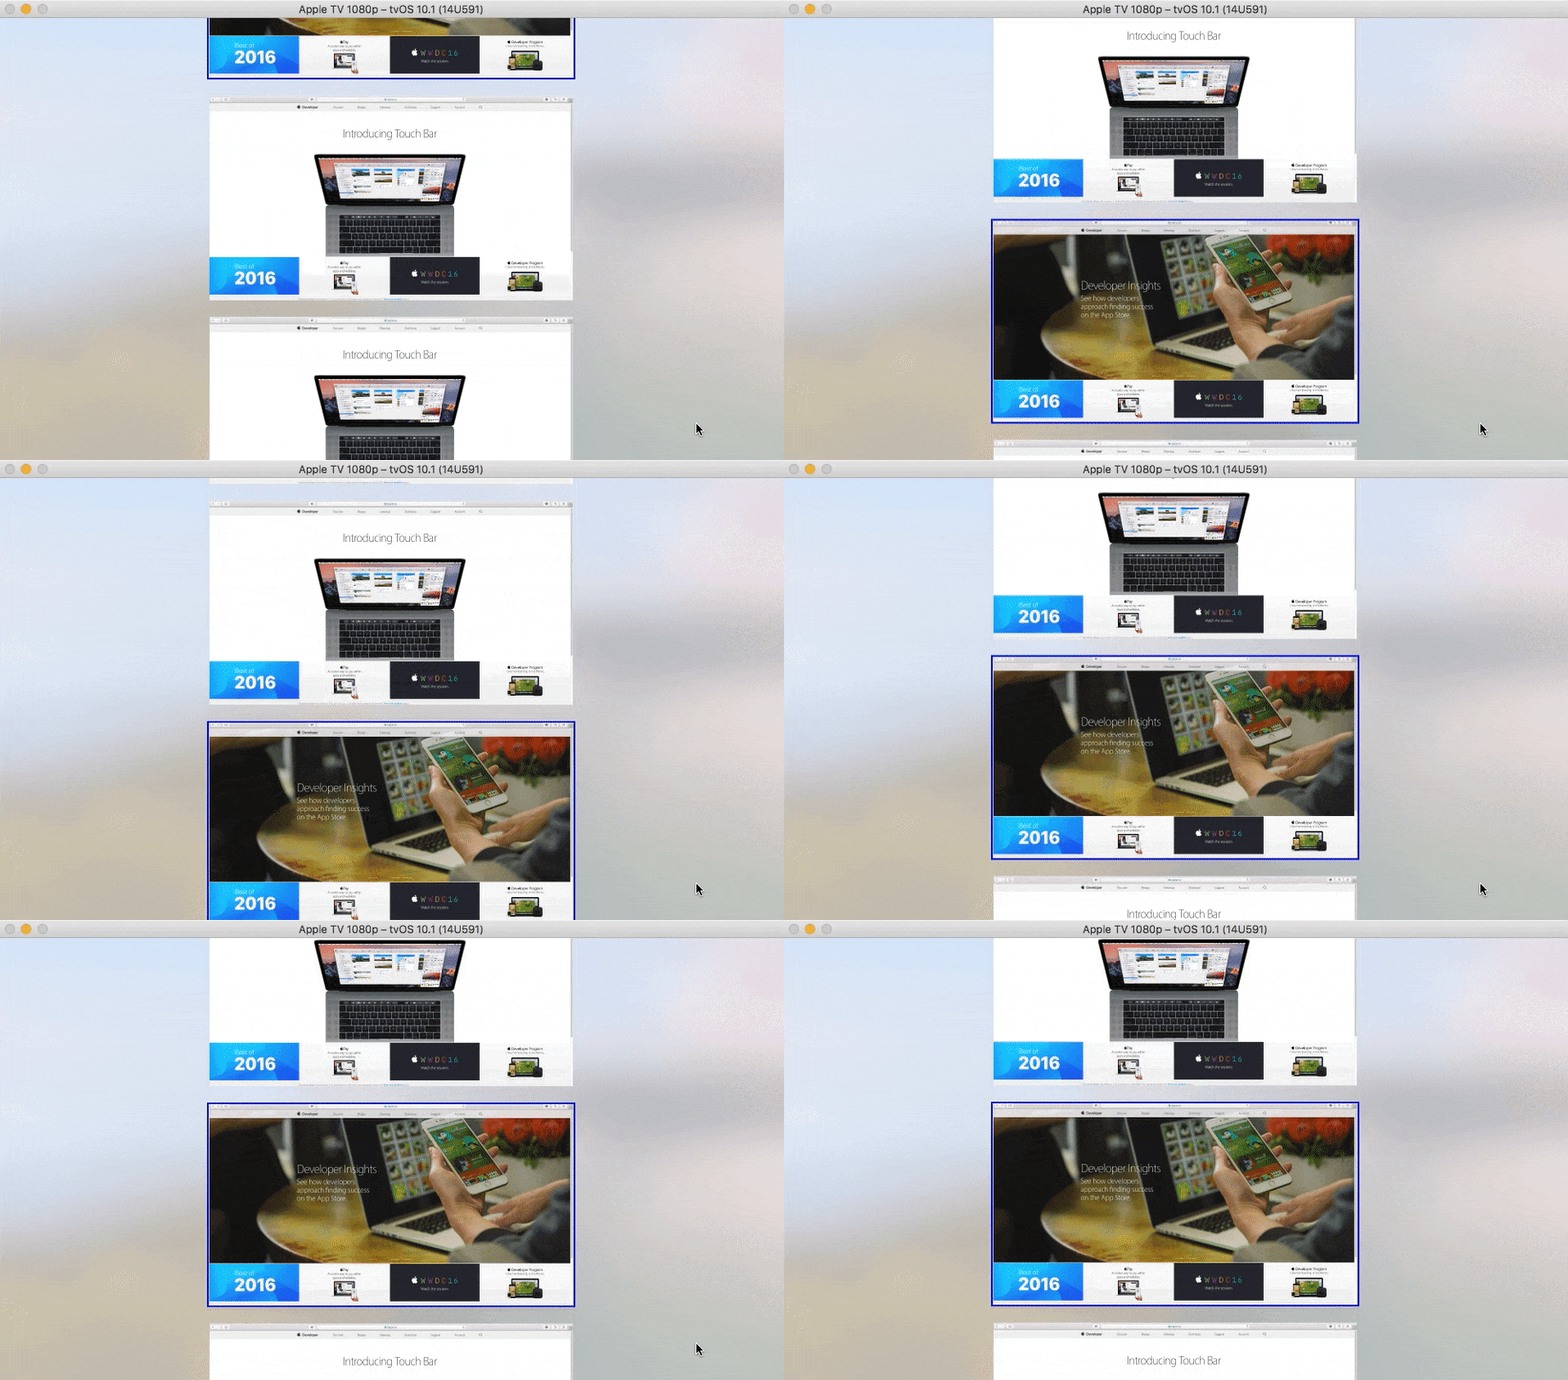
- 画面の中くらいの大きさ(900x500)のセルを、縦方向に適当なスペース(40pt)で並べる. とりあえず10こ.
- フォーカスするとセルの画像が切り替わる.
- 初期表示時、真ん中あたりのコンテンツにフォーカスした状態にする. 今回は6こめということで.
- フォーカスするセルは常に画面中央に表示する
Step1: アイテムが10個のコレクションビュー
43c6ff39
ひとまずコレクションビューをペラっと貼ってみましょう。
こんなコードです。
class ViewController: UIViewController, UICollectionViewDelegate, UICollectionViewDataSource {
    @IBOutlet weak var collectionView: UICollectionView! {
        didSet {
            collectionView.delegate = self
            collectionView.dataSource = self
        }
    }
    override func viewDidLoad() {
        super.viewDidLoad()
    }

    // MARK: Delegate & DataSource
    func collectionView(_ collectionView: UICollectionView, numberOfItemsInSection section: Int) -> Int {
        return 10
    }
    func collectionView(_ collectionView: UICollectionView, cellForItemAt indexPath: IndexPath) -> UICollectionViewCell {
        let cell = collectionView.dequeueReusableCell(withReuseIdentifier: "Cell", for: indexPath) as! Cell
        return cell
    }
    func numberOfSections(in collectionView: UICollectionView) -> Int {
        return 1
    }
}

class Cell: UICollectionViewCell {
    @IBOutlet weak var imageview: UIImageView!
    override func didUpdateFocus(in context: UIFocusUpdateContext, with coordinator: UIFocusAnimationCoordinator) {
        if (context.nextFocusedItem as! Cell) == self {
            coordinator.addCoordinatedAnimations({
                self.imageview.image = UIImage(named: "dev-insights")
                self.imageview.addBorder()
            }, completion: nil)
        } else if (context.previouslyFocusedItem as! Cell) == self {
            coordinator.addCoordinatedAnimations({
                self.imageview.image = UIImage(named: "safari")
                self.imageview.removeBorder()
            }, completion: nil)

        }
    }
}
なんてありきたりなんだ。。
レイアウトはStoryboardでよろしくやっています。 (雑なチュートリアルだなあ)
今回UICollectionViewは全画面ではないので、Parallaxを有効にする場合にハミ出してもいいように、"Clip To Bounds(clipsToBounds)"をfalseにすることがポイントといえばポイントでしょうか。
特に指定がなかったため、Parallaxエフェクトではなく青borderをつけるようにしました。
Parallaxエフェクトはかなり重いので、レイアウトが複雑でパフォーマンスが気になる場合、こういう実装は全然ありだと思います。
Step2: viewDidAppearで5番目までスクロールする
baf6242
さて、要件を1つずつクリアしていきましょう。
6番目までスクロールします。iOSなら、これだけでいいはずですよね。
    override func viewDidAppear(_ animated: Bool) {
        super.viewDidAppear(animated)
        let indexPath = IndexPath(item: 5, section: 0)
        collectionView.scrollToItem(at: indexPath, at: .centeredVertically, animated: true)
    }
「全く、舐めてるのか、ちょー簡単。」と思いました?
実際に動かしてみると、問題に気づきます。
そう、フォーカスが1番目に取り残されているのです。この状態で操作すると、真ん中までスクロールしていたのに一気に一番上まで戻ってしまいます。
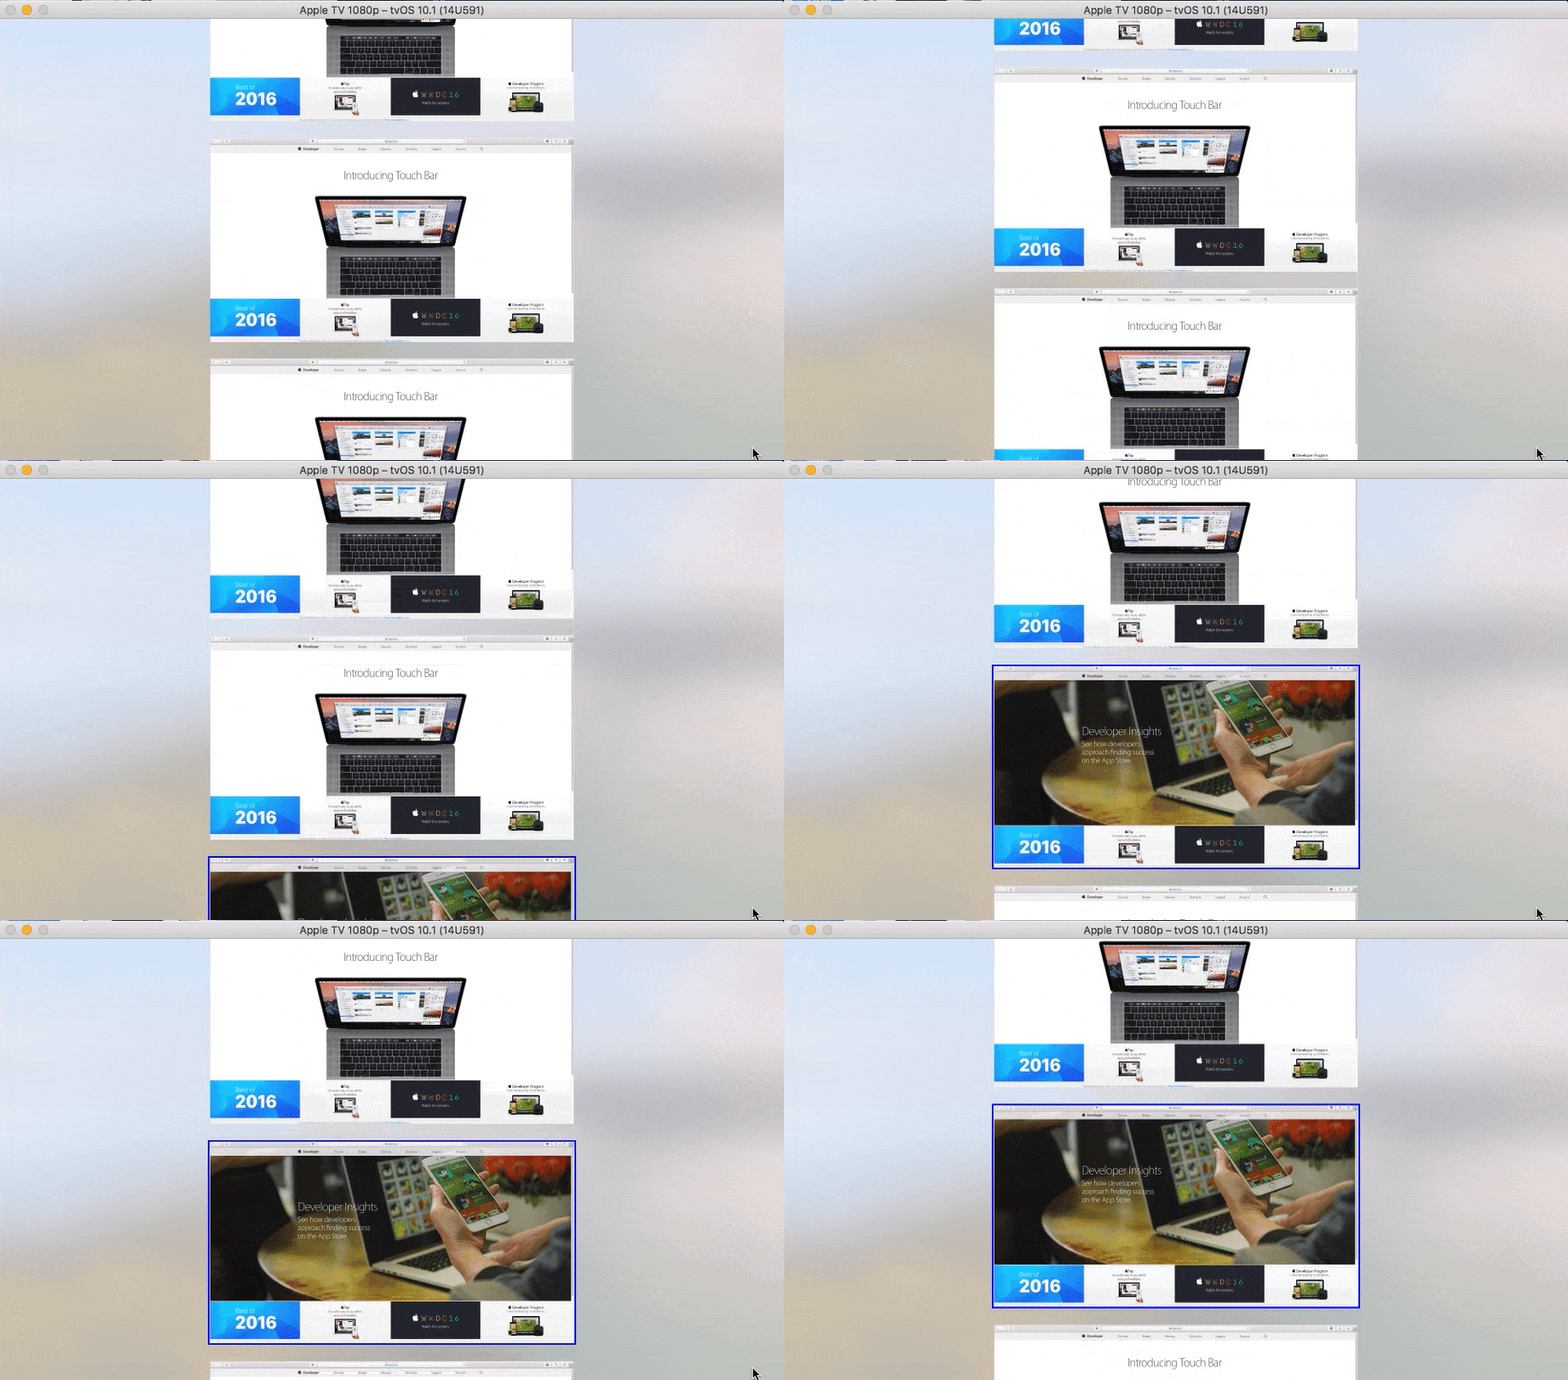
じゃあ例えば、以下のコードはどうでしょうか。
    private var _currentIndex: Int = 0

    override func viewDidAppear(_ animated: Bool) {
        super.viewDidAppear(animated)
        let indexPath = IndexPath(item: 5, section: 0)
        collectionView.scrollToItem(at: indexPath, at: .centeredVertically, animated: true)
        collectionView.setNeedsFocusUpdate()
    }

    // MARK: UIFocusEnvironment
    override var preferredFocusEnvironments: [UIFocusEnvironment] {
        let cell = collectionView?.cellForItem(at: currentIndexPath)
        return [cell].flatMap{$0}
    }
    // MARK: UICollectionViewDelegate
    func collectionView(_ collectionView: UICollectionView, didUpdateFocusIn context: UICollectionViewFocusUpdateContext, with coordinator: UIFocusAnimationCoordinator) {
        _currentIndex = context.nextFocusedIndexPath?.row ?? 0
    }
setNeedsFocusUpdate()でUICollectionViewDelegateのdidUpdateFocusが呼ばれて_currentIndexが更新され、preferredFocusEnvironmentsから5番目のセルが返却され、フォーカスが更新される..と思いませんか?
実はこれでも状況は変わらないのです。UICollectionViewDelegateもpreferredFocusEnvironmentsも呼ばれません。
これはちょっといきなり雲行きが怪しくなってきましたね。あなたならどうしますか?
Step3: フォーカスを更新をdelayさせる
私が見つけた答えは。。これです。
    private var _currentIndex: Int = 0
    private func updateCurrentIndex(_ index: Int) {
        _currentIndex = index
        collectionView.scrollToItem(at: currentIndexPath, at: .centeredVertically, animated: true)
        updateFocusWithDelay()
    }
    private func updateFocusWithDelay() {
        focusUpdateTask?.cancel()
        focusUpdateTask = Async.main(after: 0.5) {
            self.setNeedsFocusUpdate()
        }
    }
    override func viewDidAppear(_ animated: Bool) {
        super.viewDidAppear(animated)
        updateCurrentIndex(5)
    }
相当四苦八苦した挙句の開き直りとも言える思いつきだったのですが、なんとフォーカス更新をdelayしたら期待通り動いてくれました。
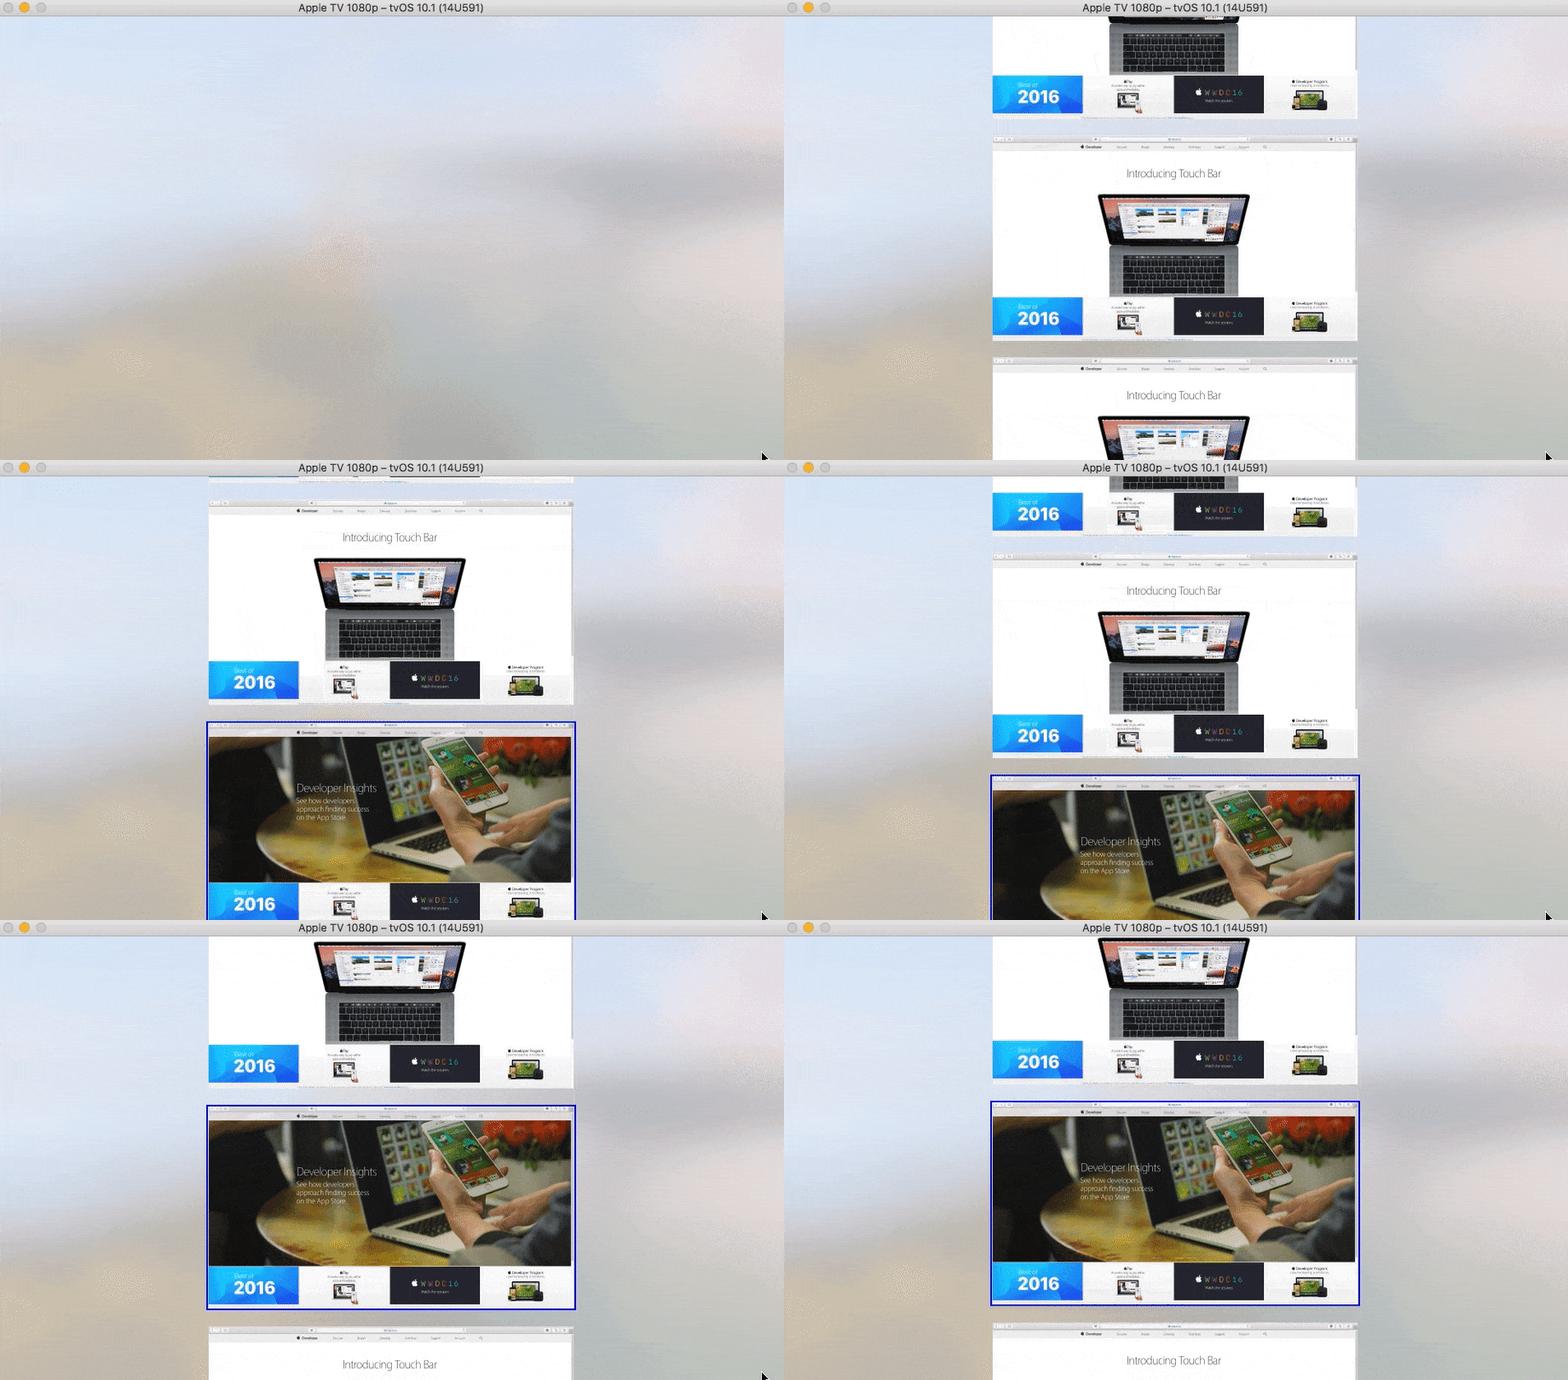
推測するに、viewDidAppear直後はフォーカスの更新やスクロールが完全に終わっていない状態であり、その状態でsetNeedsFocusUpdateを呼んでもスルーされてしまうのではないか。。と考えられます。。
ま、ひとまず1つ要件はクリアしました。思ったより手間がかかってしまいましたね。
なお、非同期のdelay実行は書くのが面倒だったのでAsyncというライブラリを使いました。
Step4: フォーカスエンジンによるスクロールでセンターからずれてしまうのを修正
62f6c2e
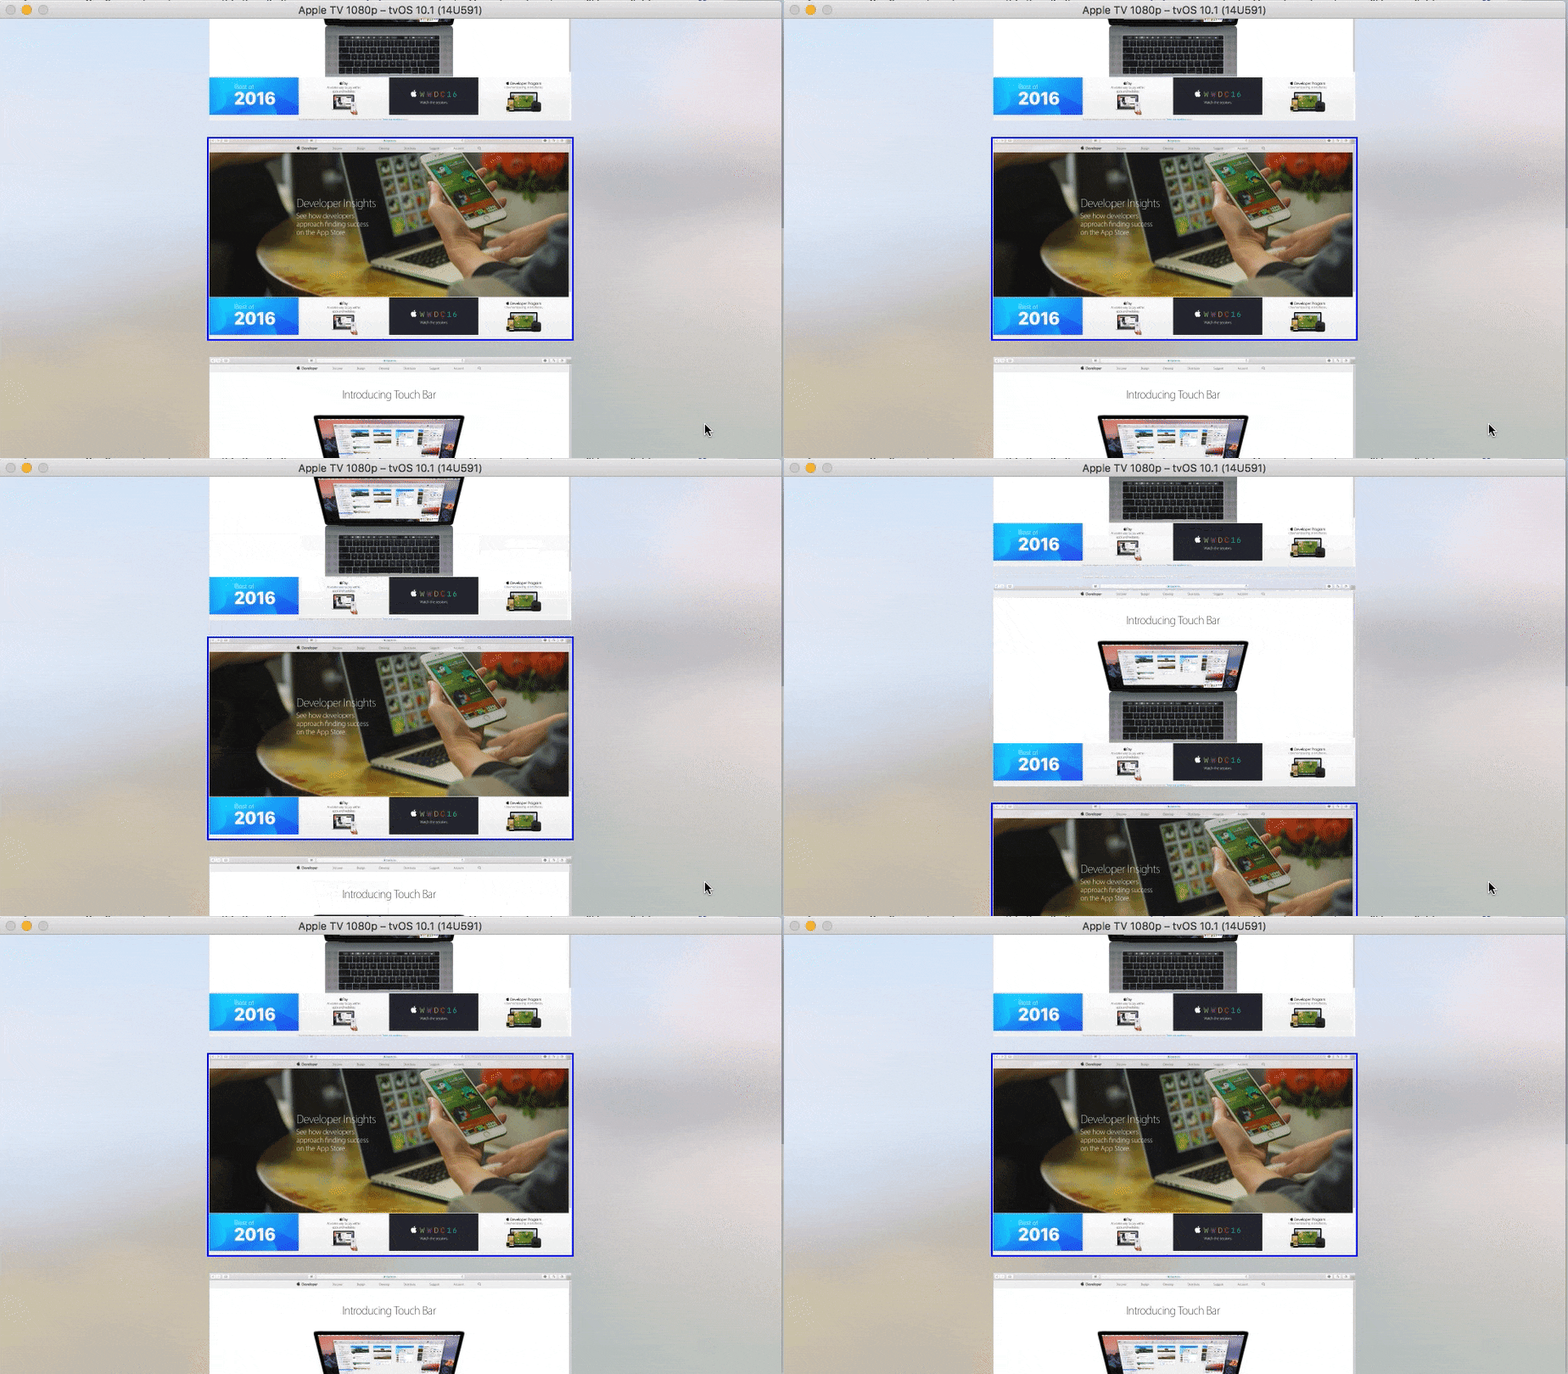
さて、まだまだ問題があります。初期表示時はいいのですが、その後Remoteを使ってスクロールするとセンターにとどまってくれません。
まだプログラム契機のスクロールに対してしか制御コードを書いていないからです。
フォーカスエンジン契機のスクロールを制御するには、以下のようにします。
    private var fixContentOffsetTask: Async?
    func collectionView(_ collectionView: UICollectionView, didUpdateFocusIn context: UICollectionViewFocusUpdateContext, with coordinator: UIFocusAnimationCoordinator) {
        guard let indexPath = context.nextFocusedIndexPath else {
            return
        }
        _currentIndex = indexPath.row
        fixContentOffsetTask?.cancel()
        fixContentOffsetTask = Async.main(after: 0.1) {
            self.updateCurrentIndex(self._currentIndex)
        }
    }
updateCurrentIndex(_:)は、先ほどのStep3で作成したものです。割と直感的に実装できましたね。フォーカスが更新されたら、セルの位置を修正する、です。
ここでもdelayさせていますが、これはある程度は(0.1秒くらいは)自然にスクロールをさせたほうがいいかな。。なんていう思いで色々調整していました。今改めて0.0にしてみましたが、むしろそのほうが自然に感じたので、いらないかもしれません。
この辺りの挙動はSimulatorと実機でも随分違ってしまうので、実機で確認してみたほうがいいと思います。
Step5: 一番上と一番下のセルも上下中央に配置する
a11a315
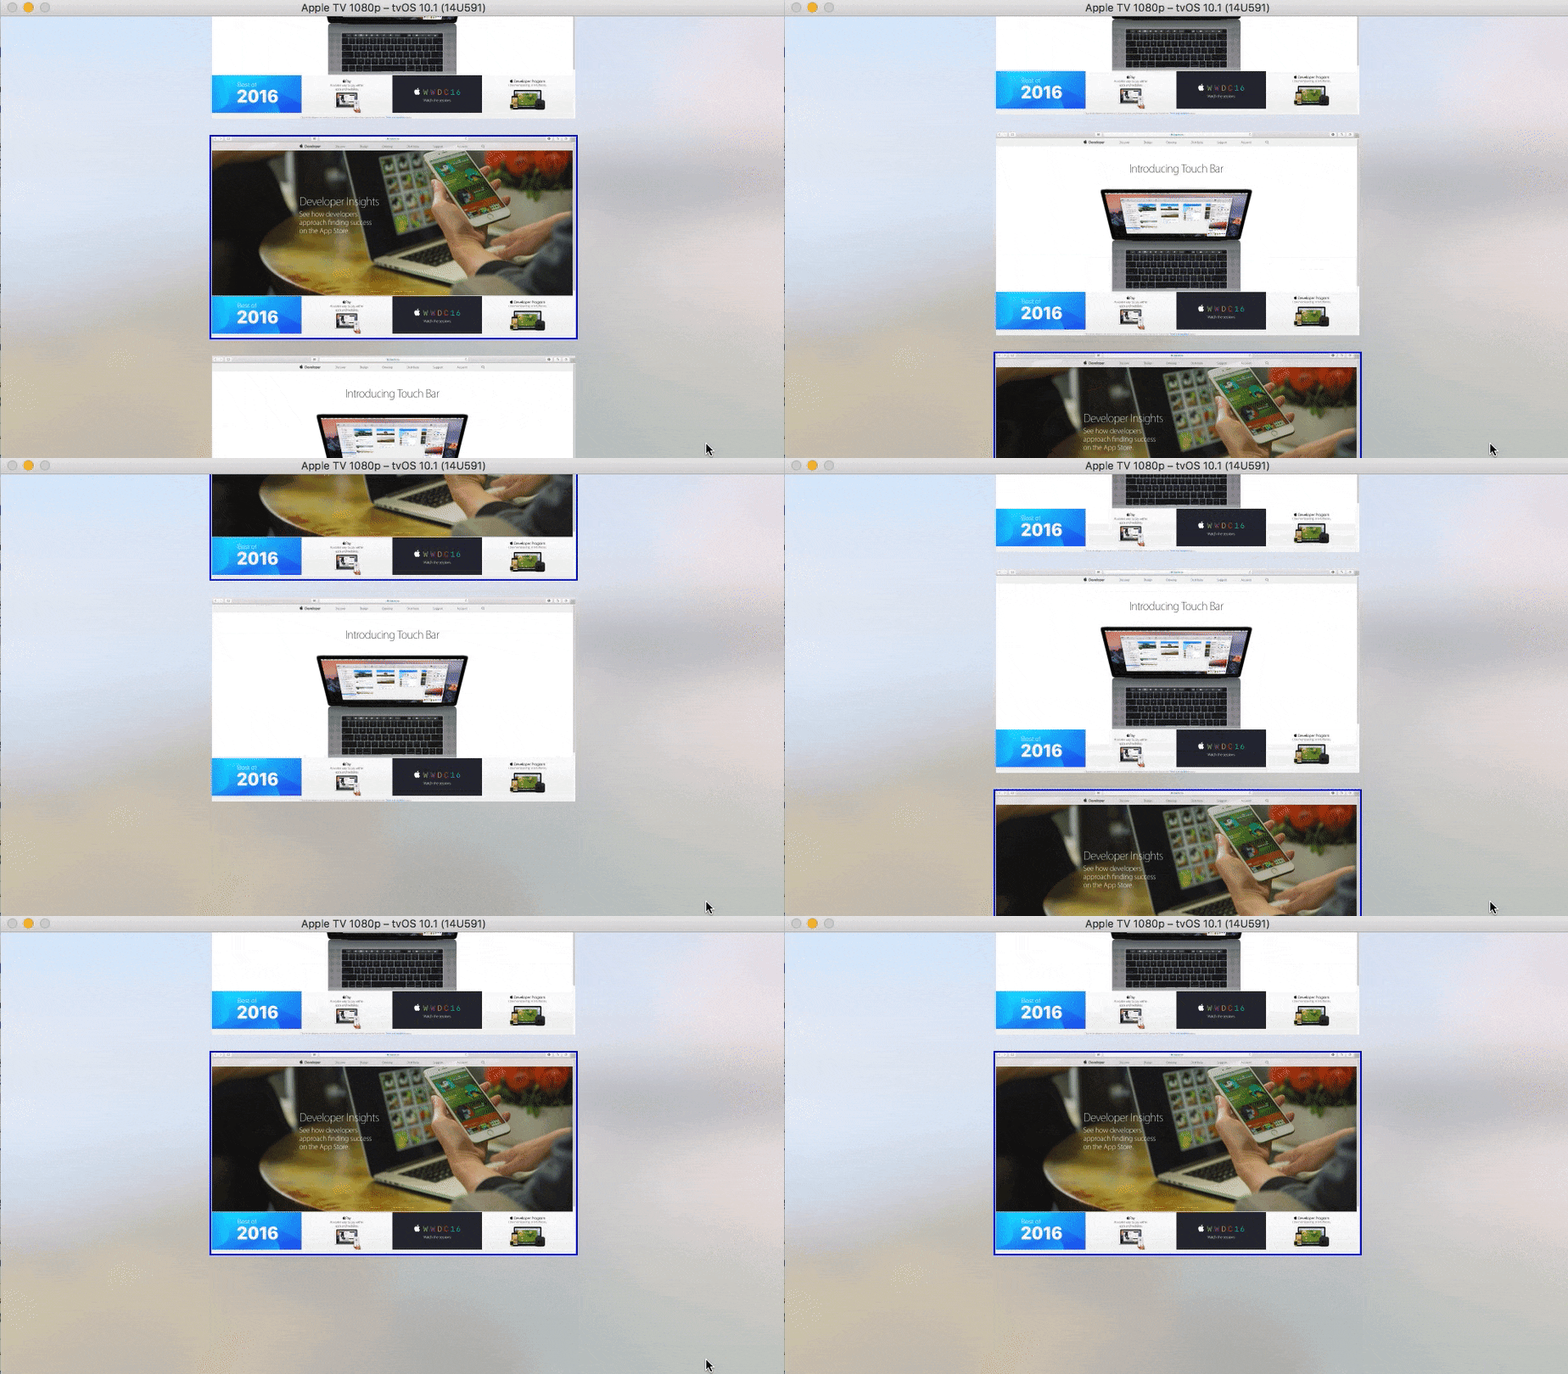
さて、もうここはいくらでもやりようがあると思いますが、このままだと一番上と一番下のセルが中央にならないんですよね。
チュートリアルなのでここでは雑に片付けます。
    let items: [Int] = (0..<10).map{$0}

    func collectionView(_ collectionView: UICollectionView, numberOfItemsInSection section: Int) -> Int {
        return items.count
    }

    func collectionView(_ collectionView: UICollectionView, cellForItemAt indexPath: IndexPath) -> UICollectionViewCell {
        if 0 == indexPath.row || indexPath.row == items.count - 1 {
            let cell = collectionView.dequeueReusableCell(withReuseIdentifier: "Empty", for: indexPath)
            cell.isUserInteractionEnabled = false
            return cell
        }
        let cell = collectionView.dequeueReusableCell(withReuseIdentifier: "Cell", for: indexPath) as! Cell
        return cell
    }
そういえばセルの数などベタベタ書いていたので、せめてitemsという配列をプロパティにしました。
一番上と一番下の場合はStoryboardで新たに定義したEmptyというReuseIdentifierのセルをdequeueします。
フォーカスさせたくない場合はisUserInteractionEnabled = false だけでOKです。
これで、全てのセルが上下中央に表示されるようになりました!!🎉
Step6: Parallaxエフェクトを有効にする (おまけ)
533eb02
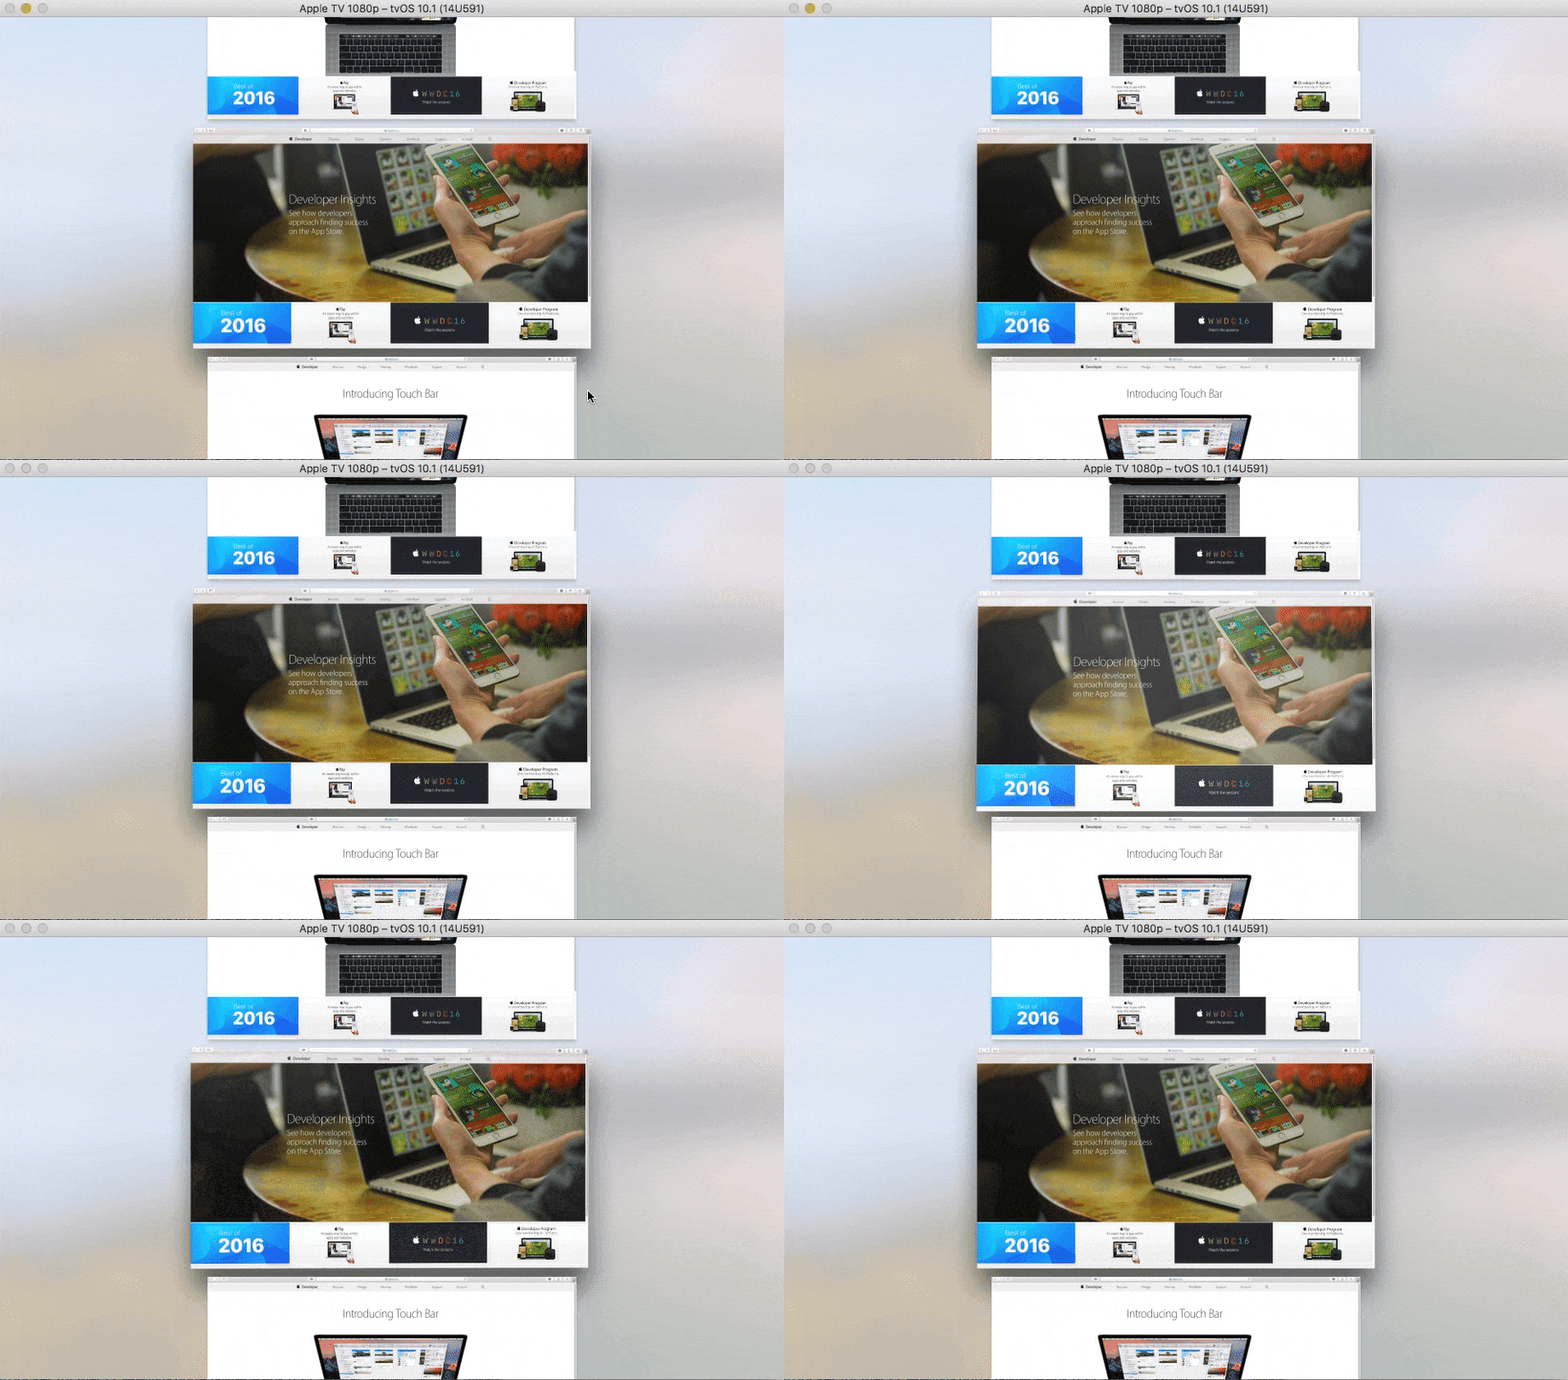
意外とパフォーマンスも問題なさそうなので、StoryboardでParallaxエフェクトを有効にしてみました。
Simulatorで確認するとさすがにちょっと重いのでborderのコードもif文で残しています。
まとめ
以上、UICollectionViewでフォーカスとスクロールを思い通りに操る方法について解説してきました。無事実装できましたか?
フォーカスエンジンとうまくやろうと思うとついつい冗長なコードになりがちなのですが、コツさえ押さえておけば意外とシンプルな(?)コードで済むことがわかると思います。
途中でお気づきとは思いますが以下にソースコードを上げておきましたので、こちらもあわせてお楽しみください。
https://github.com/toshi0383/AutoScrollCollectionViewController
読んでくれてありがとうございました。
今回UICollectionViewを話題にしましたが、基本的にはUIScrollViewの場合にも同じ考え方でフォーカスとスクロールを制御することができます。
フィードバックや質問はこちらのコメントでもいいですし、TwitterでもGitHubのリポジトリ上でも歓迎します。
